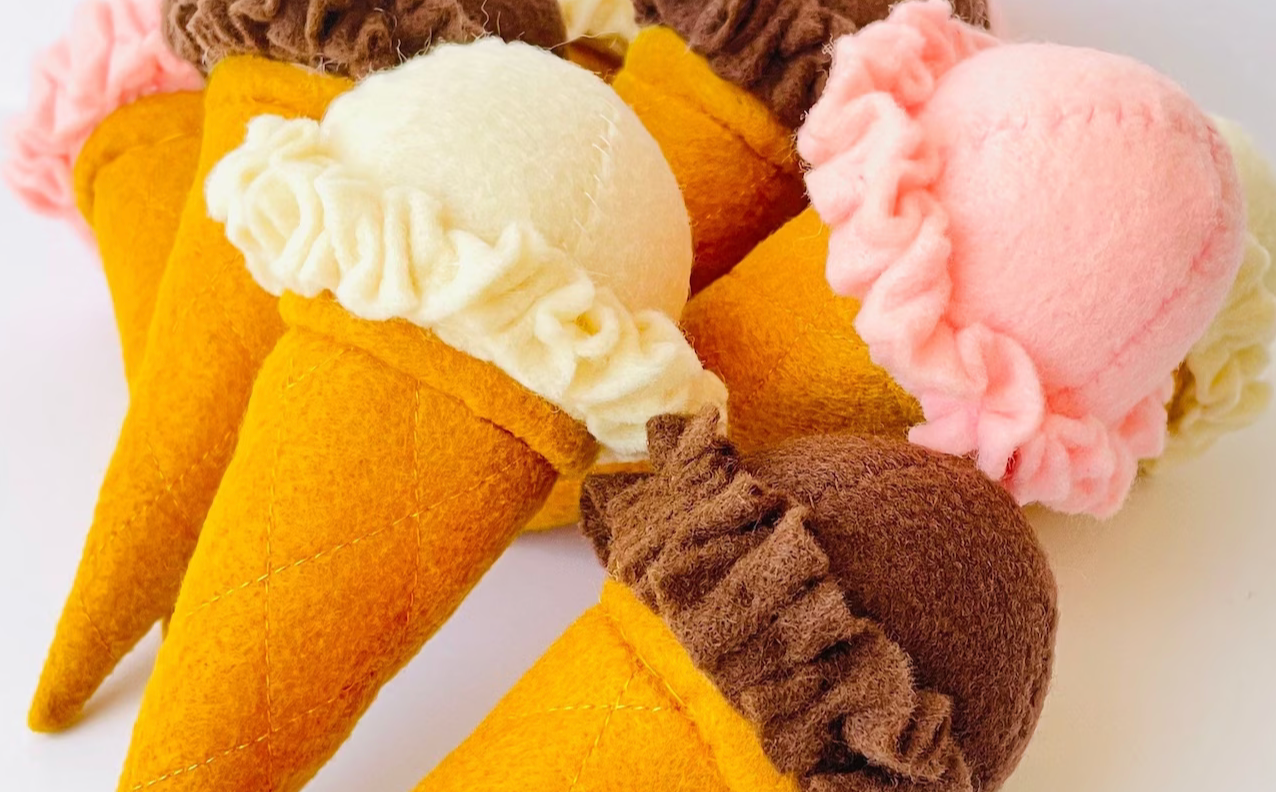
Magnetic Ice Cream Cone Stuffie
June 14, 2023
* Products linked below may be affiliate links. I may receive a small commission if you place an order through them (at no cost to you). For more, see our Affiliate Disclosure.
A Project Begins
You may be familiar with my friend Lauren. She is the one that I made a fabric flower bouquet for her to carry at her wedding, which I have shared here and on Youtube. Part 1 and part 2 of that are up, stay tuned for part 3! You also may be familiar with my tendency to make stuffie replicas of the family’s pets for the new babies in my life, like this little pug for my friend Kayla’s baby, but Lauren and her husband Jake don’t have a pet so when Rhea was born I knit a blanket for her instead.
As Rhea’s first birthday began to approach, I wanted to make something stuffed that fit in perfectly with their family, and I quickly realized that it had to be ICE CREAM. One thing about Lauren and Jake is that they love ice cream. They love ice cream so much that they had little individual Jeni’s ice cream containers at their wedding instead of cake, and for a wedding gift, I made them this hand-carved print of two ice creams saying the cute line that the characters Leslie and Ben say to each other at their wedding on the show Parks and Recreation.

So I decided to do a stuffed ice cream cone, and because Rhea isn’t a newborn but has just turned 1, I wanted to make a toy that was a bit more interactive, so I added magnets to the whole affair. Anyway, this is how I did it!
--
The WHAT
There are usually two steps to starting a project. First, figuring out the WHAT, like gathering and choosing supplies, and second, figuring out the HOW, like finding patterns or tutorials or using my own brain to engineer how the project will be made.
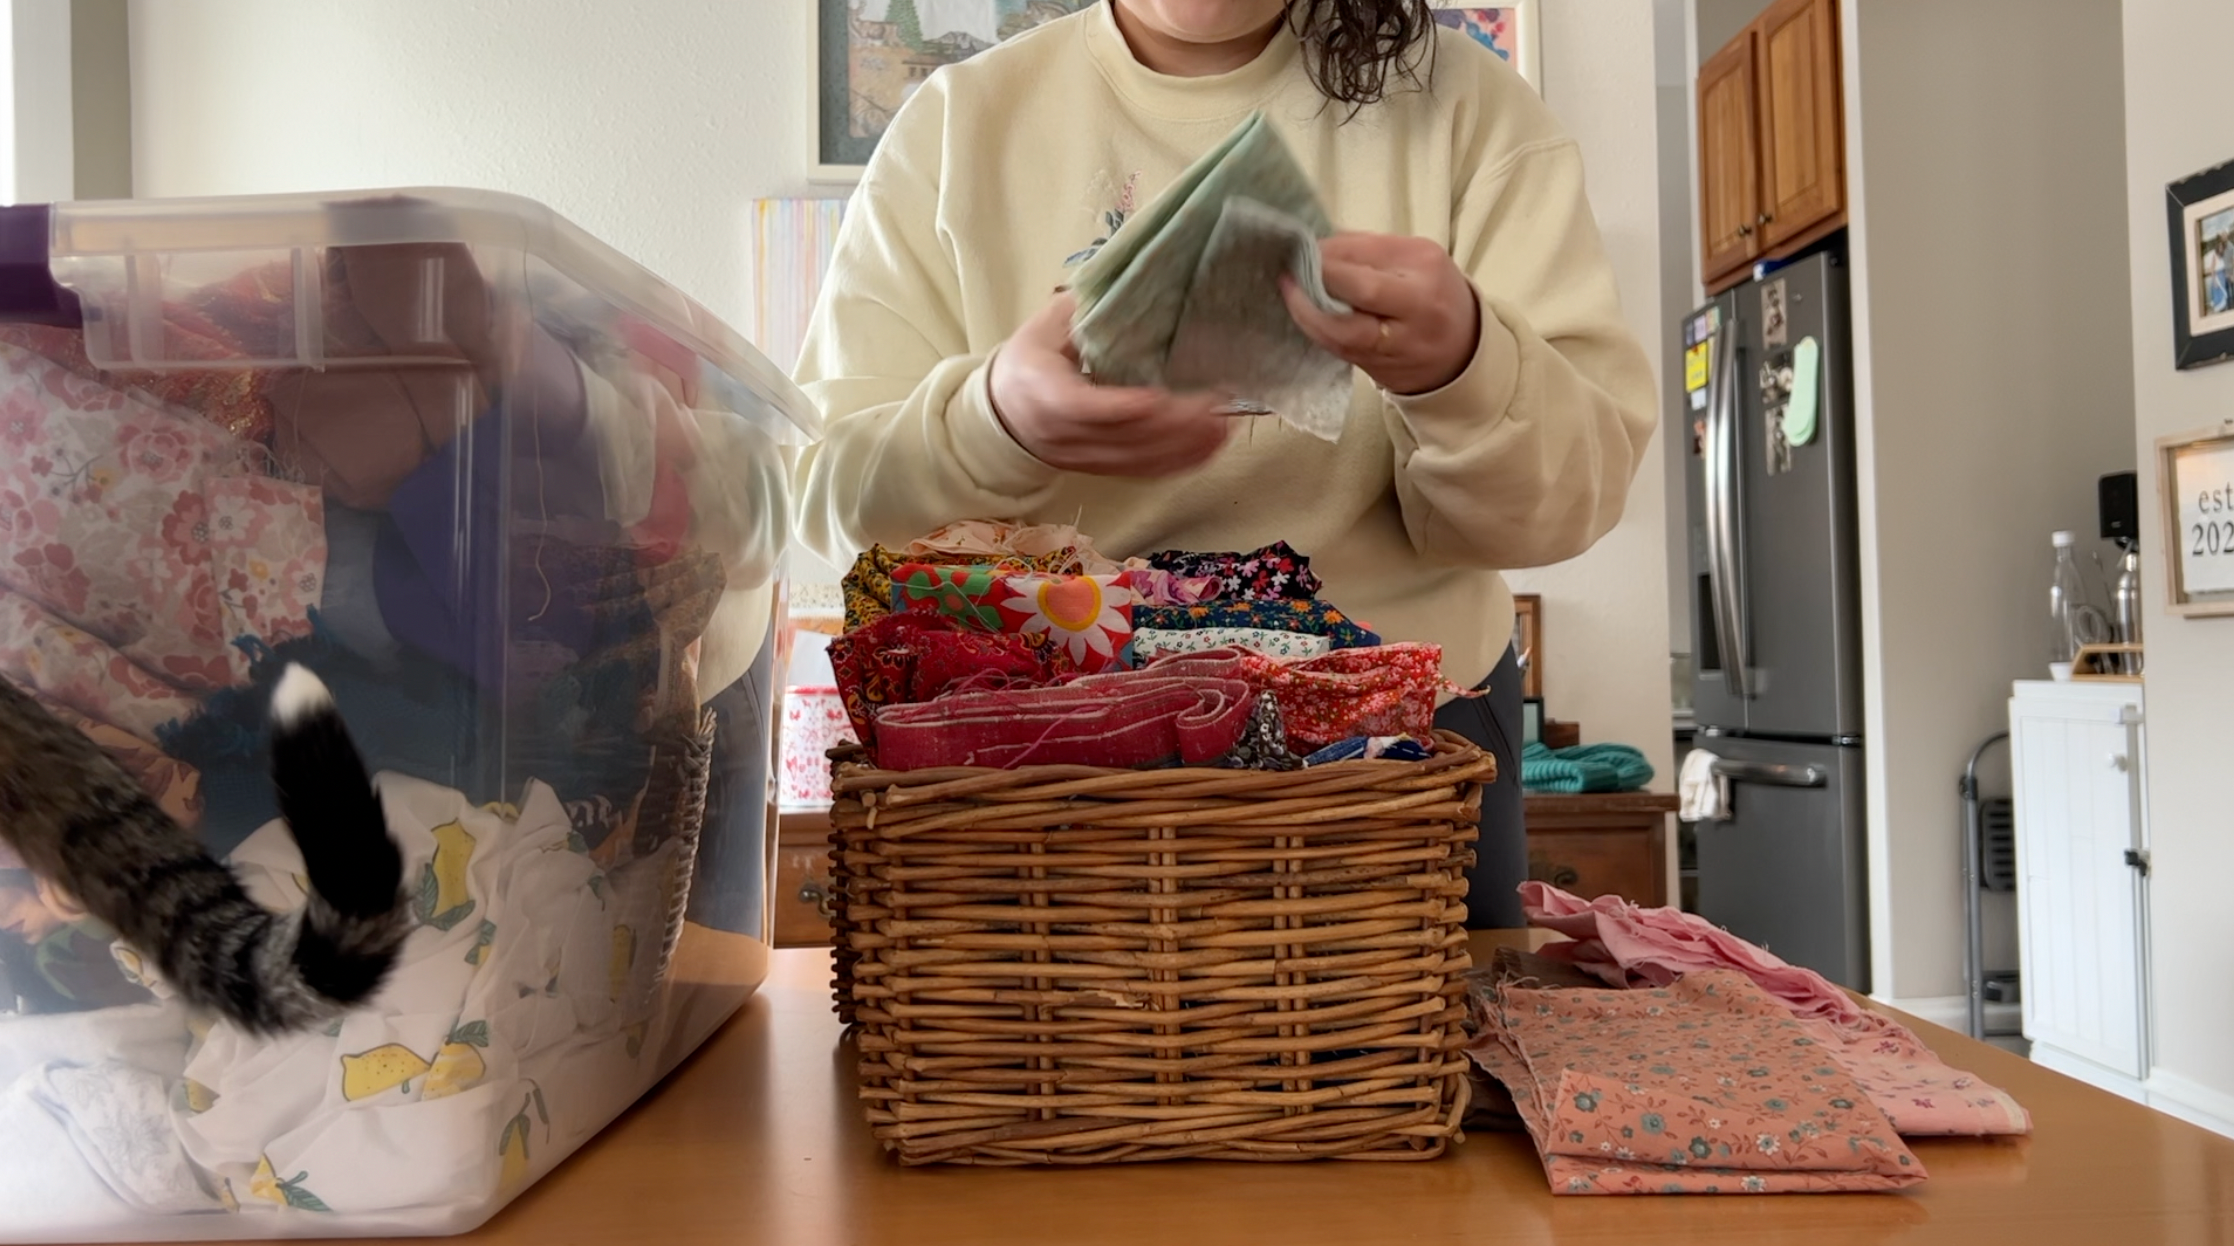
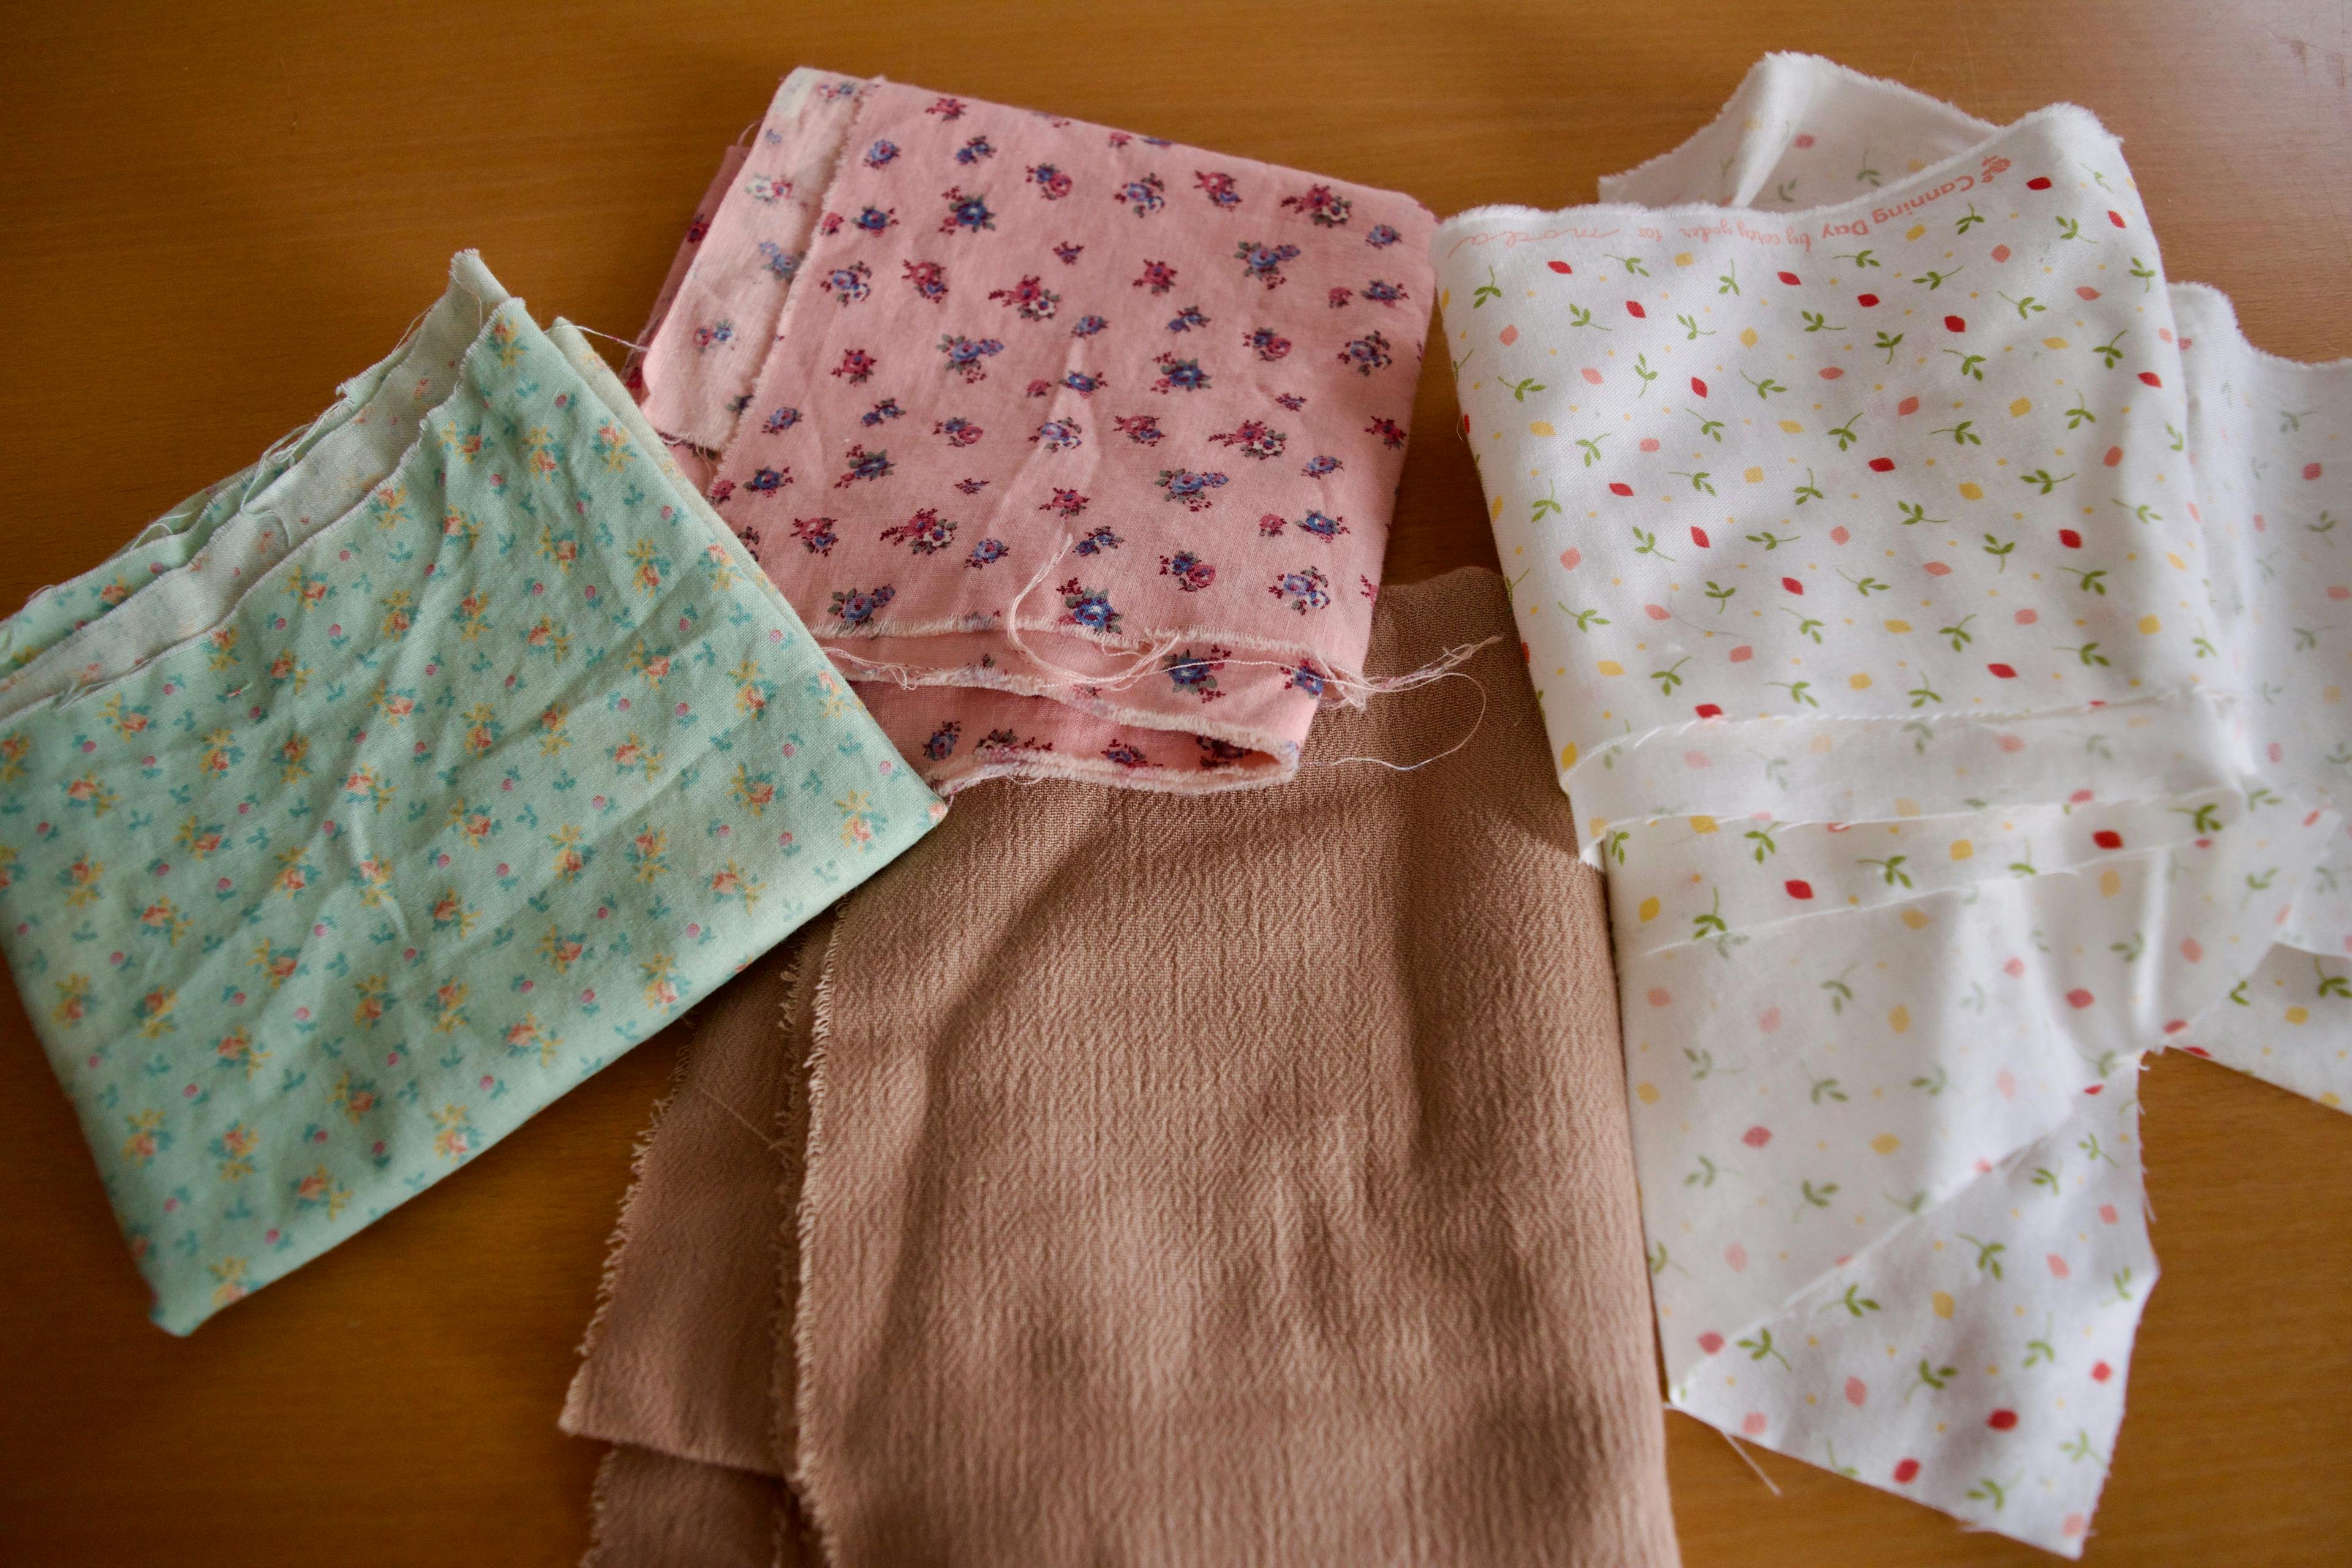
I started this project with the WHAT, specifically, picking the fabrics I was going to use. I planned on a triple scoop, so I needed a brown for the cone, and various colors for the scoops. I wanted to use at least one of these incredible vintage floral fabrics that my mom and I had just gotten, so I pulled those out first. I also grabbed a big bin of fabric that I thought maybe would have some good options. Then I grabbed some pink options from the florals, as well as some greens, and moved on to my big bin, pulling options in various textures and concepts. Depending on what I had, I thought I could go all solid, or all floral, or I could focus on textures.

I laid everything out to get a sense of what I had so I could make some final decisions. All told I had two concepts, one that was a floral Neapolitan/Spumoni vibe with pistachio, strawberry, and vanilla, and one that was more textural with fleece rainbow sherbet, rougher strawberry, and flannel vanilla.

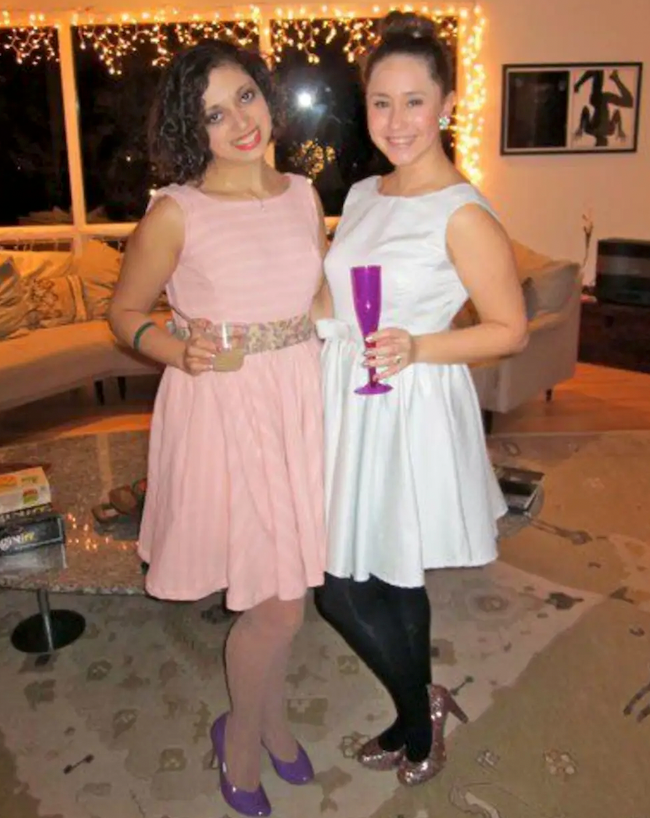
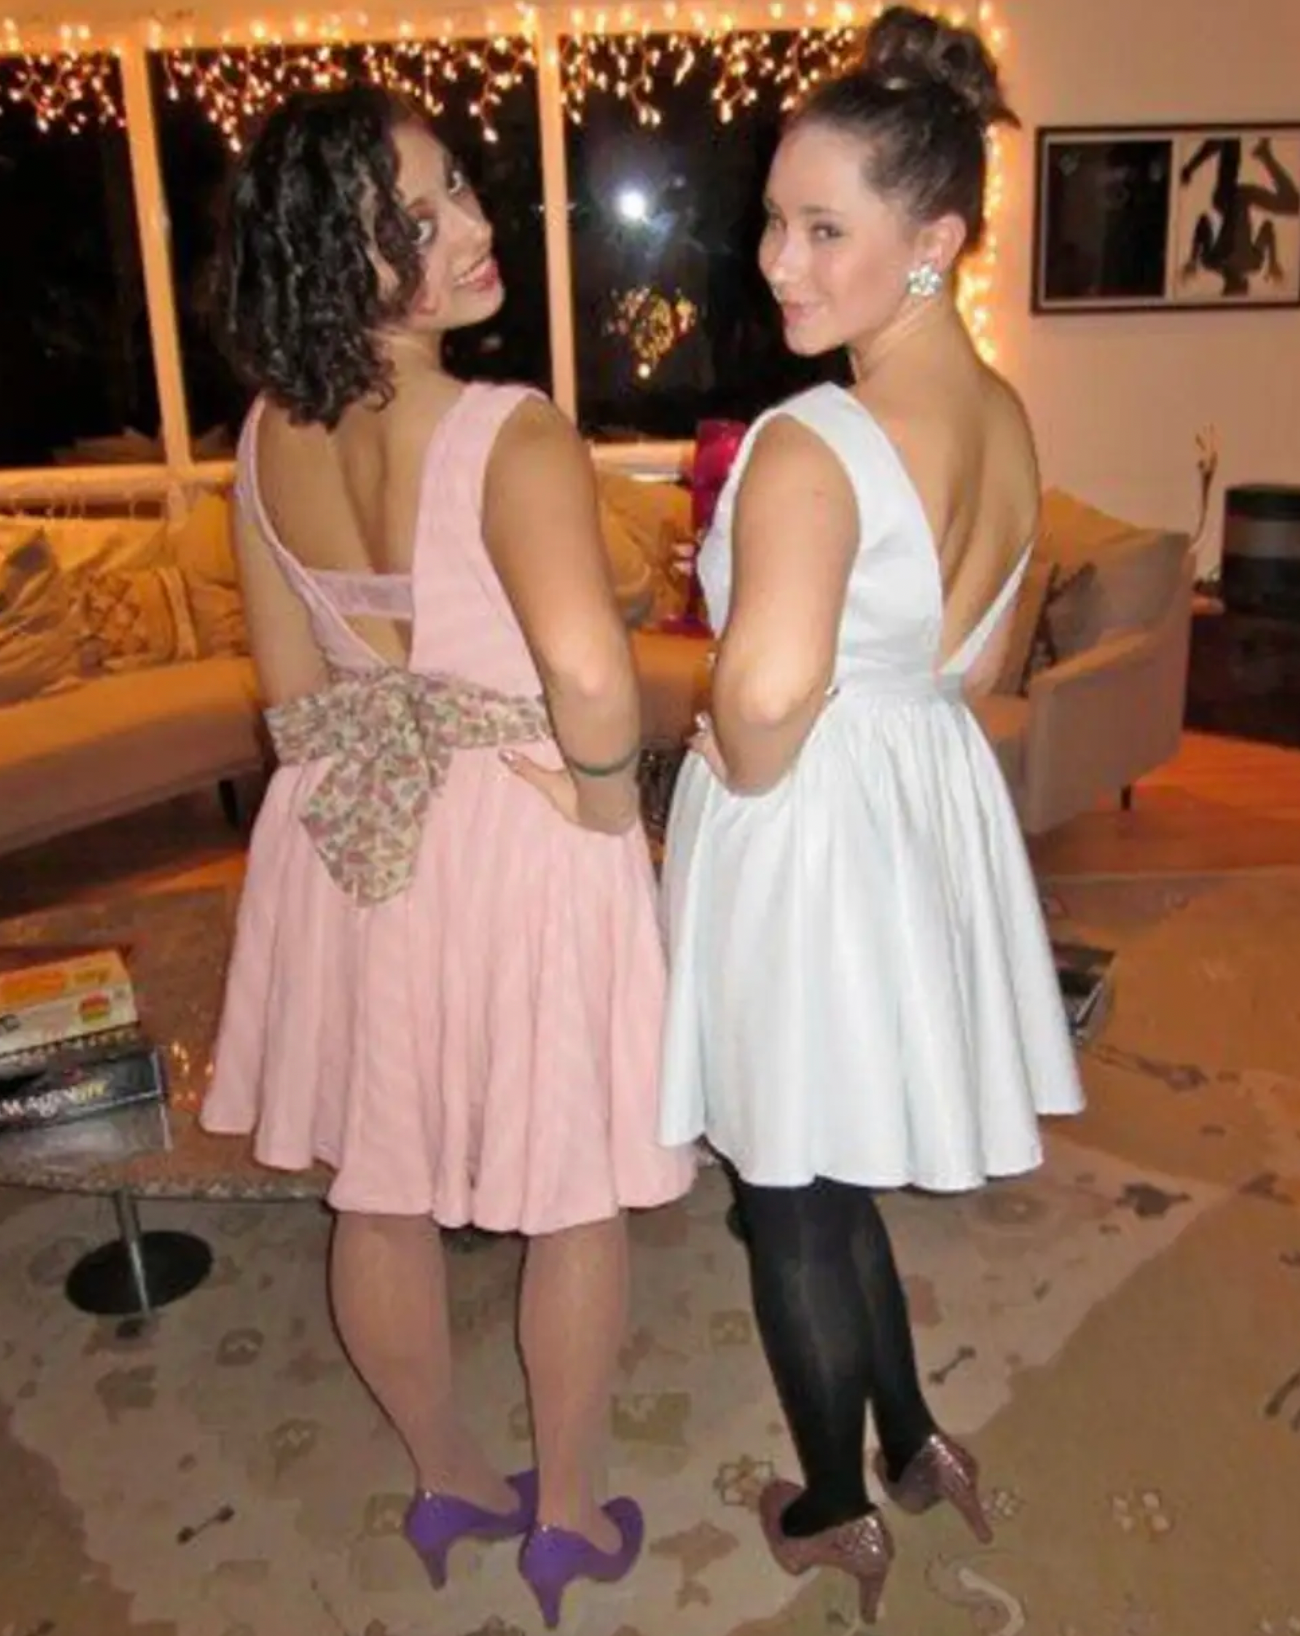
Side note - I thought the pink in the center would be fun to use because Lauren and I made dresses for her 21st birthday, and this pink was the fabric for my dress!
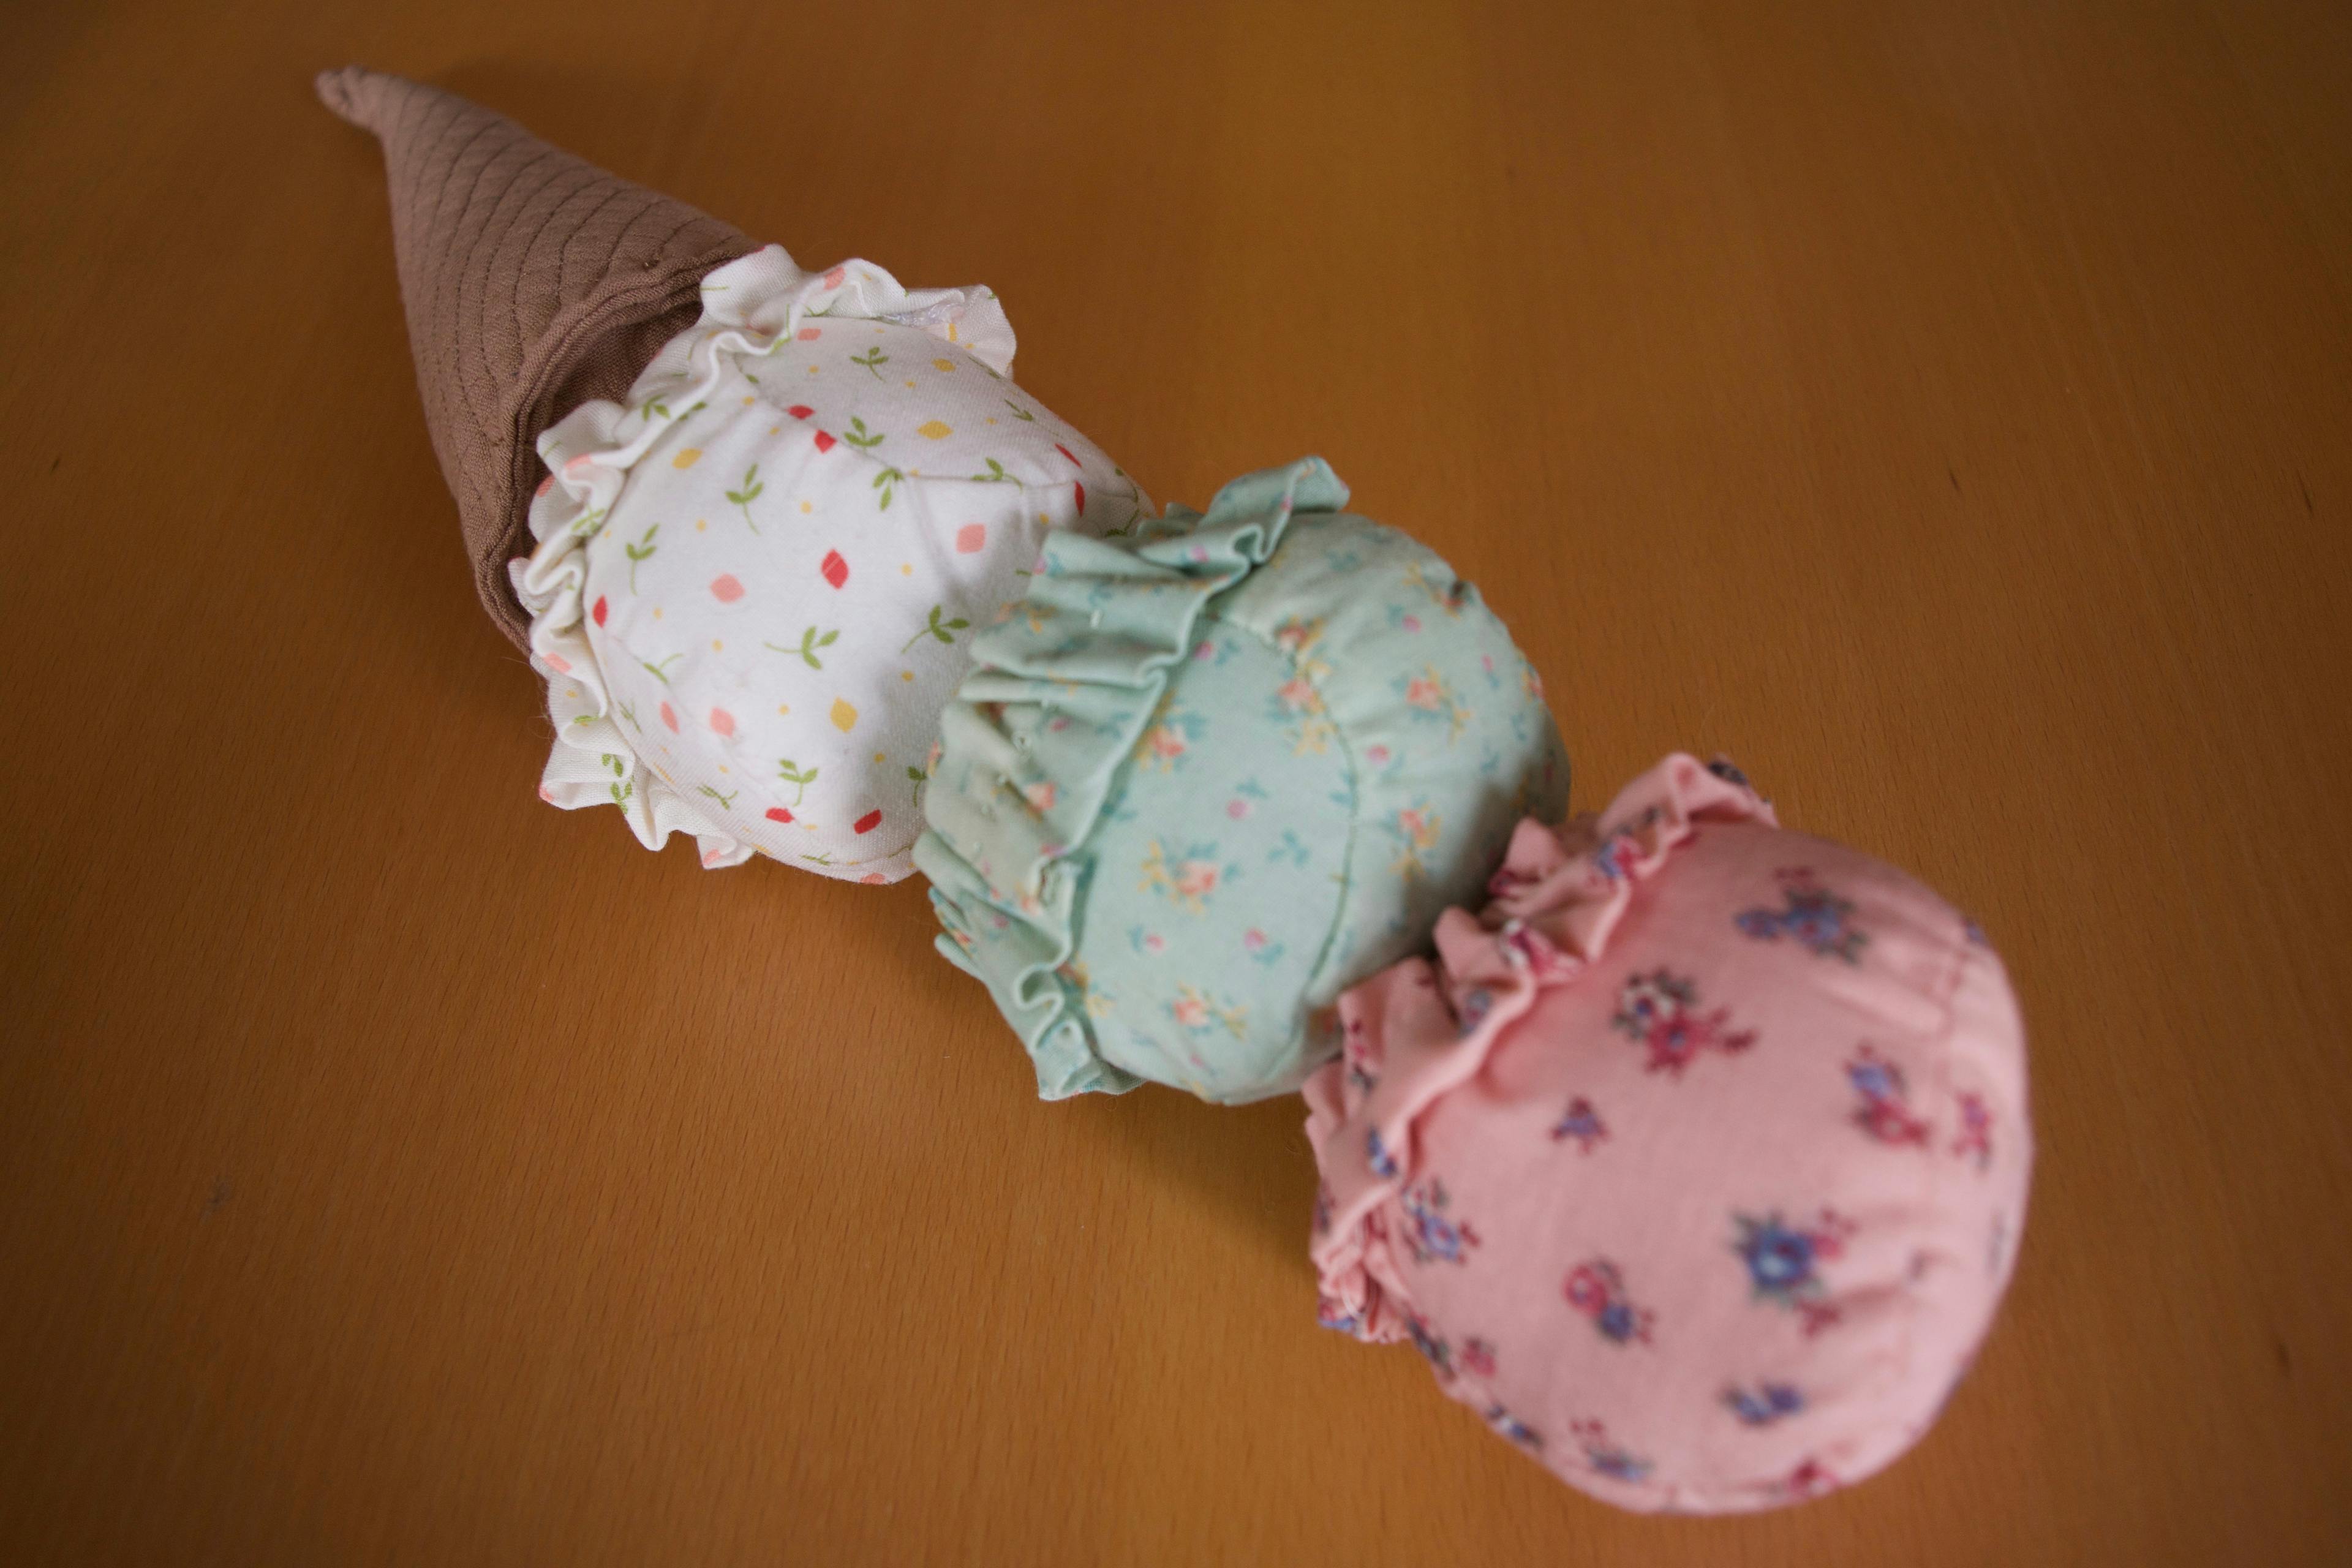
However, I decided to go with the delicate florals- this vintage green for the pistachio, vintage pink for the strawberry, and this white that I used for the back of my niece Nora’s butterfly quilt for the vanilla with sprinkles. And also this brown for the cone.
The How
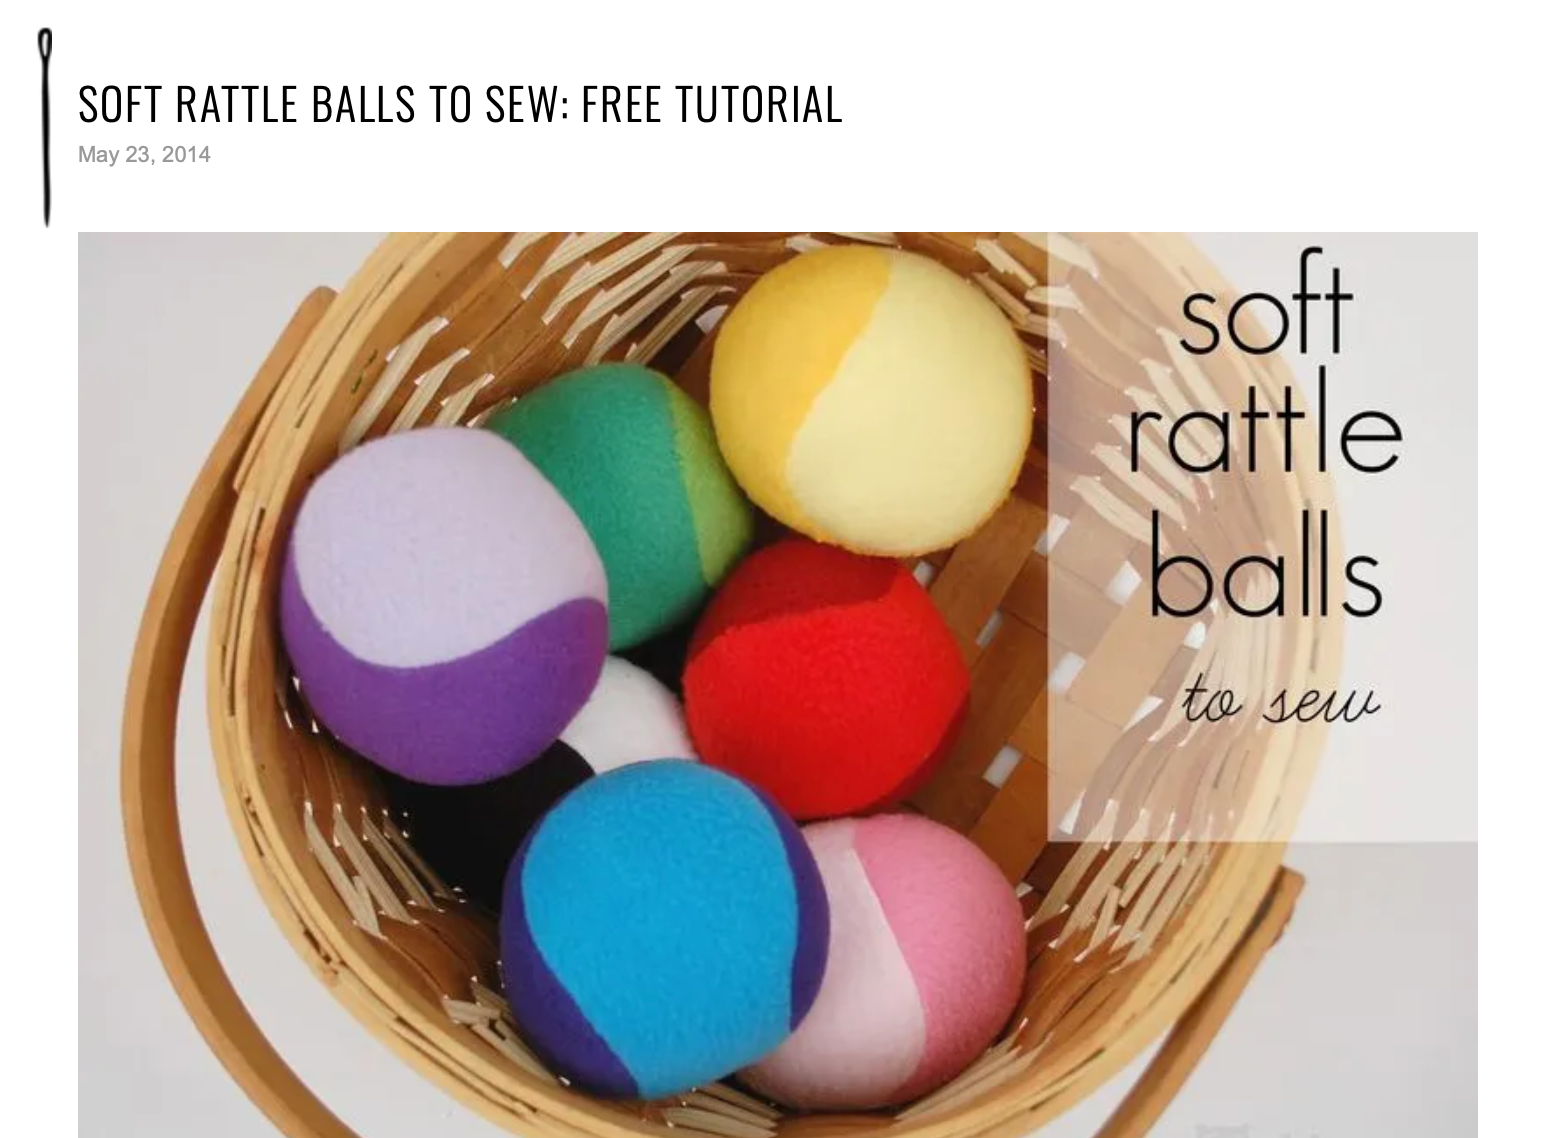
I have learned the hard way that when making something new, especially with special fabric, you must make a tester. I started by going to Pinterest to see all the different ways to make a fabric ball and decided to follow this tutorial by Abby of While She Naps which showed how to make what was basically a fabric baseball. Abby added a rattle, but I planned on adding magnets so that the scoops of ice cream could stand on one another.
So I cut out two pieces of scrap fabric into the paddle shape Abby shared and then started pinning them together. The first time I did it incorrectly, pinning one right side to one wrong side, but the second time I was successful at pinning the right sides together. I took it to my machine to sew the two pieces together.
I had left a small opening so that I was able to turn the right side out, and after doing so I had a deflated but pretty cute baseball. I stuffed it with fiberfill and stitched the opening closed and the tester was complete!
Making The Scoops
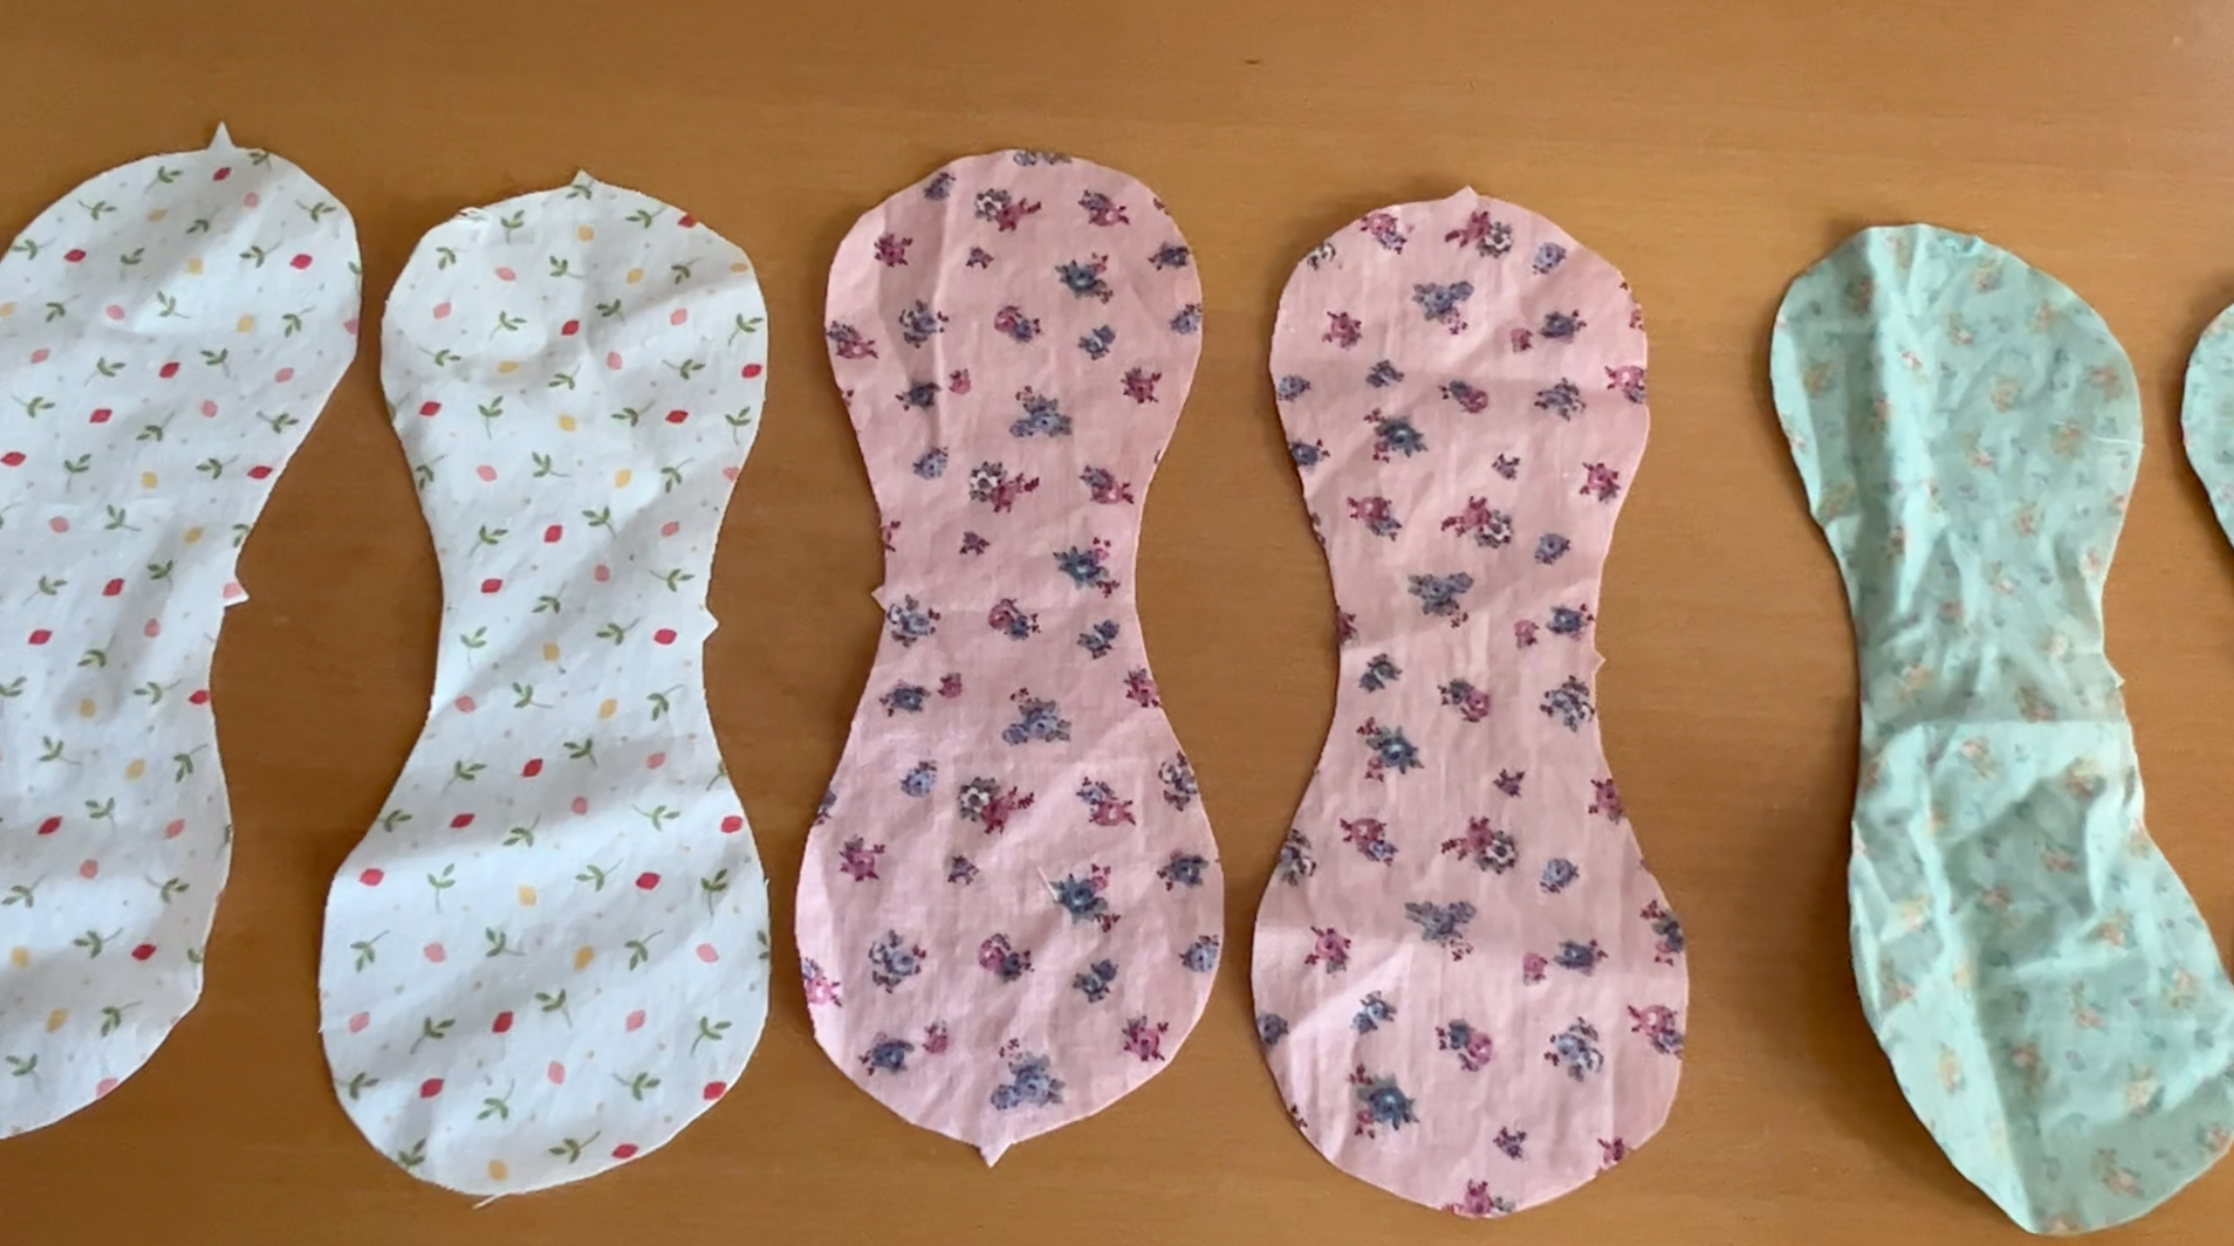
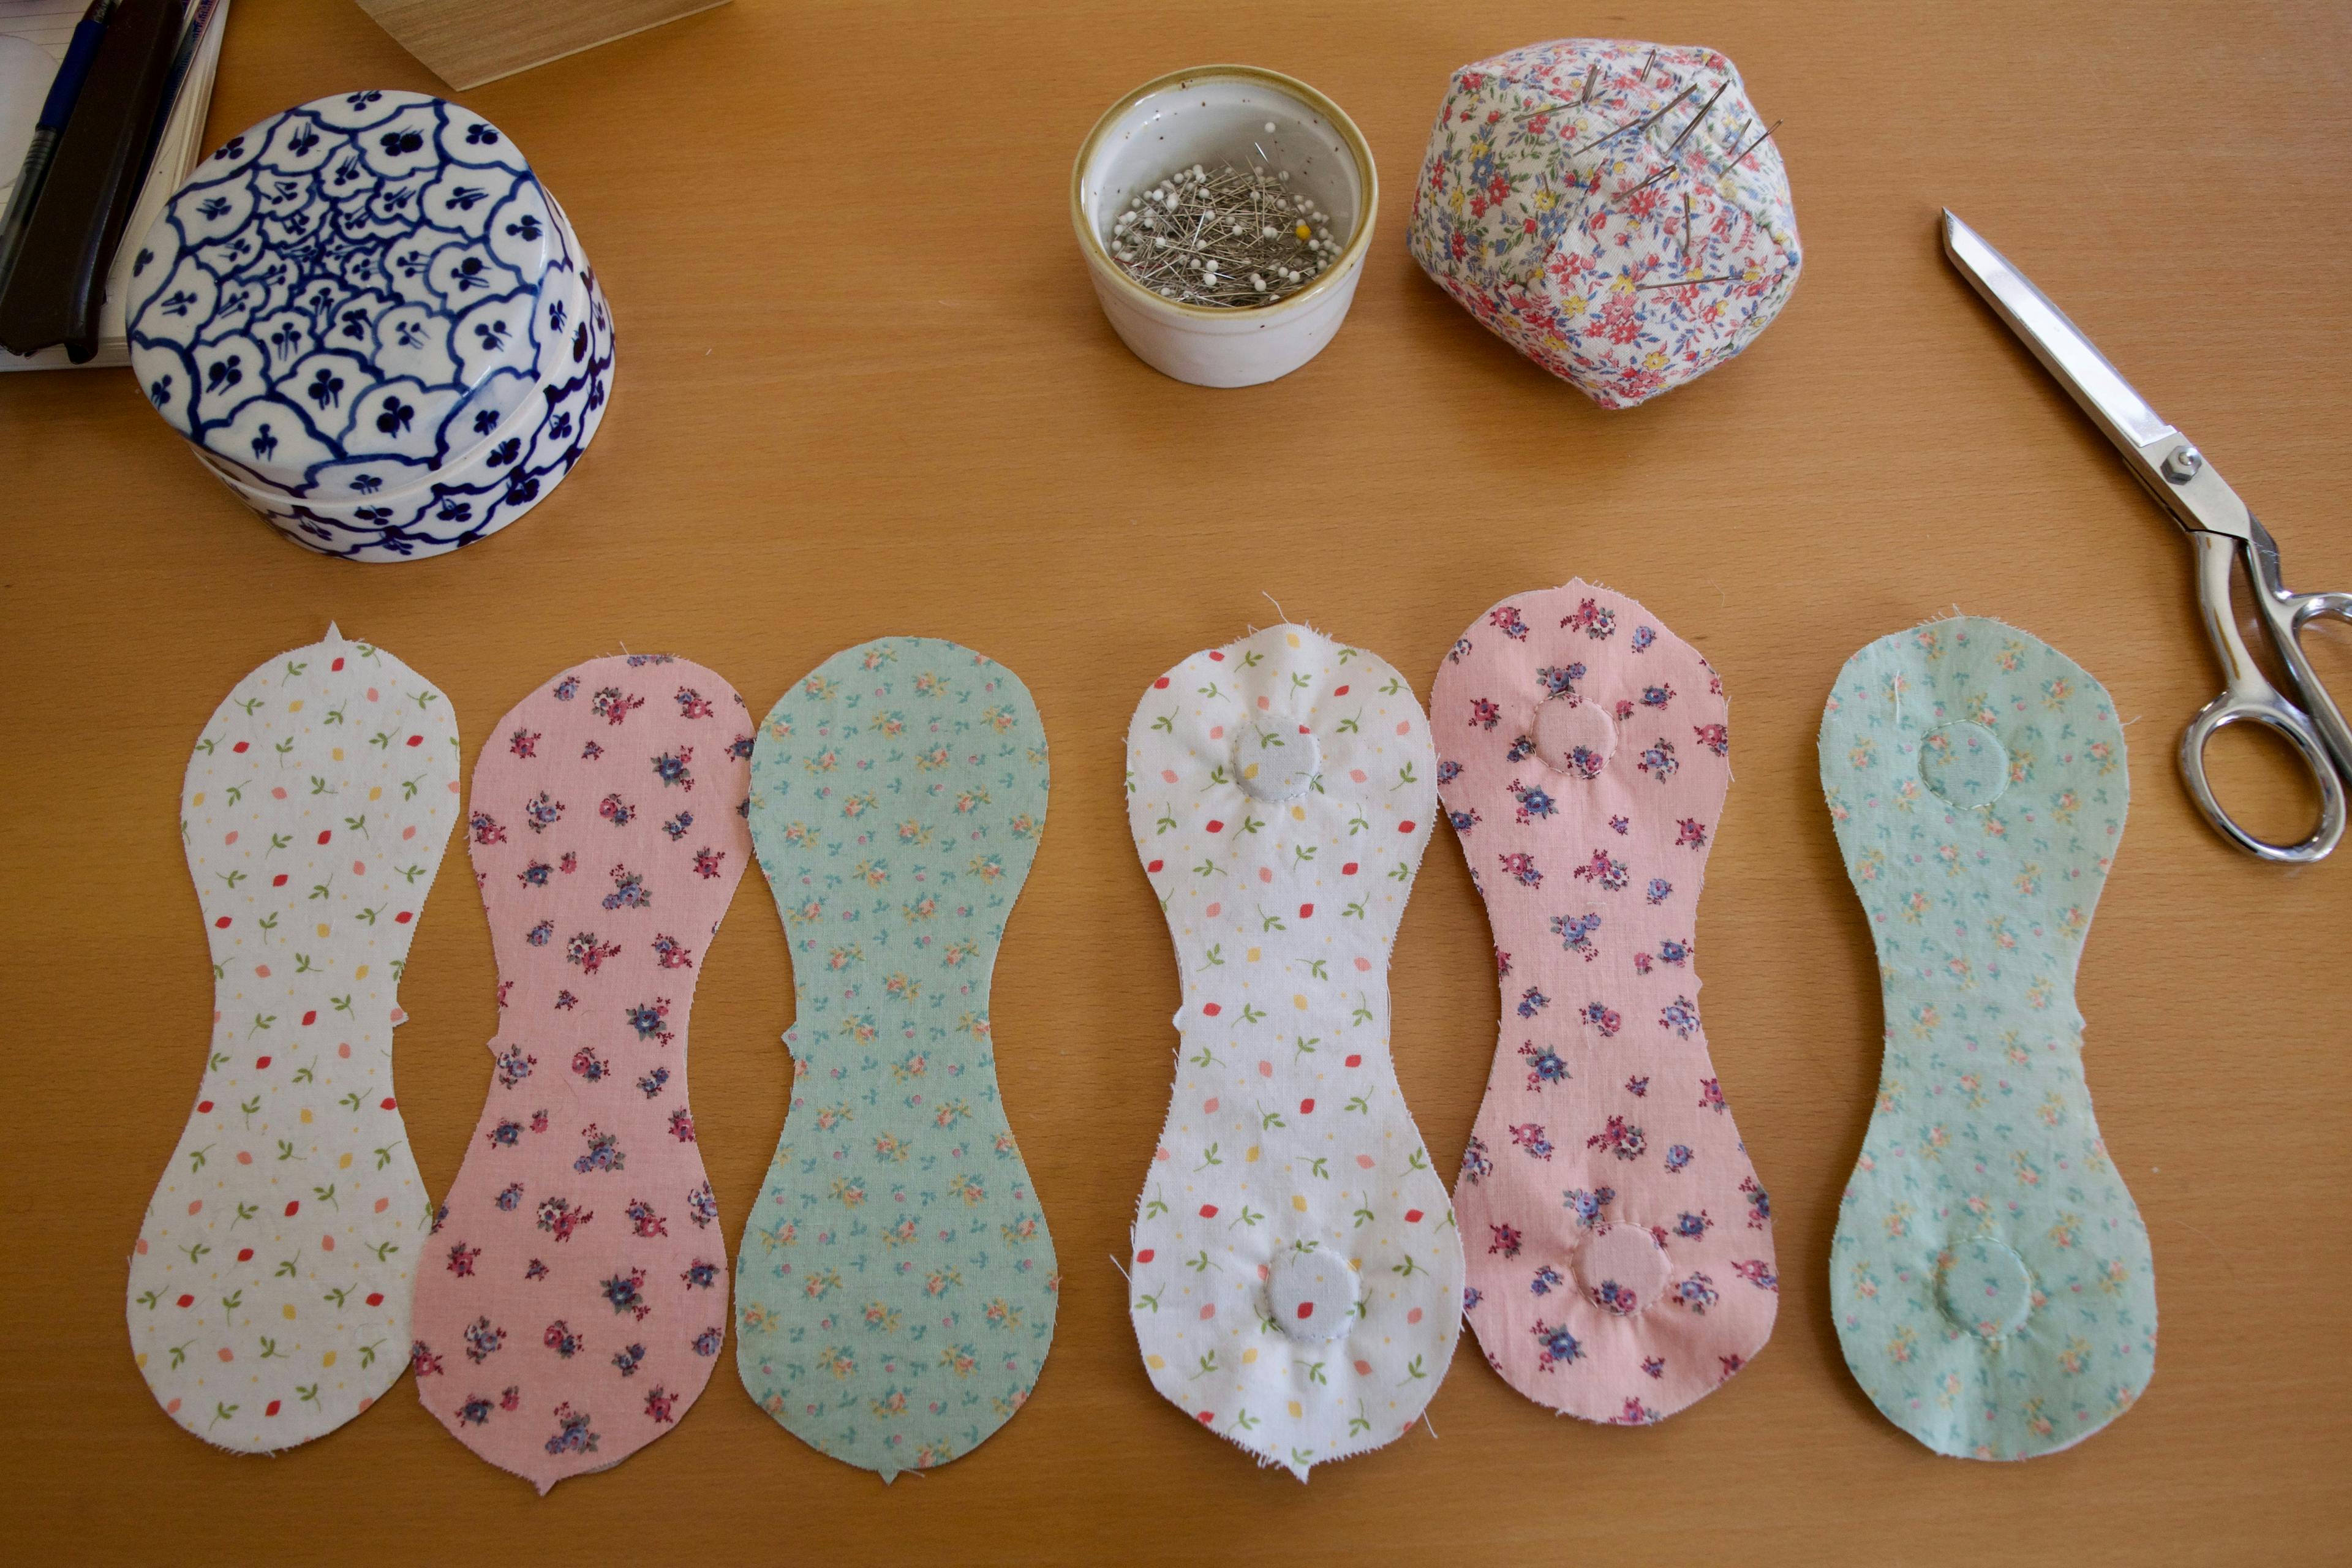
I learned three things from making the tester. One, it was the right size. Yay! Two, I needed to use more pins so that the fabric doesn't shift while stitching. And three, I learned that, when it came time to do the magnets, I could attach them both to the same paddle and it would stack up just how I wanted. I gave the tester to Pete to play with and cut out two paddles of each fabric.
Sewing the Base
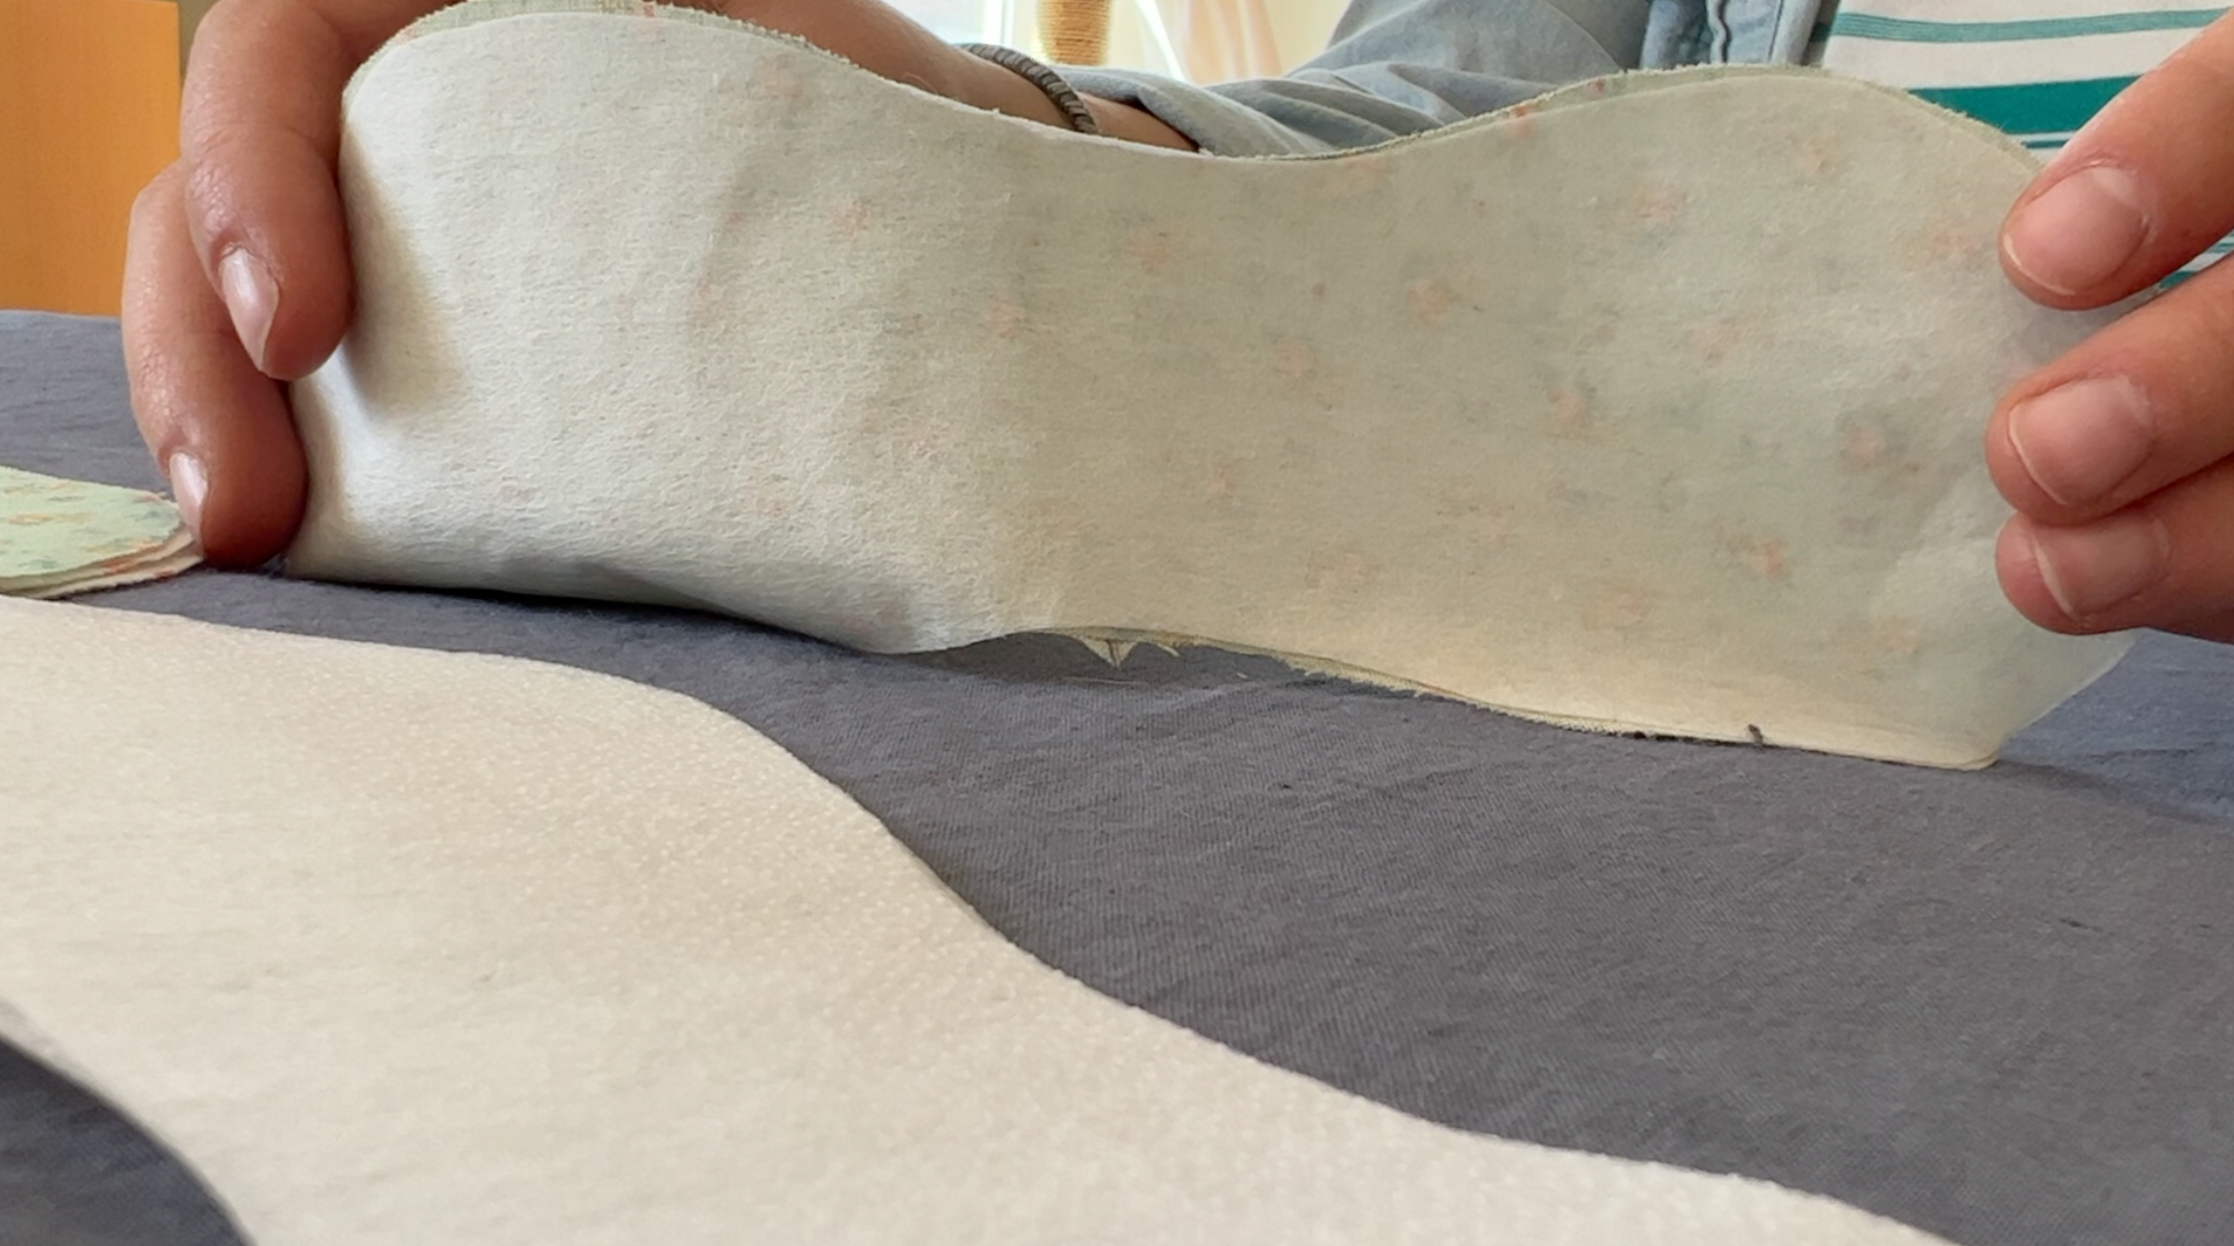
After cutting out the fabrics, I realized that they were a little flimsy so I decided to add interfacing to them. This was a bit difficult to do since it's better to interface before cutting out the pattern pieces for any project, but I just cut the interfacing a tiny bit smaller than the fabric so that it wouldn't stick out anywhere, and it ended up working out just fine.
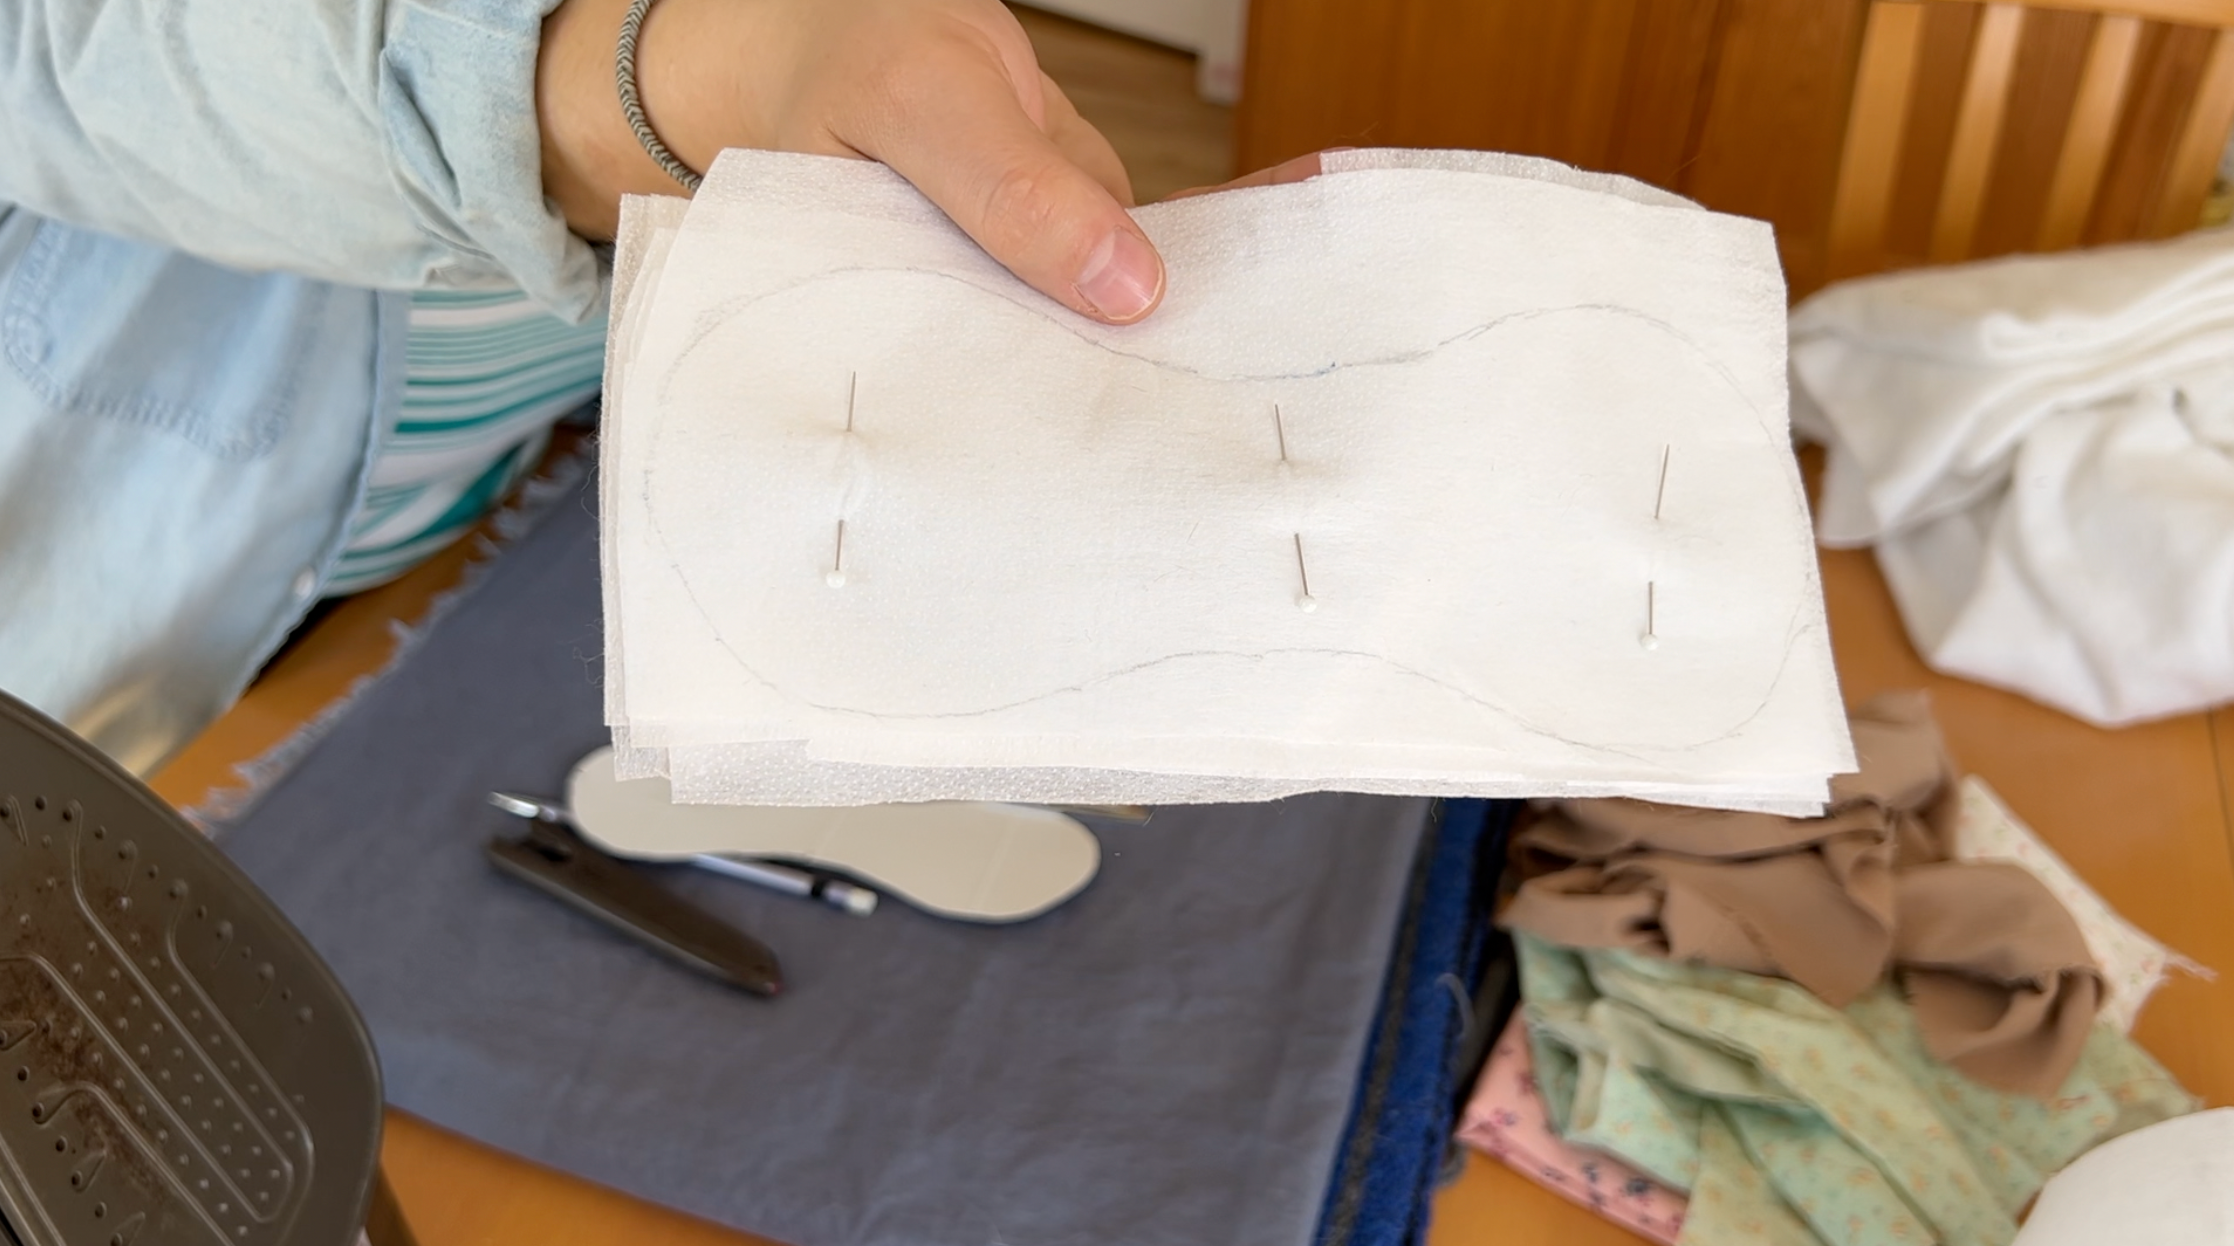
To attach the interfacing, I placed the fabric down wrong side up and then made sure to put the interfacing with the rougher side down. The rough side is the gluey side, which needs to be touching the fabric. Then I put down my press cloth to protect my iron from any mistakes and ironed with long holds, making sure the glue really melted and adhered to the fabric. I flipped it over, pressed it on the other side, and it was ready to go.
Adding the Magnets

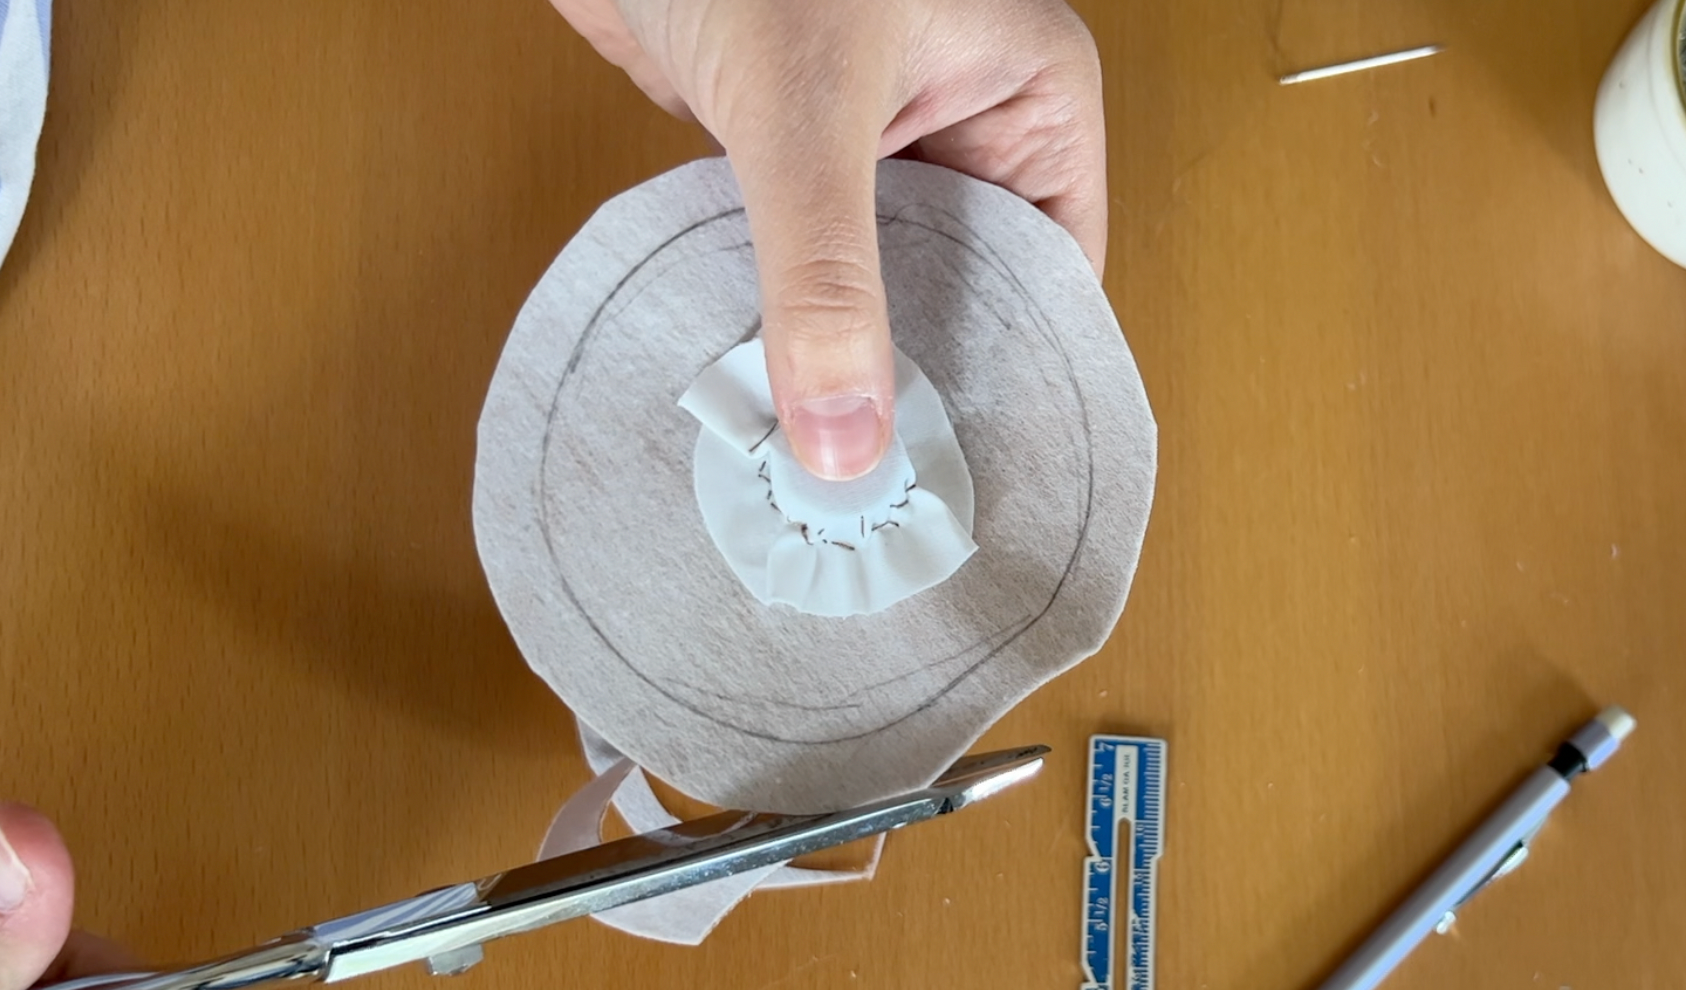
I thought I was going to buy magnets, but my mom actually had a selection of super-strong magnets that she graciously donated to the project! I thought about gluing the magnets in place but realized that the glue would create a barrier between the magnets that would lessen their strength, so I decided I would make little fabric pockets and sew them in instead.
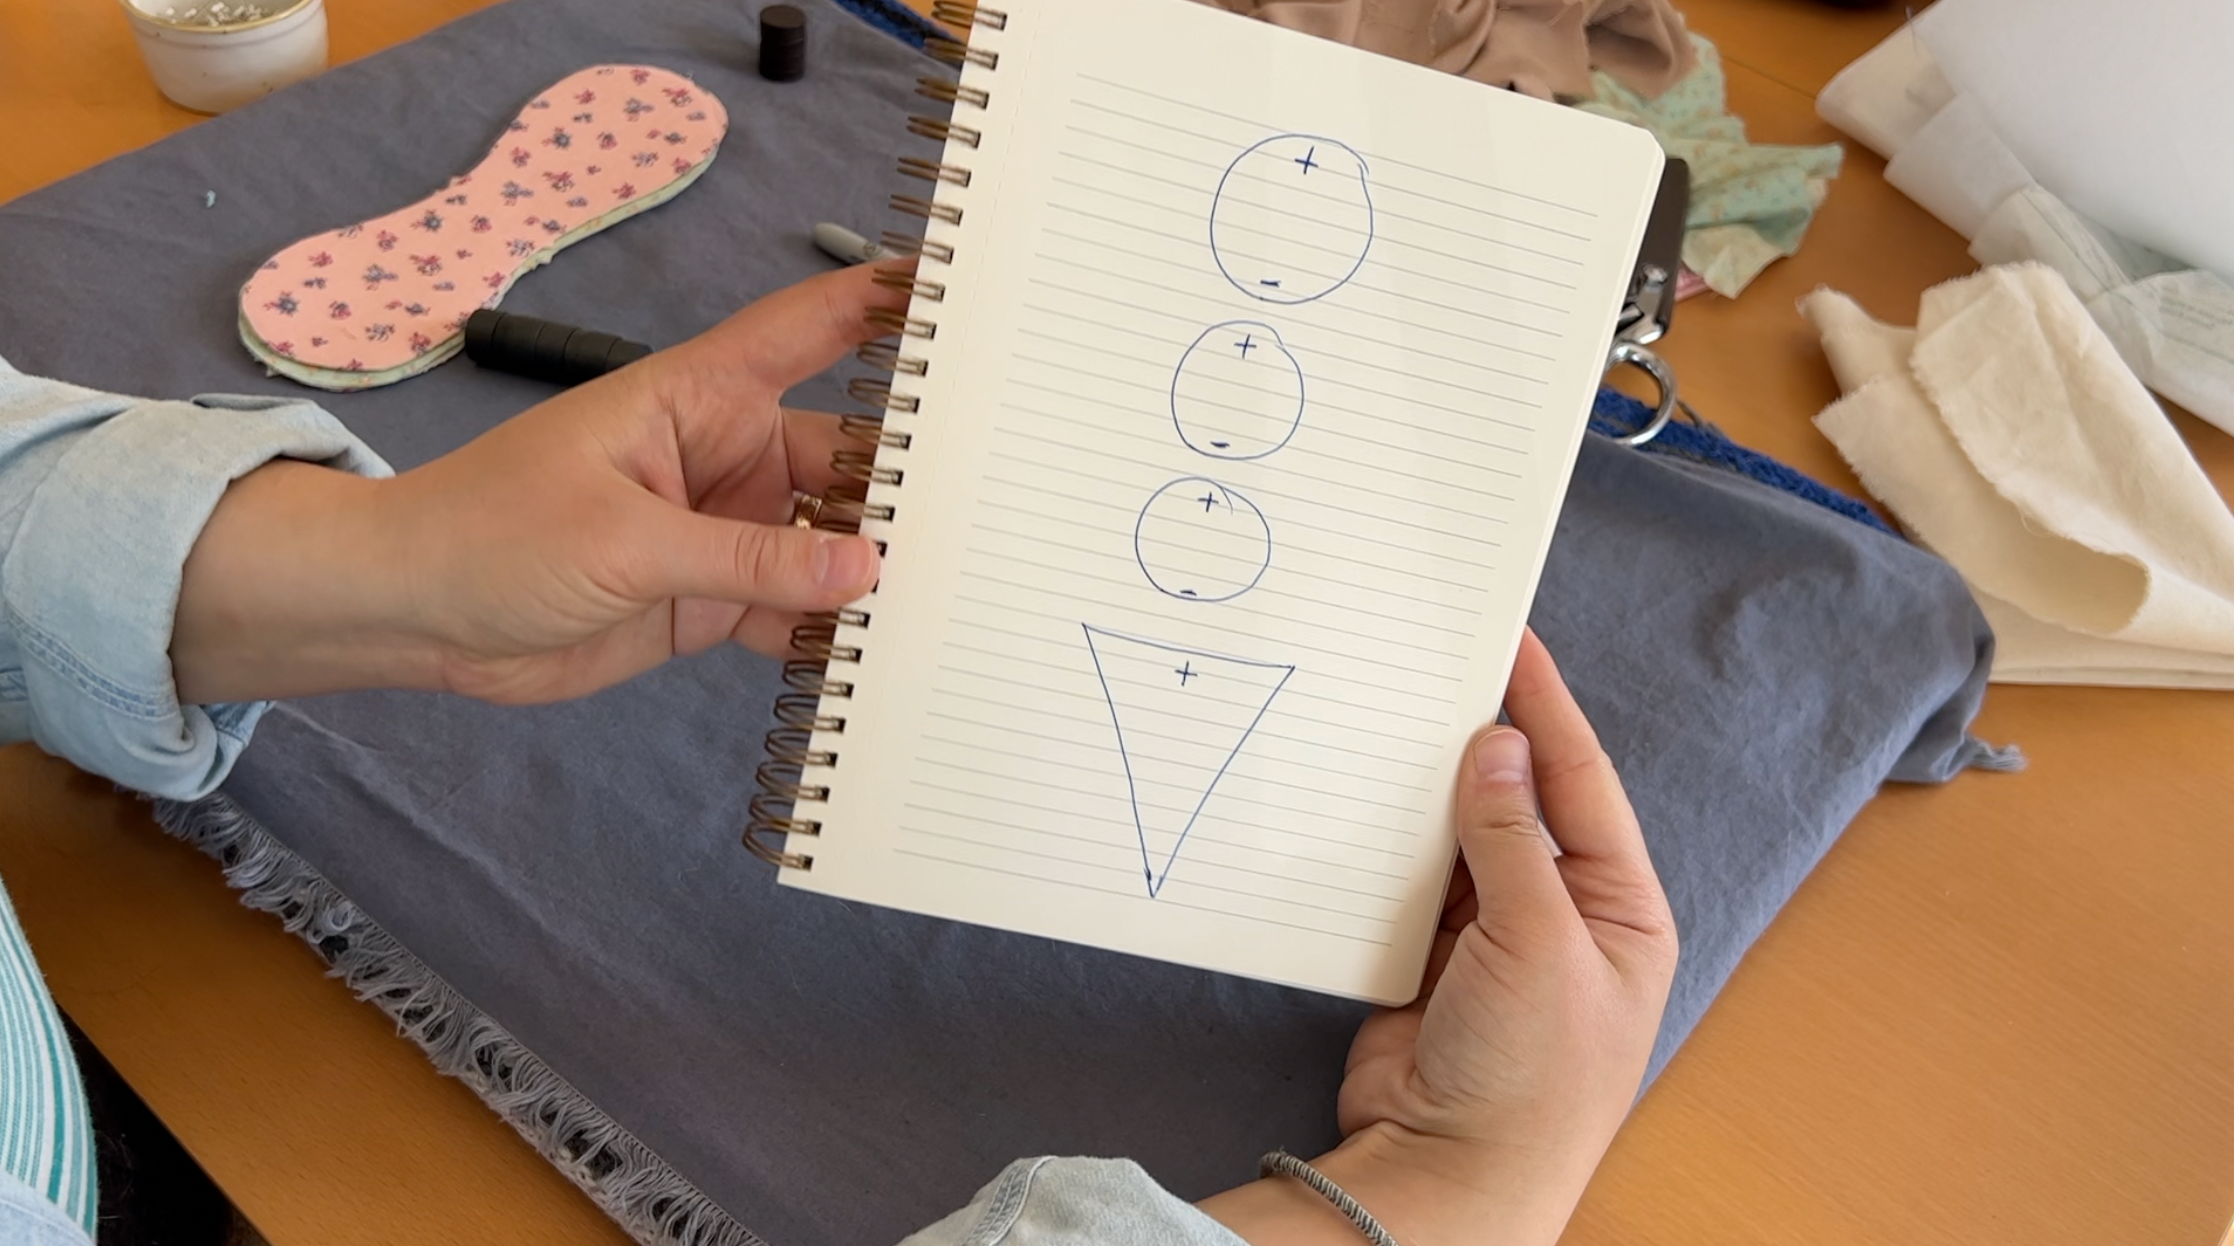
I wanted to make sure that I put the magnets in correctly so that they would be facing the right direction, so I marked each one with a gold sharpie on one side and made myself a potentially unnecessary diagram. After making sure that the magnets would cling to each other through the fabric, I began putting the magnets in place.
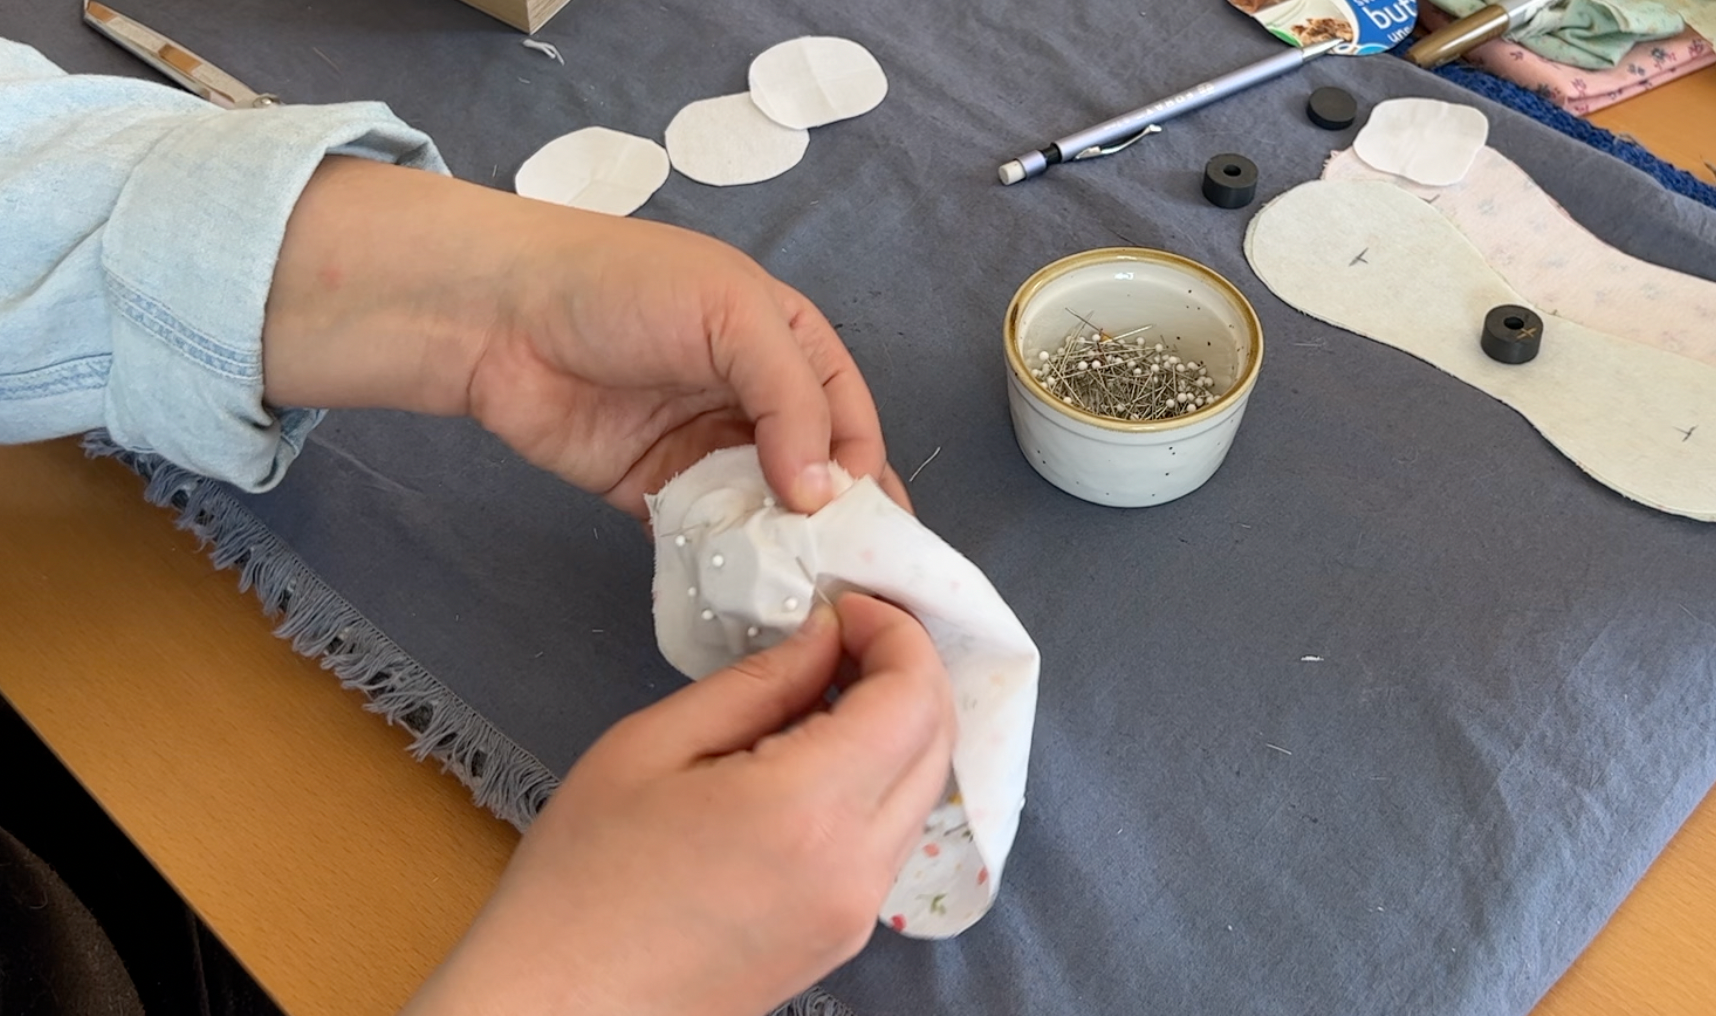
I measured to the center of each paddle and pinned down little circles of interfaced scrap fabric to make a little pocket for each magnet. I tried using the sewing machine to stitch the pockets down, but it didn't work for a myriad of reasons. First, I couldn’t stitch close enough to the magnet, and I realized that therefore the magnet would be able to shift inside the little pocket which was no good. Also, the magnet was clinging to the metal plate on the sewing machine, so I couldn’t easily move the fabric around, AND FINALLY, the white circles were simply too small.
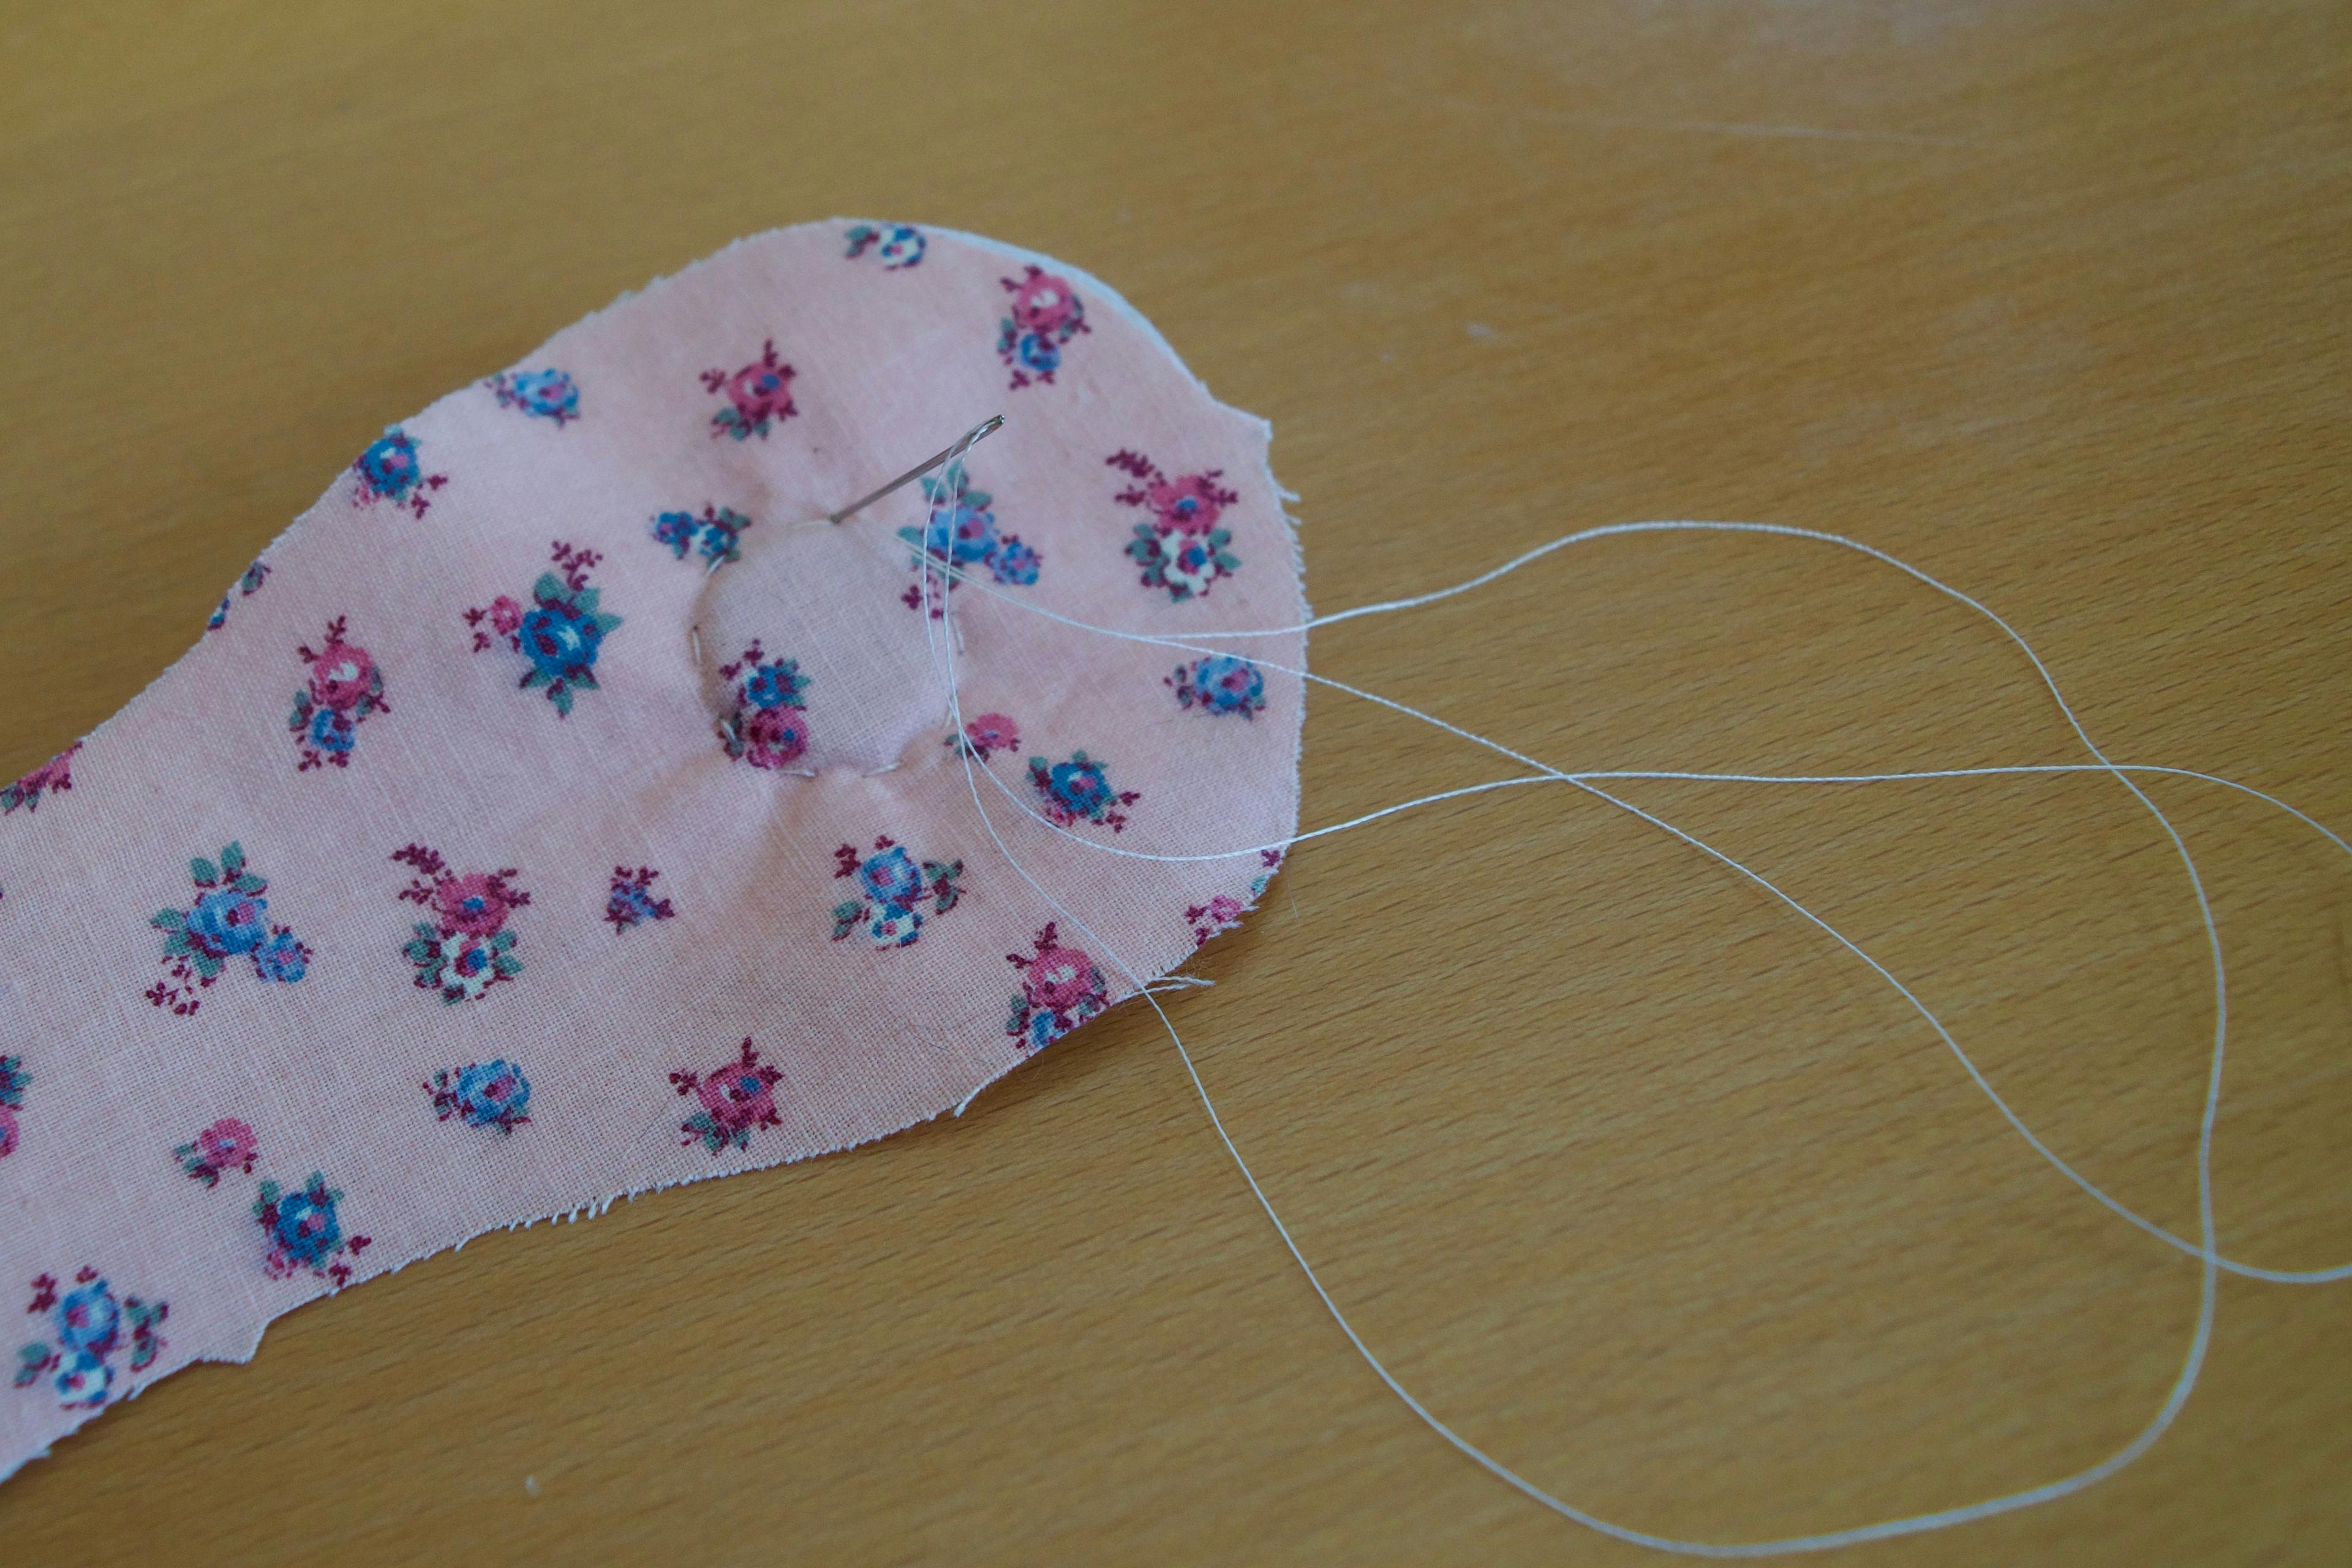
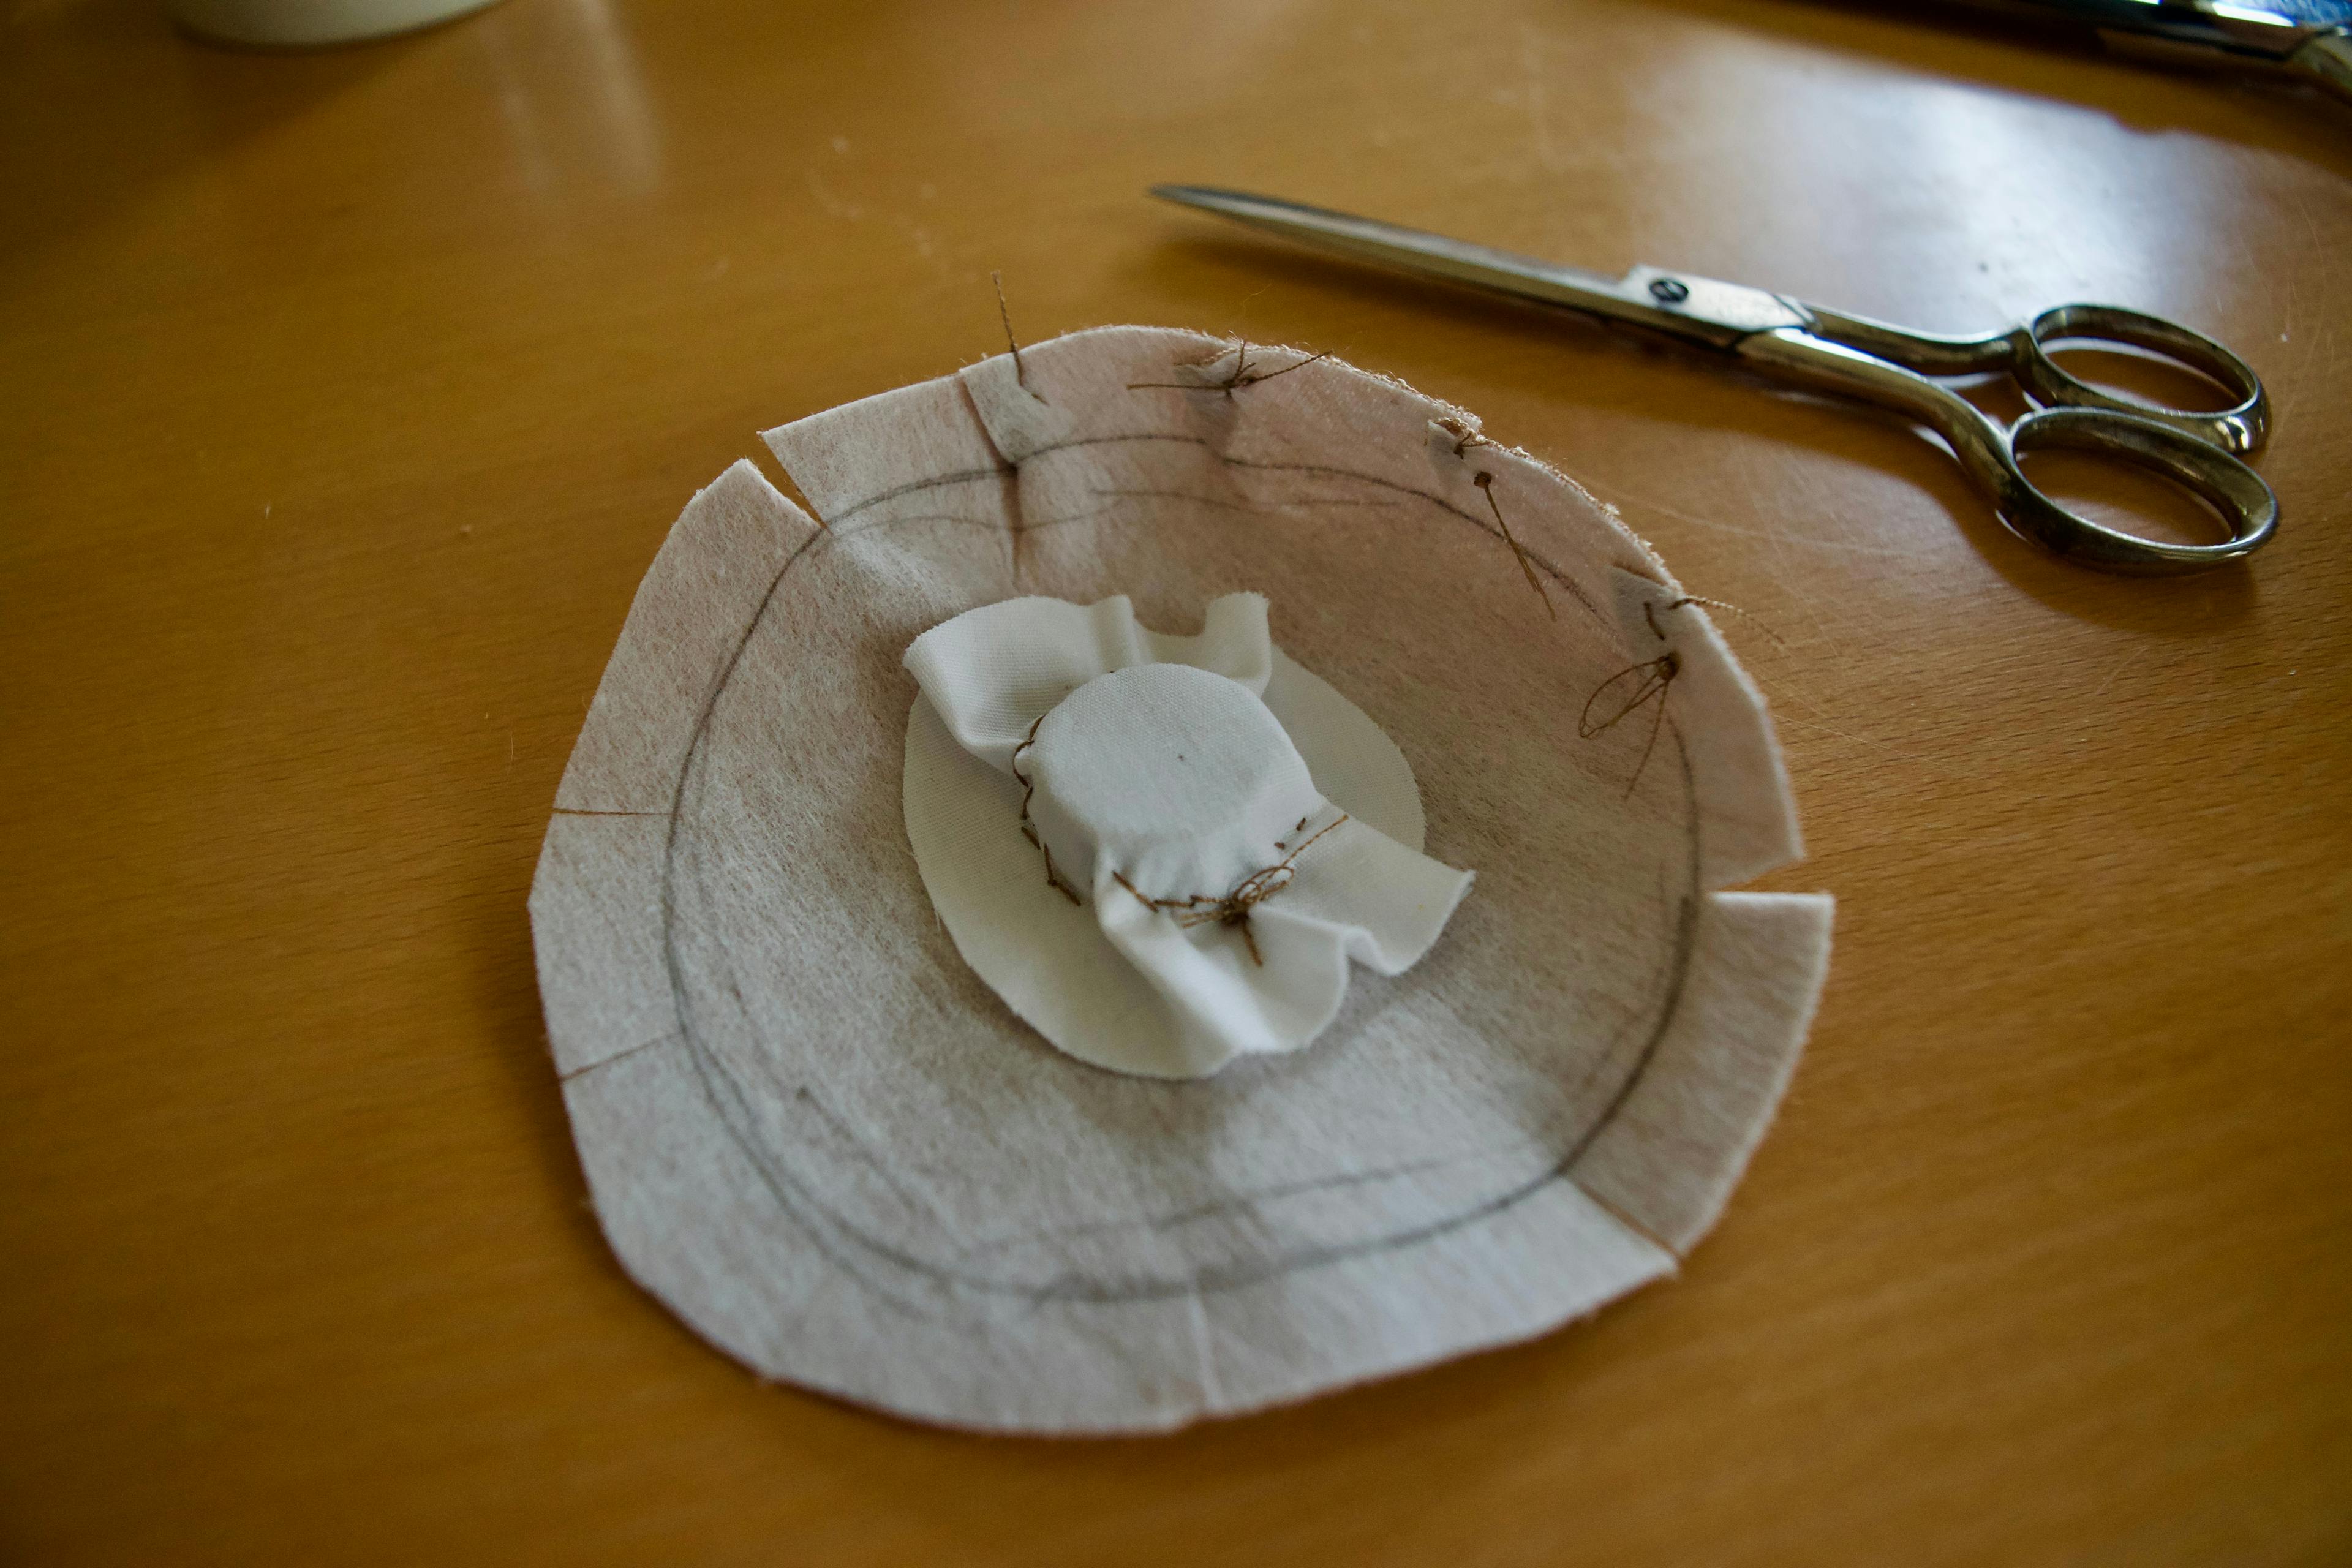
So I resigned myself to hand-stitching the magnets in place, which was pretty straightforward once I made a bigger set of circles for the pockets.
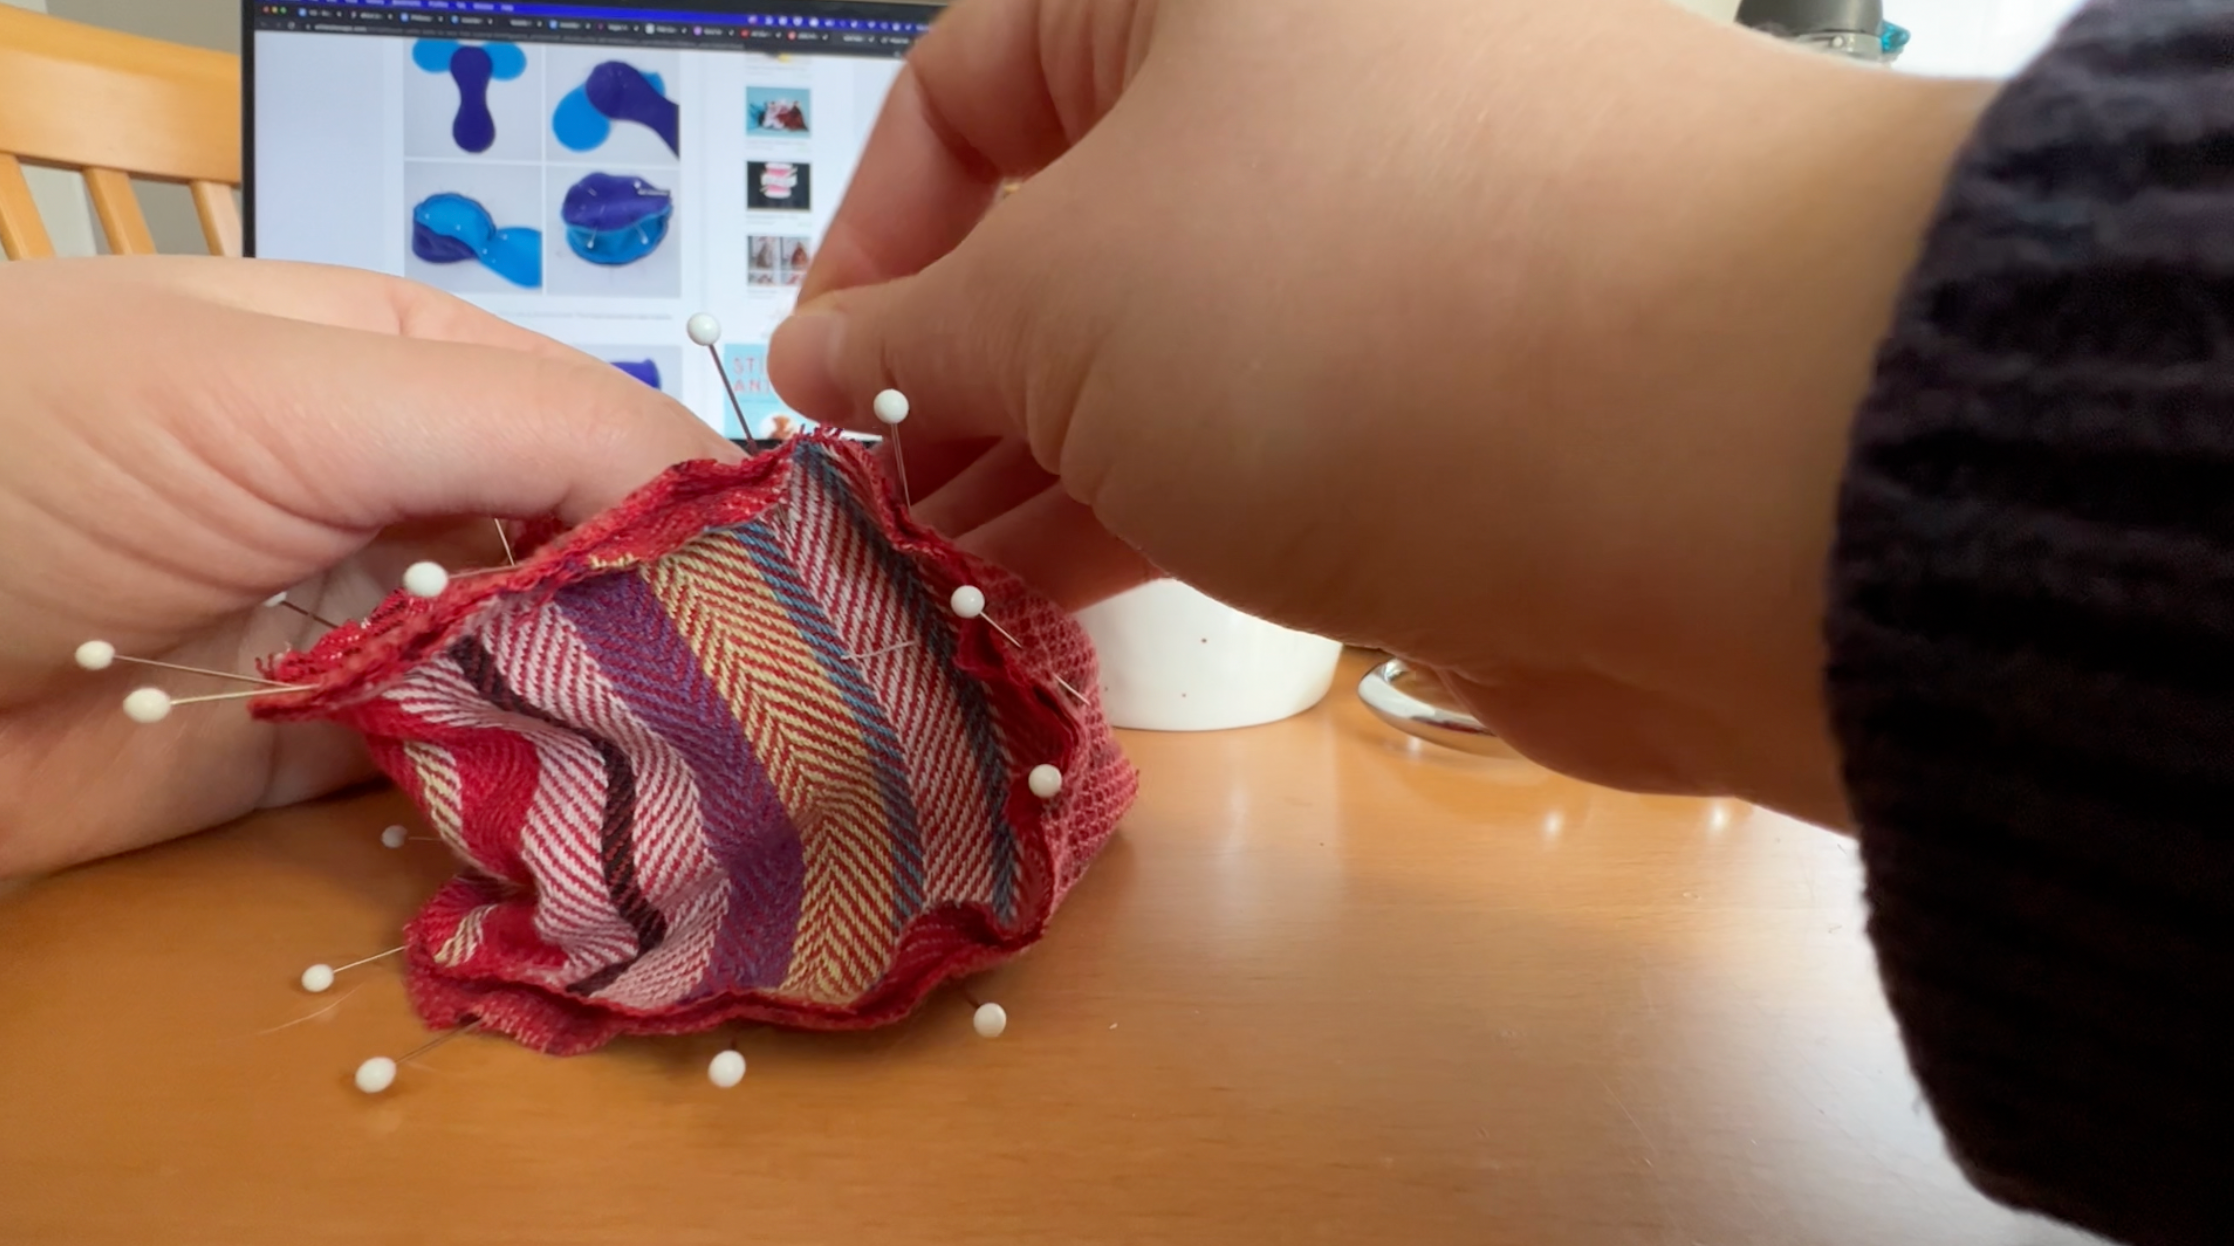
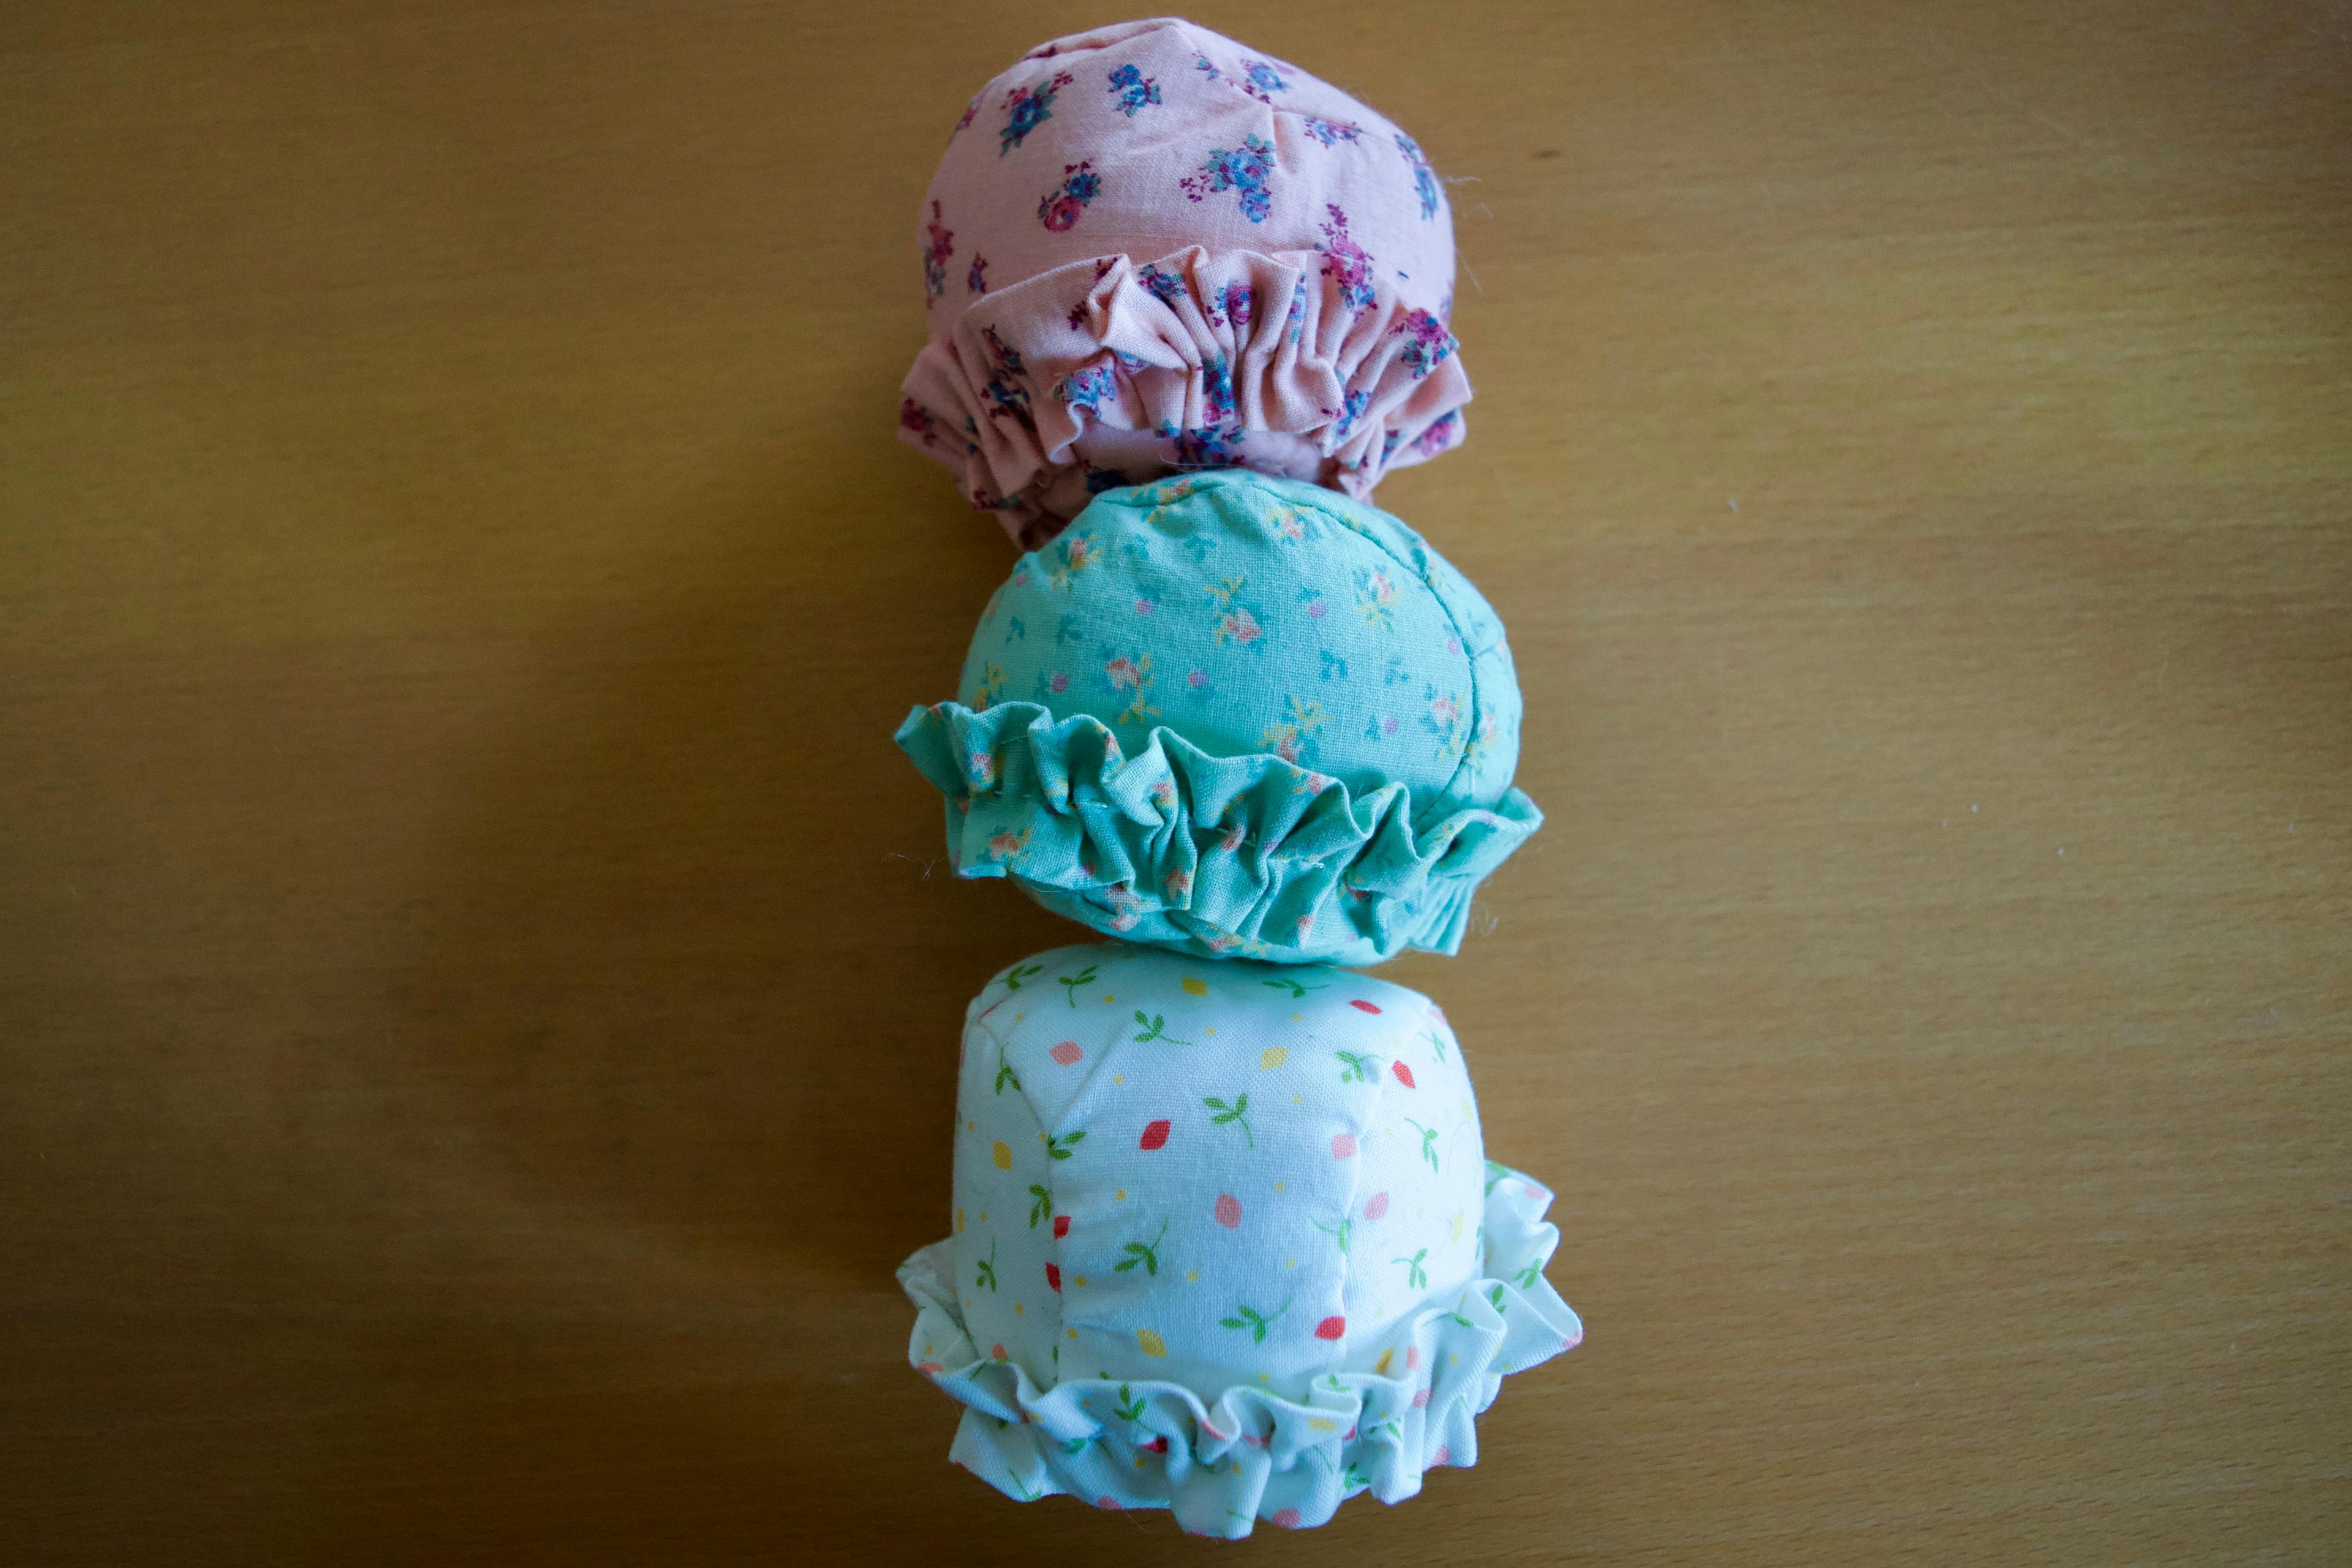
After attaching all 6 magnets, I pinned the baseball shapes together with literally all my pins until they looked like sea urchins, and sewed the seam together.
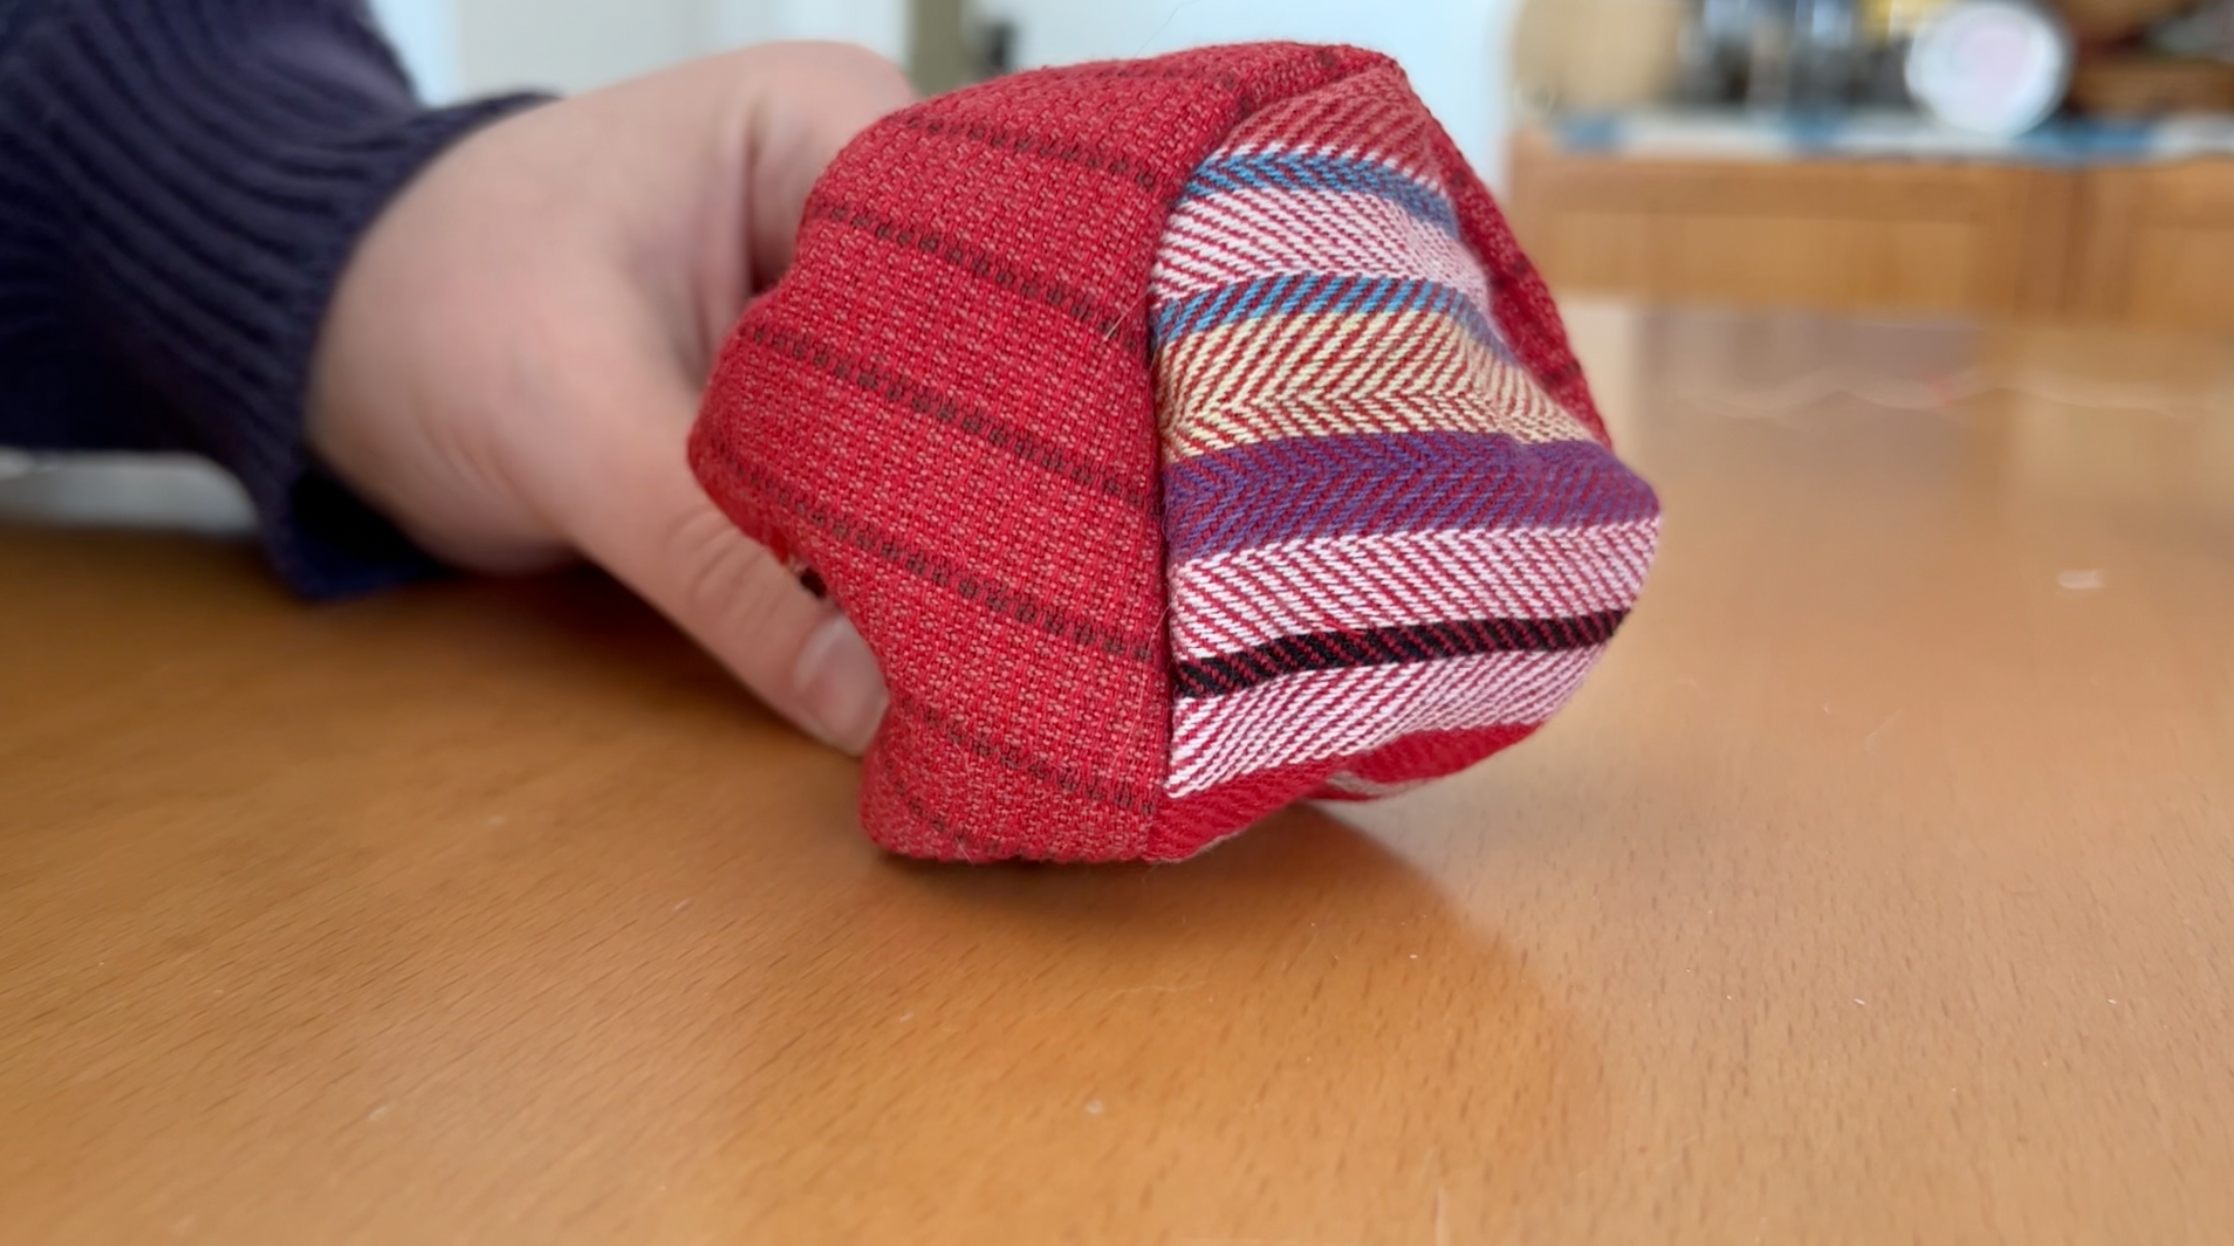
It was tricky to get them in the right place, but once they were there I slowly stitched all the way around, turned them right side out, and then they looked like this!

I filled them with fiberfill and stitched the openings closed by hand. And here is what they looked like all stacked up! I was not thrilled that they were leaning, even though I had carefully measured where the magnets needed to go, but I decided that it was a melty, warm-day ice cream cone, and that was that.

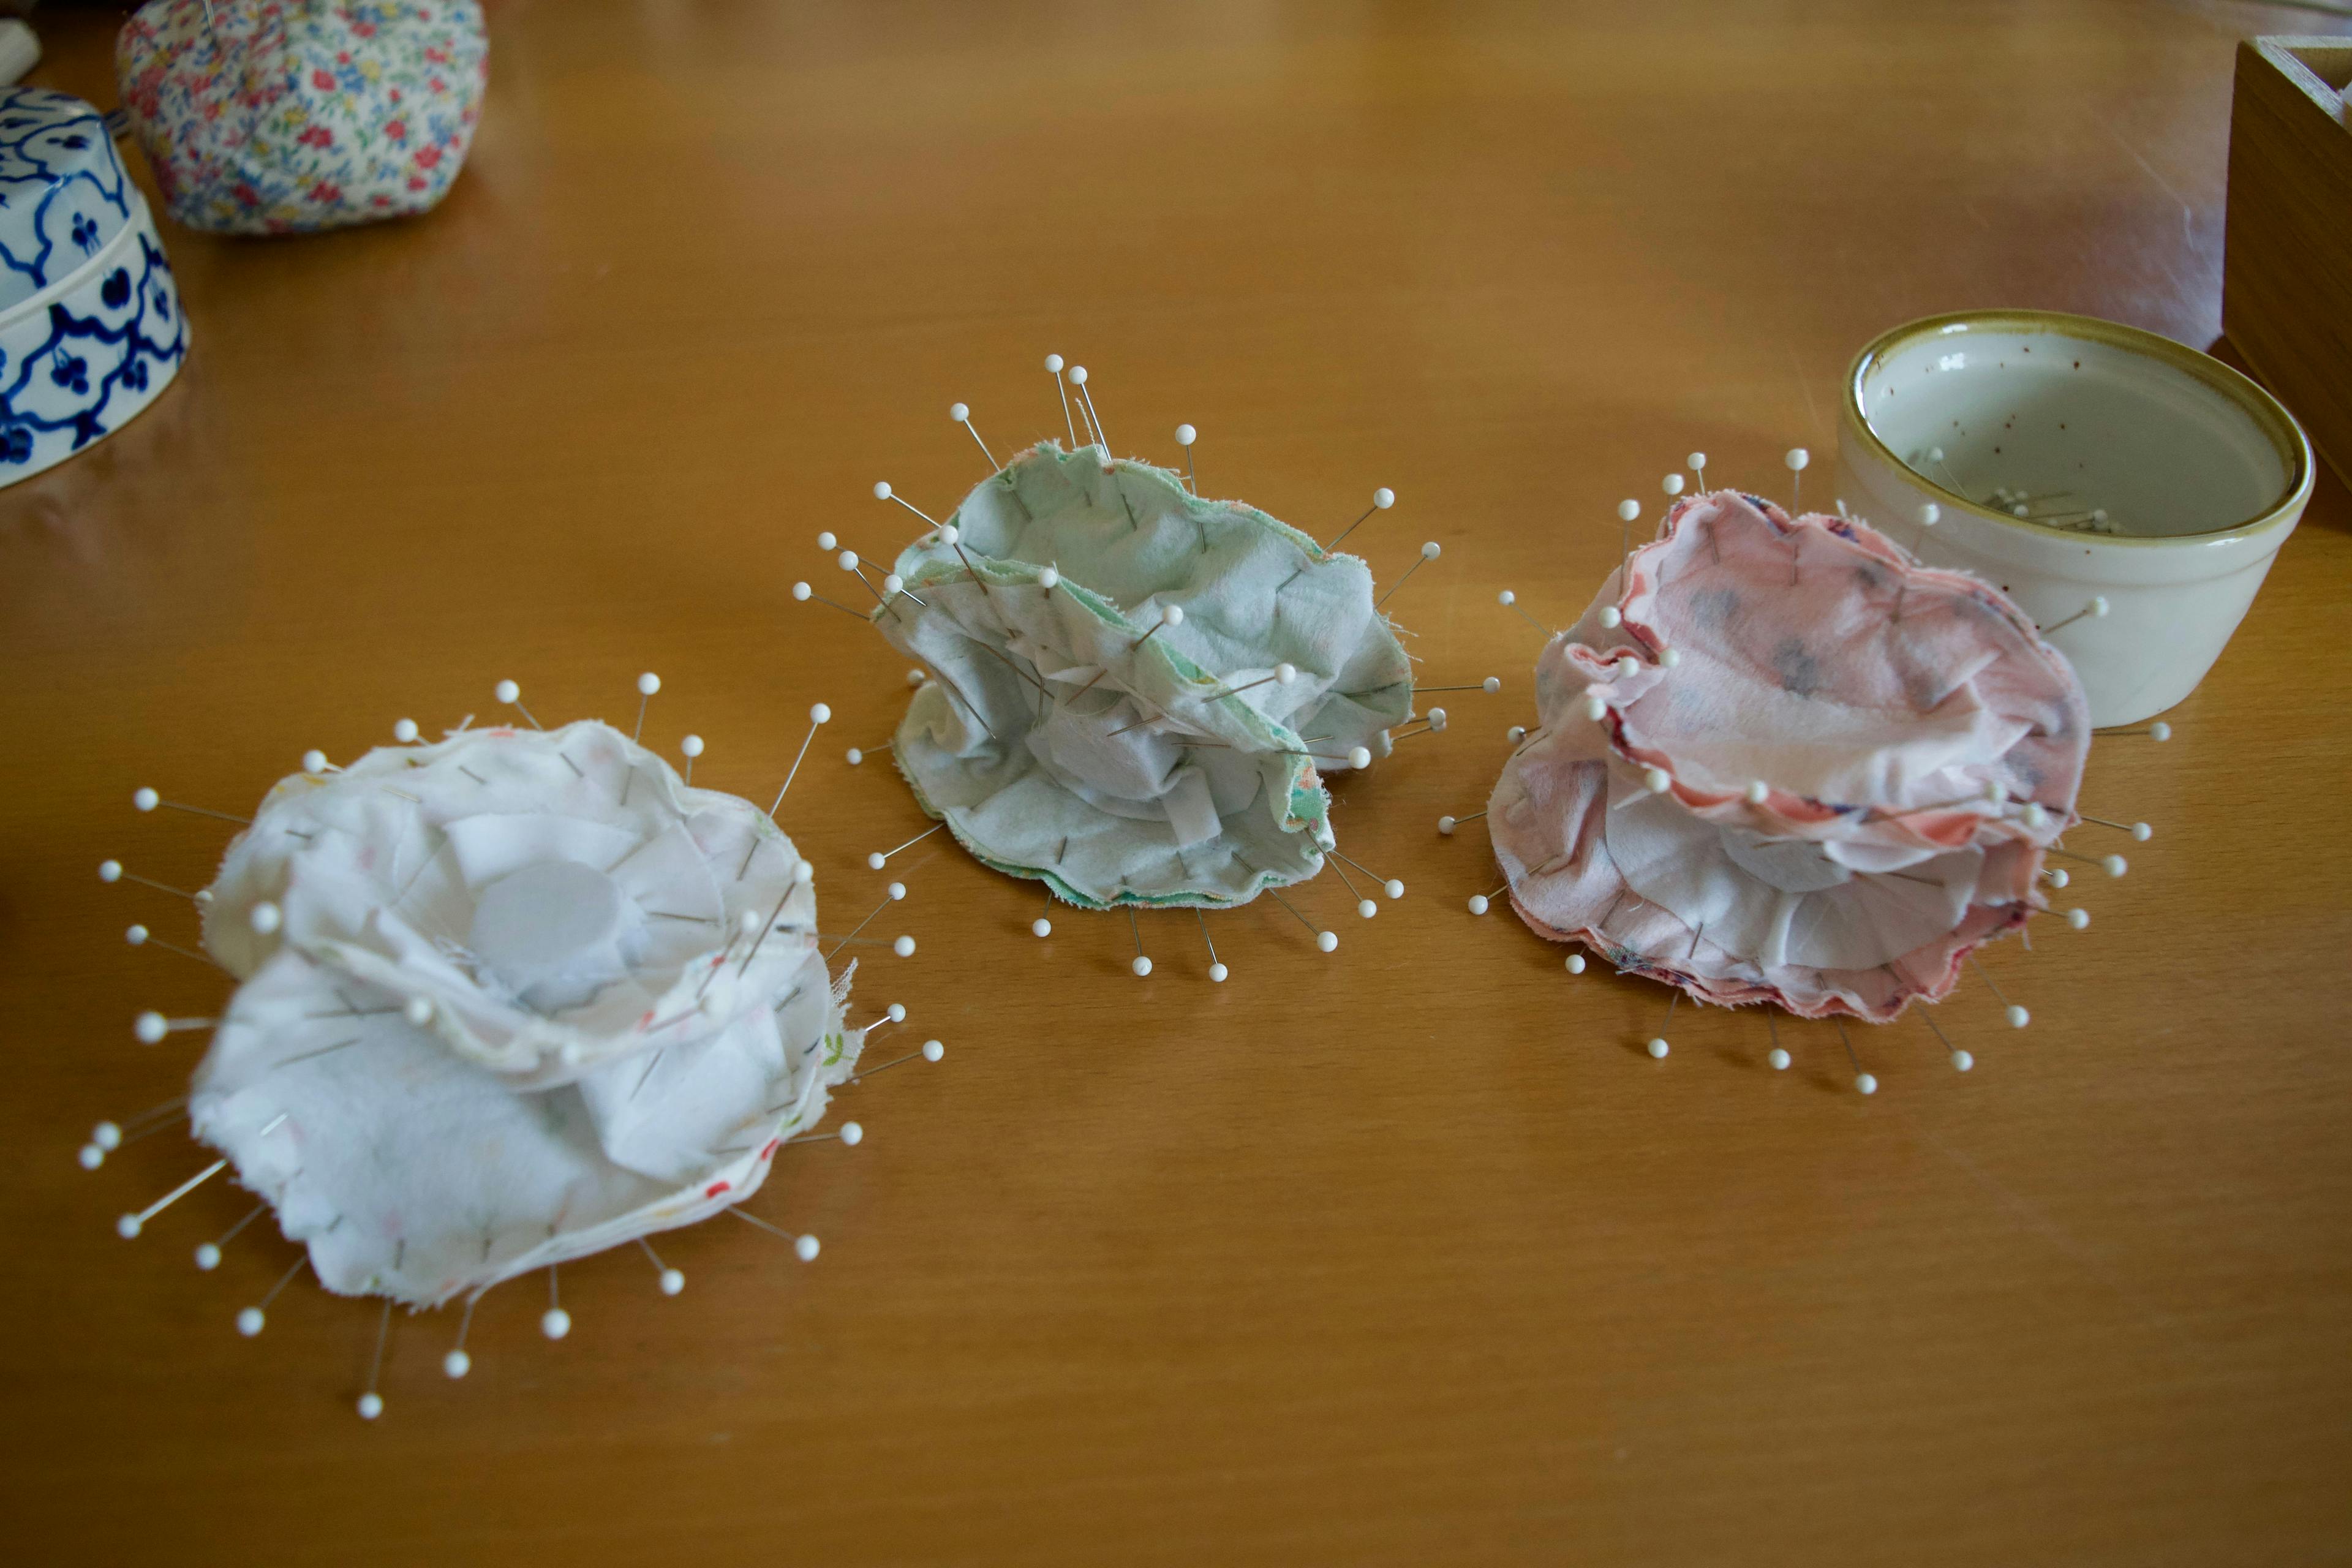
The RRRRuffles

I found two inspirations for the ruffles and picked the one on the right because I thought it was a bit simpler to do and also I preferred the way it looked. After measuring the scoops, I cut a long strip of fabric out of each color.
Looking back on it, I wish I had done longer strips so that it would have been even ruffly-er, but I still think it ended up super cute. I stitched each strip along its long side and turned it right side out before pressing with the seam hidden in the back.

I stitched the short ends together and then hand-sewed a simple running stitch down the center of each strip. Before putting a knot in the thread at the end, I scrunched up the fabric by pulling it down the thread and then stitched the ruffles to the scoops.
As I did this, I started to wish that the bottom of the scoop was a bit flatter, so I took a bunch of long, internal stitches side to side under the ruffle to pull the bottom a bit flatter. It was minimal, but I think it helped!

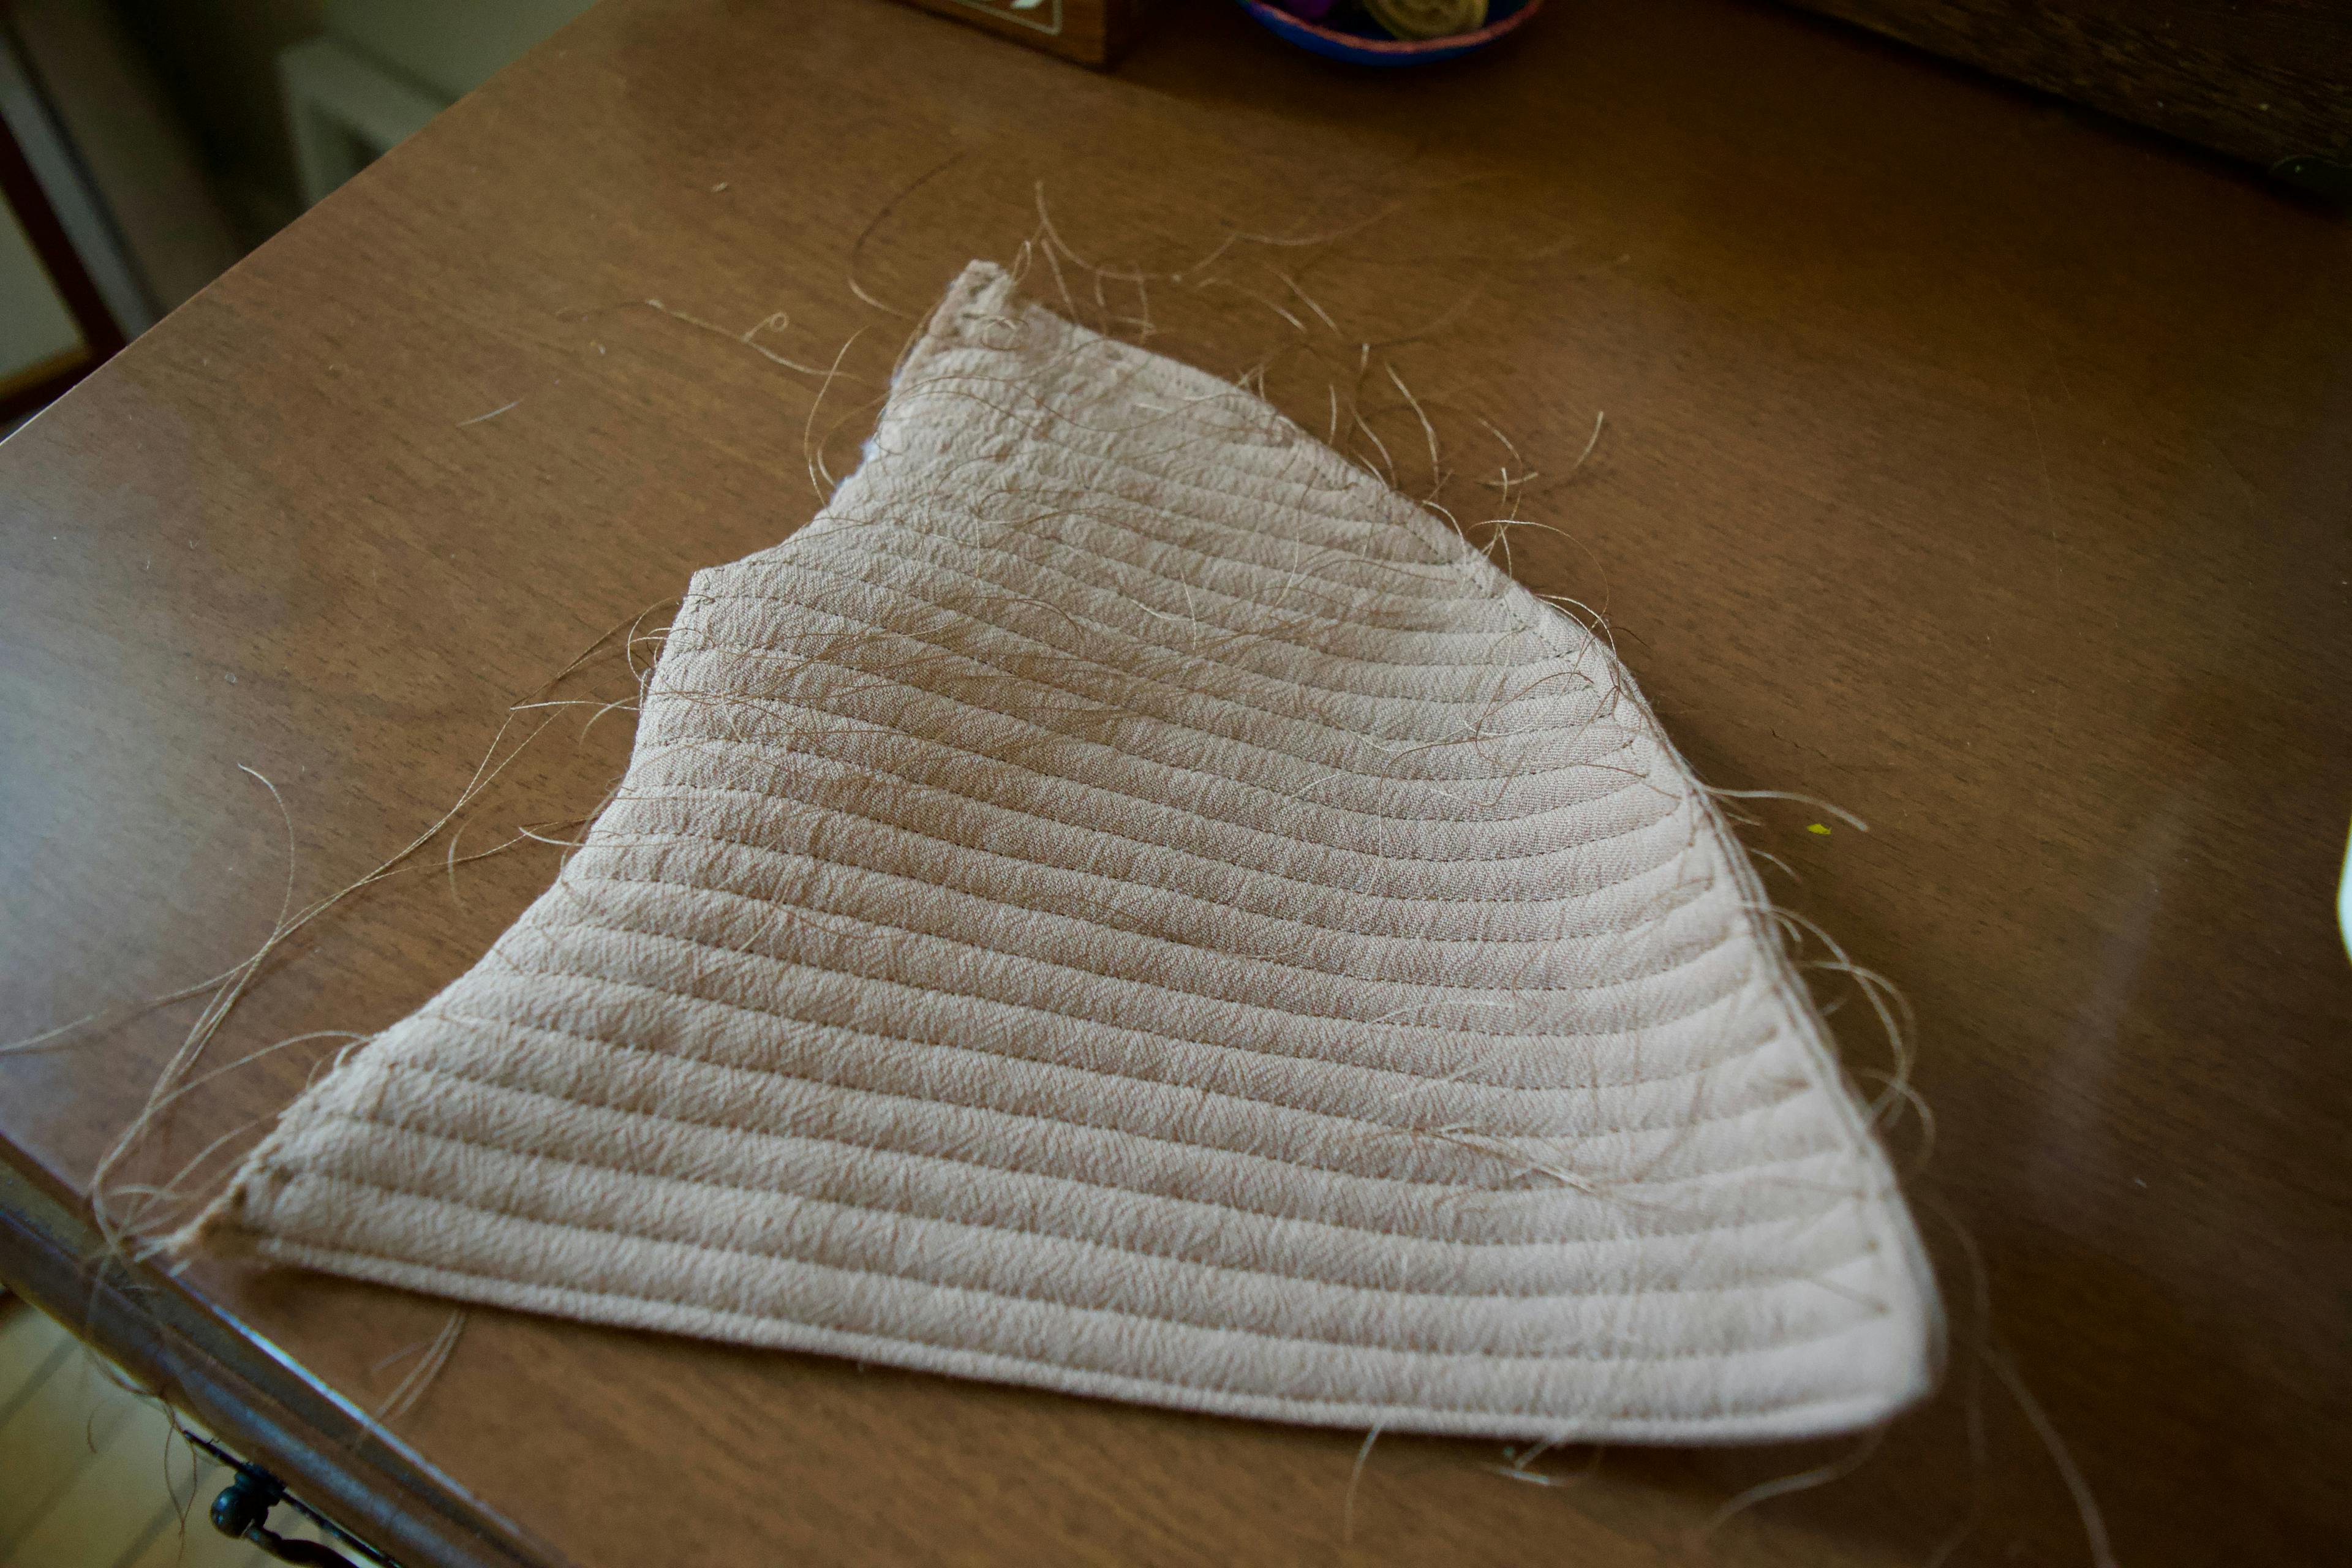
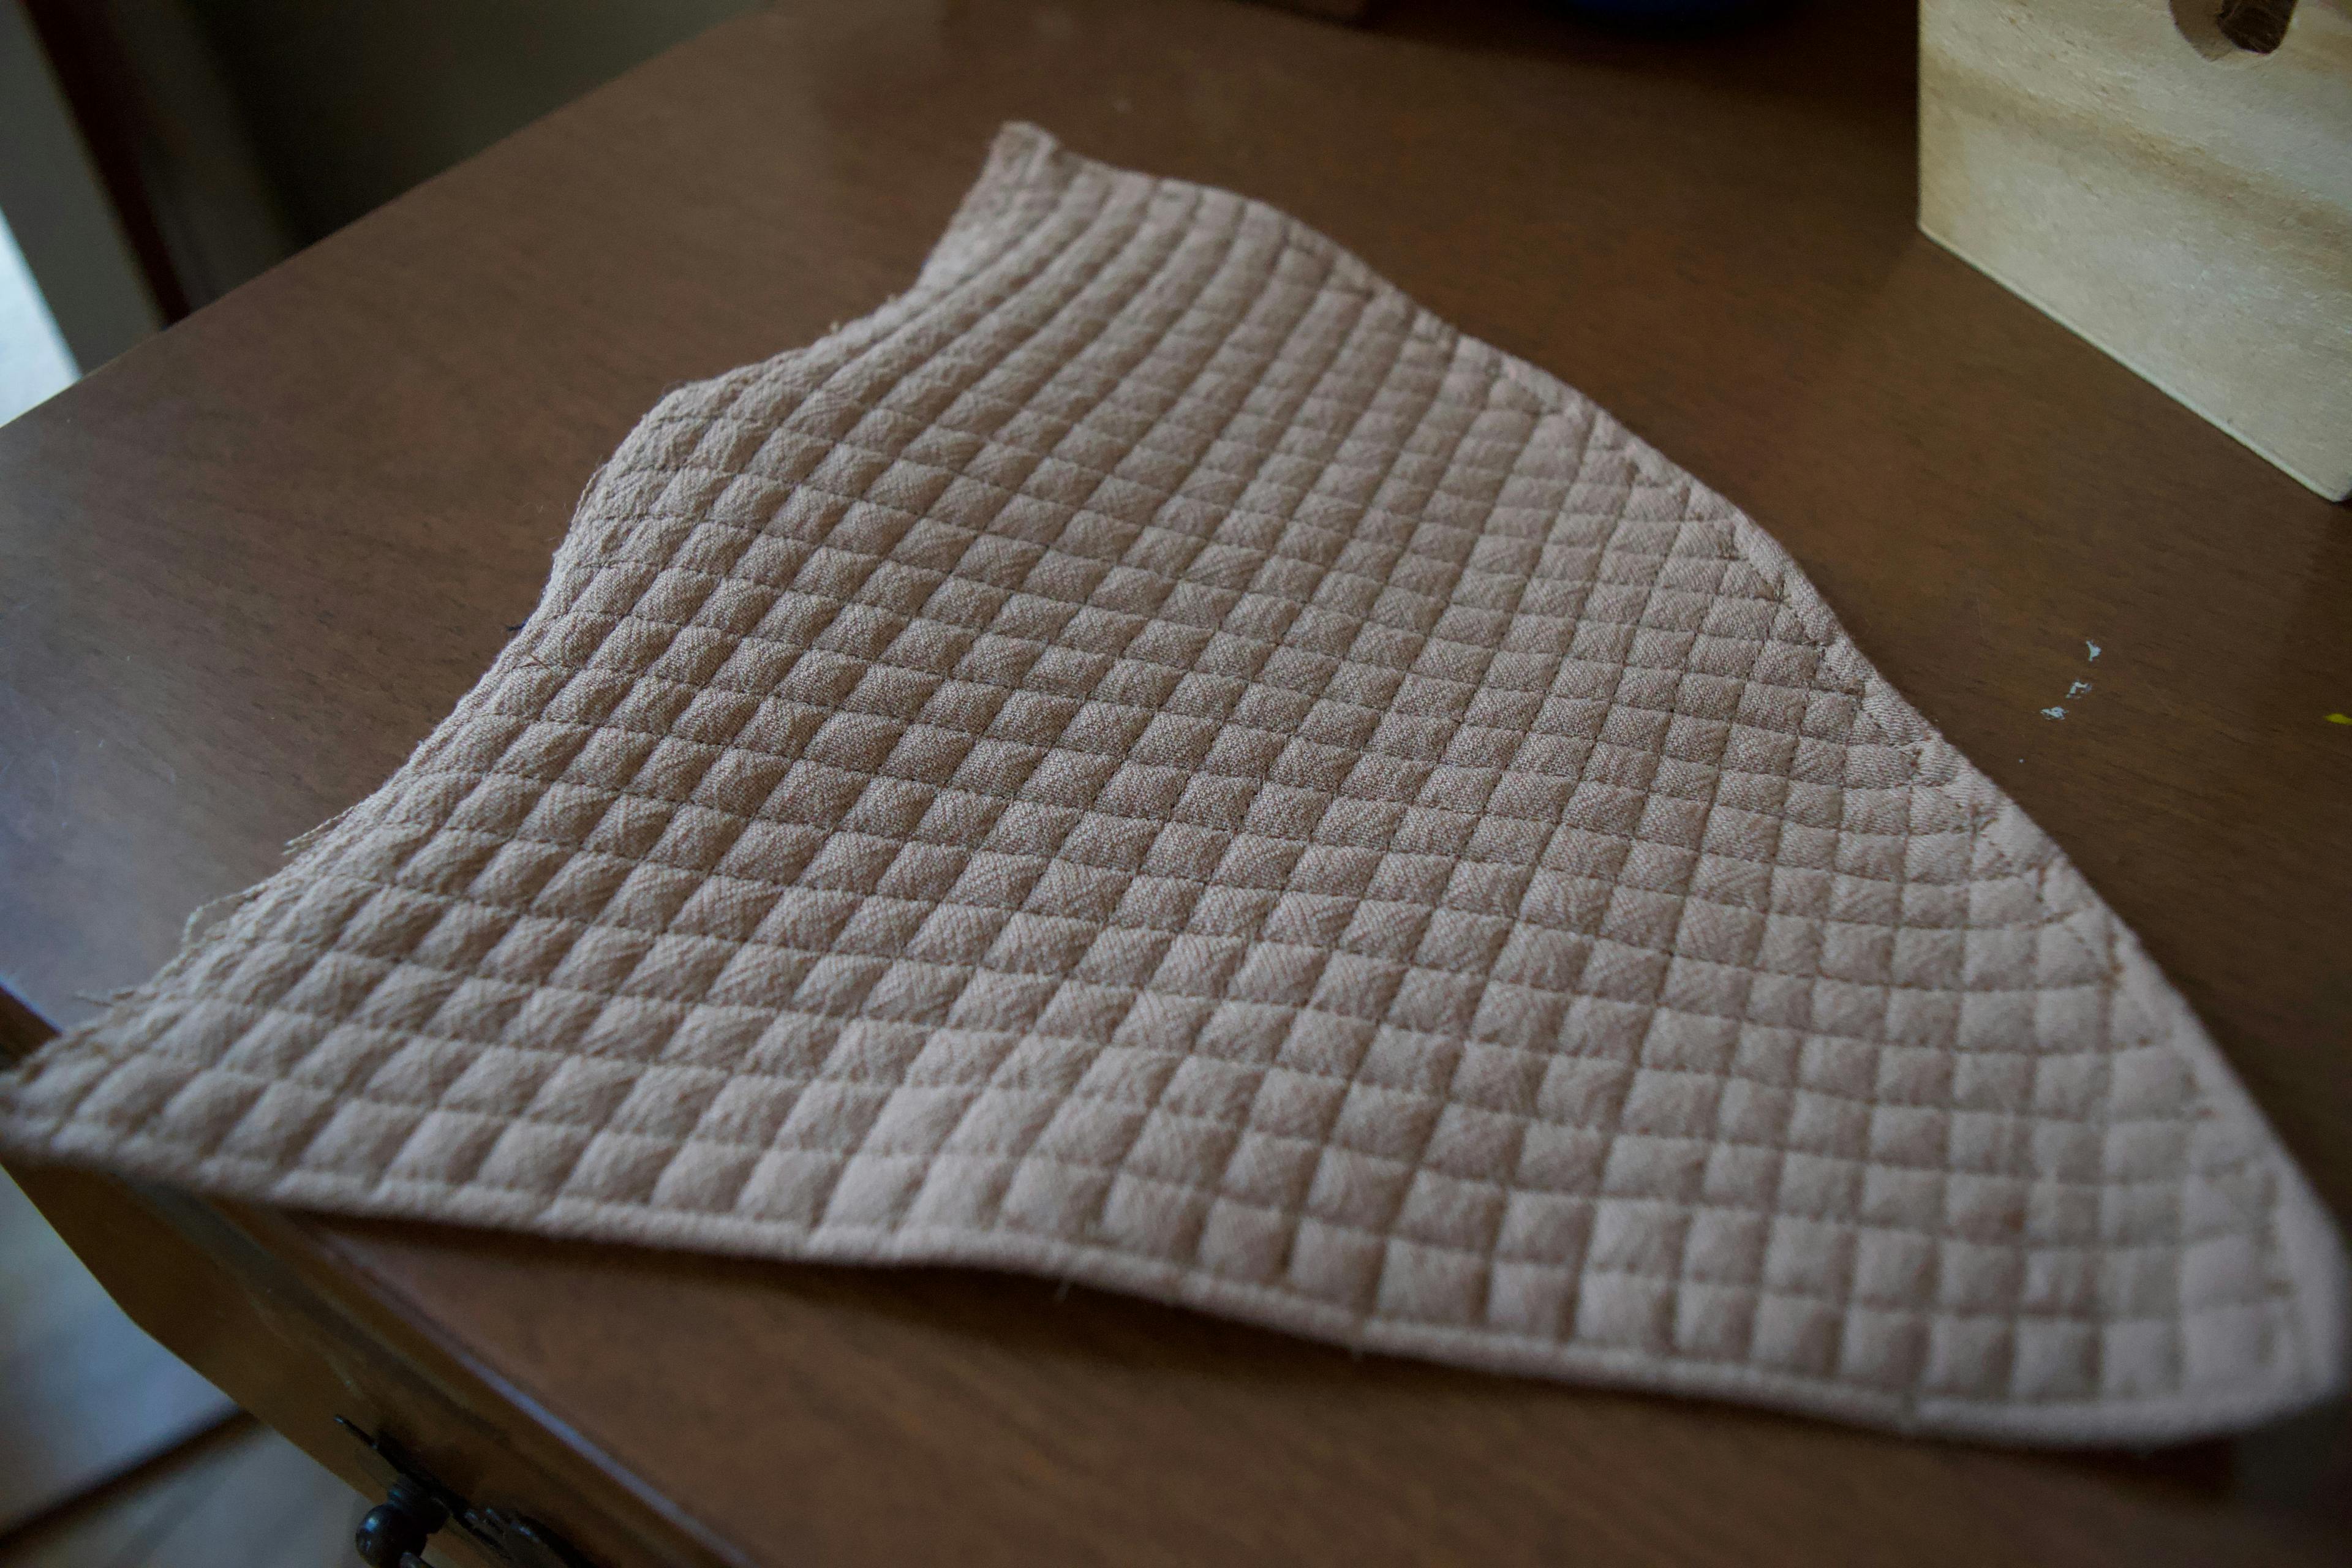
The Cone
I started the cone by making a paper pattern and quilting the brown fabric together with batting in a cross-hatch pattern to make it look like a waffle cone. I pinned it into the cone shape and hand-stitched it closed from the bottom to the top.
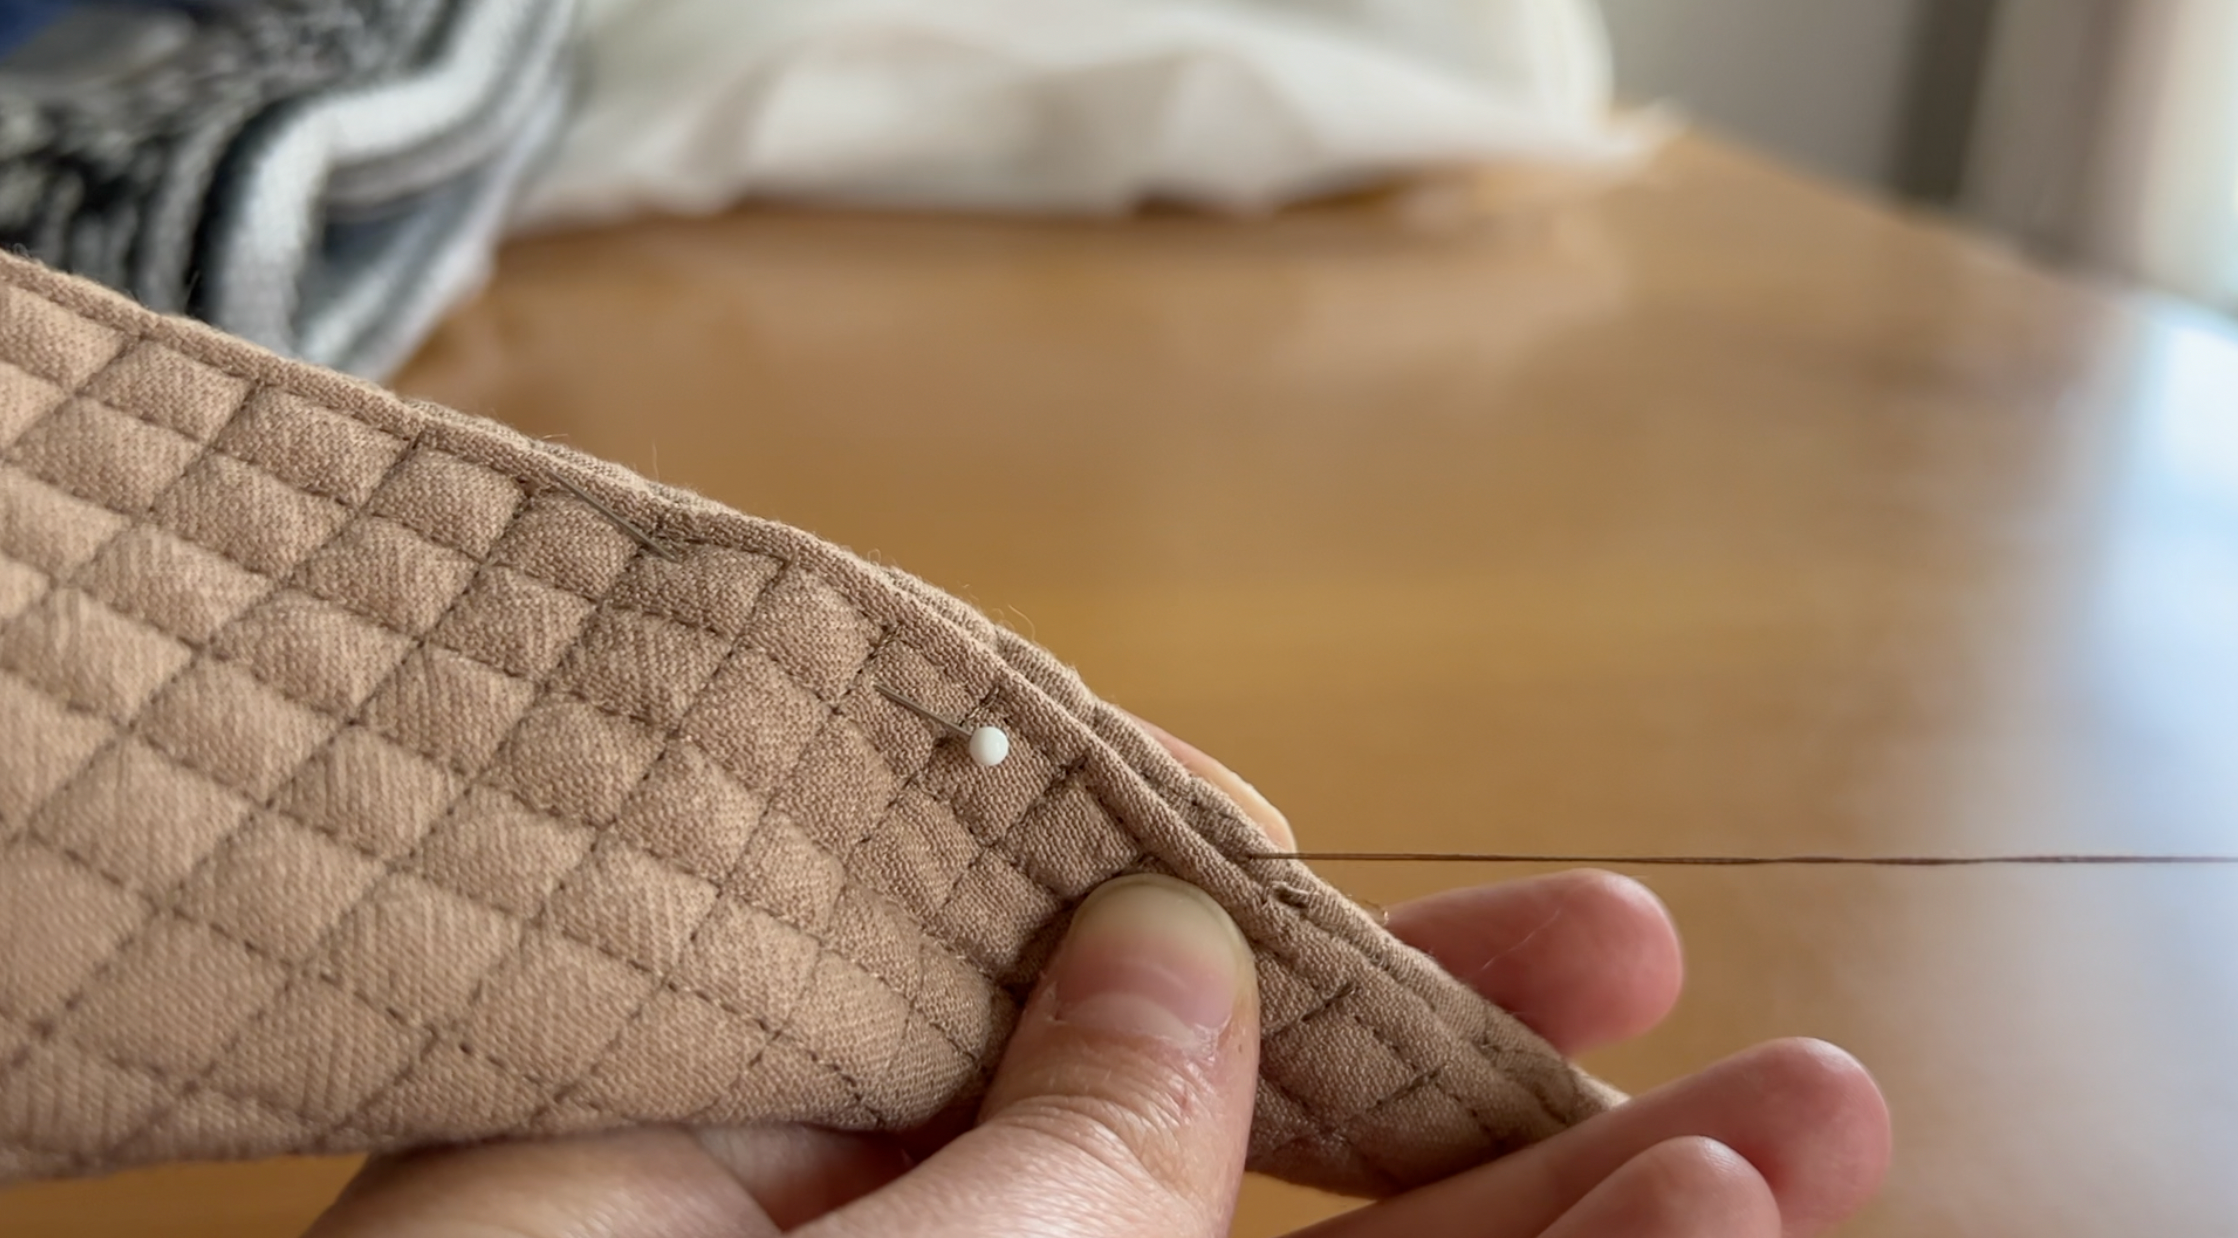
The top of the cone needed to be a flat surface with a magnet in it so that the scoops could attach. To do this, I interfaced a large circle of brown fabric and a small circle of white and stitched the magnet down the same way I had done for the scoops. That was easy - however, attaching it to the cone was a different story.
I stuffed the cone most of the way with fiberfill and then attempted to tuck the circle on top and it really didn’t work. So I decided to clip the seam allowance and cross the fabric at the openings with a little stitch so that it was already kind of in the shape I needed it.
This made it possible to pin it in place and, with way too much thread that kept tangling up, sew it securely to the cone.

To Sum Up
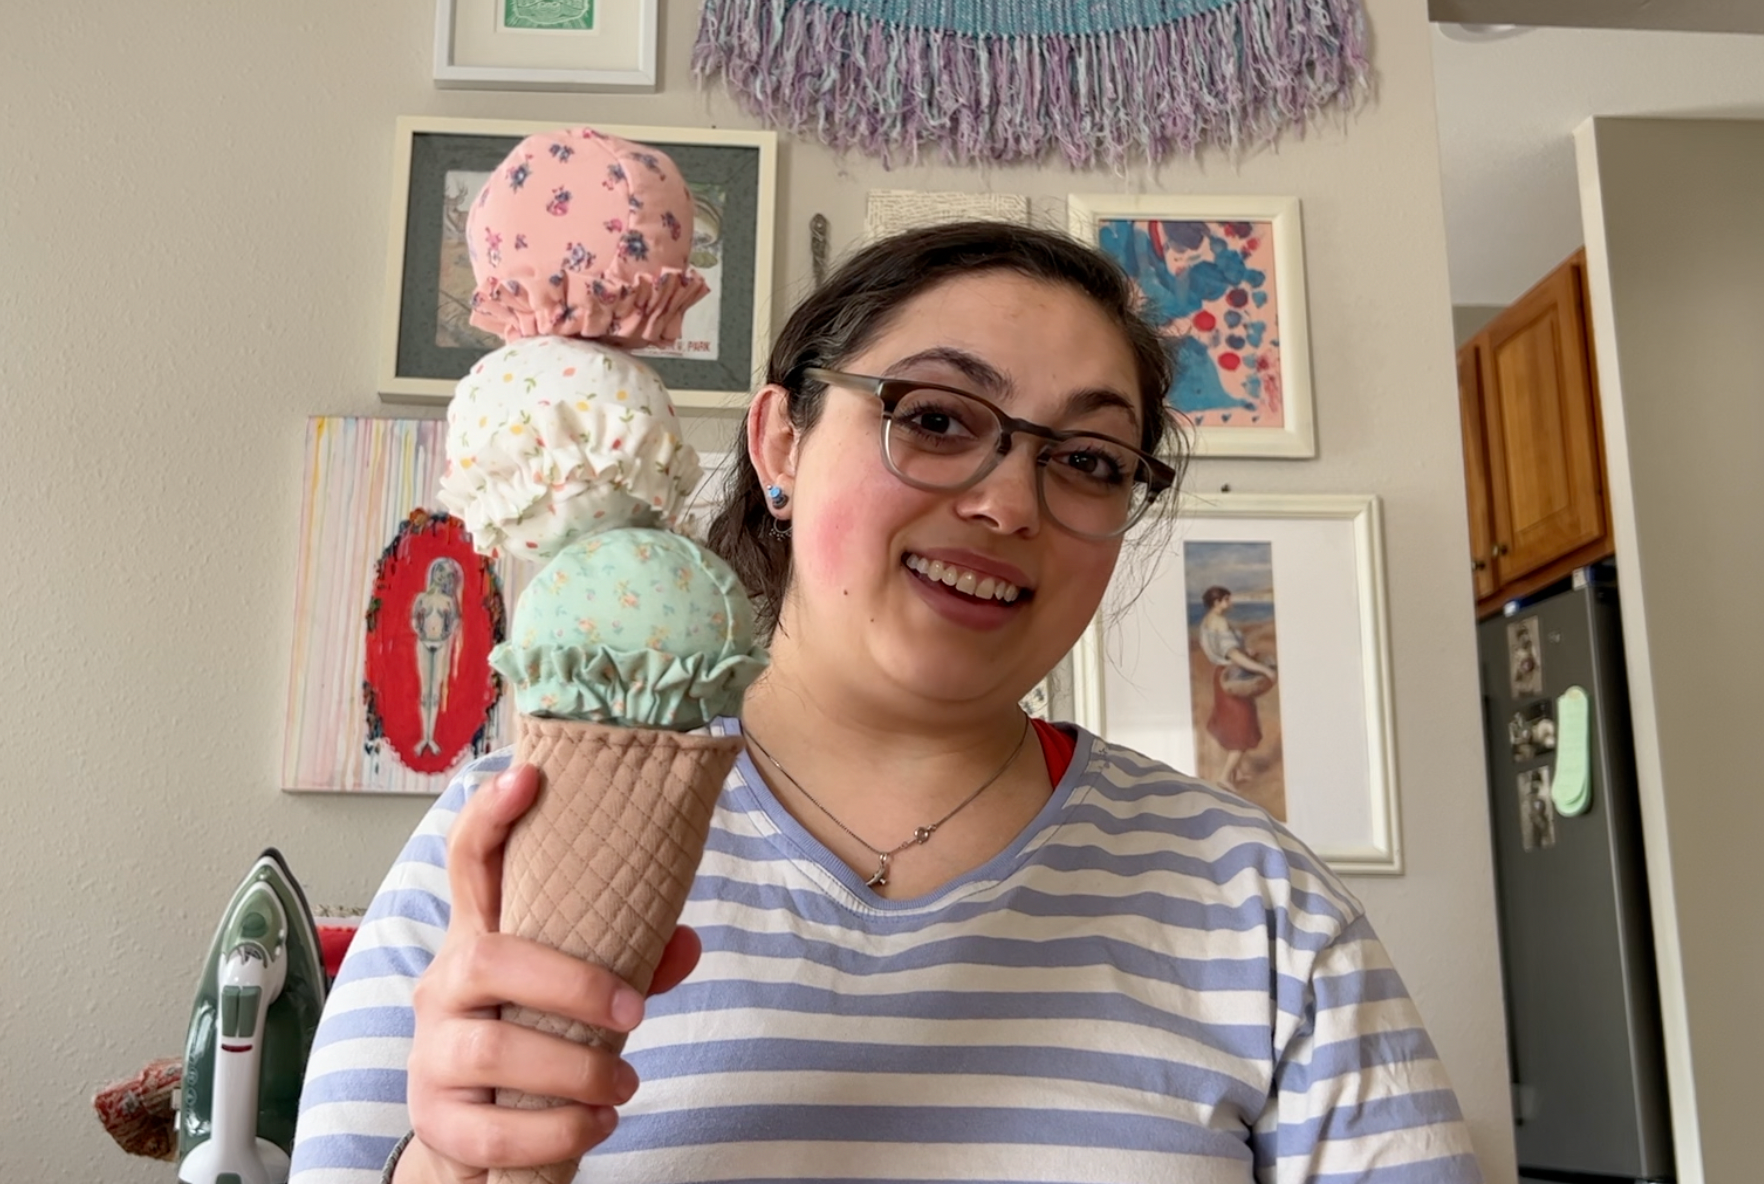
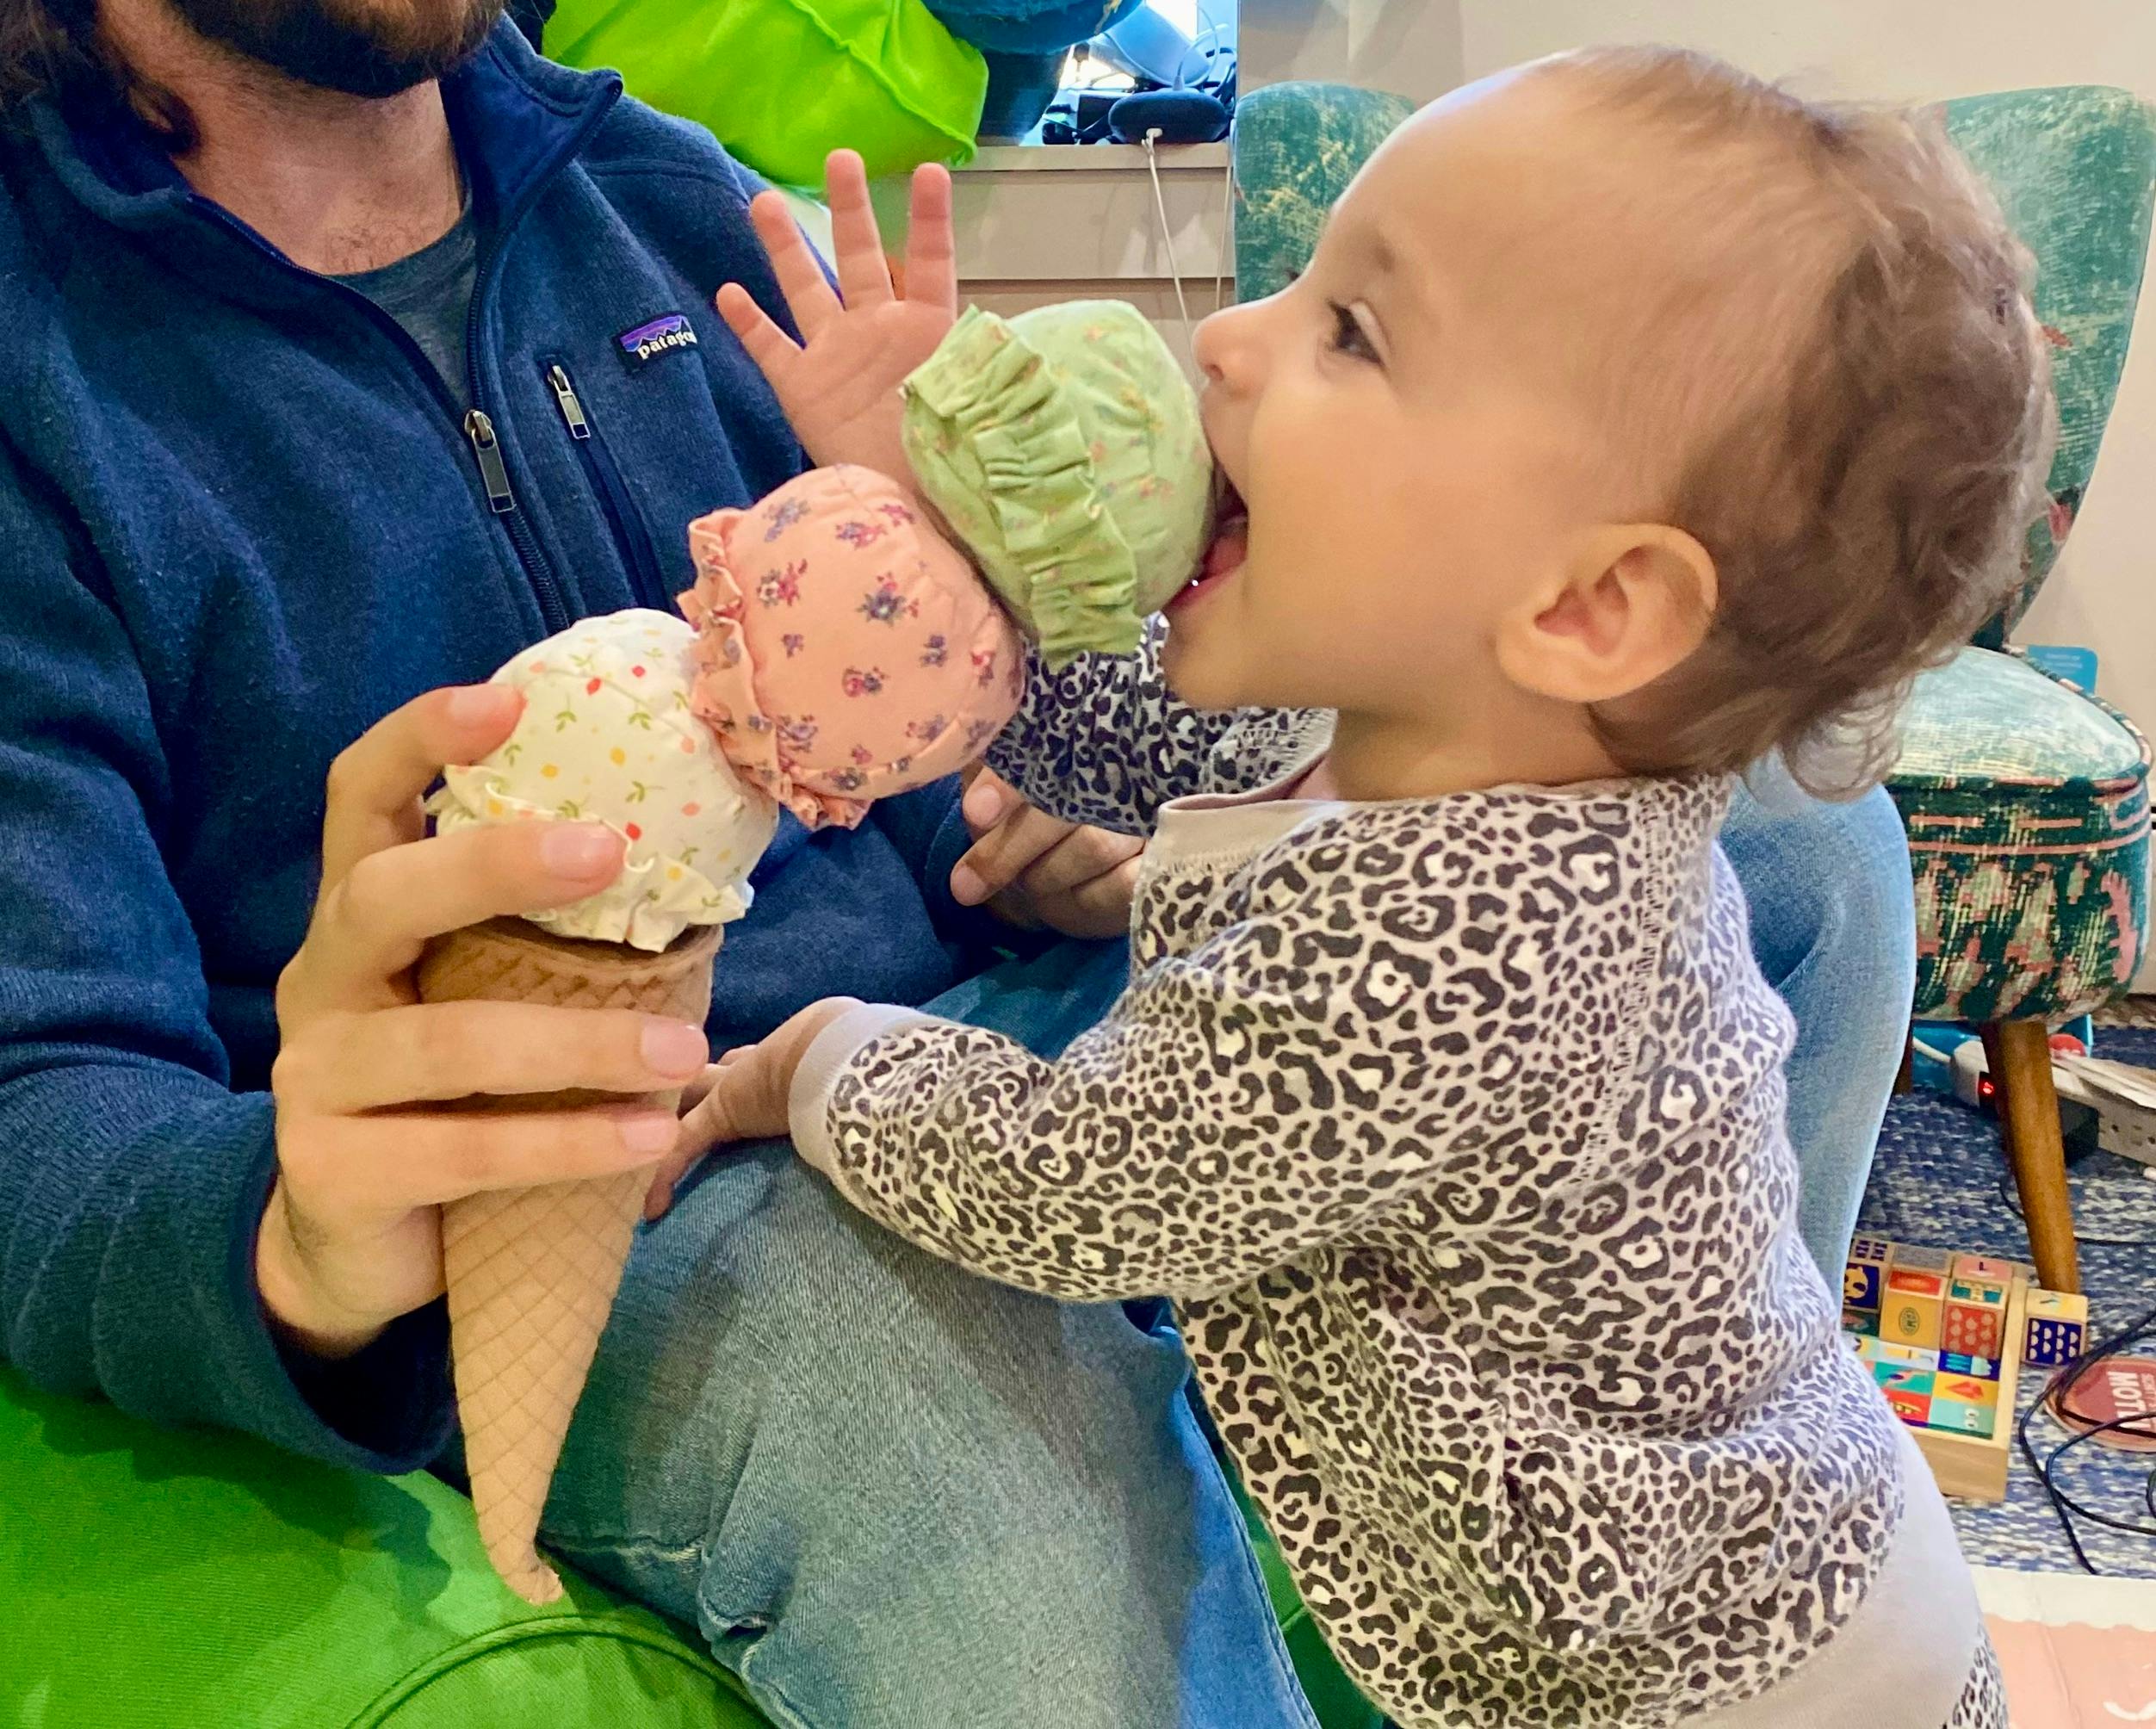
There it is, in all its glory! It's a little tippy, aka "melty", because the magnets aren't totally lined up the way I wanted, but even so, it thoroughly cracks me up with how cute it is! I think it does the job because it seems like Rhea loves it already.

I am so lucky to have so many wonderful kids in my life to make fun things for. Thanks, Lauren and Jake, for bringing such an awesome human into my life! And thanks for being here Rhea! Happy 1st birthday!

I hope you have a beautiful rest of your day and thank you so much for being here!
💖, Katrina
Comments: