Fabric Bridal Bouquet, Part 2: #alltheflowers
May 22, 2023
* Products linked below may be affiliate links. I may receive a small commission if you place an order through them (at no cost to you). For more, see our Affiliate Disclosure.
Welcome to the long-awaited PART 2, of how I made my BFF Lauren's fabric bouquet for her wedding last year. I am just going to jump in, so if you haven't yet checked out part 1, please go read that real quick and then come right back!
Bonding The Fabric
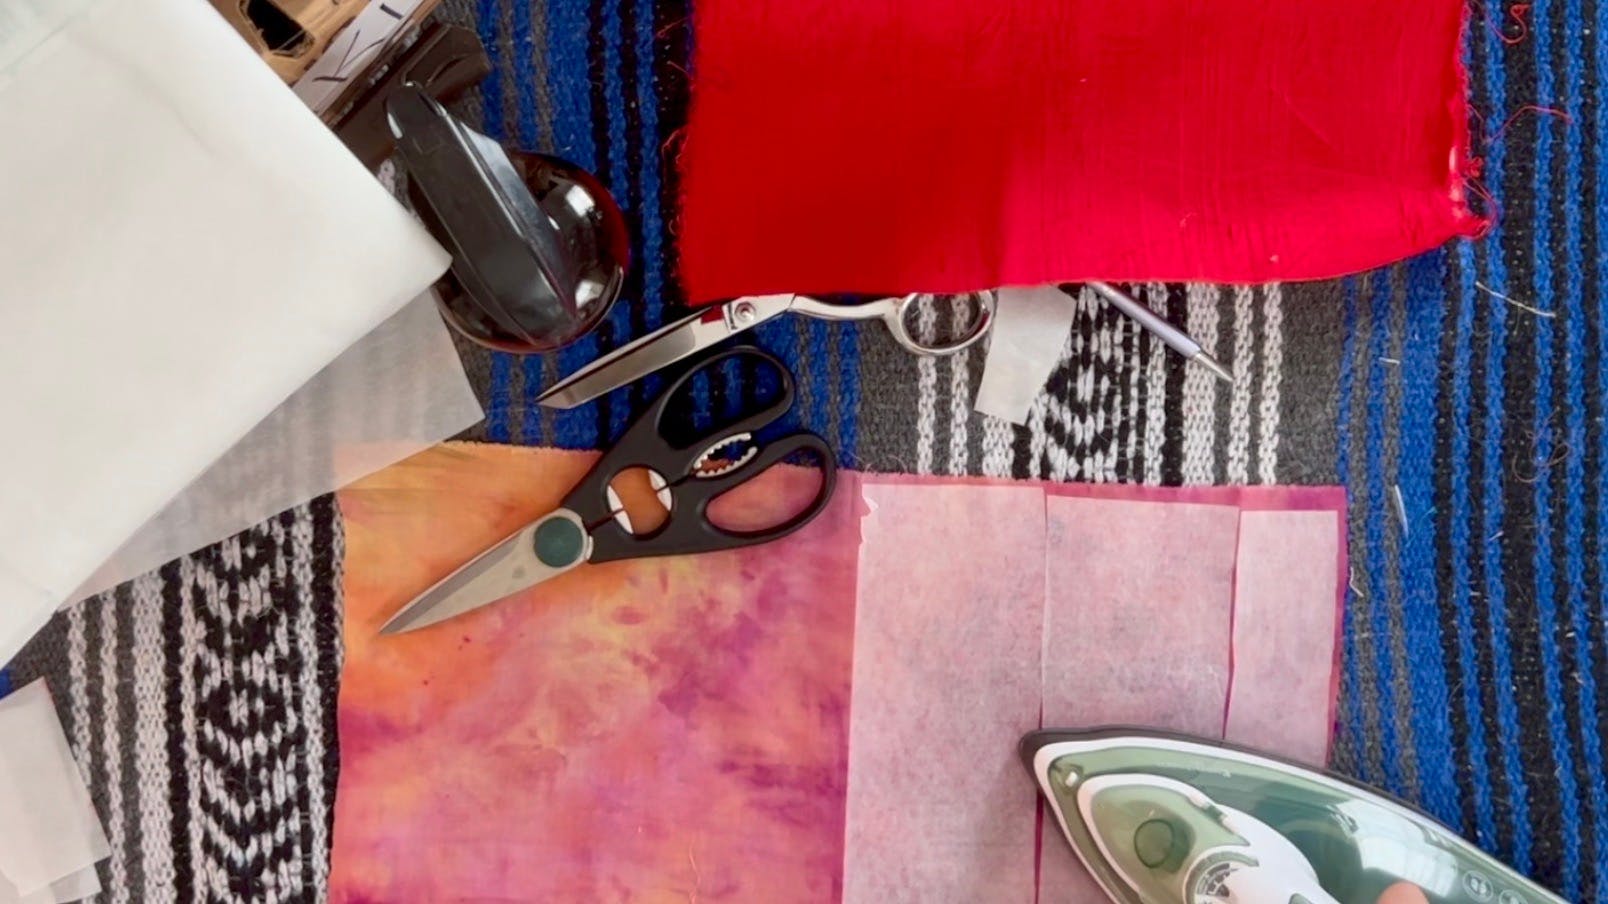
Luckily, my testing in part 1 was successful and showed that using the fusible web was going to work well, so I decided to bond together as much fabric as possible with the amount of web that I had. As a refresher, this product is basically like a sheet of hot glue that has a paper backing on one side.

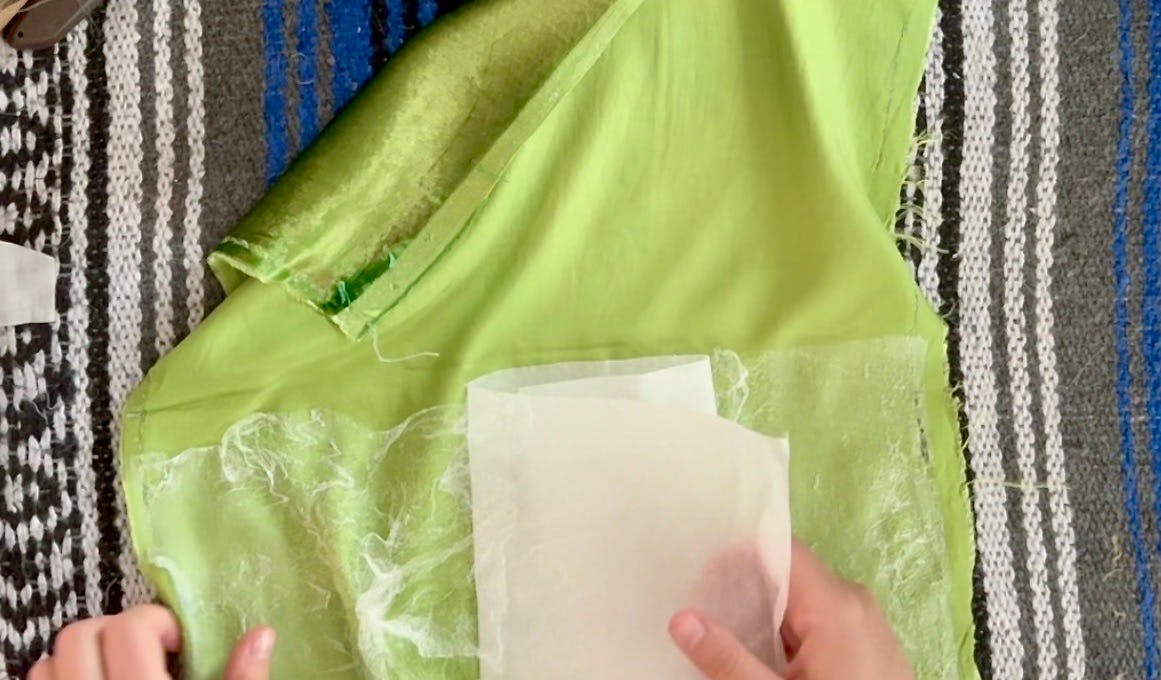
For each fabric, I cut two pieces the same size, ironed them to get out any creases, and then added the web. The web came with instructions about how long to iron and at which temperature, so I followed them exactly. To adhere the fabrics, I ironed one piece of fabric to the gluey side, making sure to use a press cloth to protect my iron from any glue that might leak out. Then, I peeled off the paper backing, laid down the second piece of fabric, and then ironed again.

I had no idea how much fabric I needed, except that it was going to be a lot, so I did this until the web I had ran out. Because of the nature of what I was making, I felt that it was safe to use the scraps as well, fitting them together like a puzzle for some pieces. And it worked out just fine!
Sometimes the paper didn’t peel off super easily, and that was always due to me being impatient and not ironing for long enough on the first side.
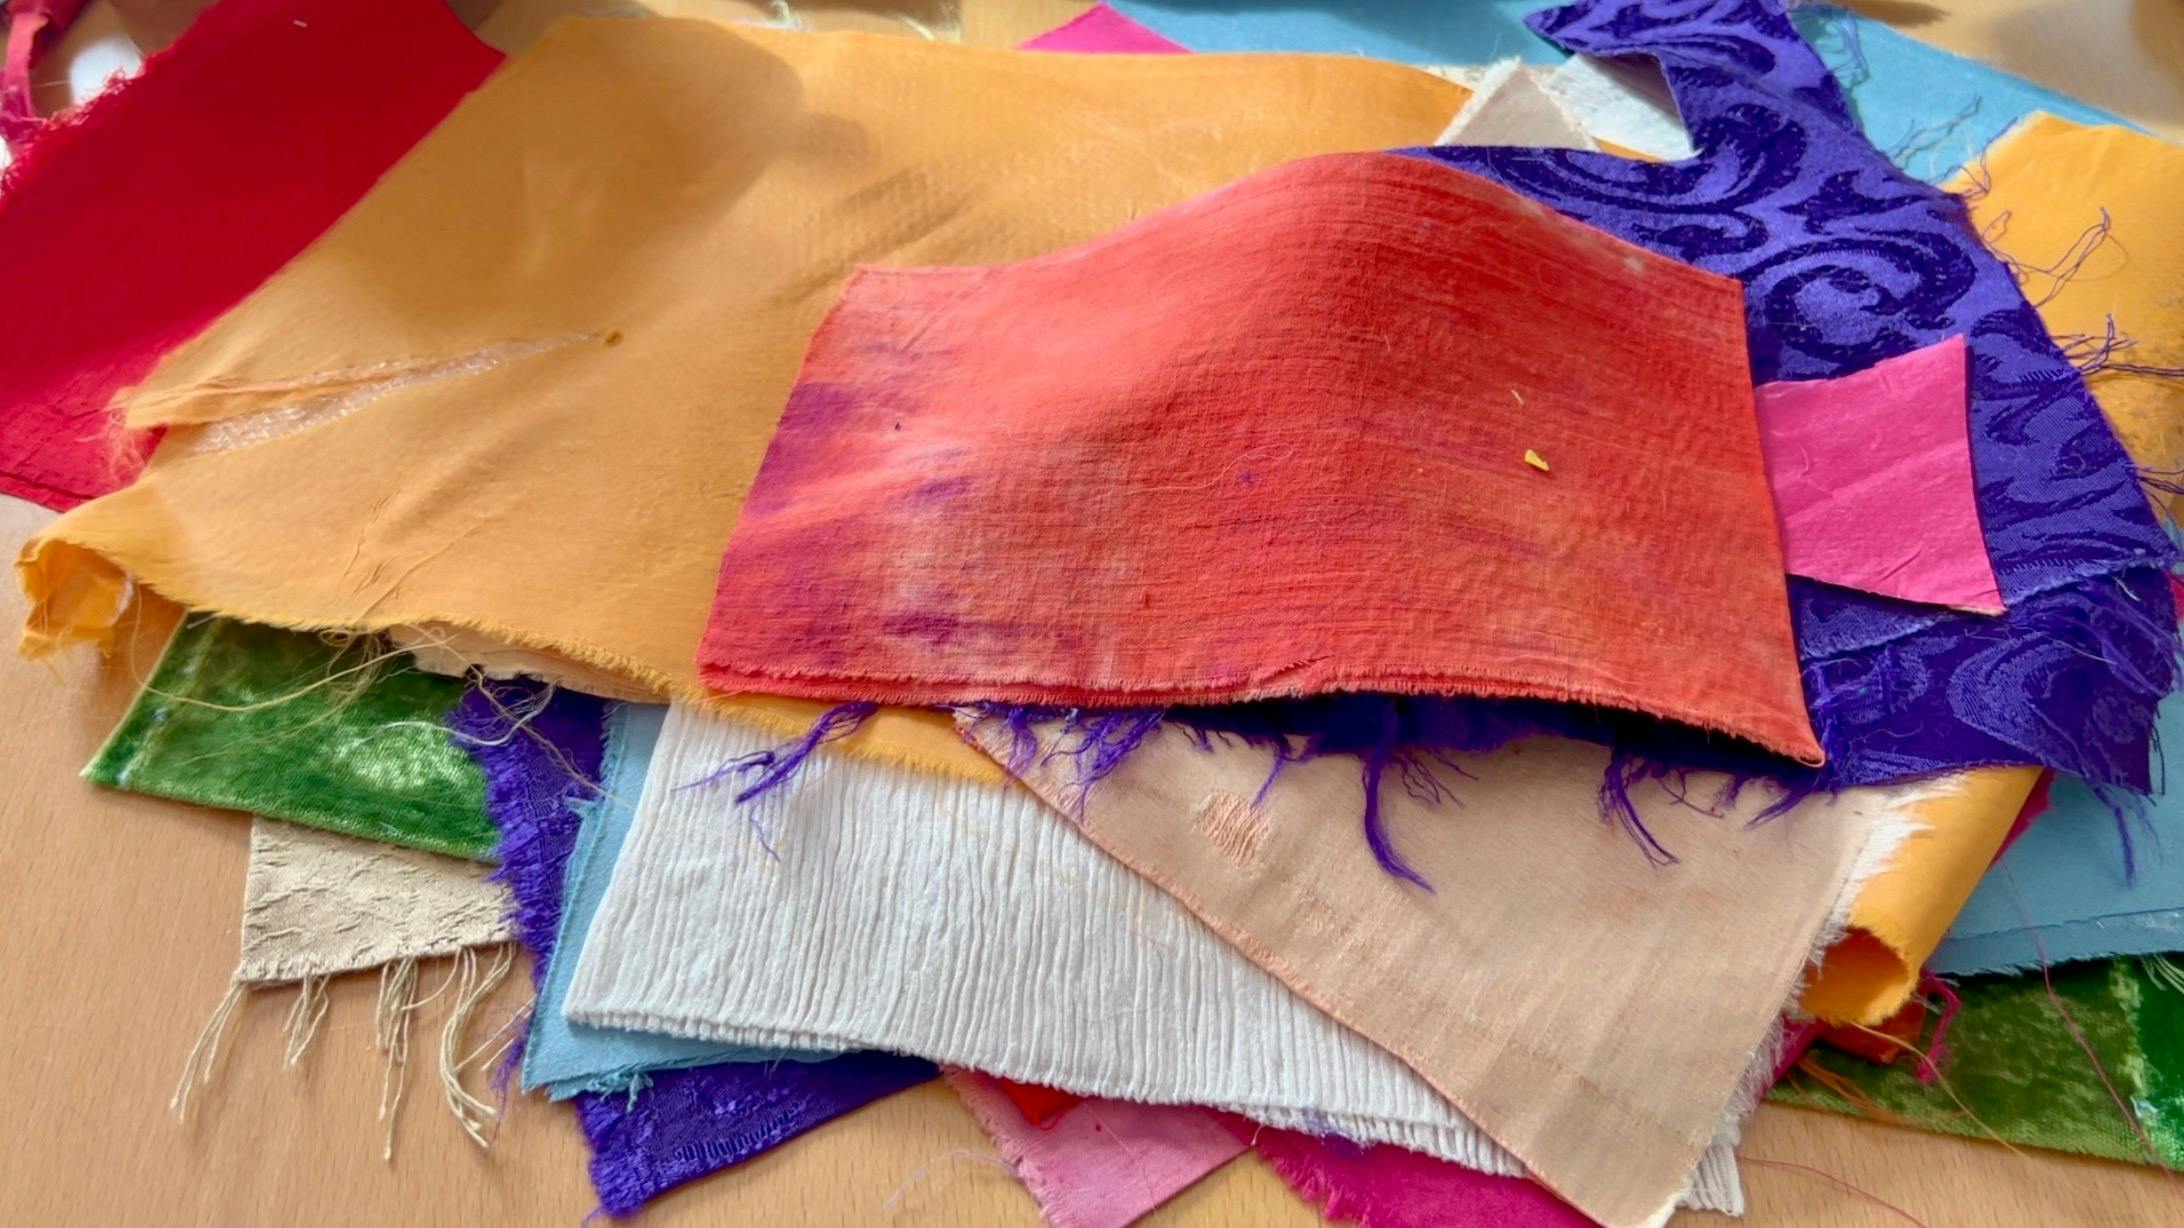
I used up all of the webbing that I had, which was about 2.5 yds worth, and was left with a gorgeous stack of fabric that was bonded and ready to go.
I knew this wasn't going to be enough fabric, so I ordered the last 5 yards that Michael's had available! I also ordered more Stiffen Stuff and hot glue sticks, both of which I did end up needing!
Cutting Out the Petals
I had intended to do each step all at once - bond all the fabric, cut out all the petals, and then assemble all the flowers. This didn't end up working, and I'm actually glad! Because I ran out of the web, I was forced to start making petals which taught me a ton about what I wanted to make going forward, chiefly, smaller flowers!
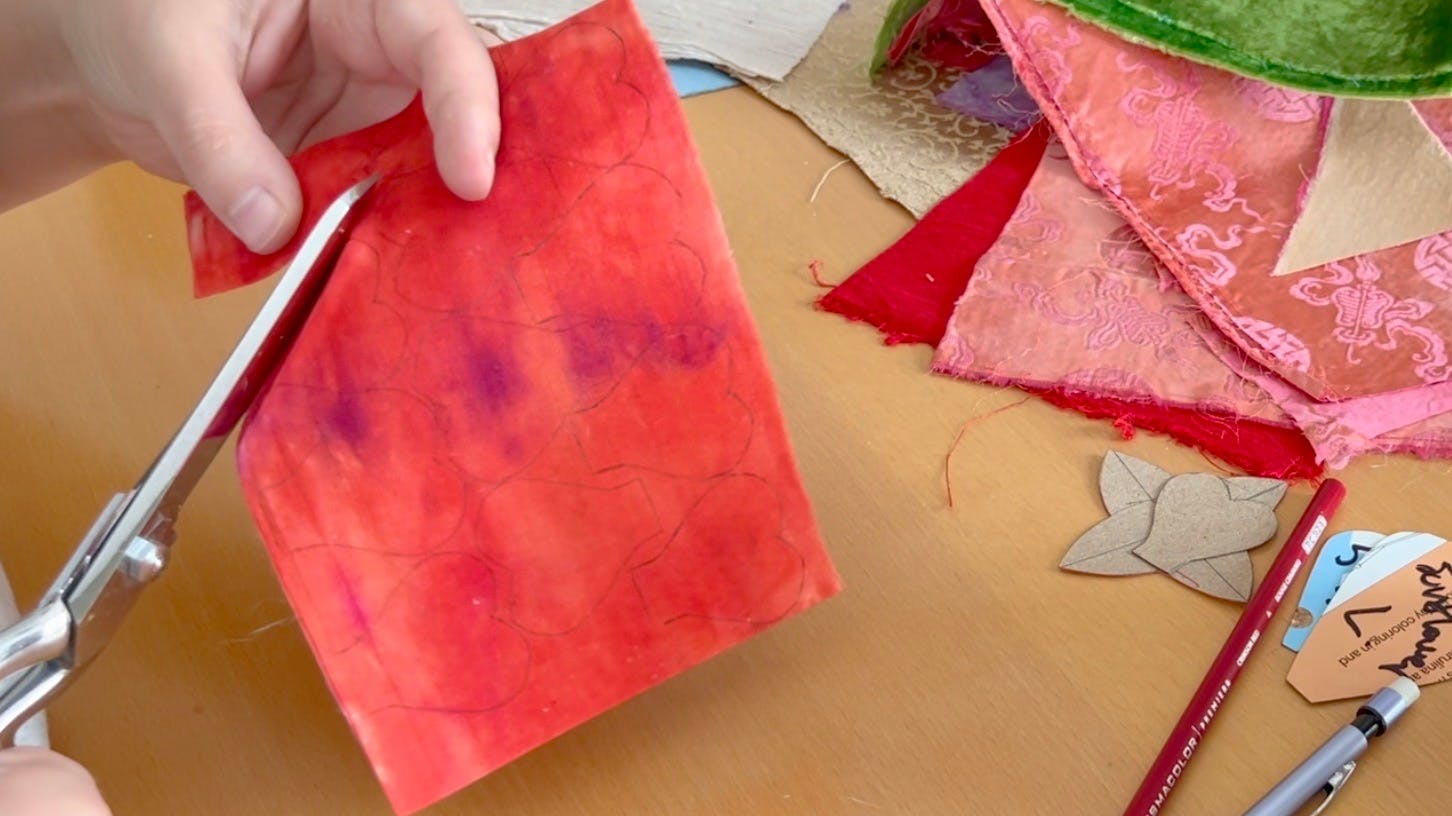
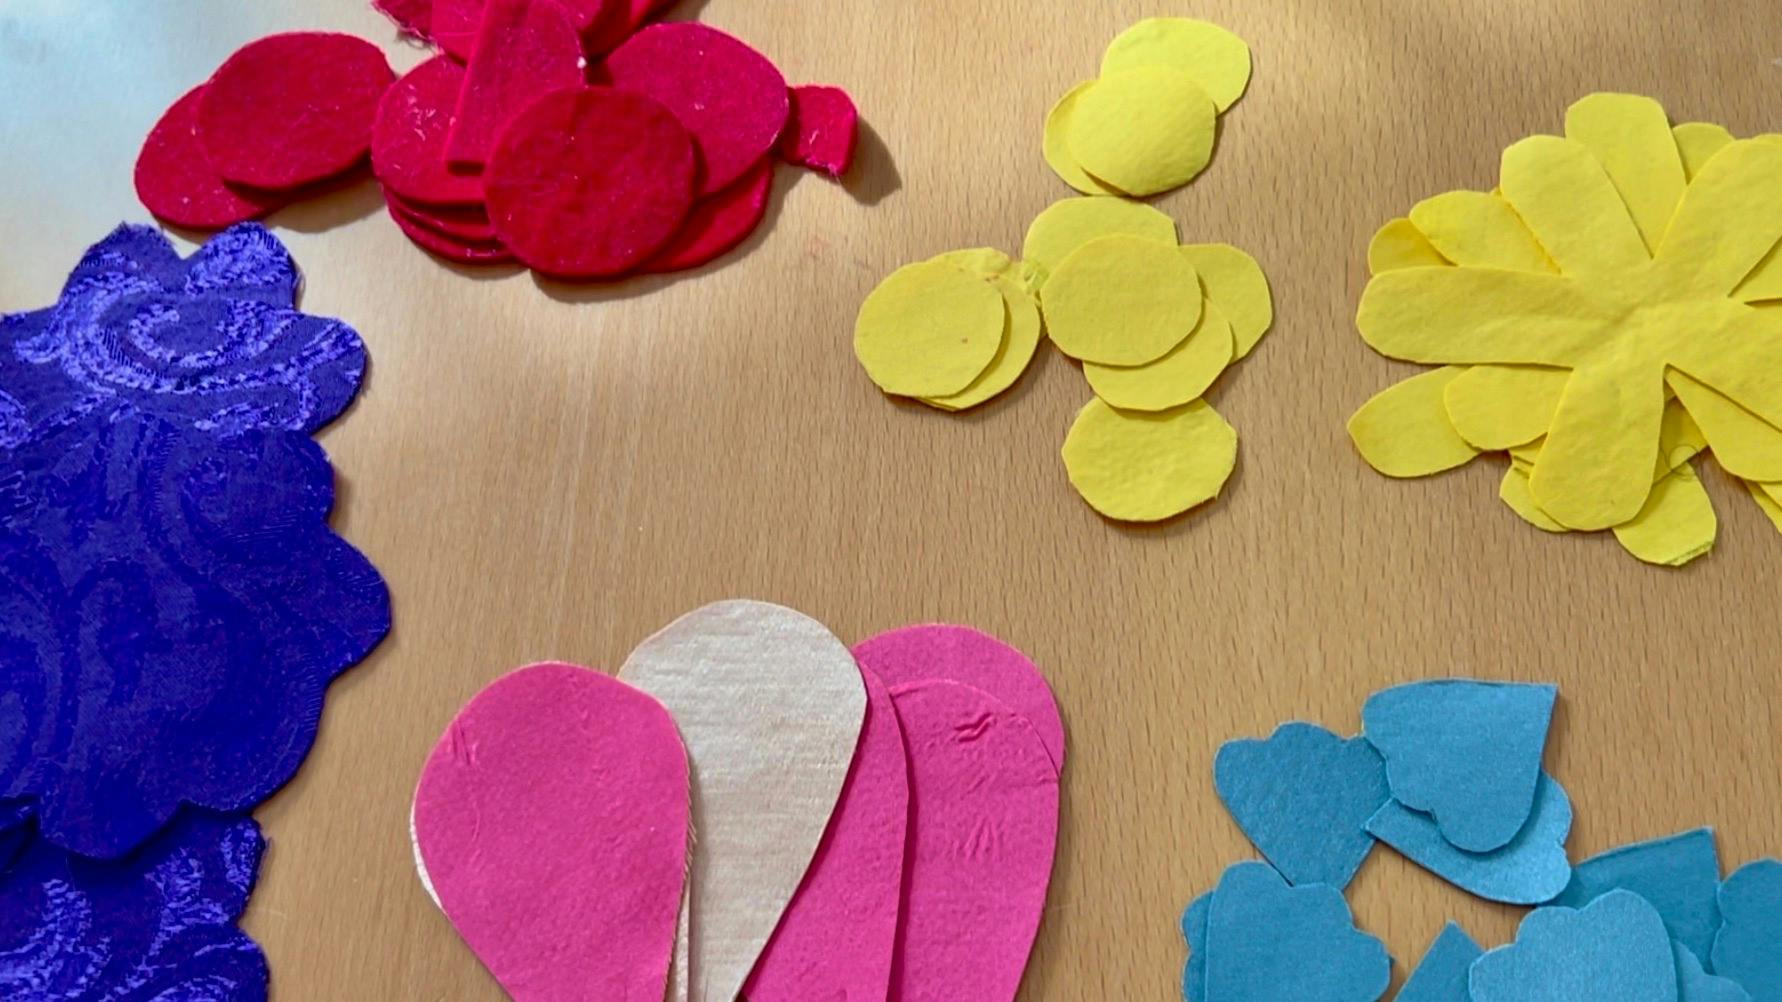
Doing this project in the springtime in a neighborhood that loves to garden provided tons of inspiration, but the process of deciding which fabric went with which petal shape was entirely intuitive and one of my favorite parts of this entire project. I wasn’t interested in every single flower being an exact recreation of a real flower, and this allowed me to have a ton of creative freedom.
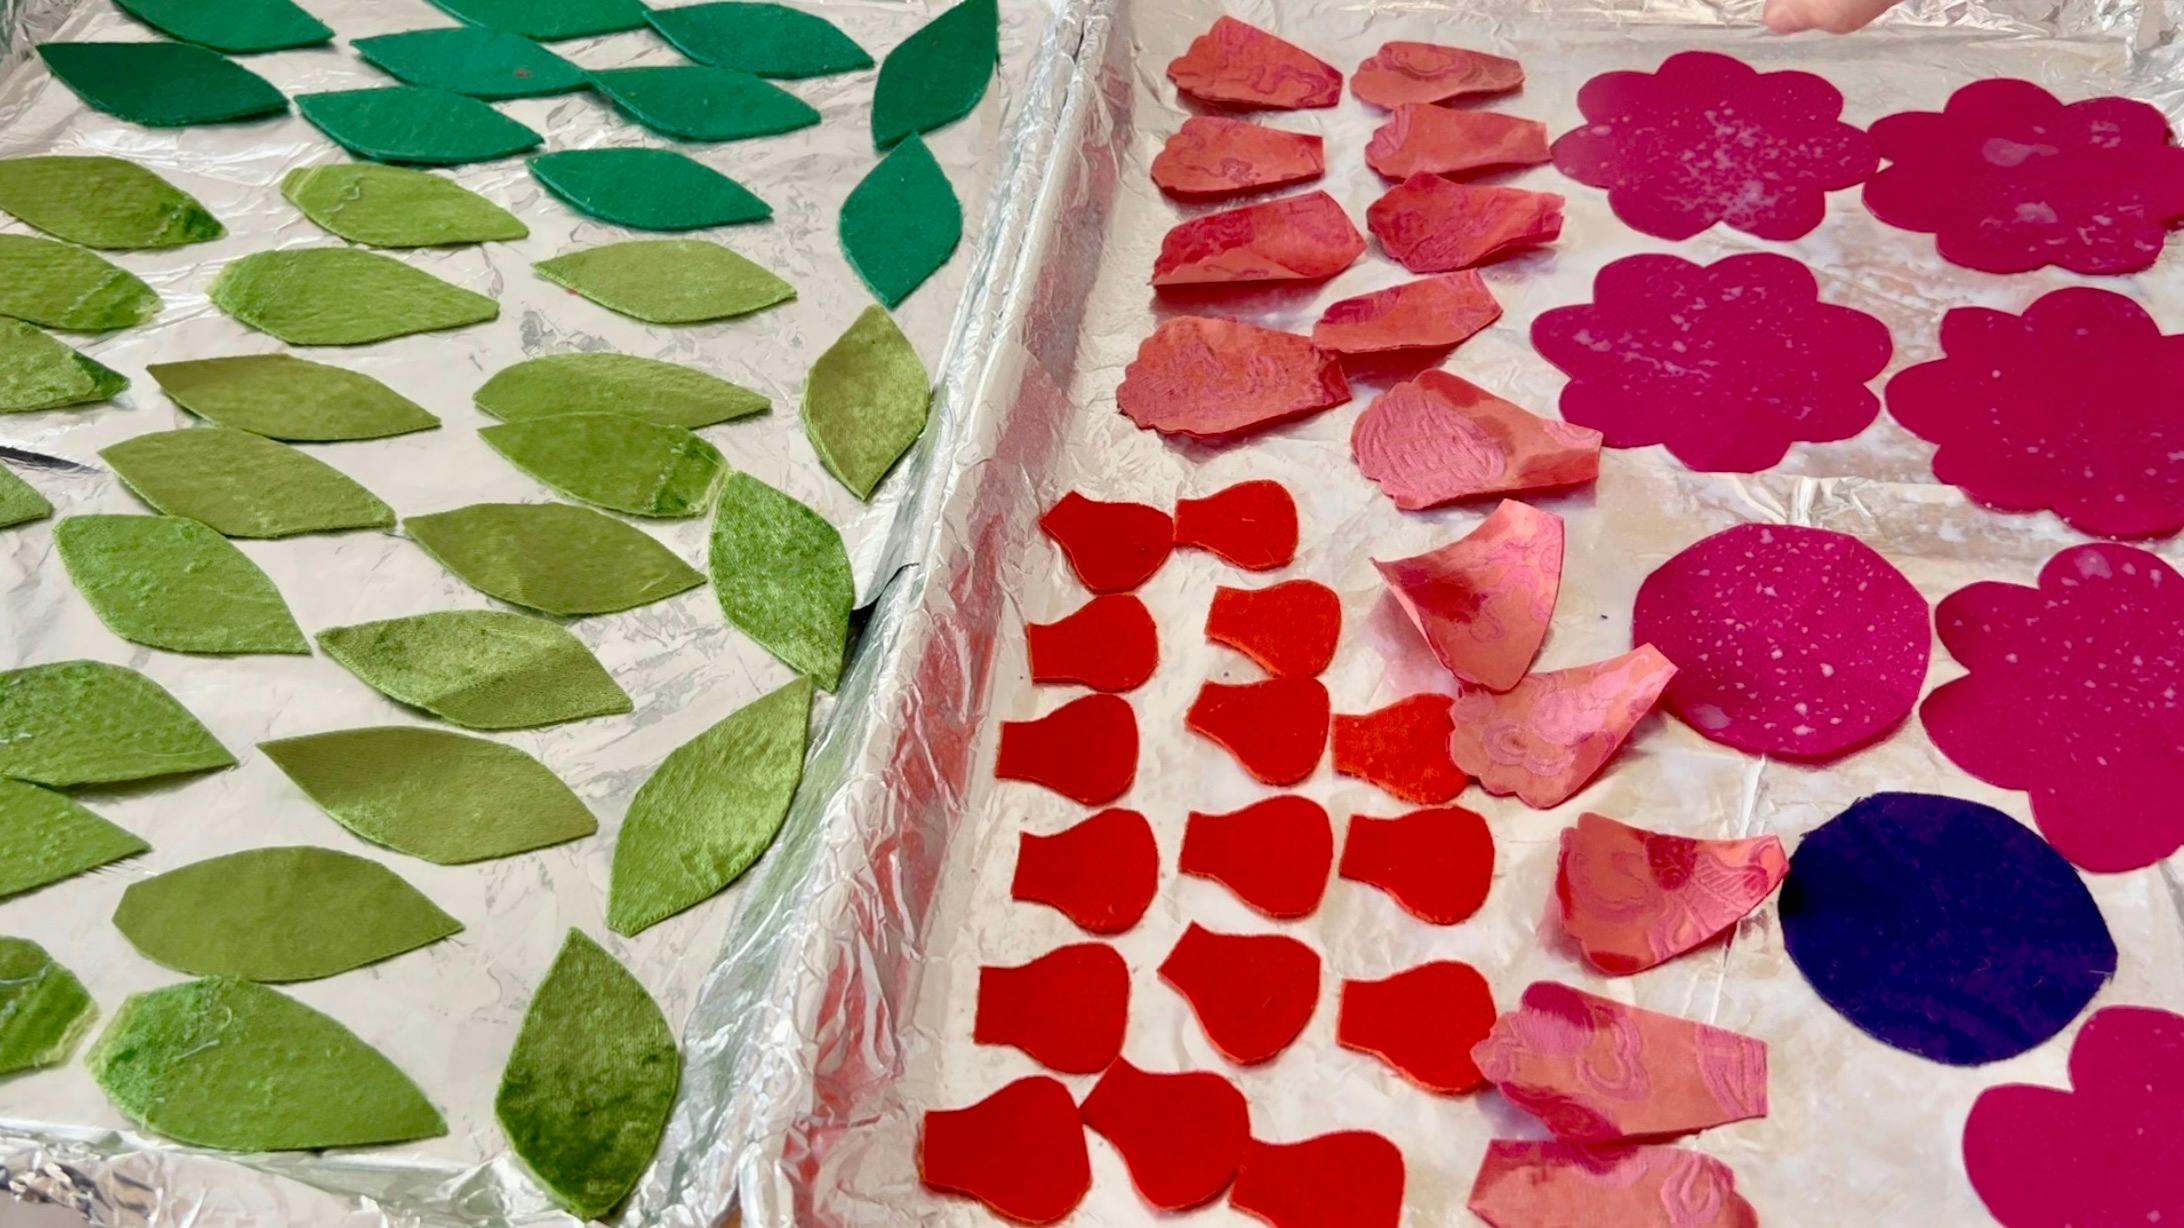
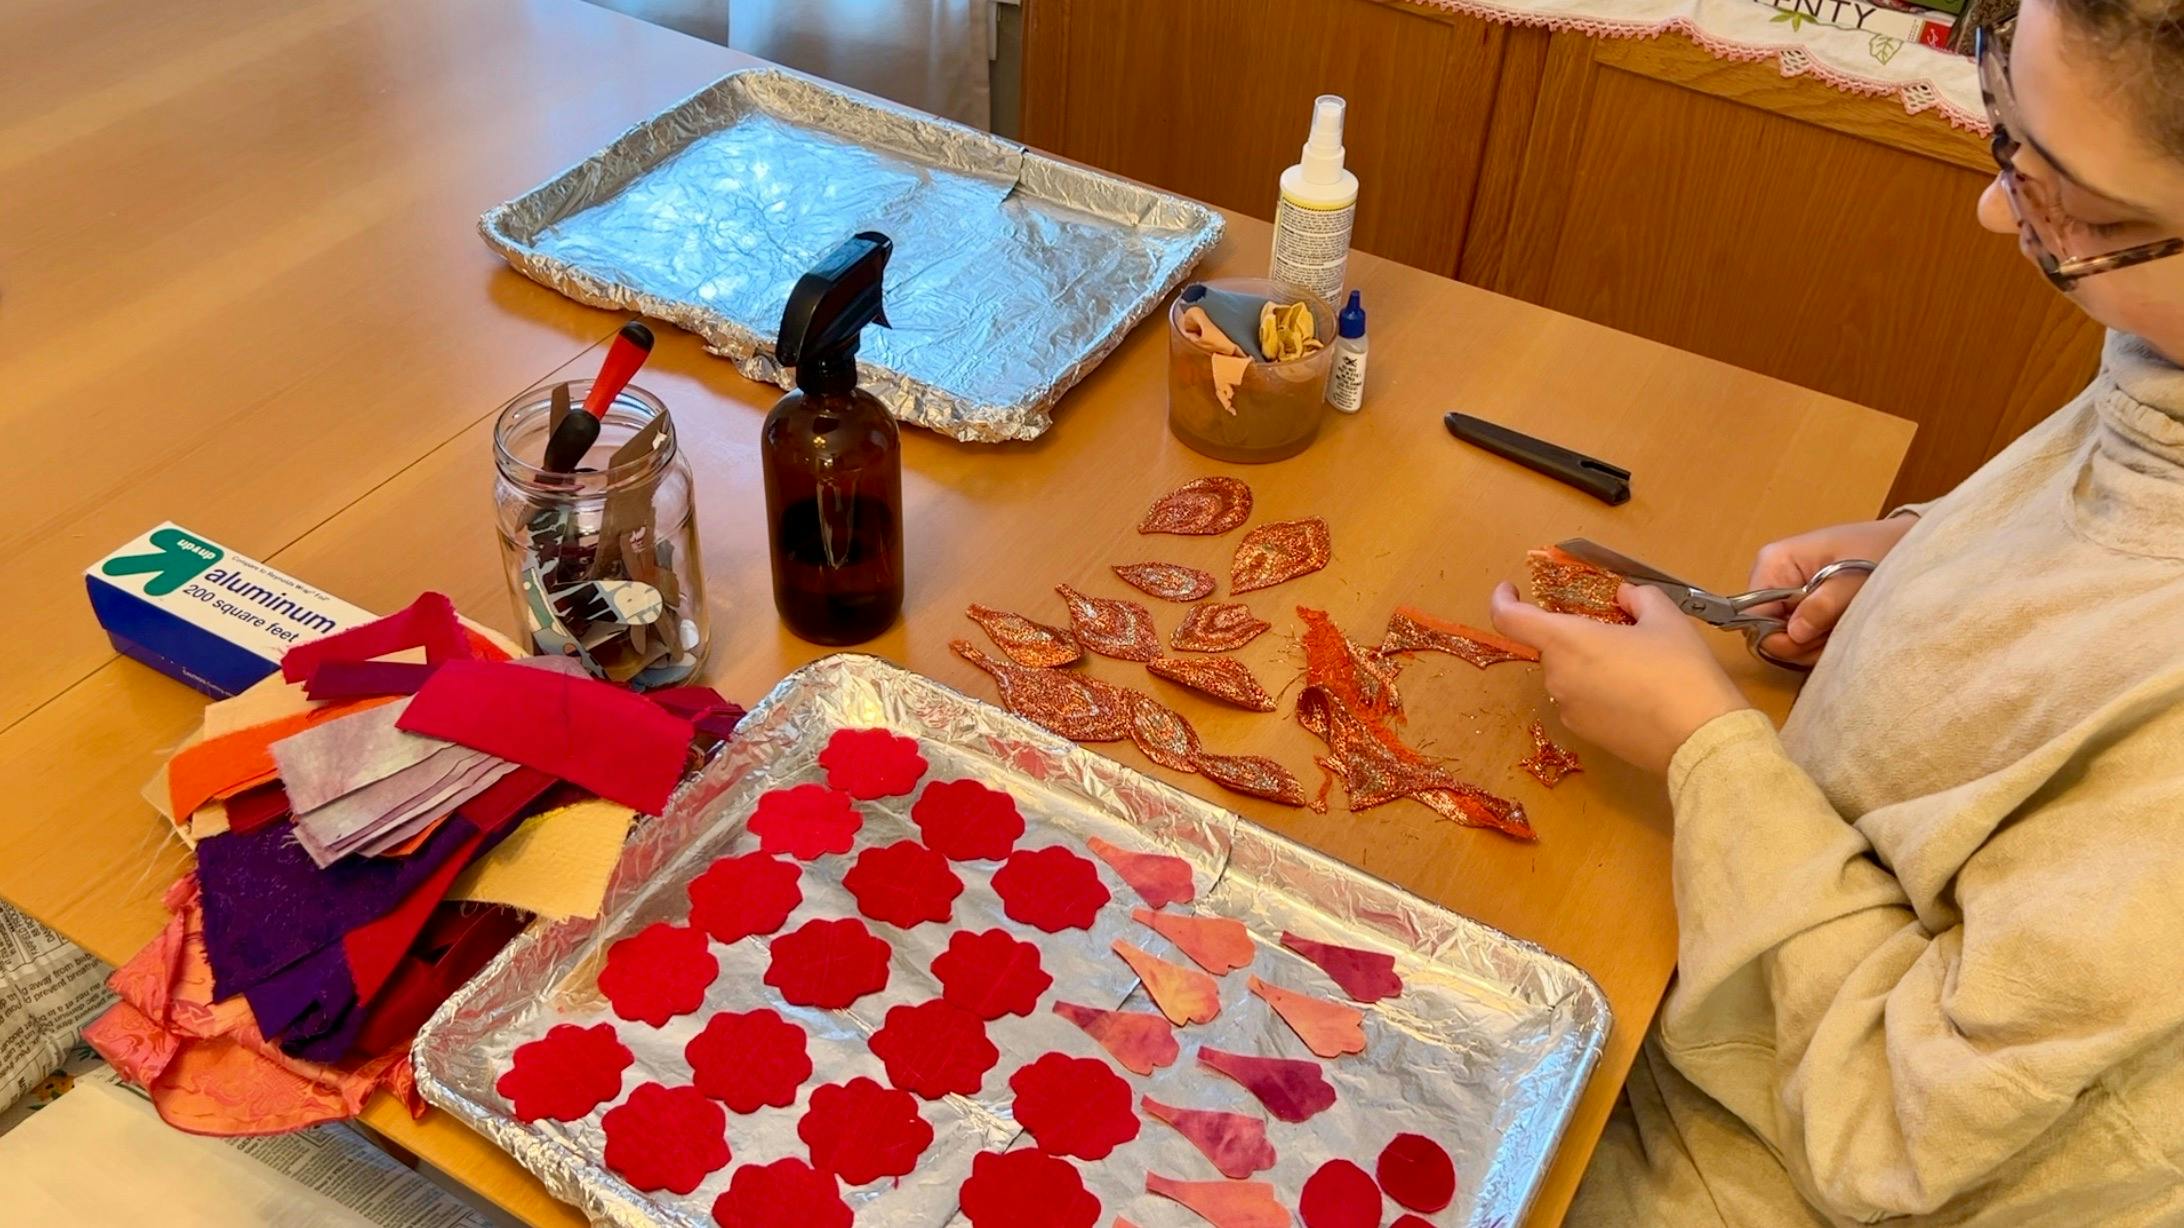
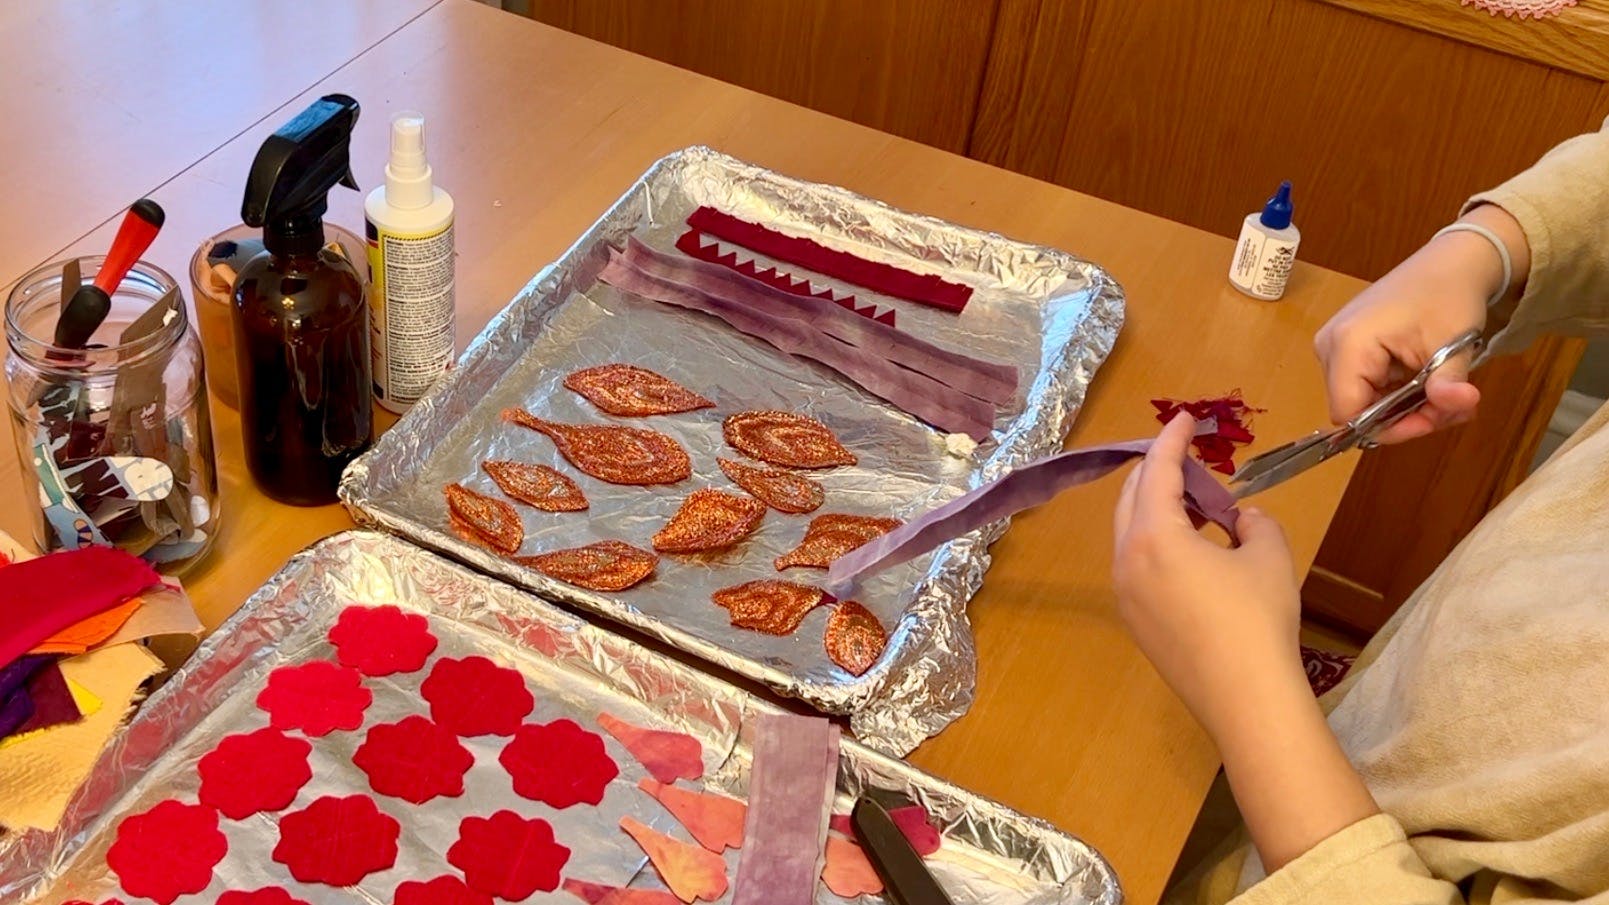
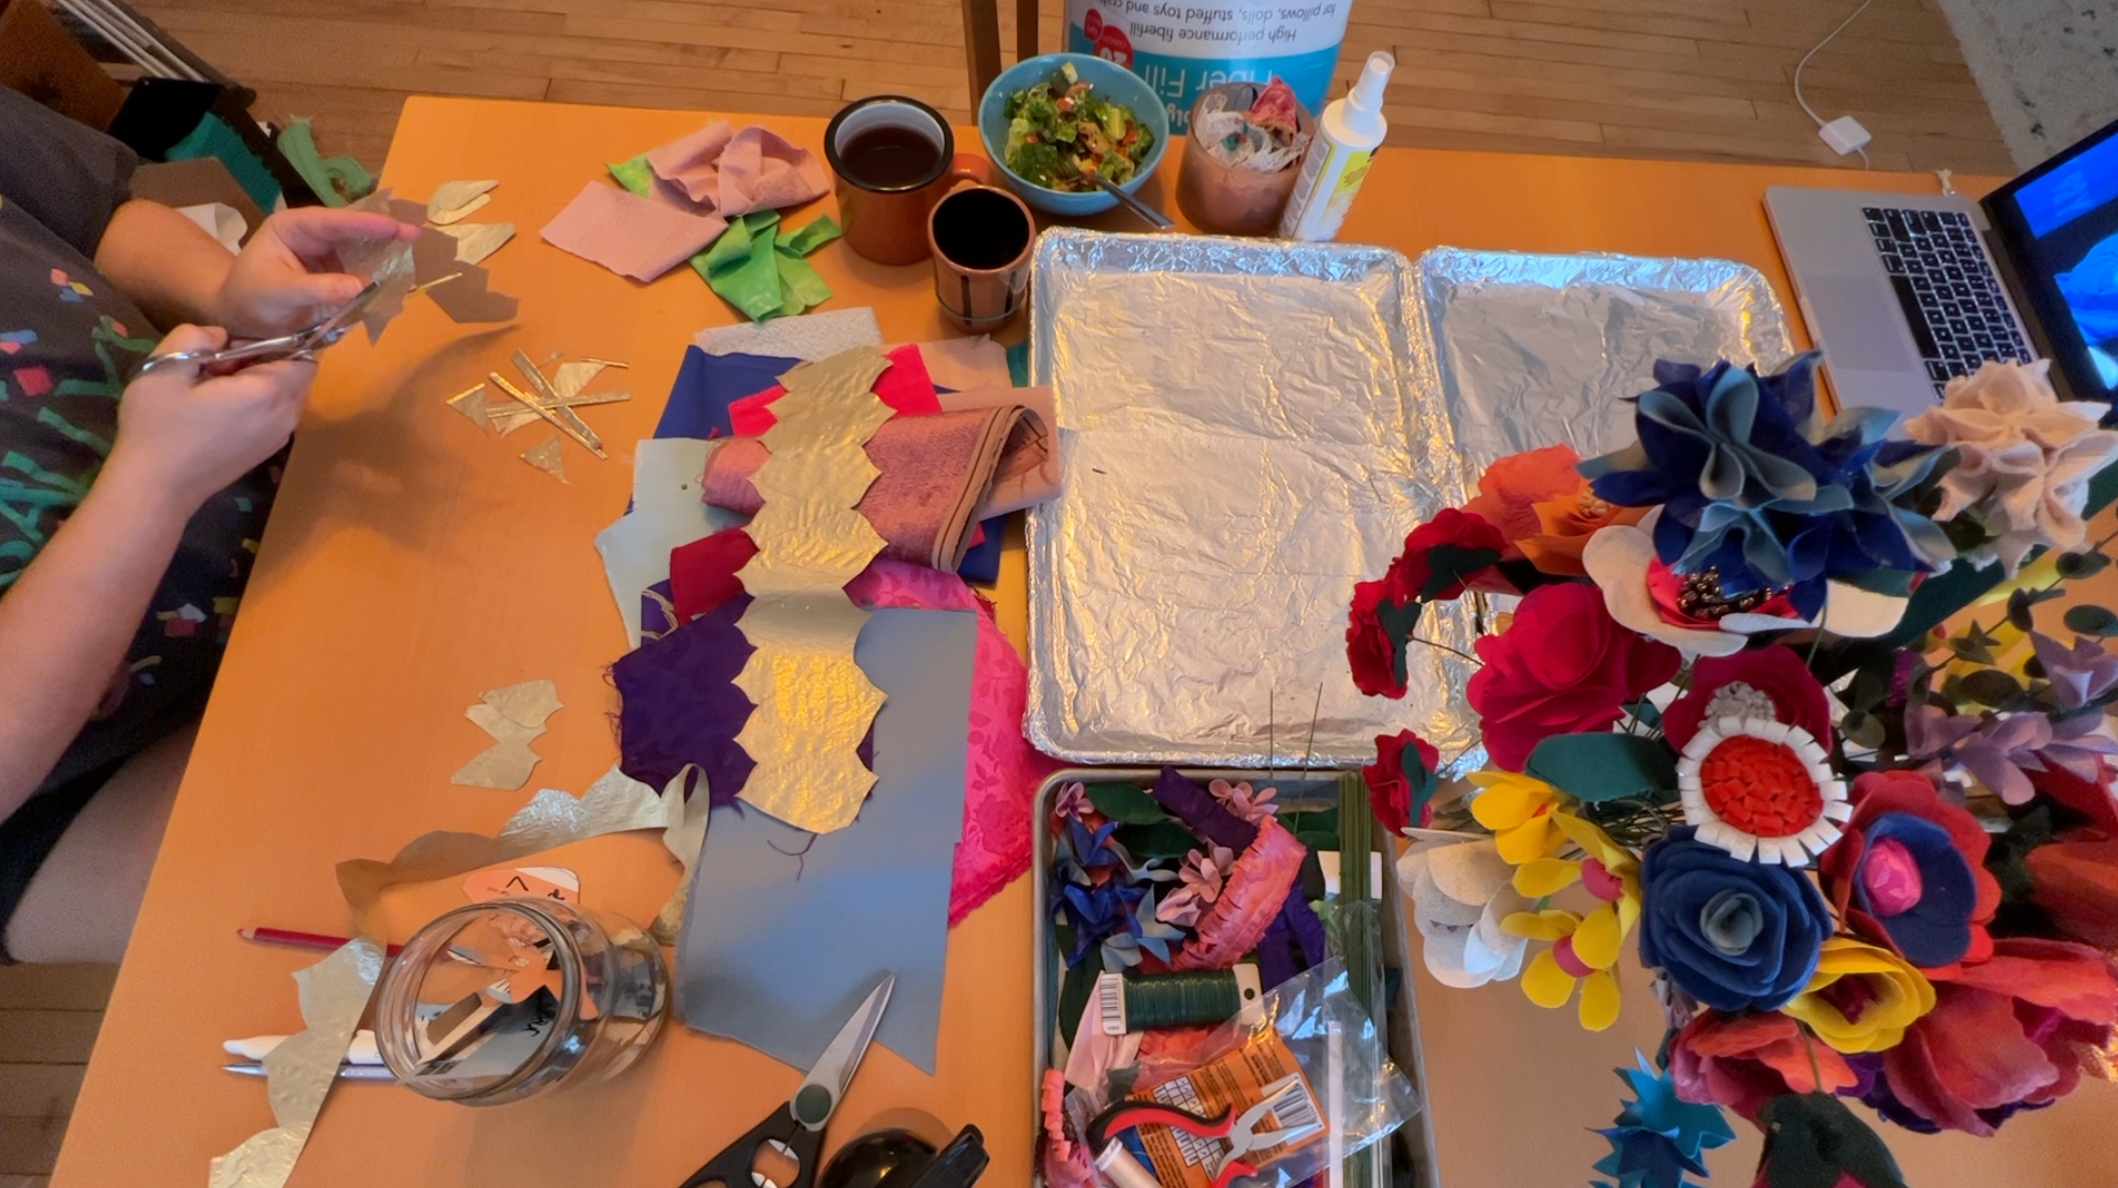
After cutting out a bunch of flowers, I laid down some foil onto a sheet tray and sprayed them with the Stiffen Stuff. Some of the fabrics soaked it through to both sides, but the thicker, tighter woven fabrics didn’t and just curled up. Not a problem though, I just flipped those over and sprayed both sides to make sure every petal was saturated thoroughly.
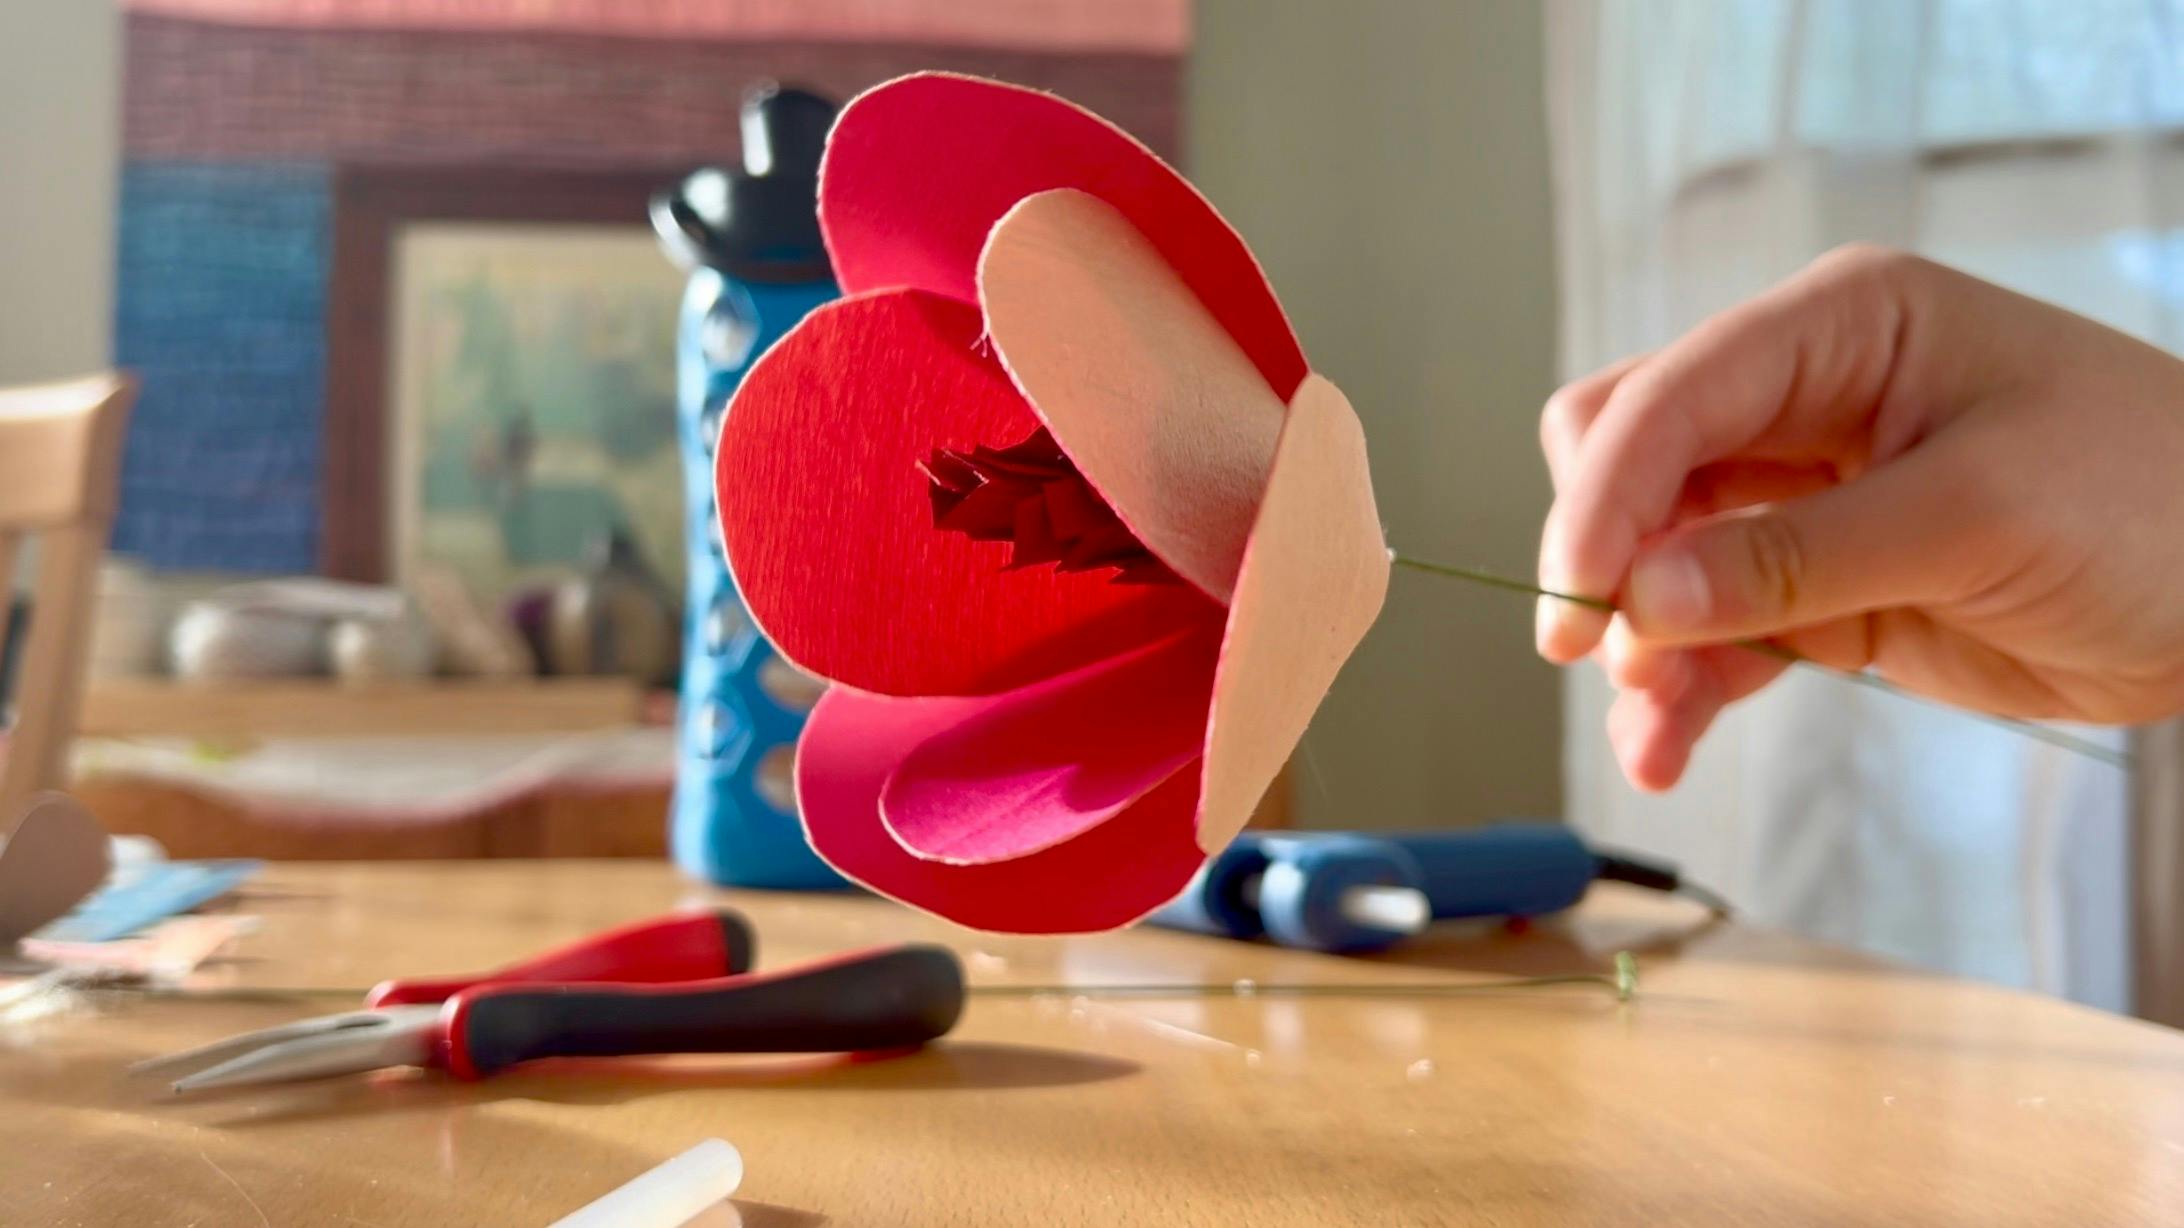
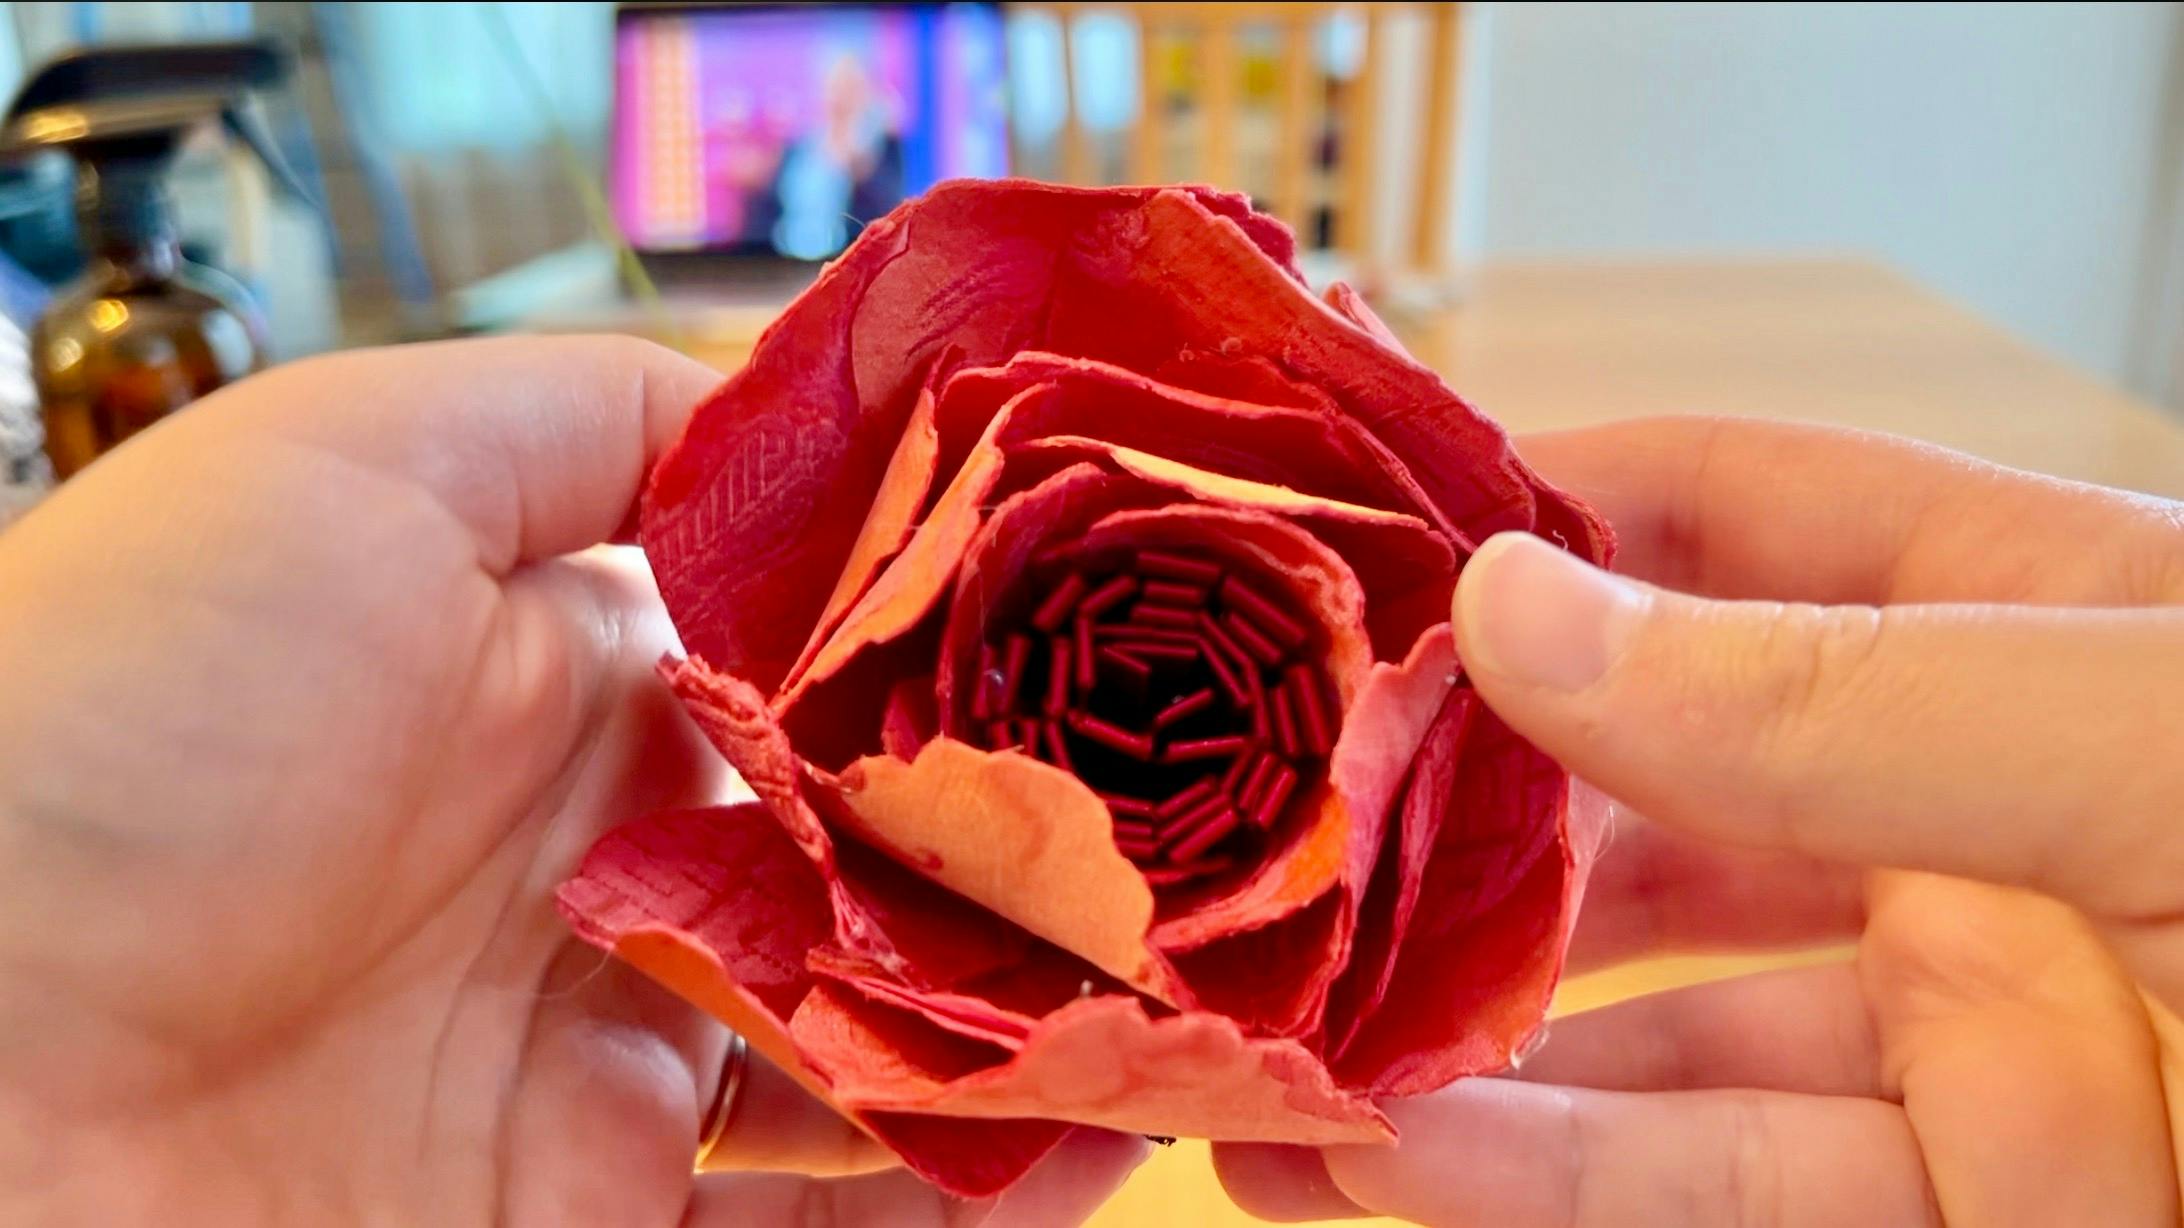
Once a few of the petals were dry, I wanted to try making just one flower to see if it worked. I decided to start with the two-toned tulip because it was already so pretty. I made a center with a rust-colored fabric, threaded on a circular base, and then glued the petals around it, and FINALLY, after all the testing and prep and waiting, I had a flower! I finally got to see the vision come to life!
I got going on cutting out more petals, like this incredible orange lamé fabric that had petal shapes in the design of it! This fabric and a few others were very ravel-y on the edges, so I added Fray Check right away to make sure they wouldn’t disintegrate as I handled them.
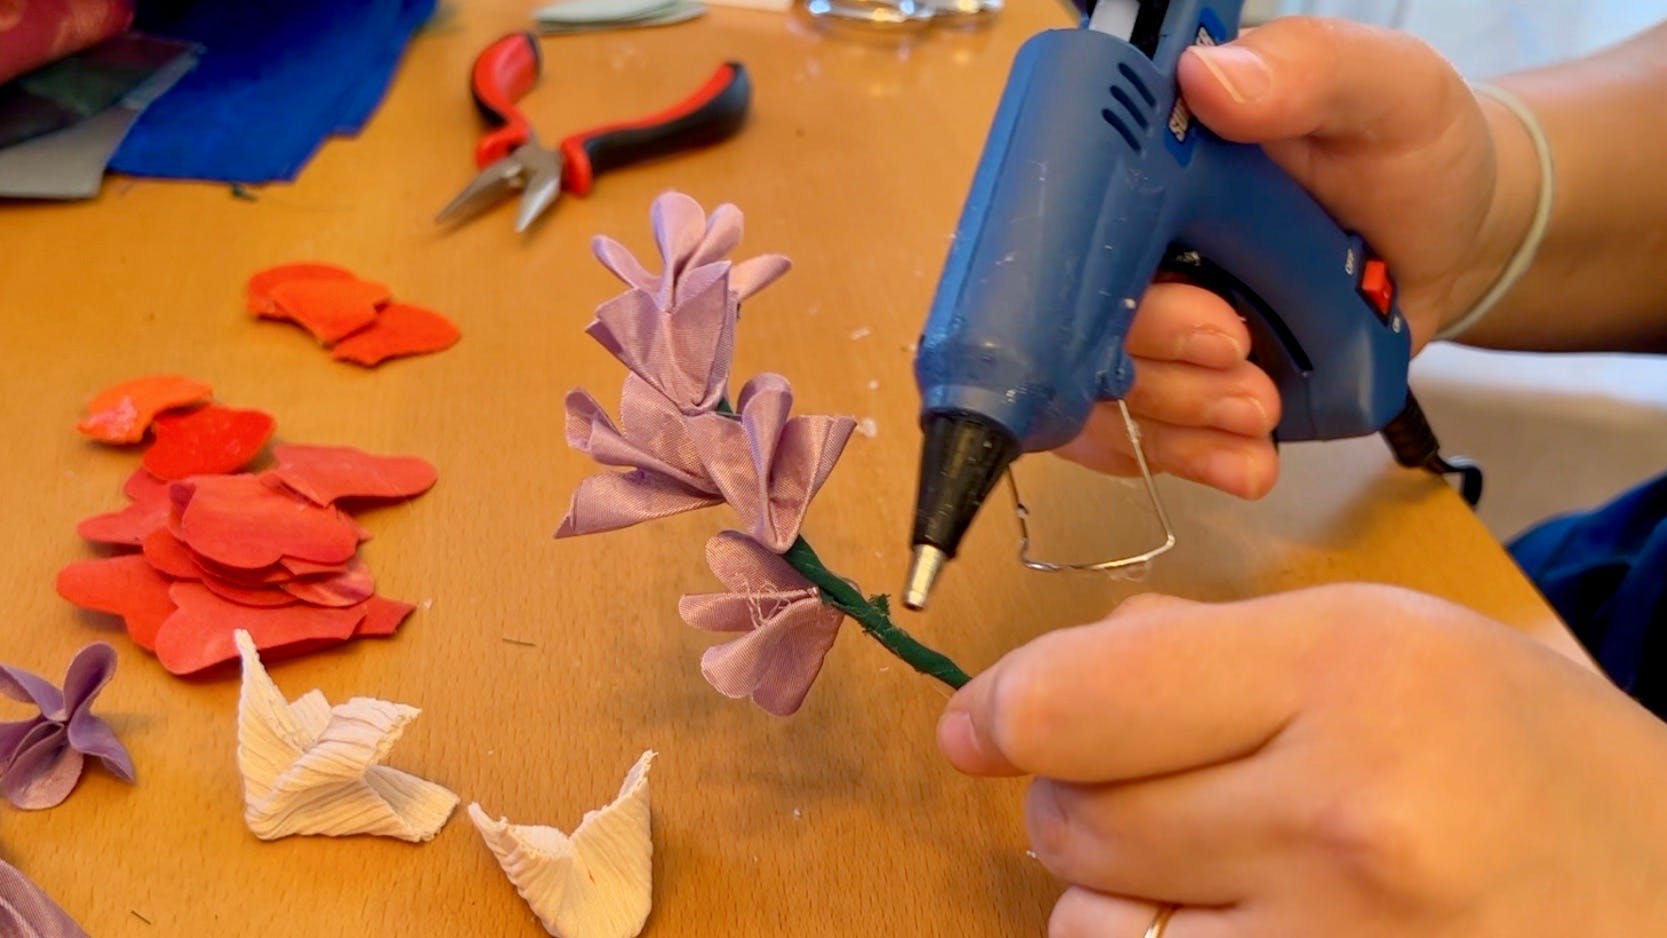
I also made a ton of strips, both for the flower centers and for some lavender-style stalk flowers (see below!). These strips were folded in half and glued only where two long sides met, so that the top folded part could be cut into tiny strips that would feather out when rolled up. Keep reading to see how these come together!
Fave Flowers
I won’t share with you how I made every single flower or this would be a 100-page blog post, but I want to highlight a few of my favorites as we go through the process. First, this peony was my pride and joy! I cut 35 petals for this one, which was more than any other flower because I wanted it to be bold and majestic! This was also the only flower that had three sizes of petals.
I started by cutting little slits into the bottom of the petals that I could cross over and glue together to make the flowers have a slightly cupped shape. Then I made the center by taking one of those strips of fabric I had glued in half longways and clipped it along the folded edge. Then I rolled the strip up onto one end of the stem wire, gluing as I went. This created a flat, circular base I could glue the cupped petals onto. I started with the smallest size, then the medium, and then the largest.

I also made a few of these lavender-style stalk flowers, using a strip with slits cut into it exactly the same as the center of the peony. For these, instead of wrapping them around just at one end of the wire as I did for the peony center, I spiraled the fabric down the wire. These were so fun and effective, and along with these purple ones I made some hot pink ones you’ll see later.
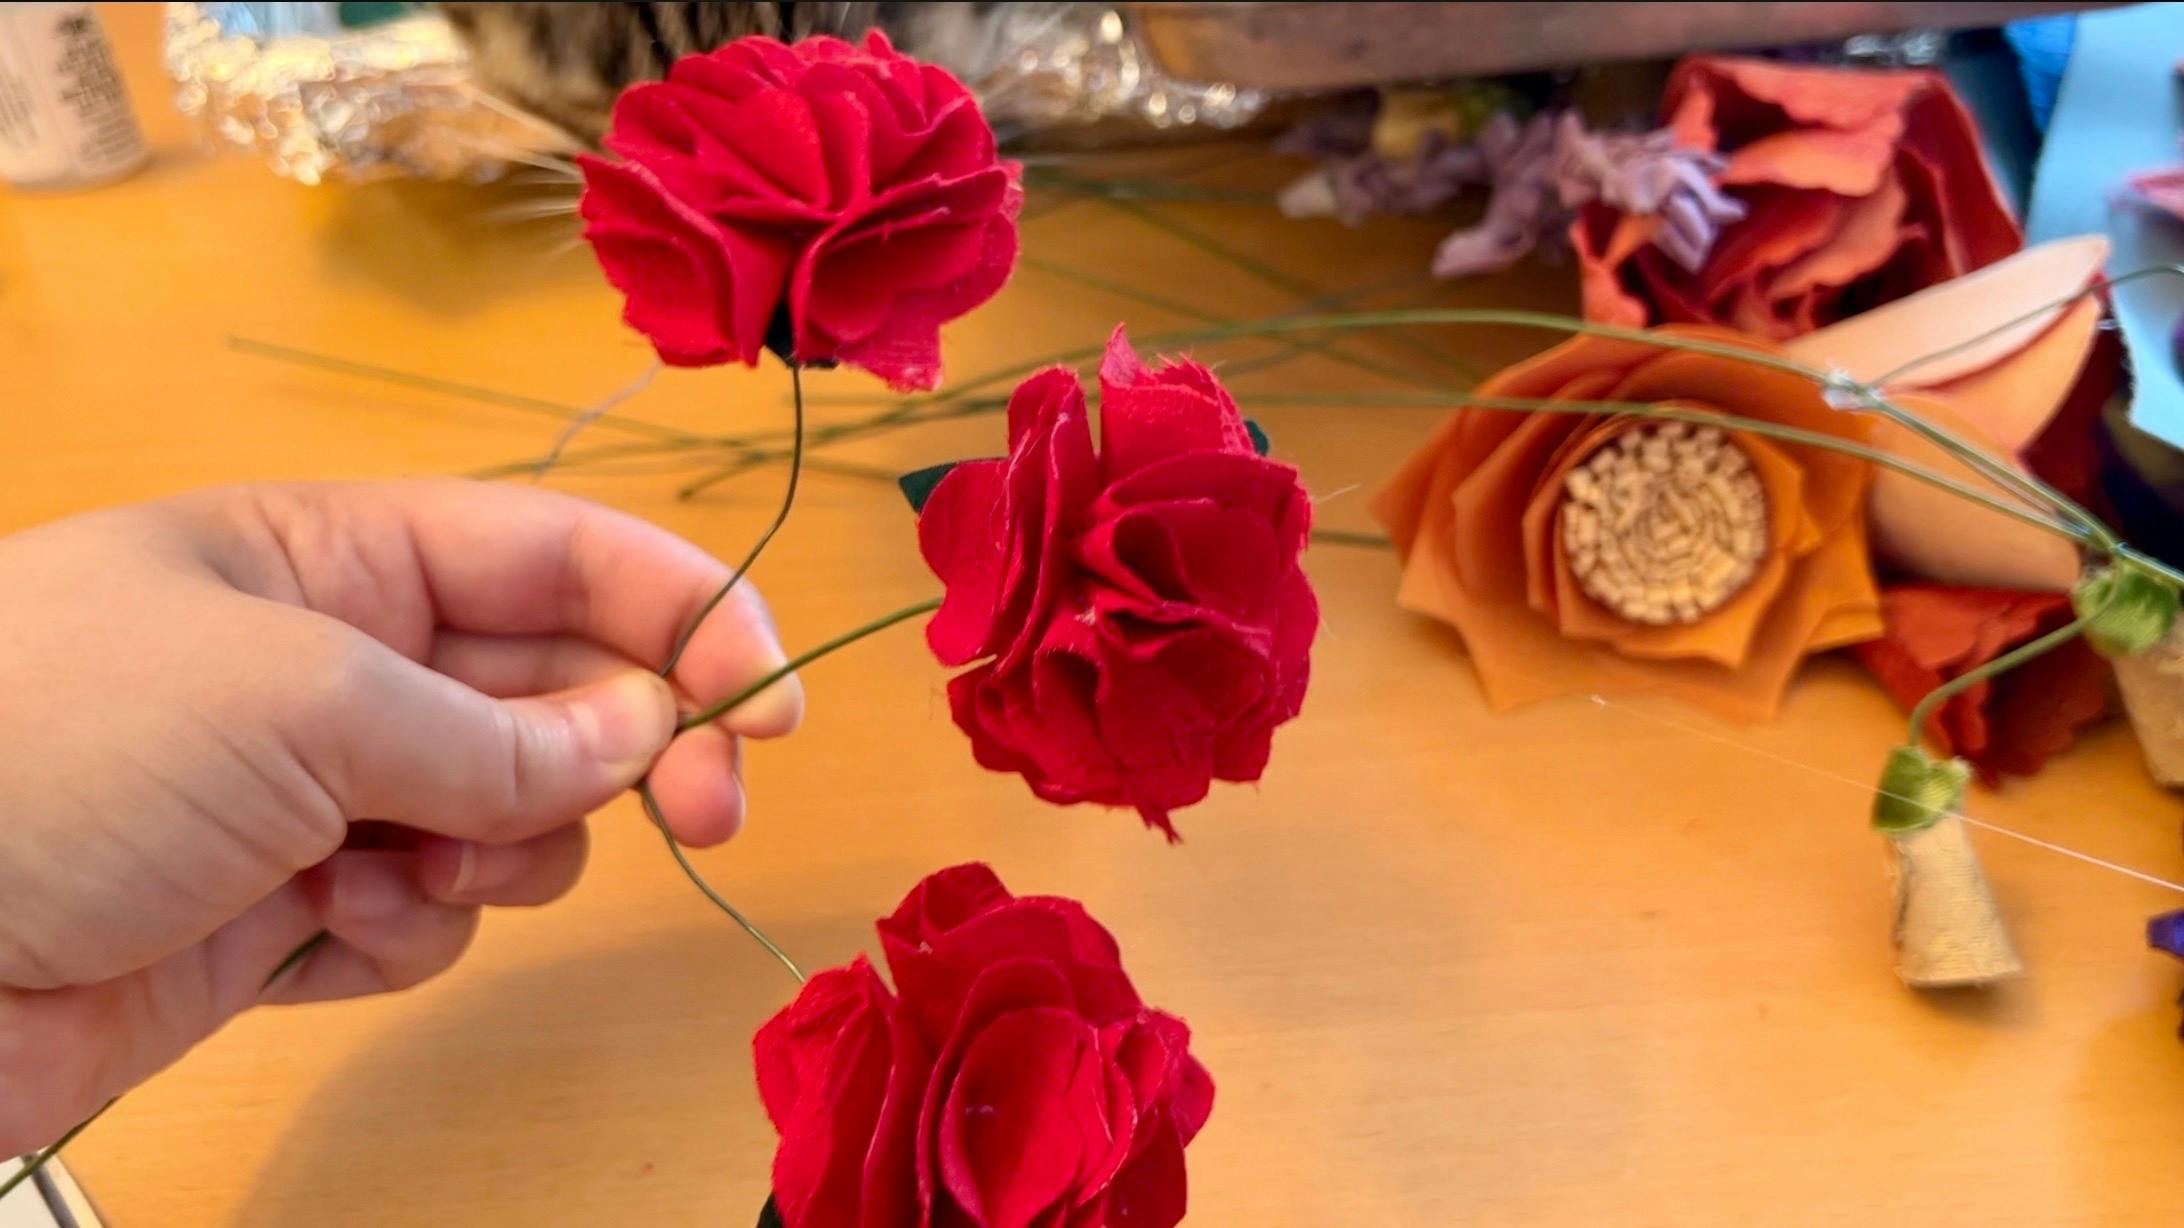
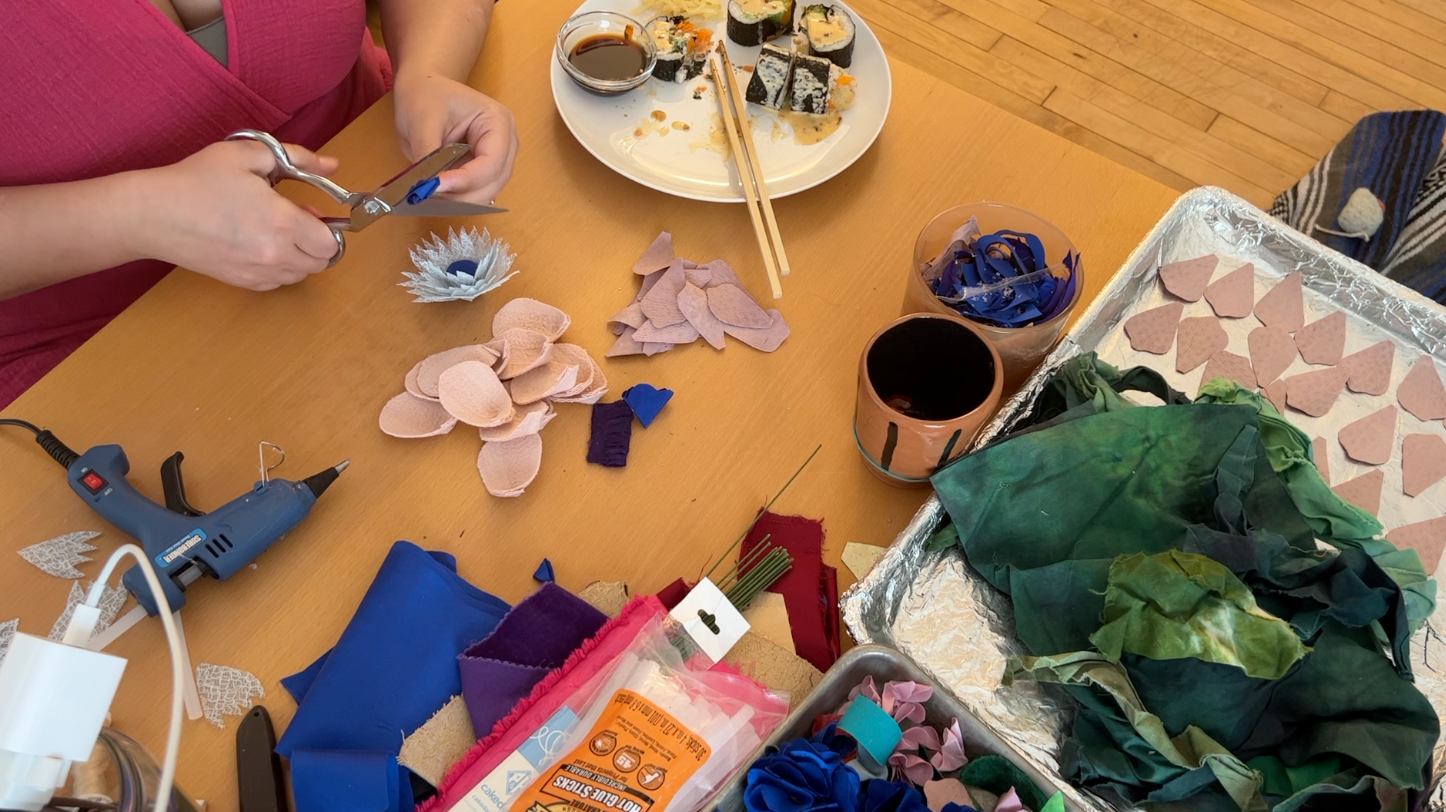
I loved these carnations. I did them in two sizes, and four colors, and made a total of 8. I was making three at a time in this footage, but each carnation starts with 1 base circle and 6 larger petaled circles. All 6 petaled circles are folded in 4ths and then glued. Four get glued onto the base circle, and 2 get their bottom corners clipped off and then glued standing straight up in the center. These were so fast to make and I loved how chunky they were!
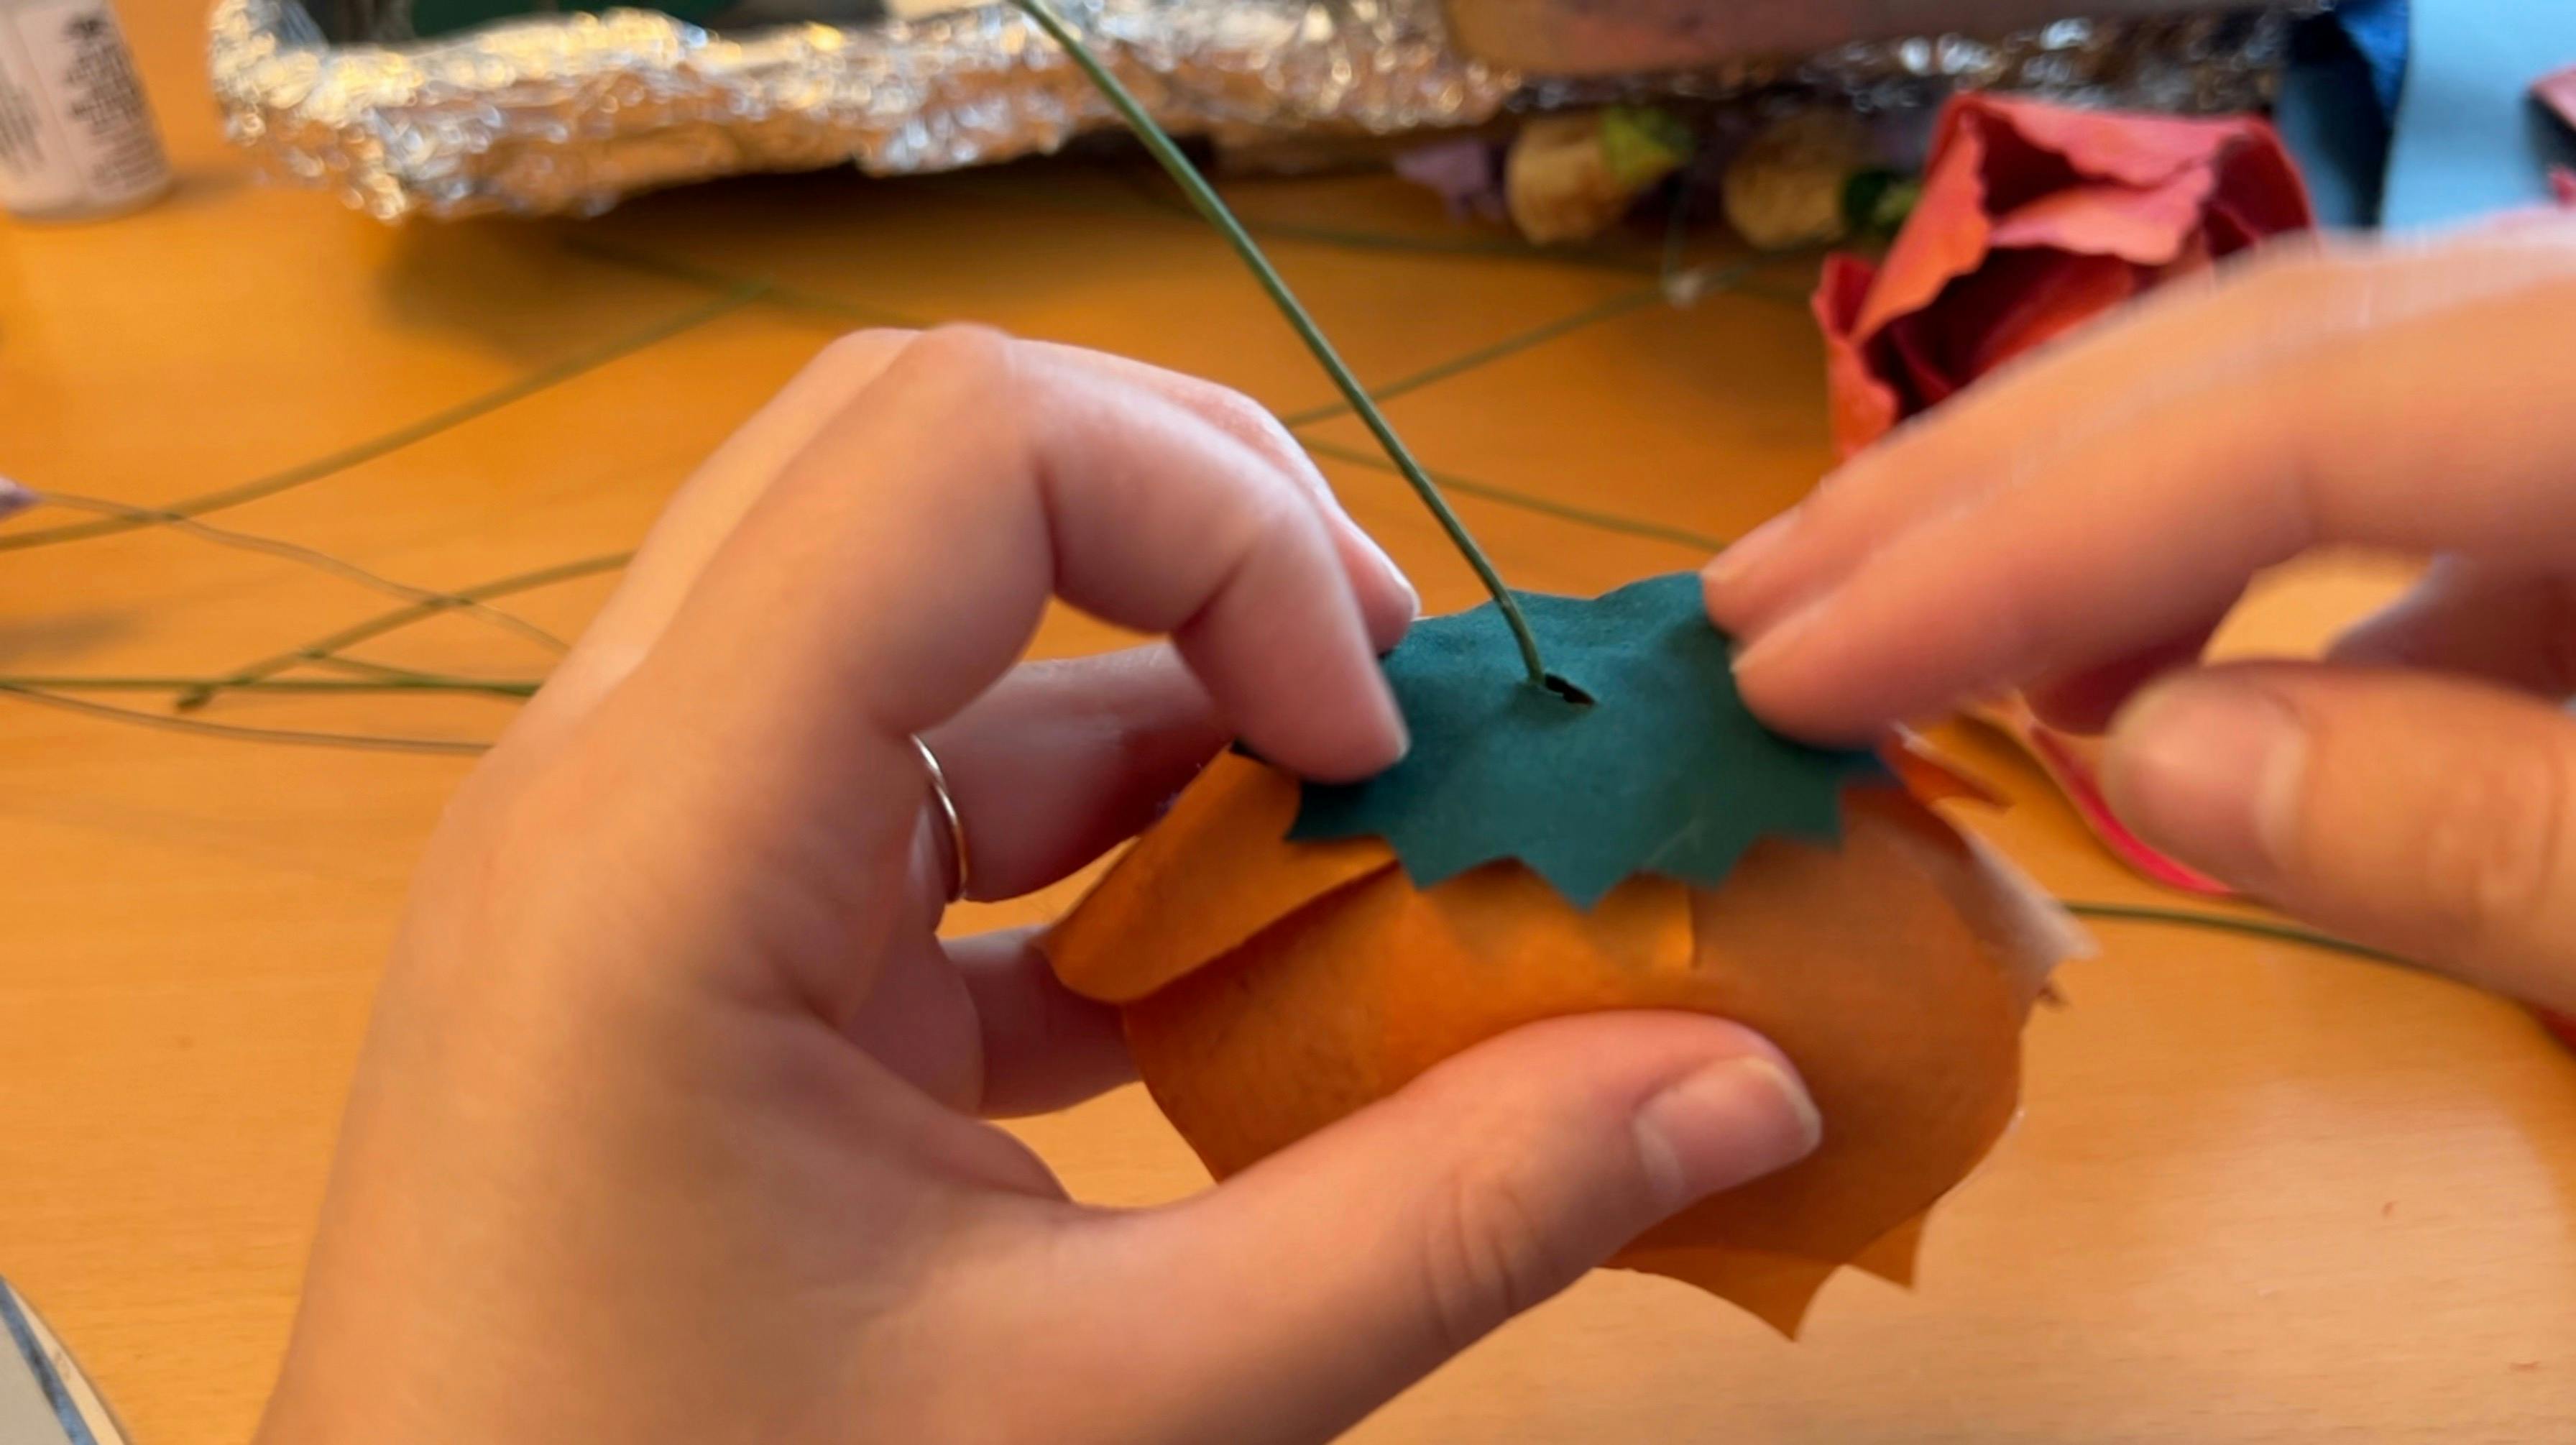
For the butts, or the green bases of the flowers, I cut out a few different shapes and sizes so that they wouldn’t all be the same. Then I clipped a tiny hole in the center of each of them and threaded the stems through. Then I glued the whole thing to the bottom of each flower. This gave the flowers such a clean finish and covered up any chunks of hot glue or messiness on the underside of the flowers.
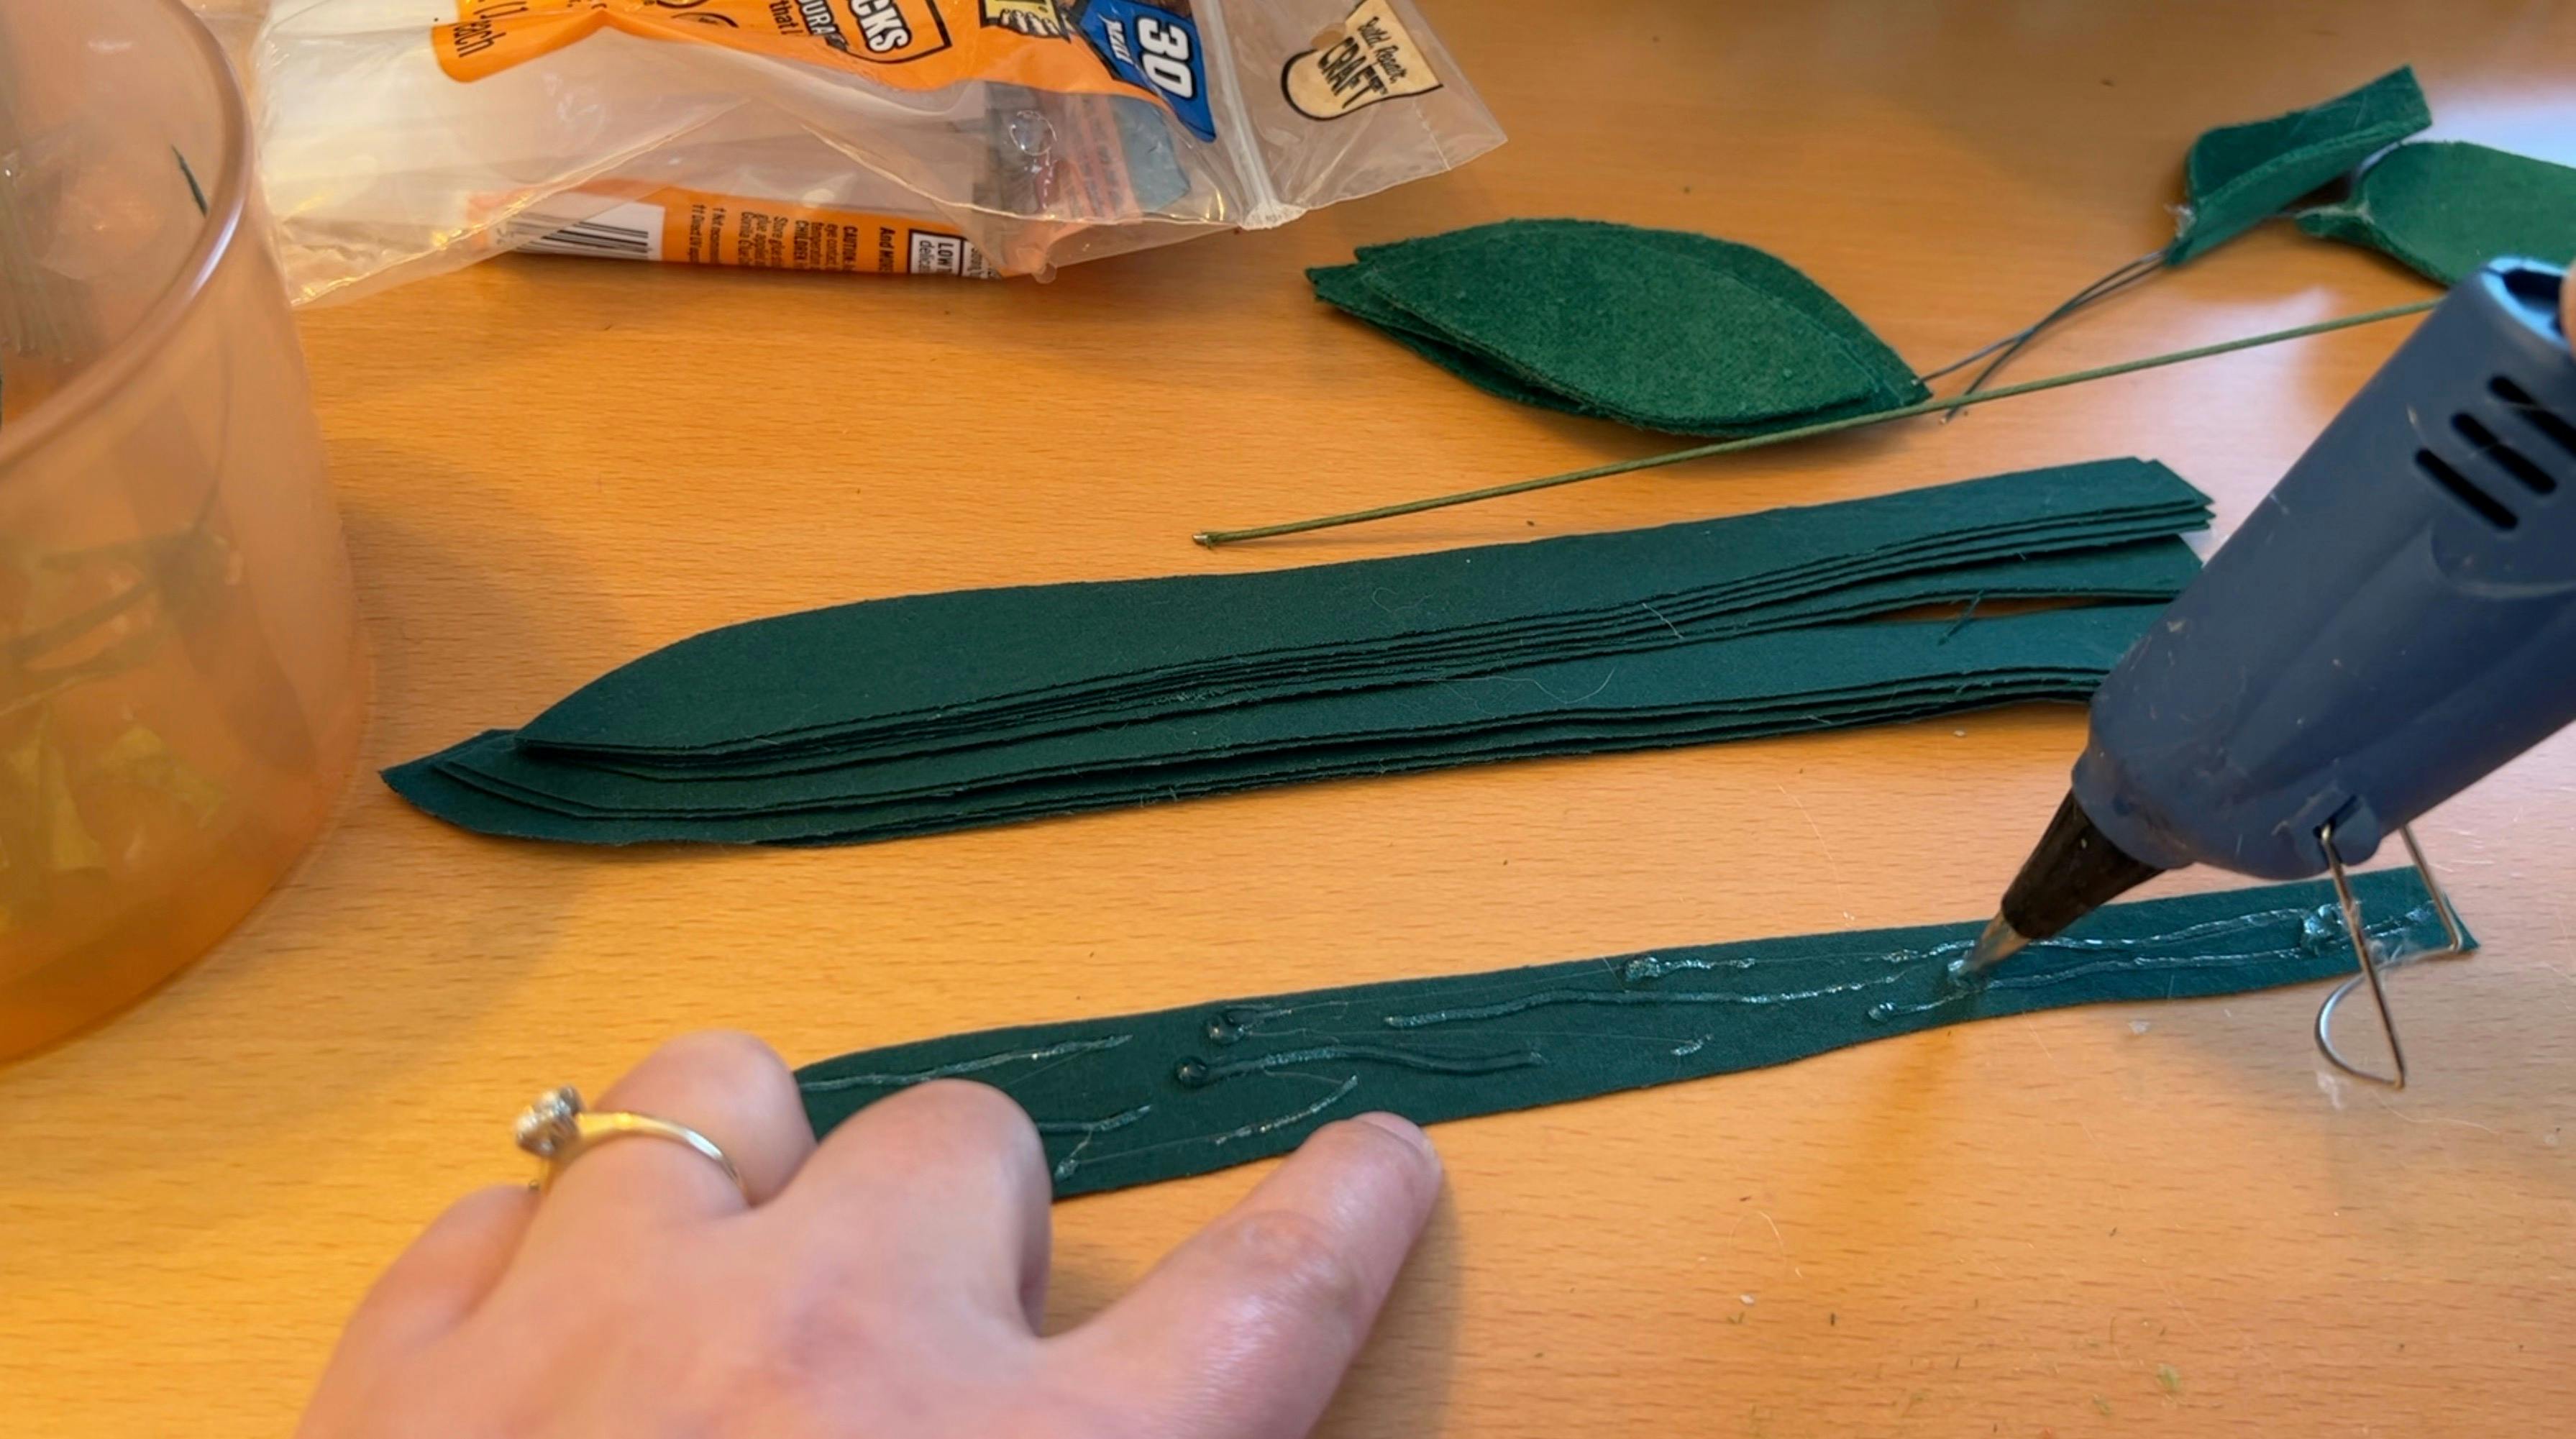
I cut a lot of these long skinny green pieces to be like day lily leaves, and these were simple. I just glued two together with a piece of thin wire sandwiched inside. I made a bunch of these and then went back to making flowers.
These little ones were some of my favorites. I cut out a five-petaled shape and glued it as I pinched together each of the petals, which left me with this tiny little flower! I made a bunch of them and glued them onto a long wire that I had wrapped in green fabric. I did this also in pink later on, and I made a bunch of individual yellow ones as well because I loved this shape so, so much.
And then I kept making flowers. So many flowers.
Coming Together
At this point, the progress was here...
... and I was REALLY proud of it, clearly!
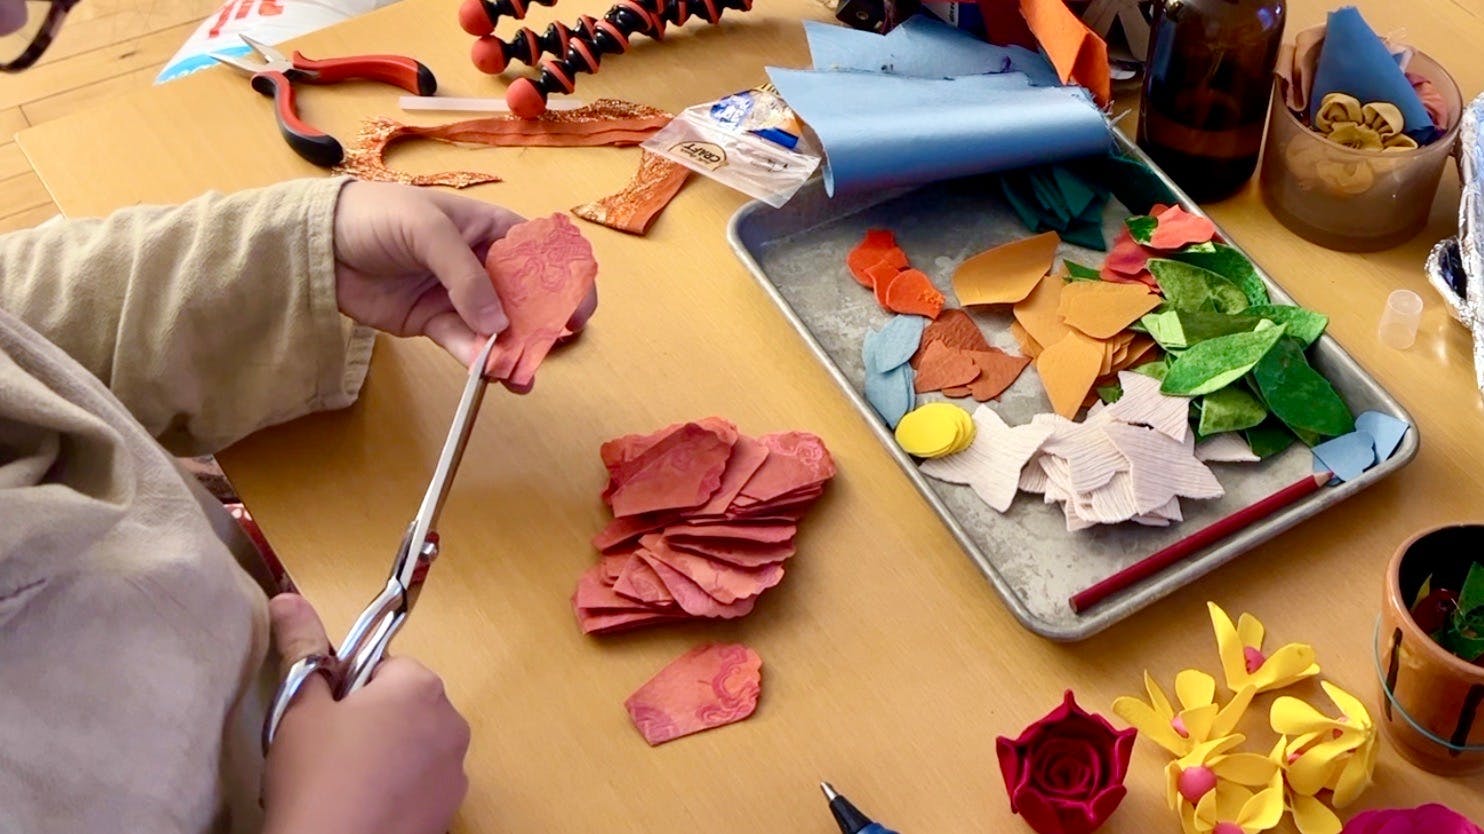
So I kept cutting out petals, cutting them out in strips first to make the detailed cuts easier without the excess fabric flapping around.
Getting Some Help
Even though I wasn't done with the flowers, I was already thinking about how I would arrange everything. My mother-in-law Debbie used to work as a florist and offered her expertise which I was so grateful for! I asked her about how I should do the greenery, (I asked if I should do them on the stems or separate sprigs, and she said, "BOTH!"), and how I should arrange the flowers, ("Follow your creative eye and trust that if you like it, it's good!").

She also suggested that when it can time to do the final arranging, I should try wrapping the flowers together as I went instead of all at once. She said to tape together the center flowers and spiral out from there, using tape after each layer. She said that it would be easier to arrange this than live flowers because the stems are wire and therefore can bend if needed! I hadn't thought of that. ;) She also suggested doing something for the bottom of the bouquet, since the wires all together were quite sharp. Stay tuned for how I figured that one out!
Back to Work at the Flower Factory
At this point, I just needed to focus on making flowers and leaves, and I became a bit of a factory. I would set up RuPaul's Drag Race, bring my lunch or snacks and multiple beverages, and just make flowers. It was a pretty nice way to live for this week, I gotta say!
I ended up making over 60 flowers in total, not including greenery, but the rest of the process will be shared in part 3!

To Sum Up
If you haven't yet, please go check out part 1, or forge ahead to part 3 where I share, from start to finish, how I:
- made the rest of the flowers
- made the decorative ribbon
- arranged the bouquet
- plus! how I made a matching floral headband for Lauren’s 3-month-old Rhea to wear during the ceremony
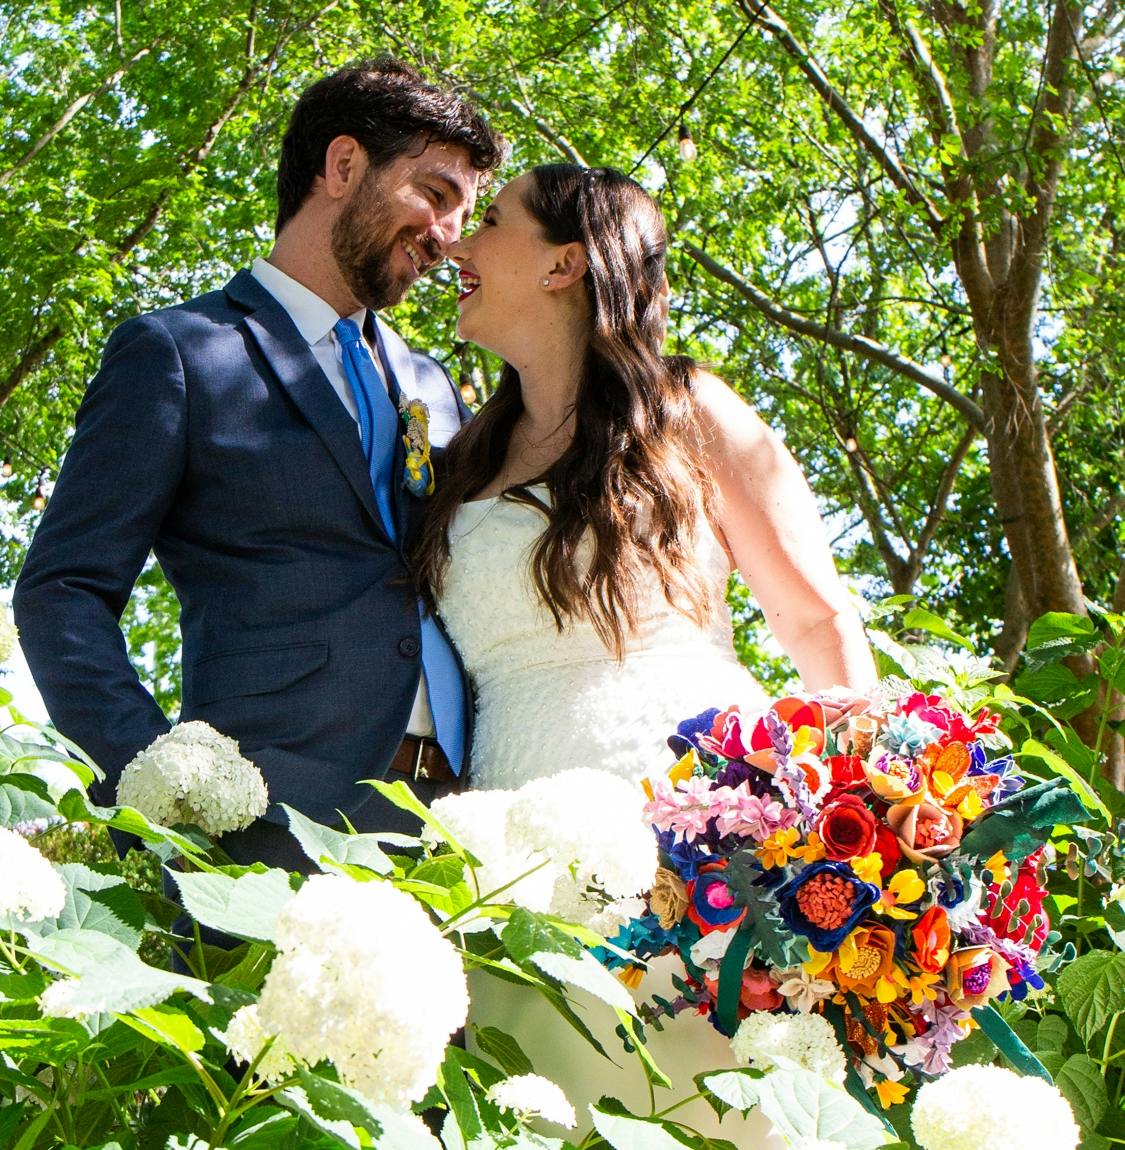
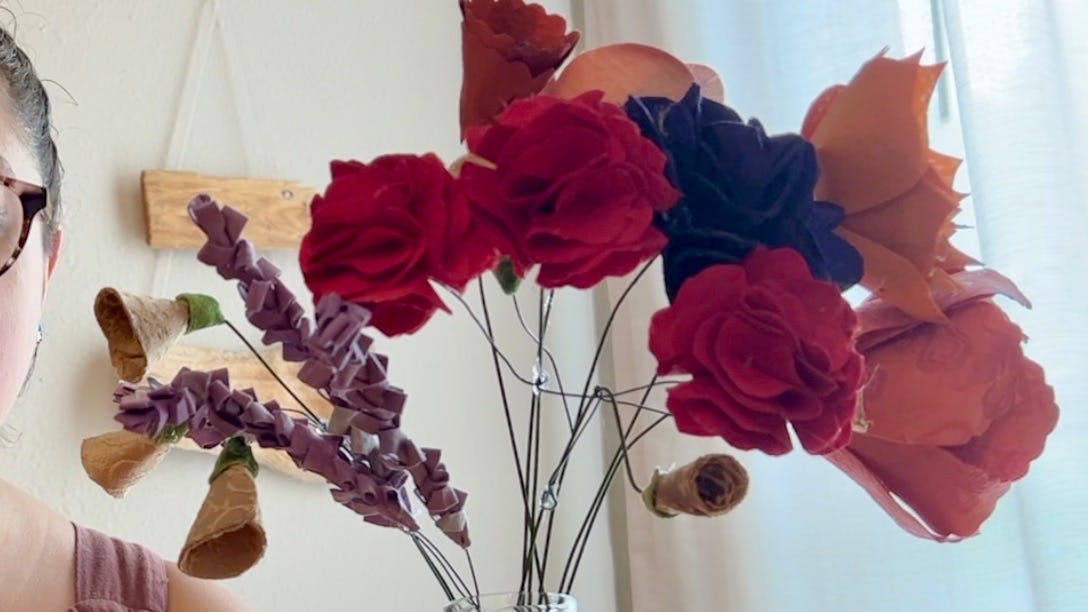
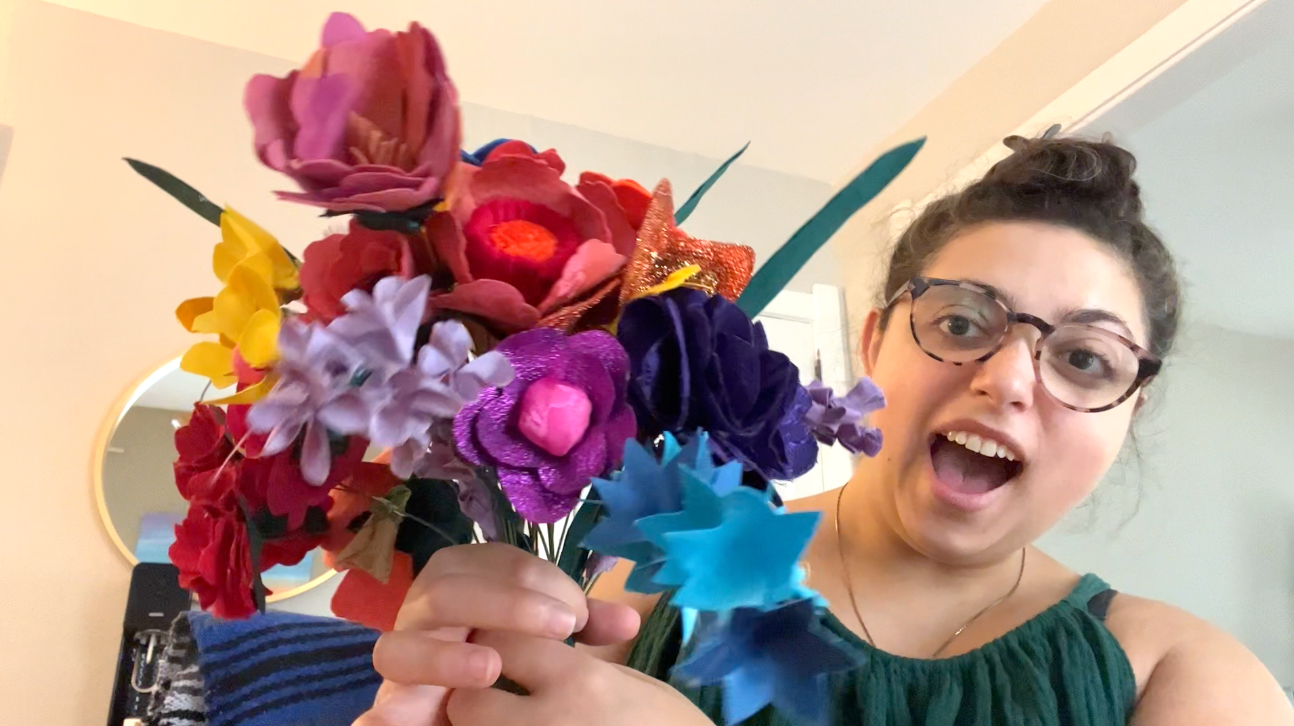
Basically, how I brought the bouquet from this:

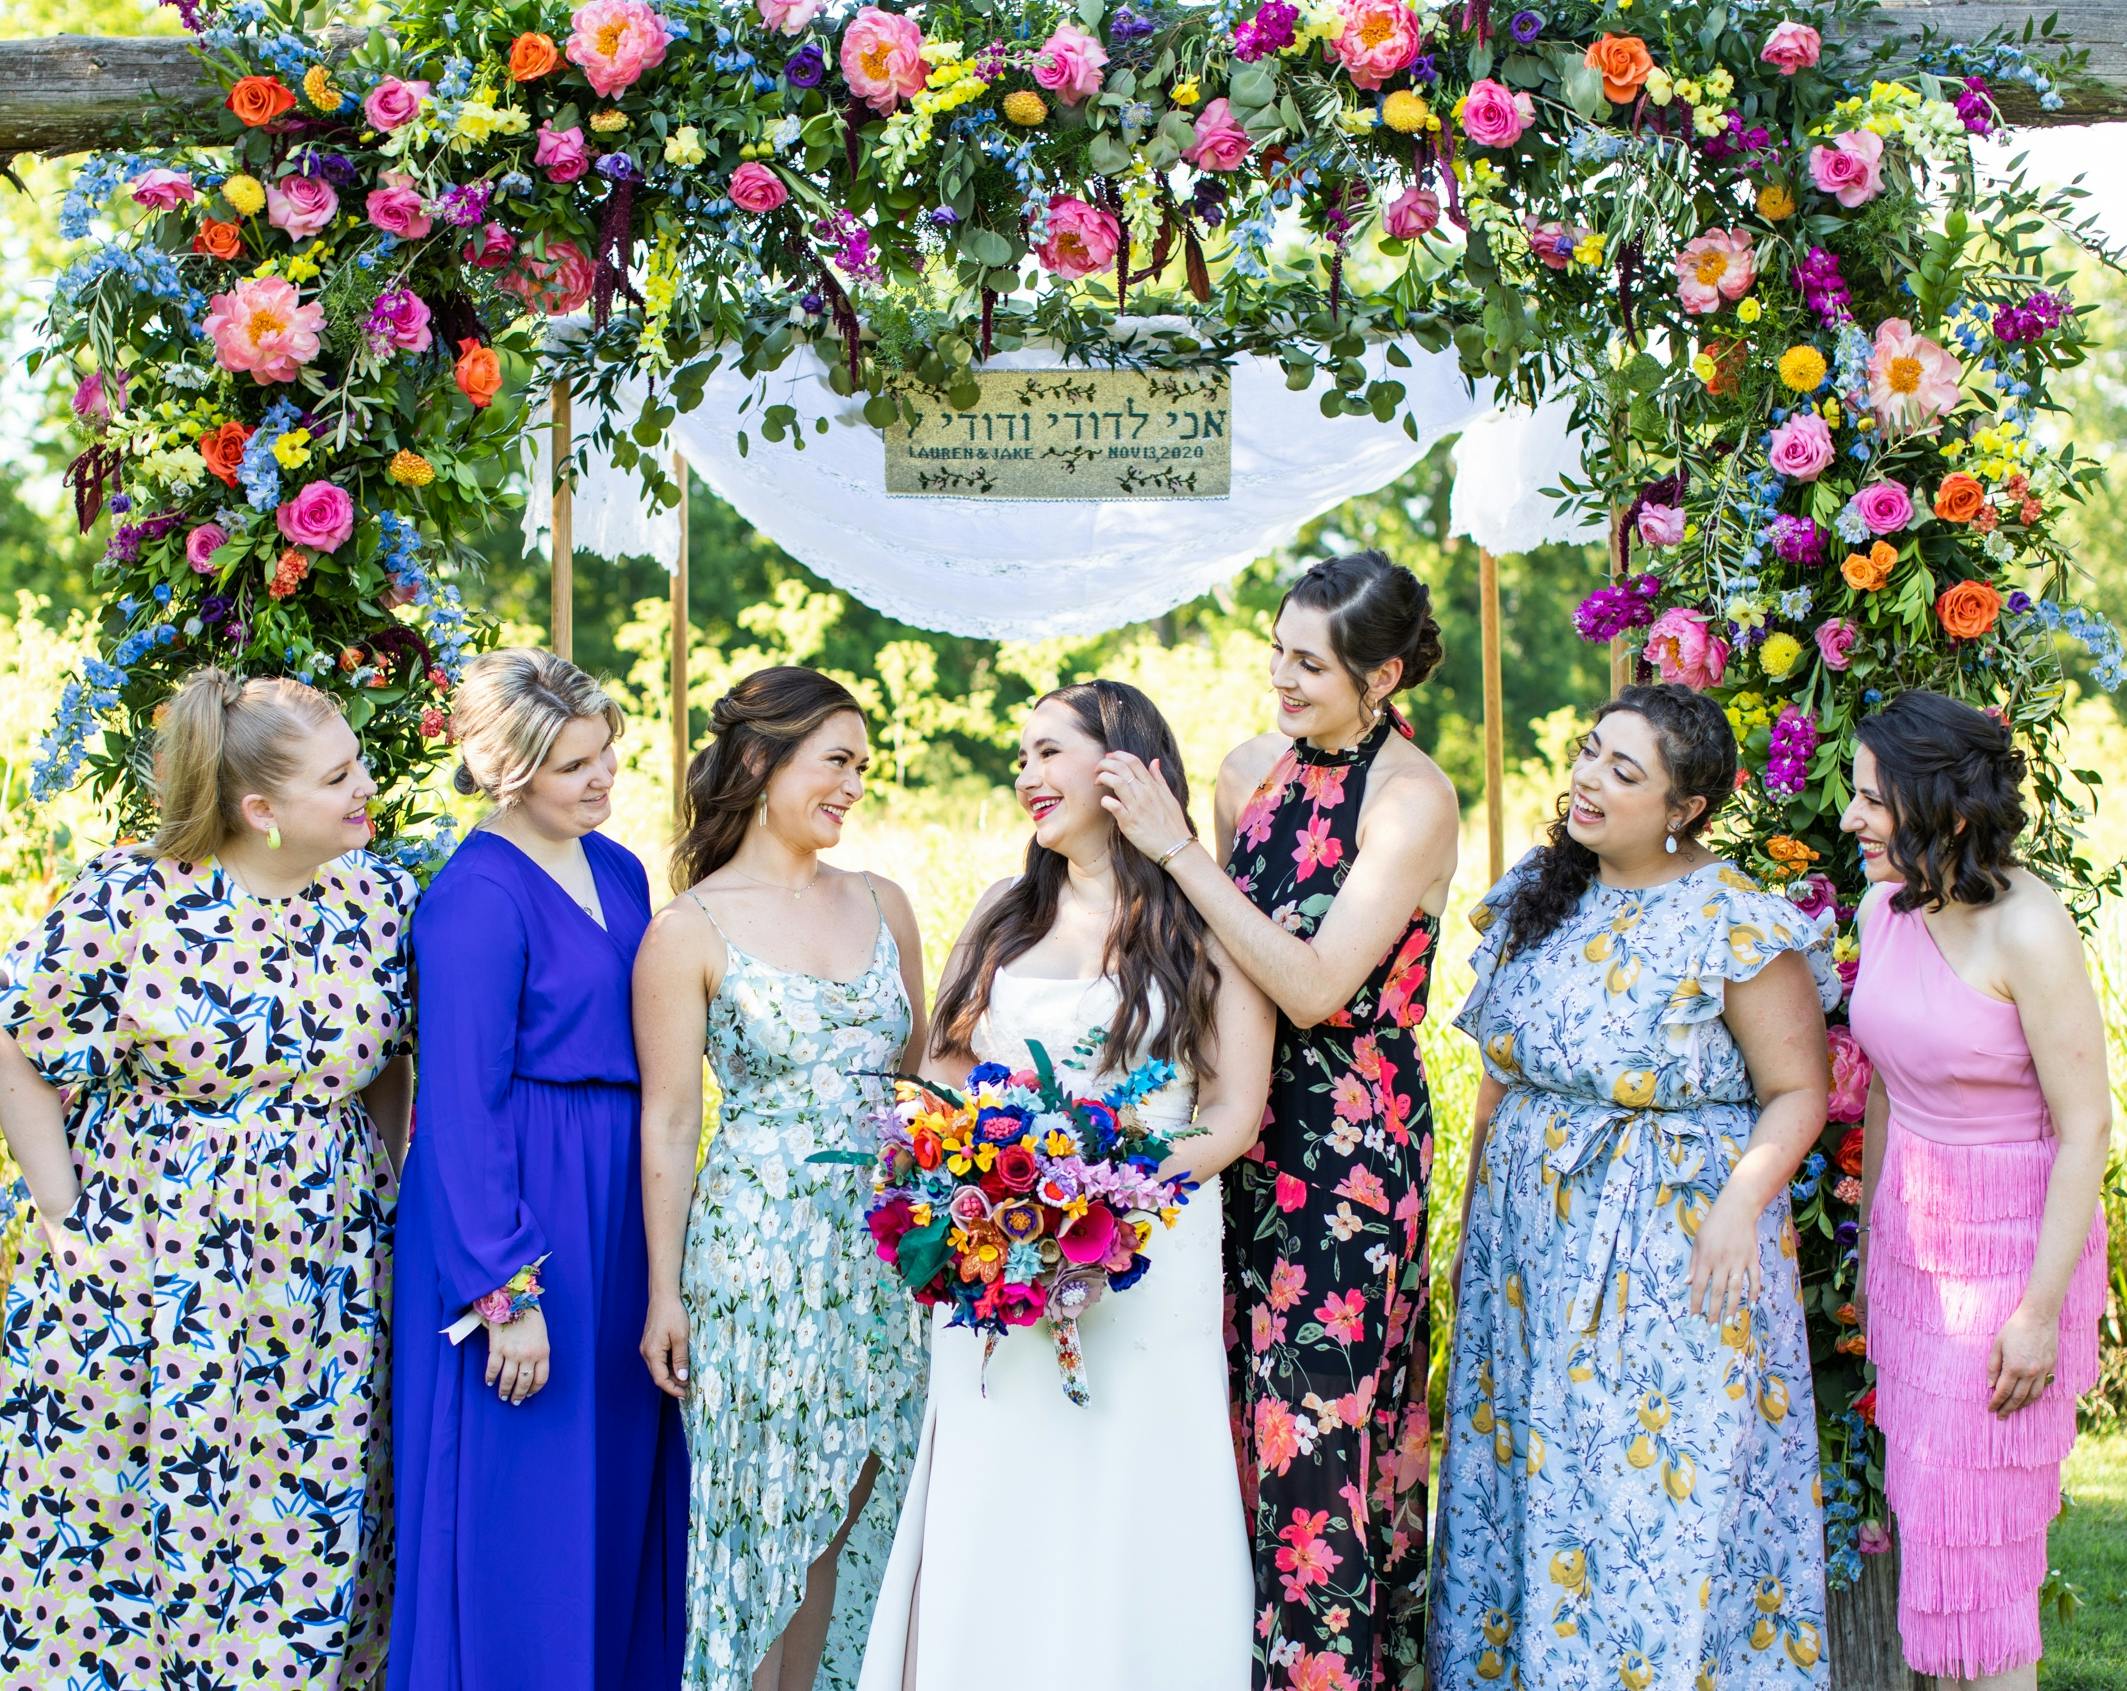
To this!
I hope you have a beautiful rest of your day and thank you so much for being here!
💖, Katrina
Professional wedding photos by Andrea Behrends
Comments: