Upcycled Thrifted Tablecloth Dress
October 17, 2023

* Products linked below may be affiliate links. I may receive a small commission if you place an order through them (at no cost to you). For more, see our Affiliate Disclosure.
One Thing About Me Is...
...as soon as a friend of ours gets engaged, two things happen. First, I of course share my excitement and congratulations with the happy couple. Second, I start thinking about more important things - what I'm going to wear. ;) More specifically, I start thinking about what I am going to MAKE for myself to wear.

The Inspiration
We were invited to a wedding this past June of one of Josh's college friends with the following dress code:
Dressy casual: Think bright colors, light fabrics, and fun patterns. The bride loves funky, retro fashion, so go forth and be bold!
I have a Pinterest board of clothes that I love for inspiration in making (and shopping) since sometimes it's hard to know What My Style Is Even Anymore?, so when it's time to make something, this is where I turn.
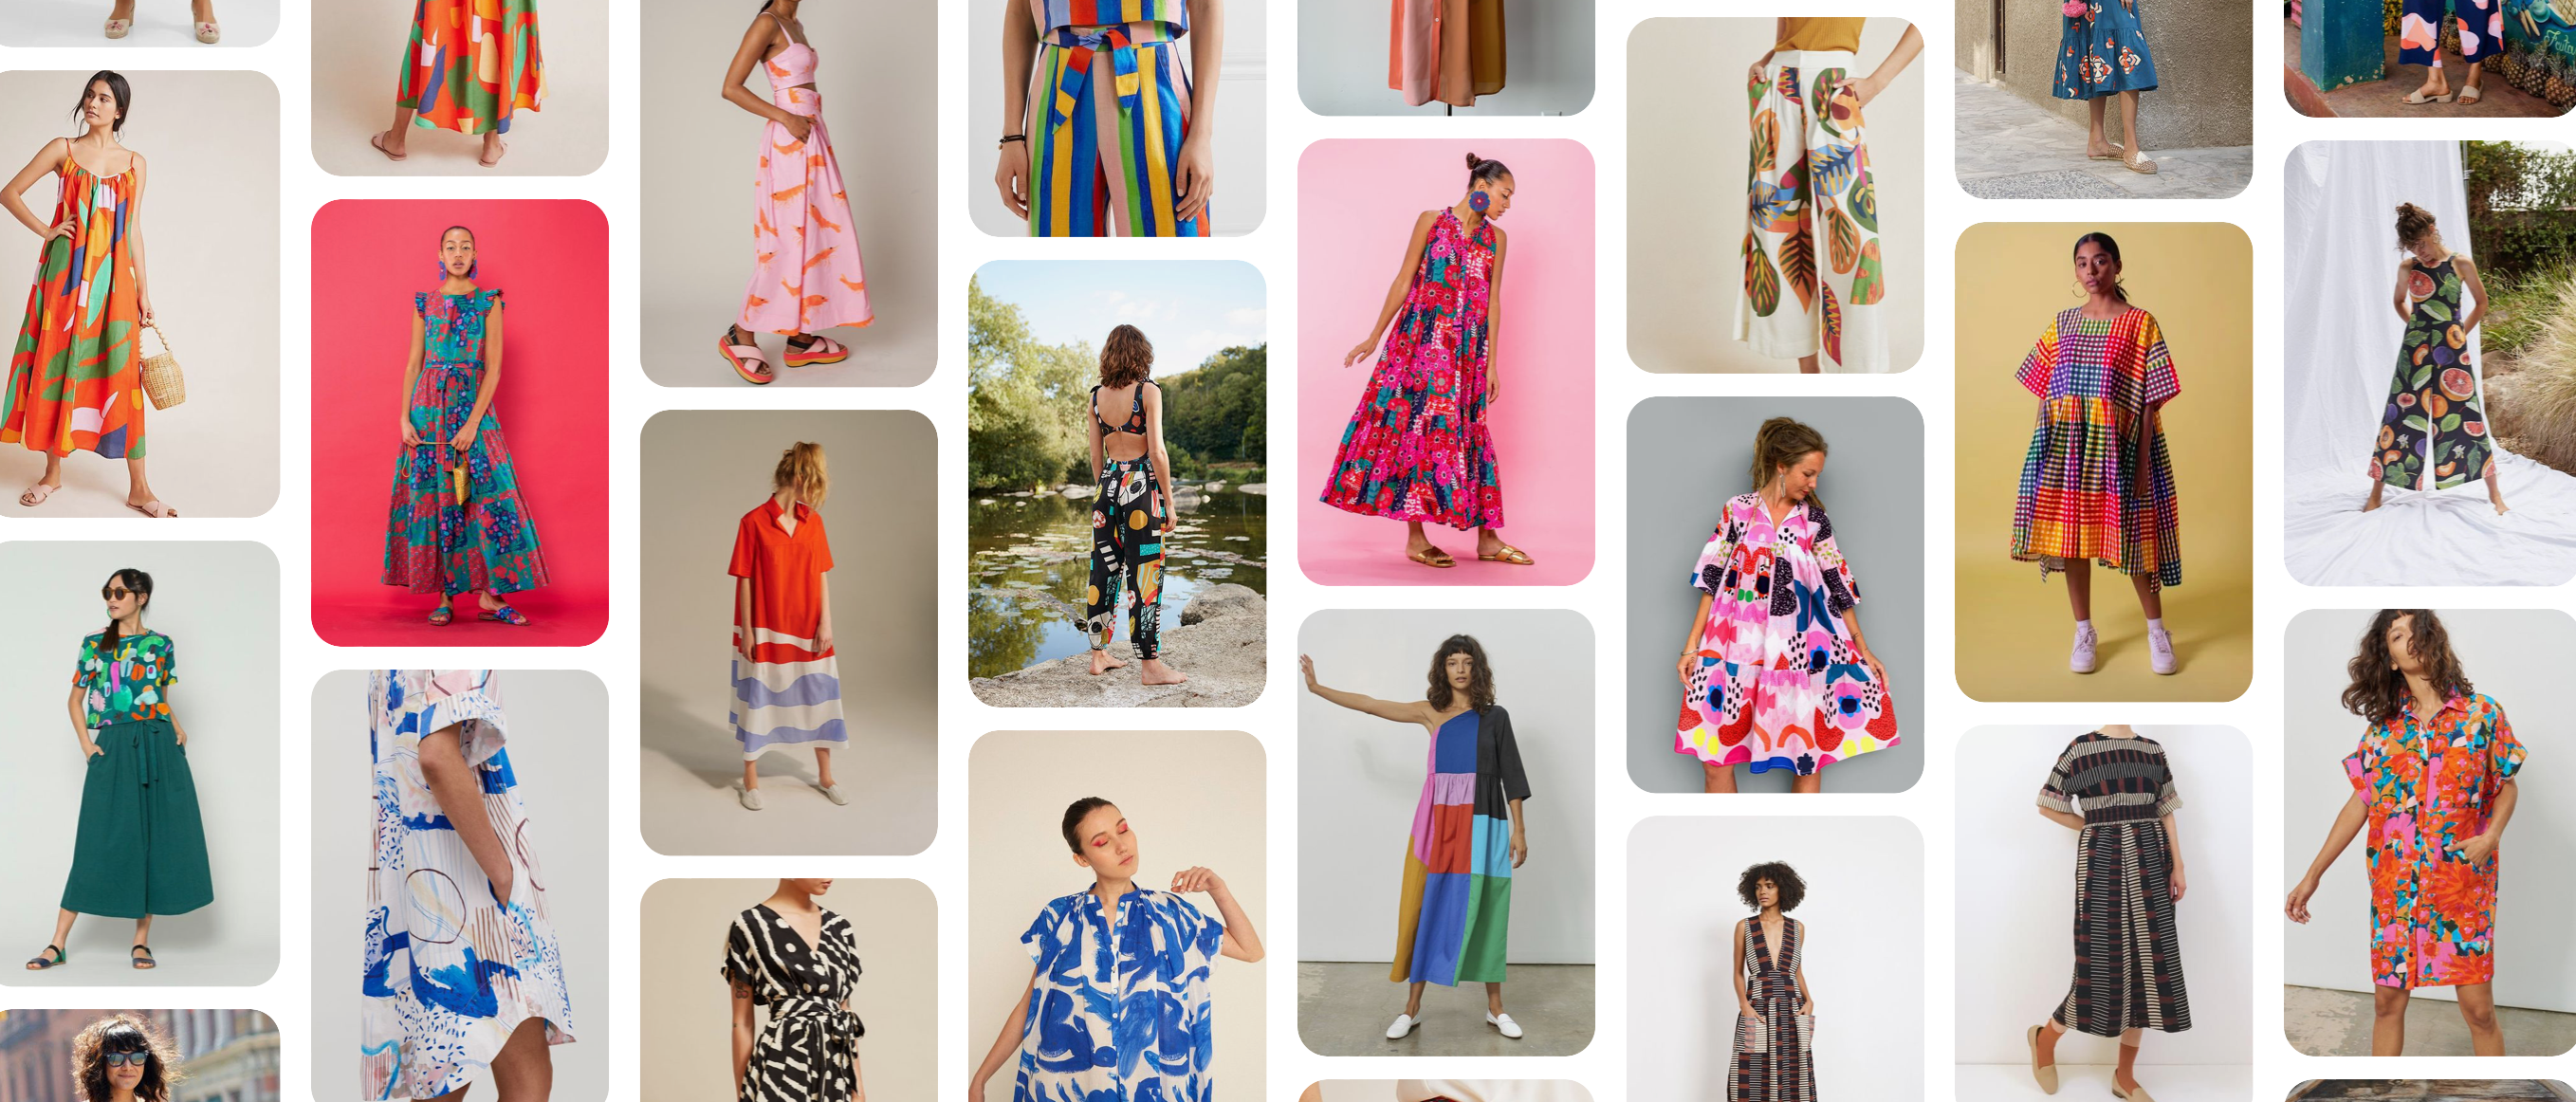
I decided I wanted to recreate the pom pom dress below, which obviously didn't exactly happen, but it was still the jumping-off point for this project.

I went to the thrift store for fabric and looked through the linen section for inspiration. I found a couple of good options, but then I saw this gorgeous orange tablecloth, made of rayon and polyester, and knew it was perfect. And it was a whole $4!
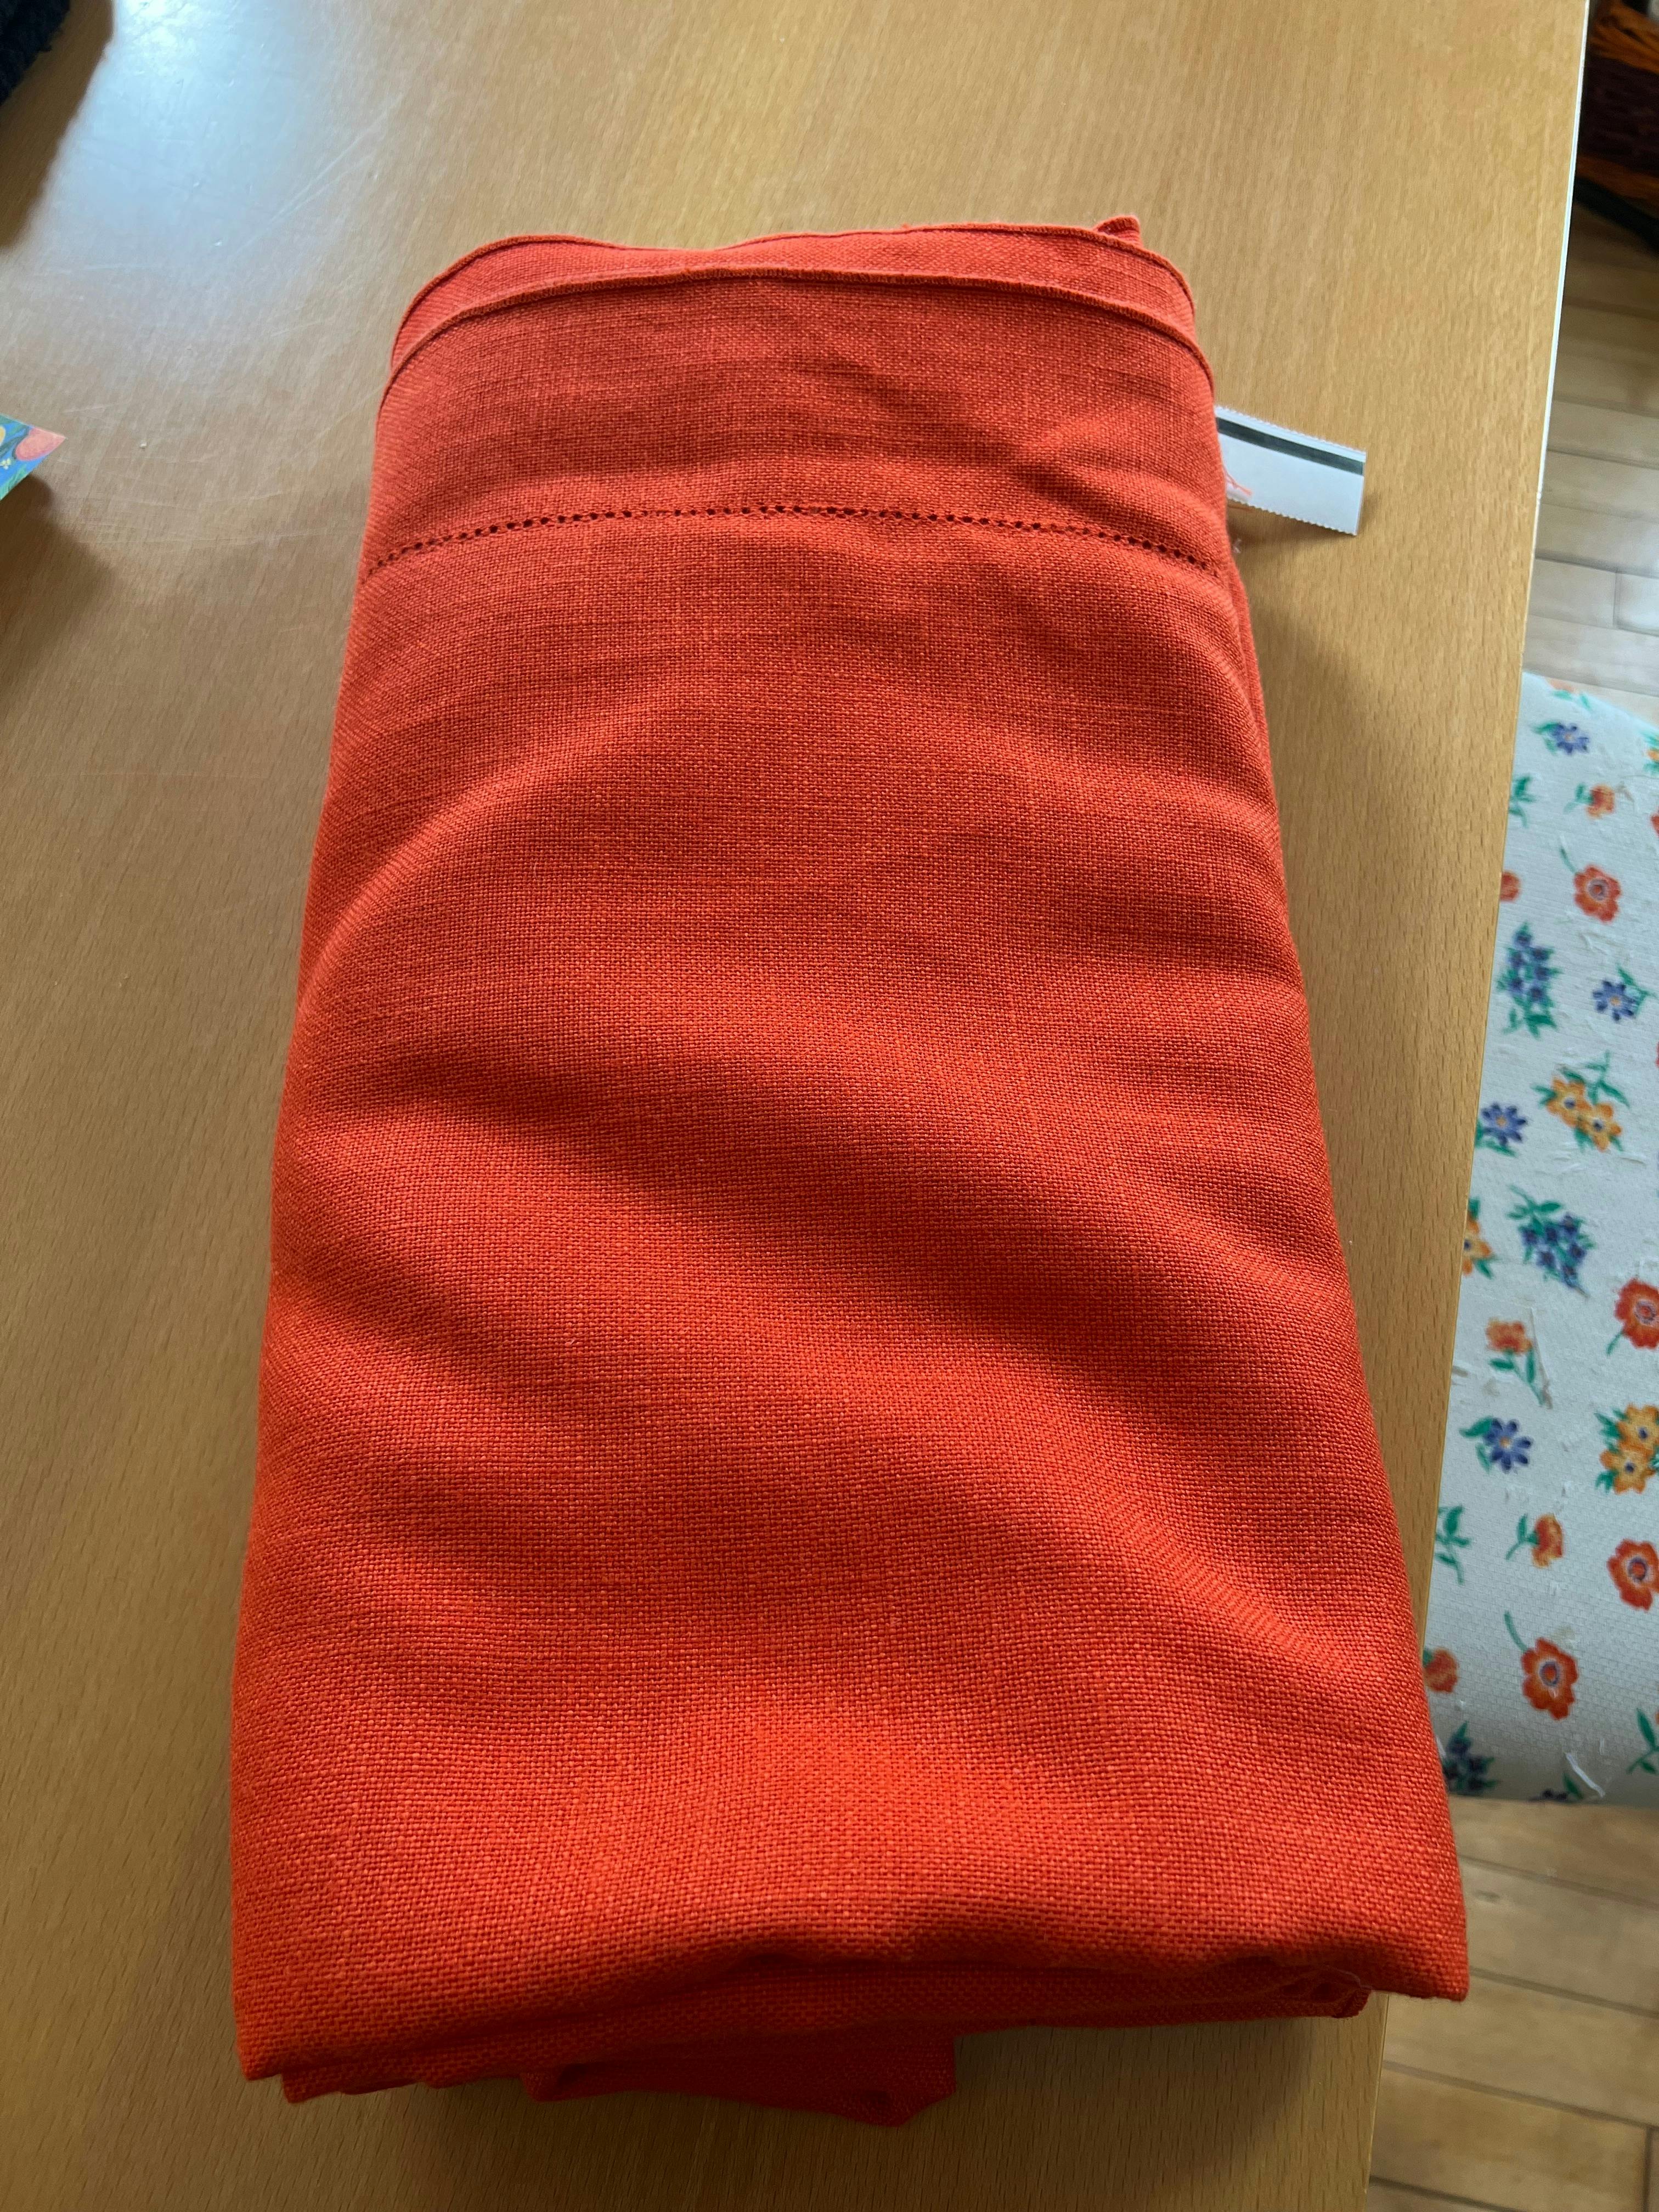
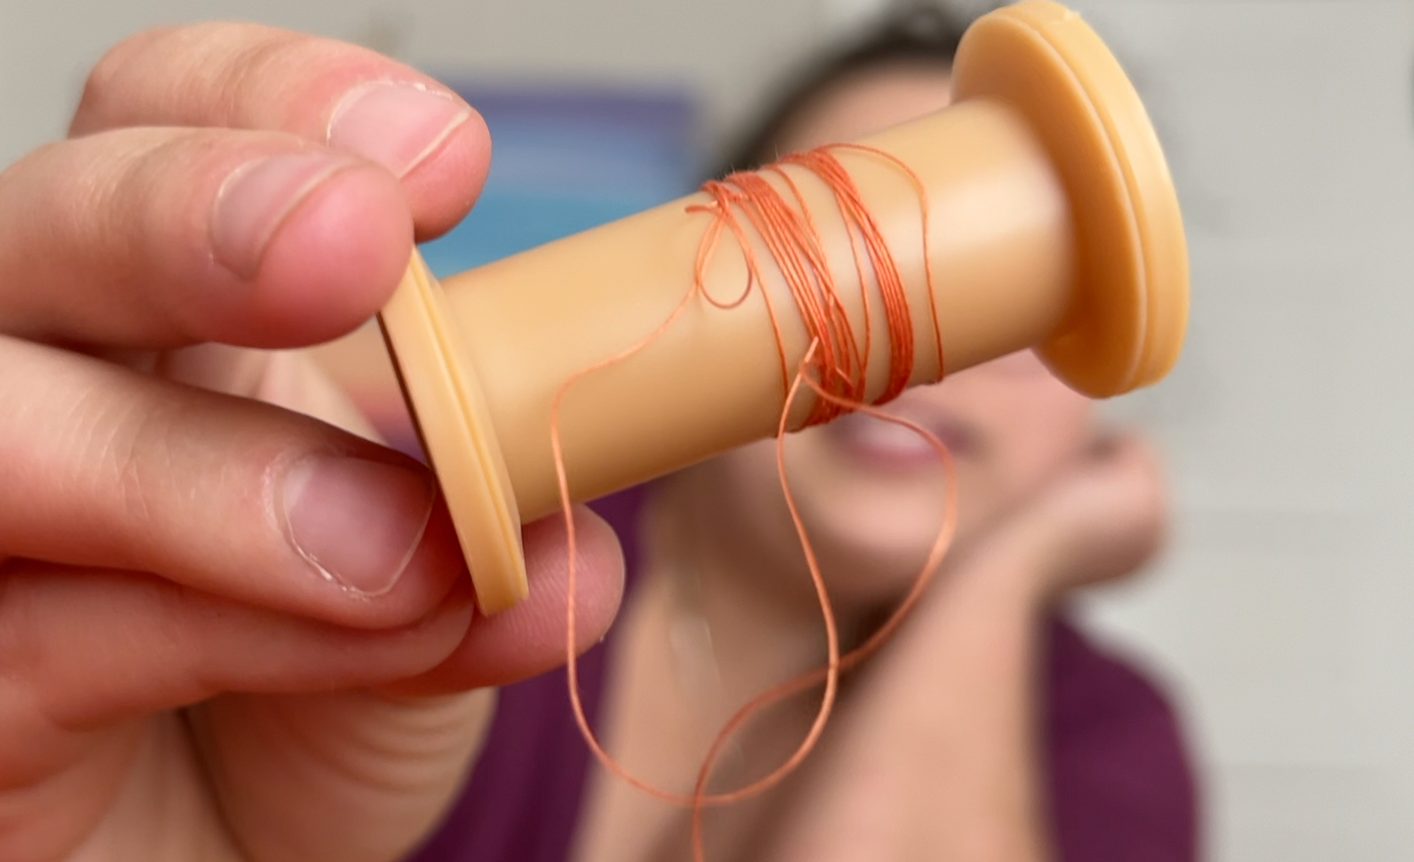
I also used an orange thread from a hemming project I did for my friend Terry many years ago. I already had it and it was simply perfect!
The Bodice
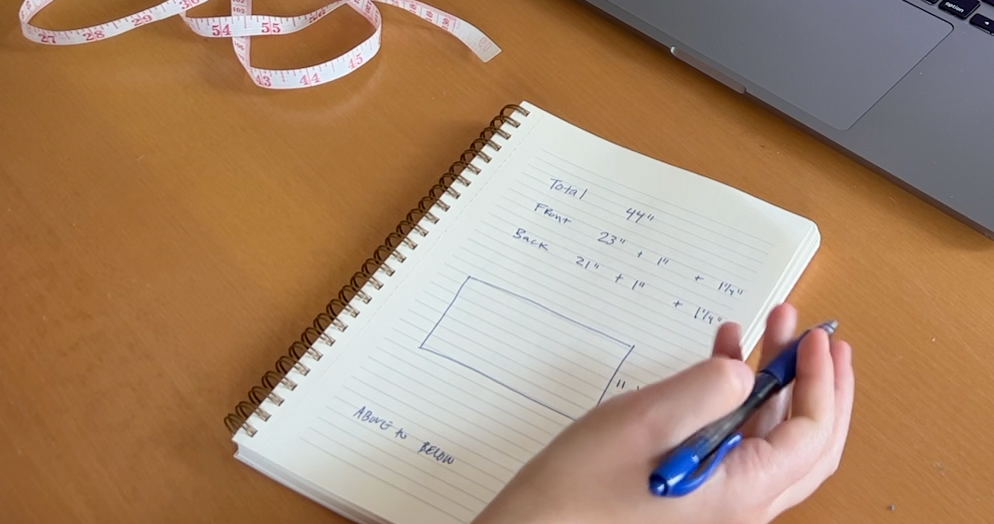
Then it was time to figure out the HOW. There are a bunch of ways to get your hands on a pattern for making clothes. For this dress, I decided to draft it myself, which means I used a set of instructions and my measurements plus MATHHH to come up with the sizes I needed for the fabric pieces. Other ways are draping, which is making the pattern in real-time on a dress form, which I totally don’t know how to do but really want to learn, or buying a paper pattern either already printed or for printing yourself.
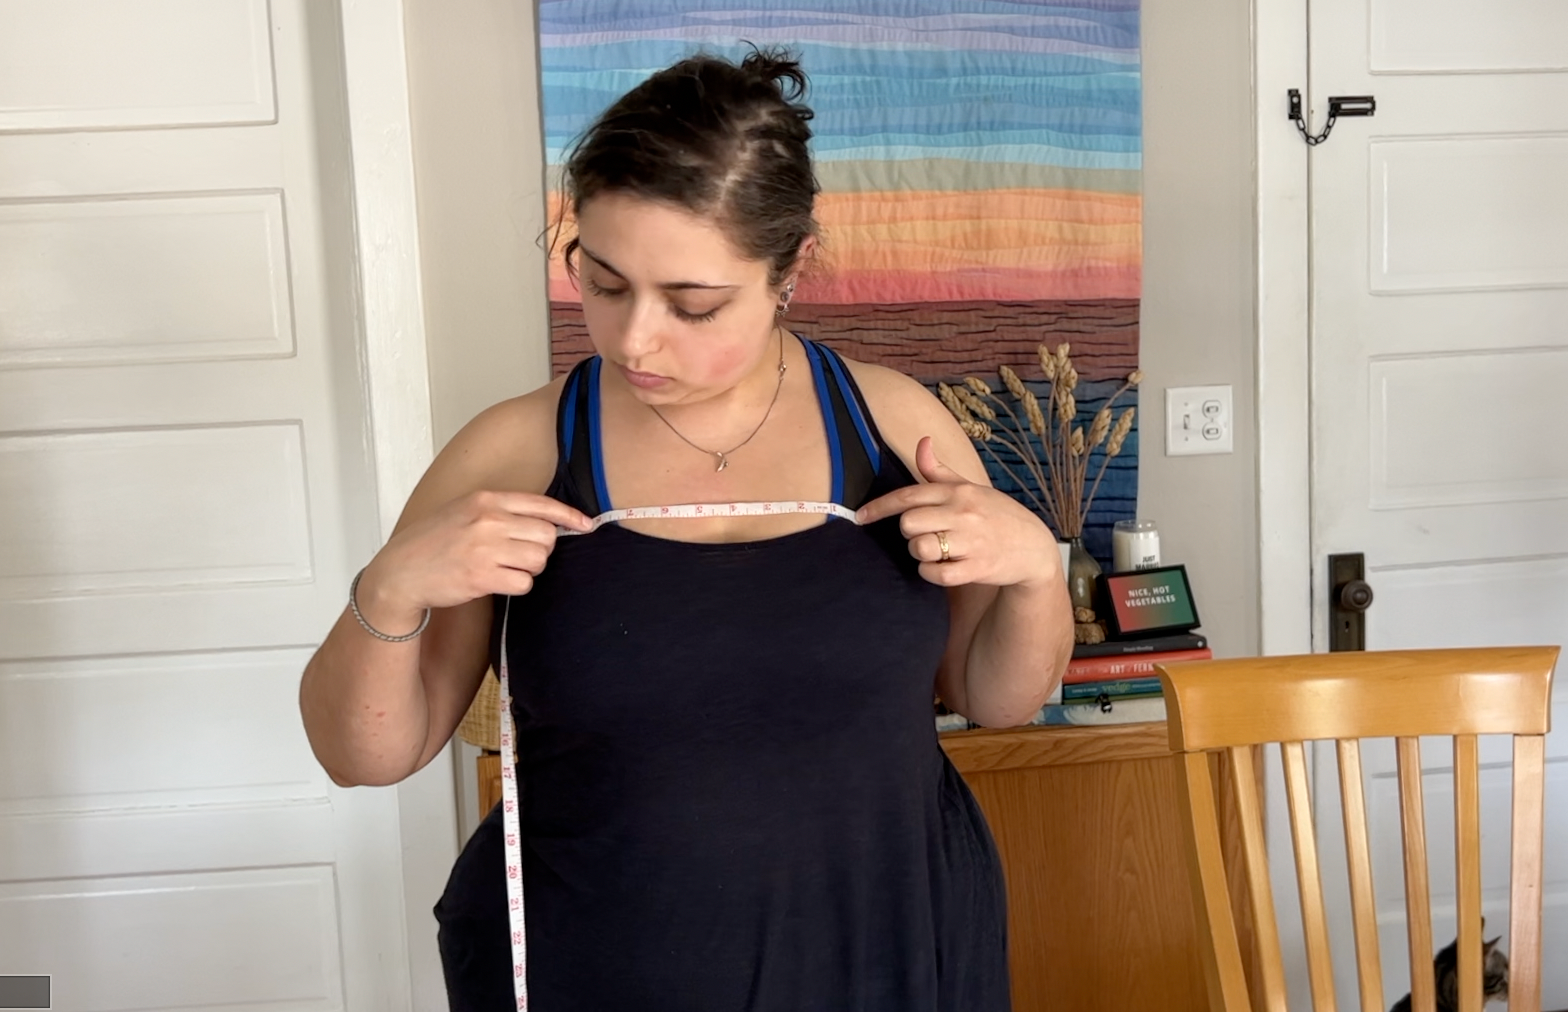
I used a combination of two self-drafting tutorials, this one for the straps and this one for everything else, both from Upstyle Daily. After taking some measurements, I started by figuring out the sizes for the bodice pieces.
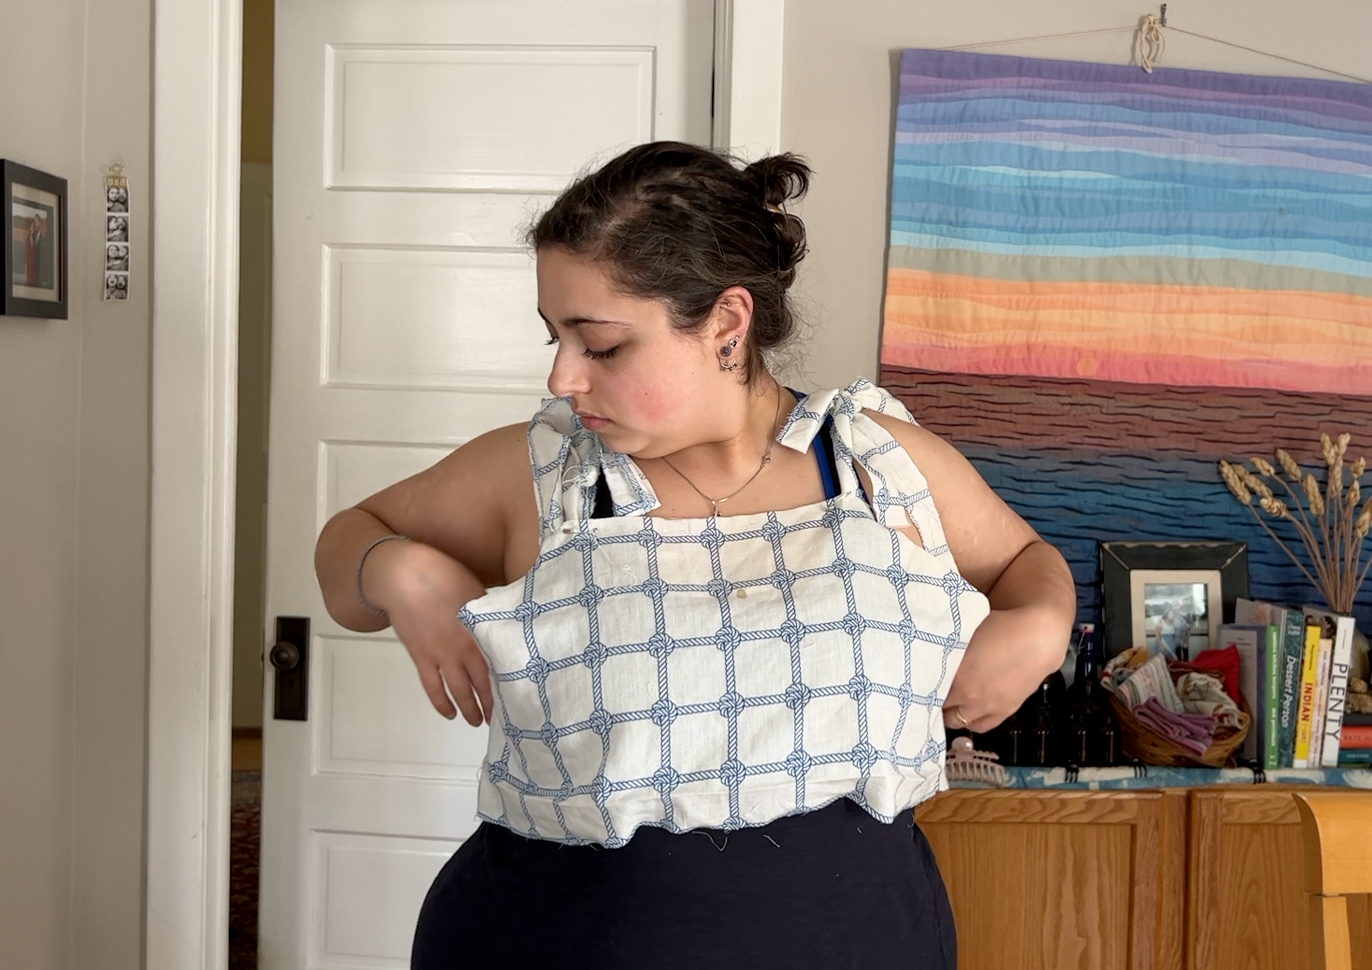
Then I used this old fabric to make a mock-up, officially known as a toile or a muslin, so that I could make sure I liked how the bodice of the dress would fit.
I stitched the toile on the biggest stitch my machine had so it would be easy to take apart and adjust, pinned on some scrap straps, and tried it on.
It quickly became apparent that there was huge gapping happening in the armpit. This has happened with every garment I’ve ever sewed for myself, so there must be something about my proportions that leads to this outcome every time!
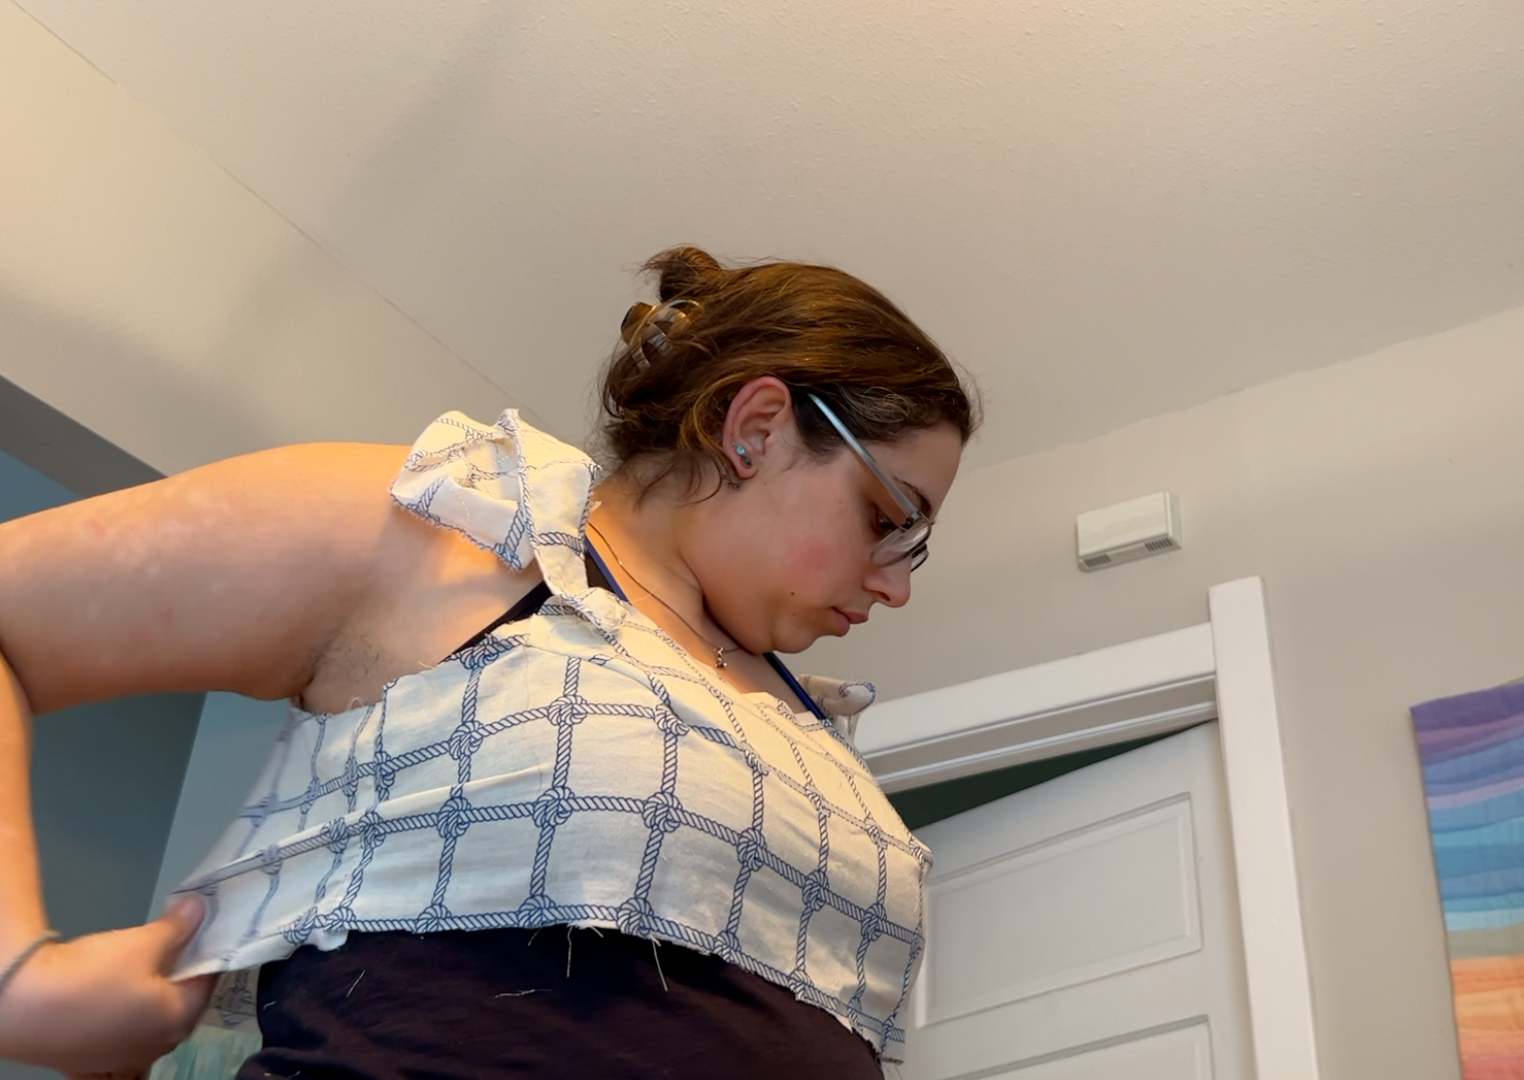
I have a really awesome book called Fantastic Fit for Every Body, and it shows great ways of fixing problems like this. For this, I made a tuck in the armpit fabric and made a second toile by laying down the first toile with the tuck and measuring the second one to have the same shape as the first, but with no tuck.
I stitched this together, and tried it on, with super high hopes that it would be perfect, but it wasn’t. With an air of discouragement, I set it down for the day.
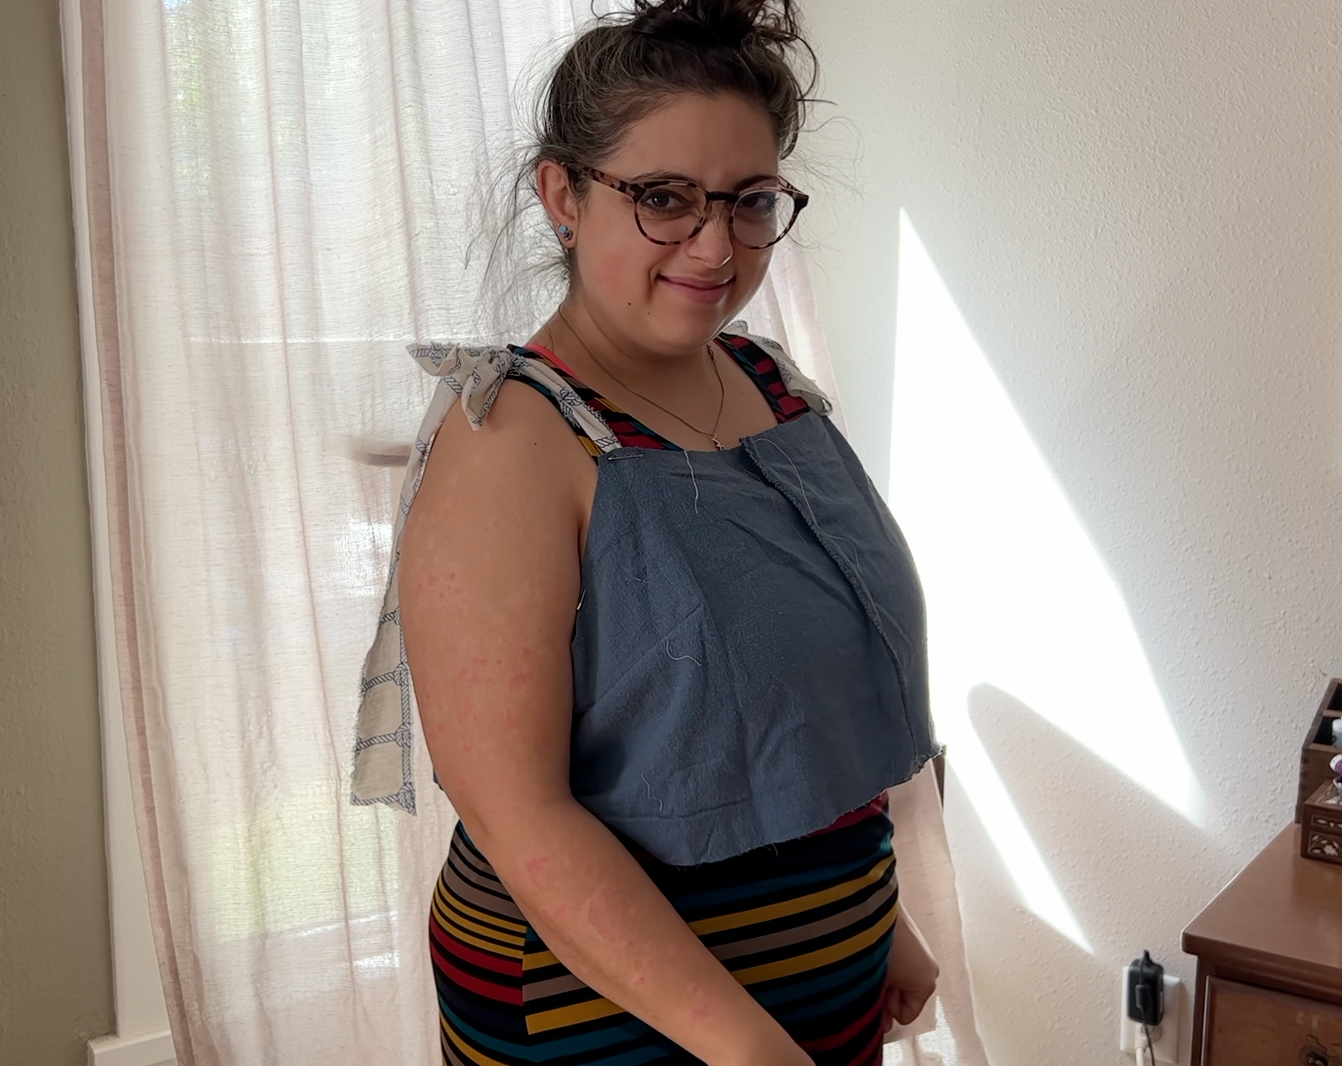
On day two, it dawned on me that the person who made the tutorial had a much less curvy body than I do, so I decided to try and add a bust dart.
A dart is a triangular tuck in the fabric that basically turns a flat piece of fabric into a 3-dimensional shape. I thought I could just take a fold in the fabric and stitch it down, but it wasn't working, wasn't working. After the 5th or 6th try, I finally allowed myself to look up a tutorial. Turns out, adding a bust dart involved way more measuring and adjusting than just folding the fabric like I was doing, and although the tutorial was *kind of* confusing, it ultimately worked the way I needed it to!
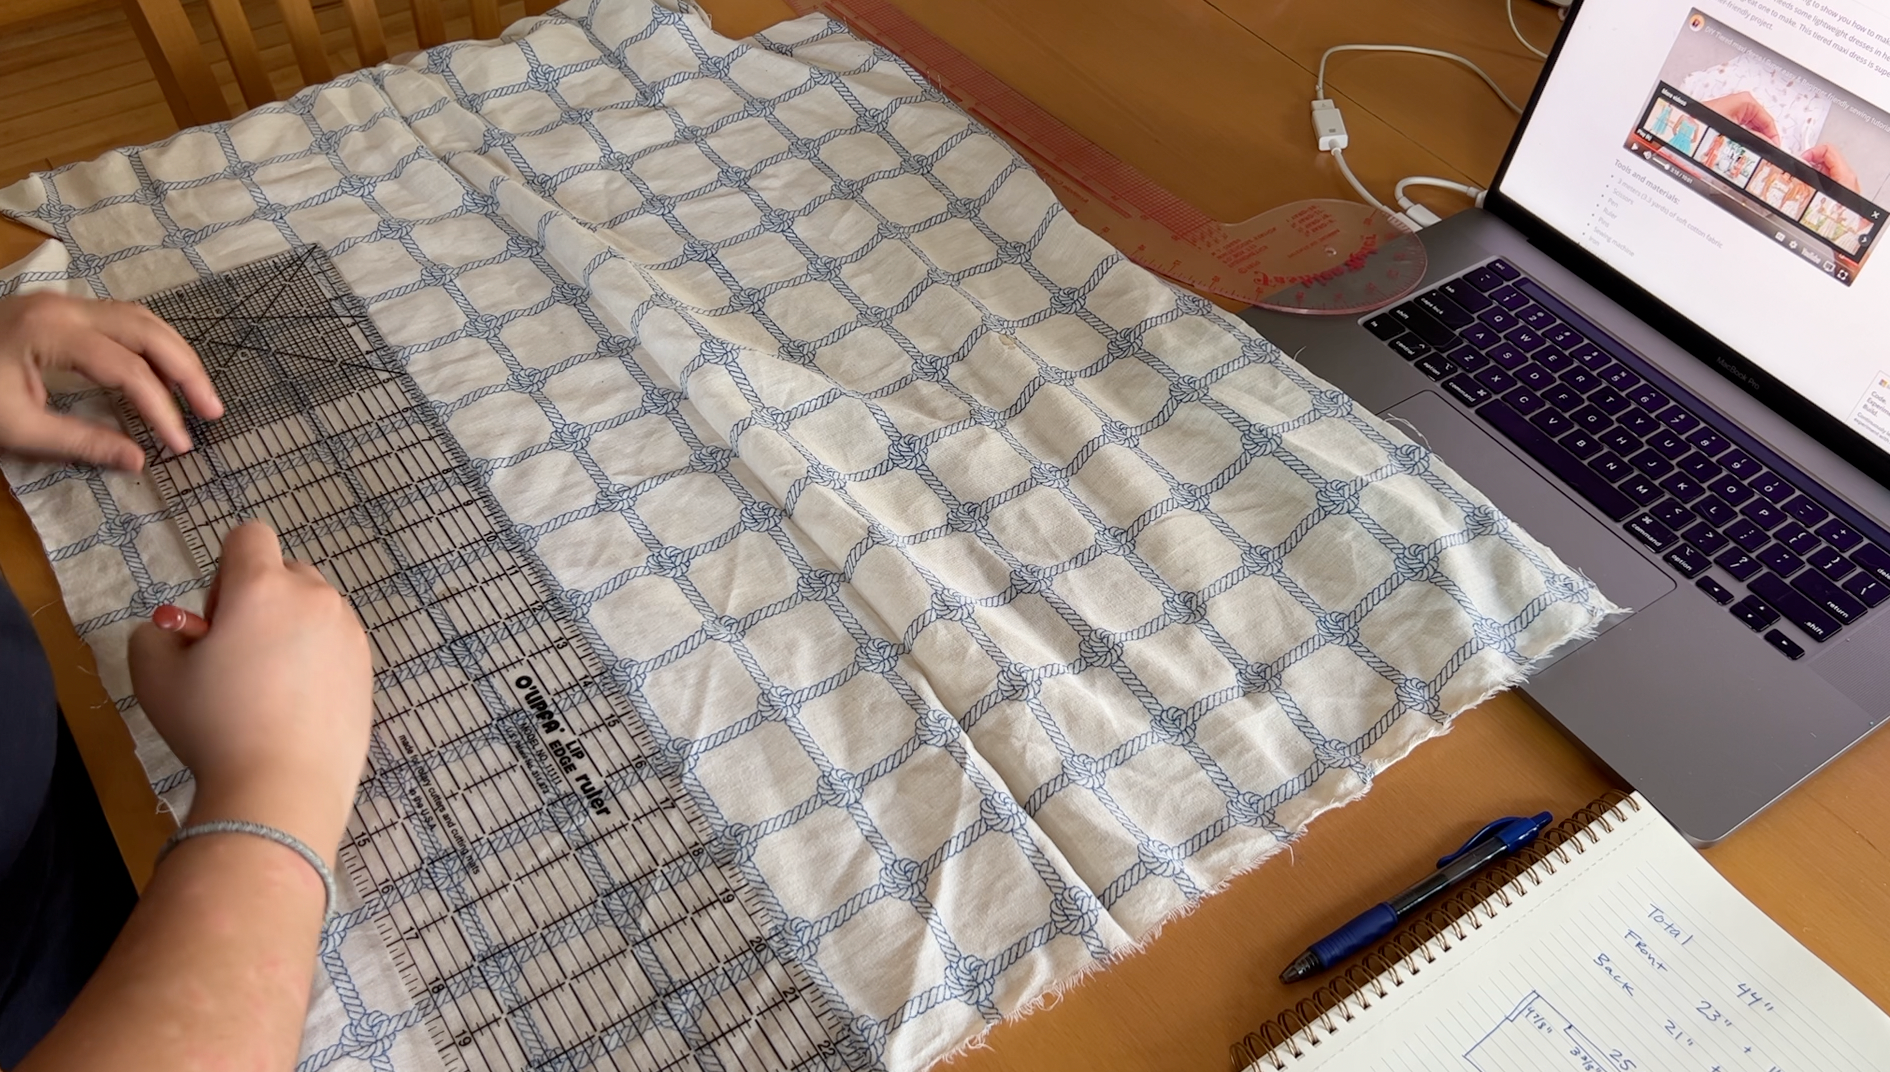
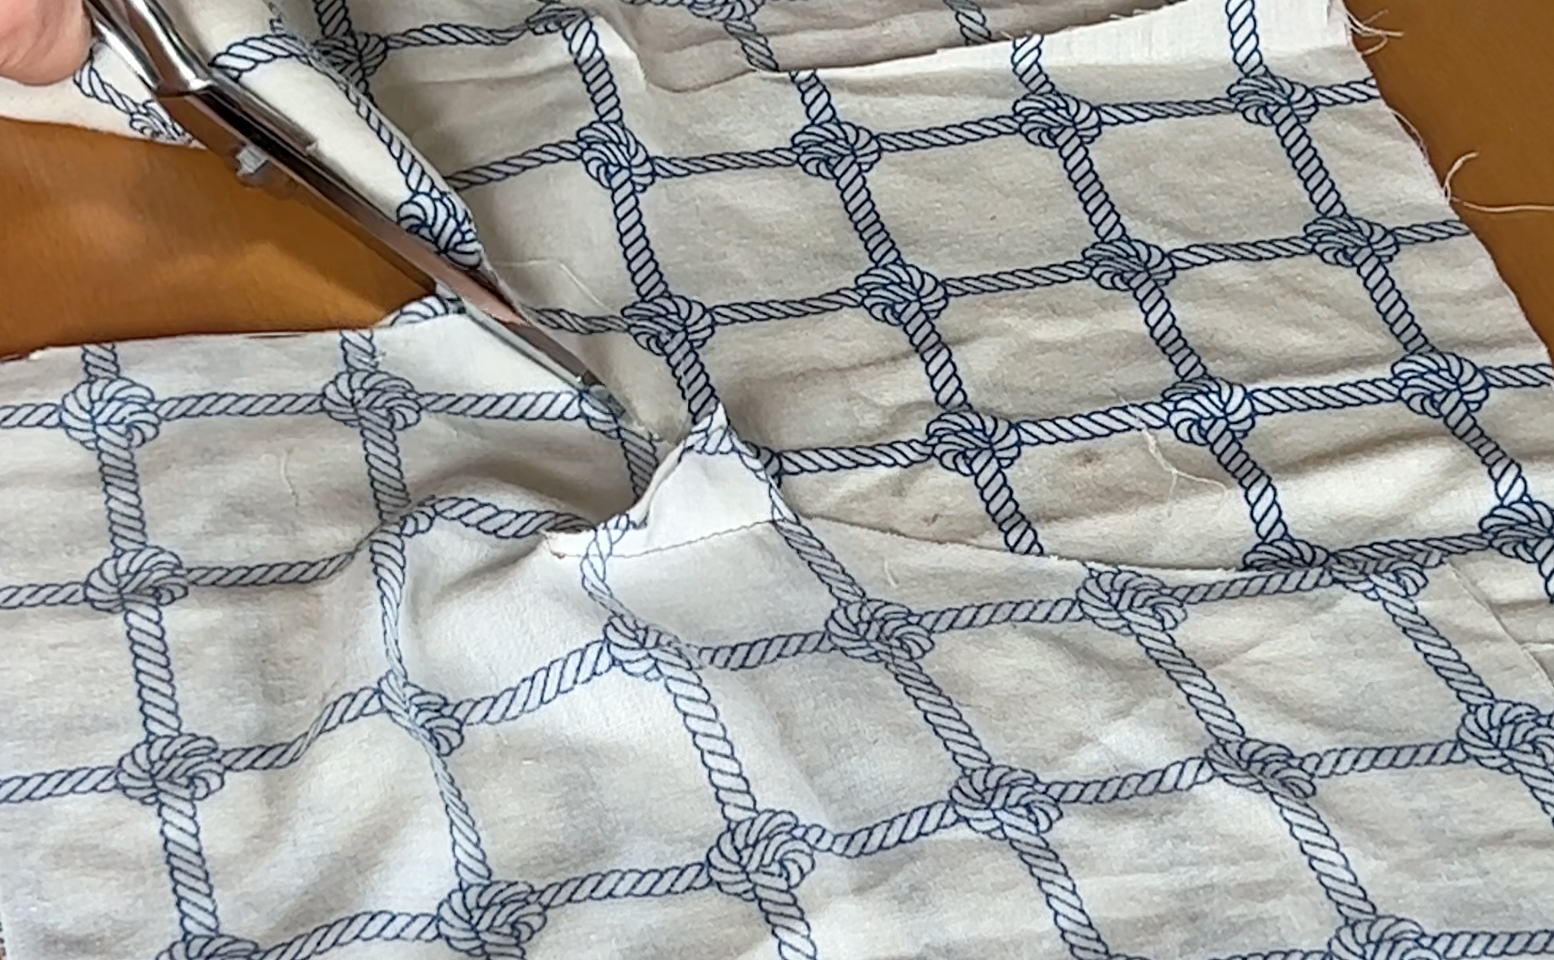
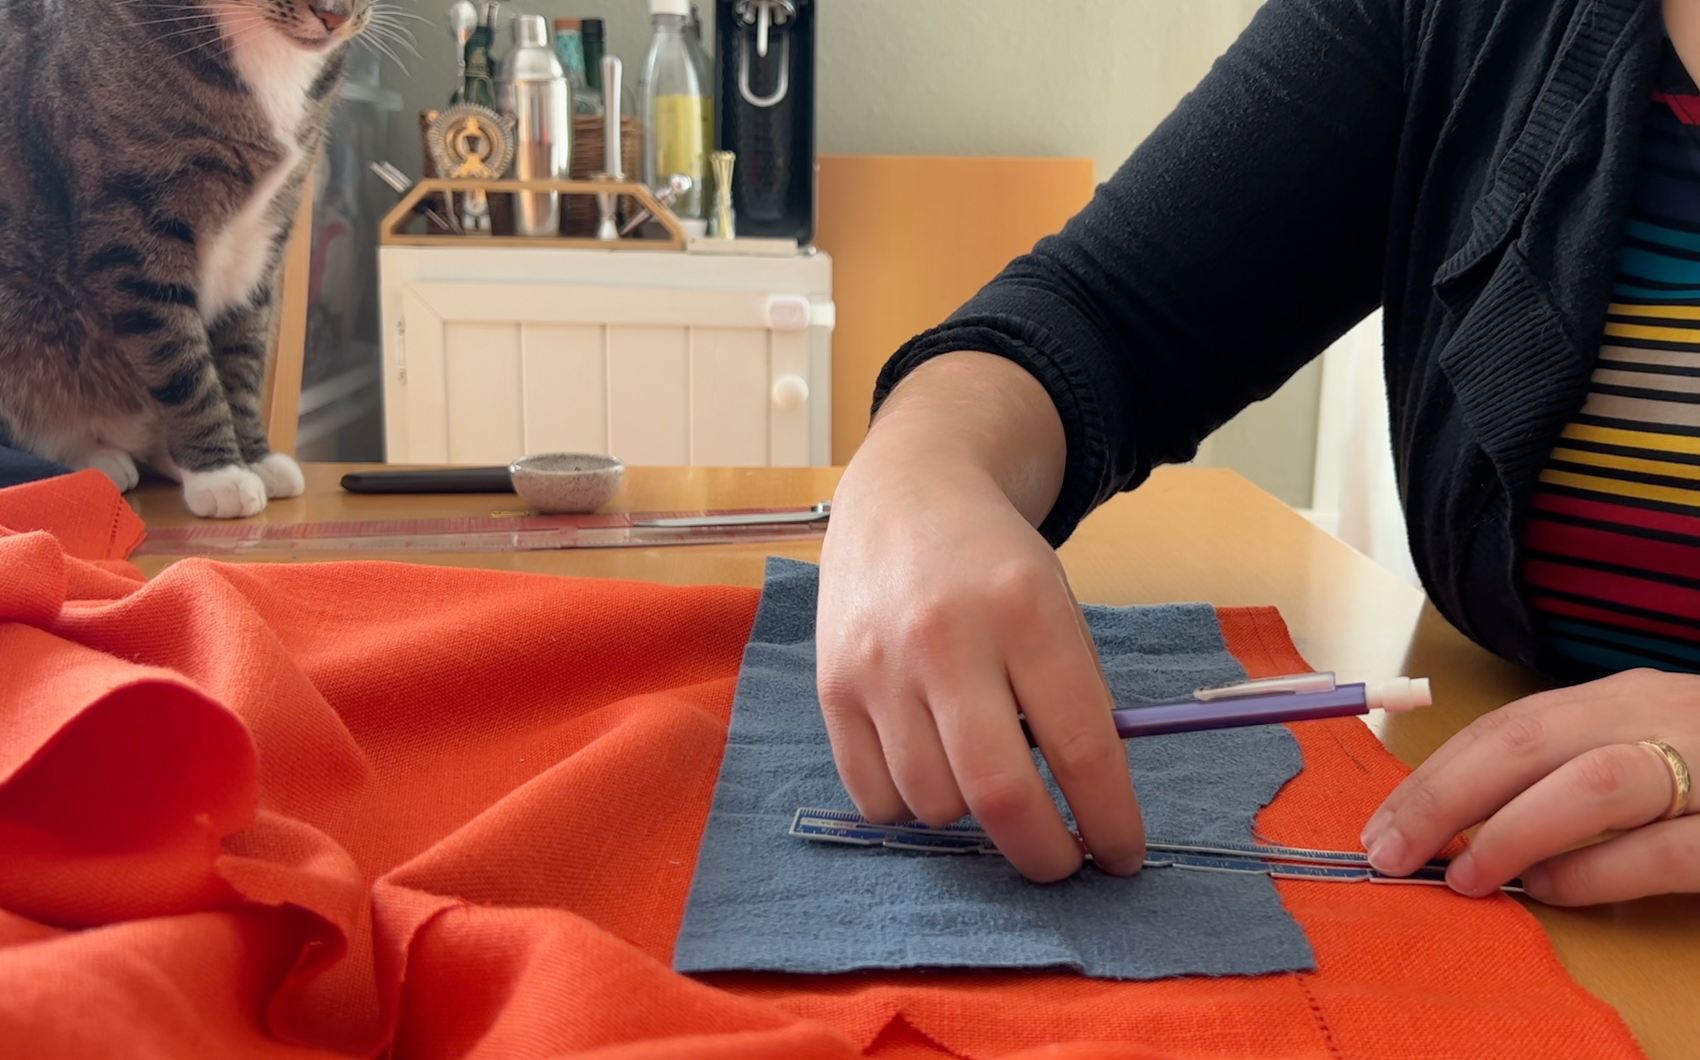
With a fitting bodice pattern in hand, it was time to cut it out of the actual fabric. This dress is designed to have a sewn-in lining, so I cut two pieces for the front and two for the back. I was a bit fussy about how I cut this, and yes, fussy is the official term for cutting out fabric in a particular place, so that I could get the border detailing from the tablecloth to run across the top of the bodice at the exact height that I wanted. I pinned the fabric together so it wouldn’t shift, and then used my ruler and pencil to ensure the lines were perfectly straight. To mark where the end of the dart goes, I used this nifty trick of poking a pin through from each side at the dart point and then gently pulling the pieces apart. Ahh, I just love this trick!

I repeated the process to cut out the back pieces, and then did a little stitch test to make sure my sewing machine was on the correct settings.
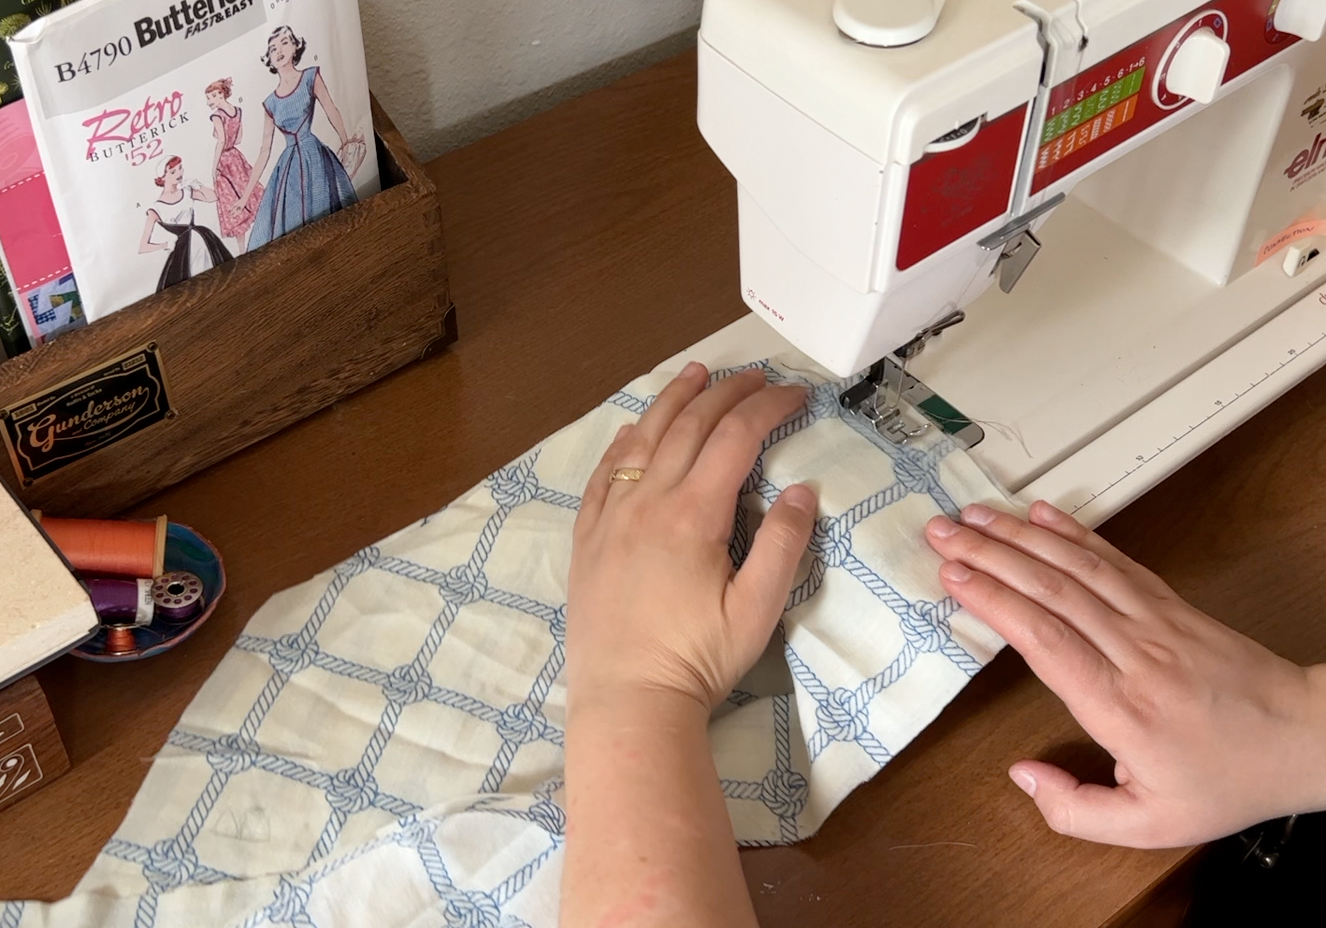
I marked the sewing lines for the darts from the point to the side seam and stitched along those lines on both the lining and the outside of the dress.
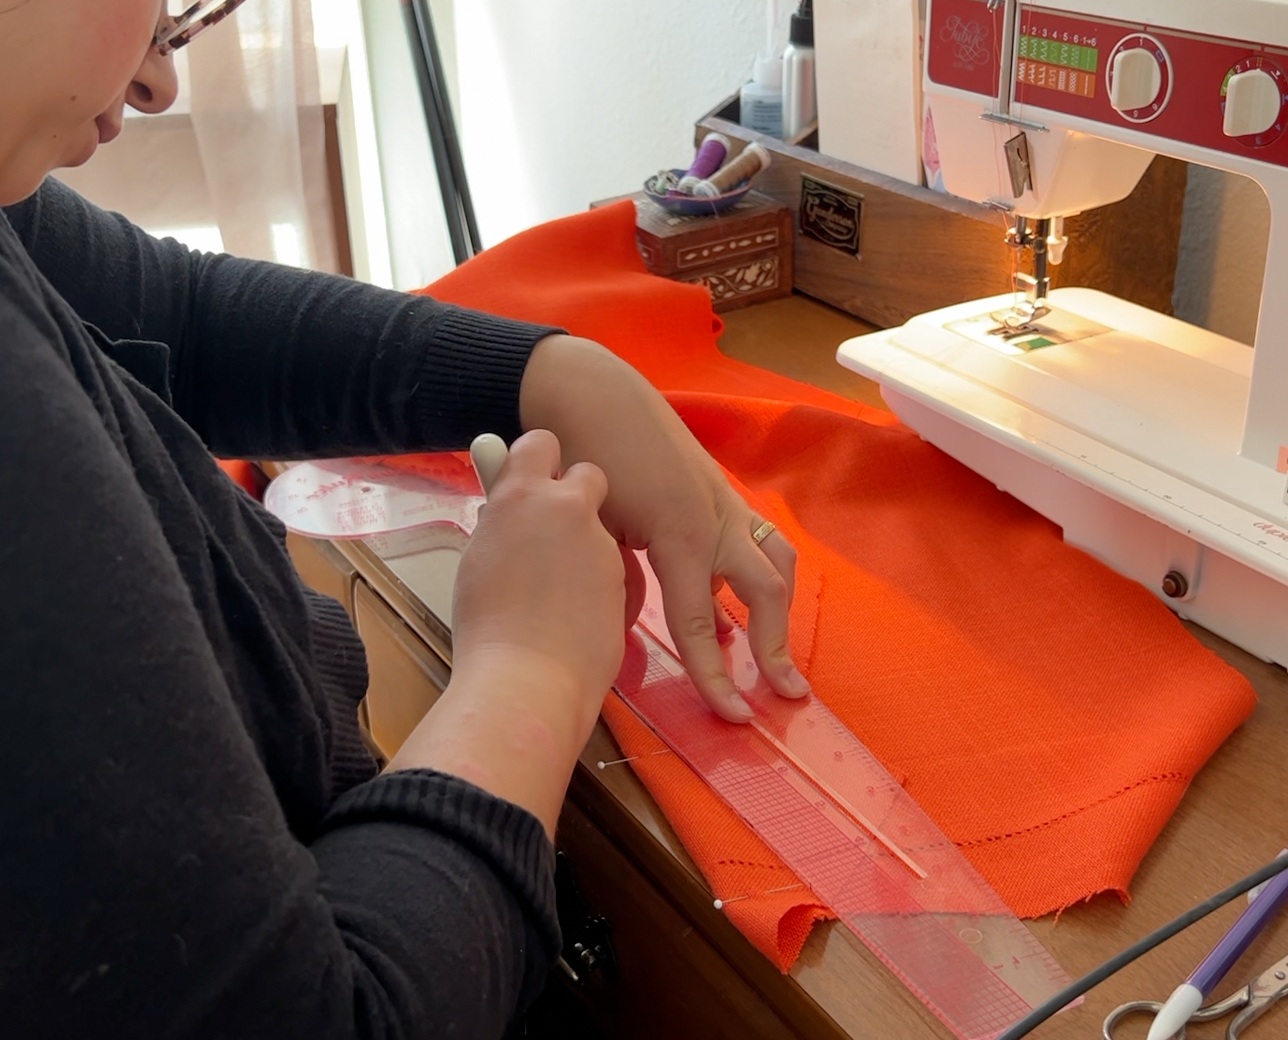
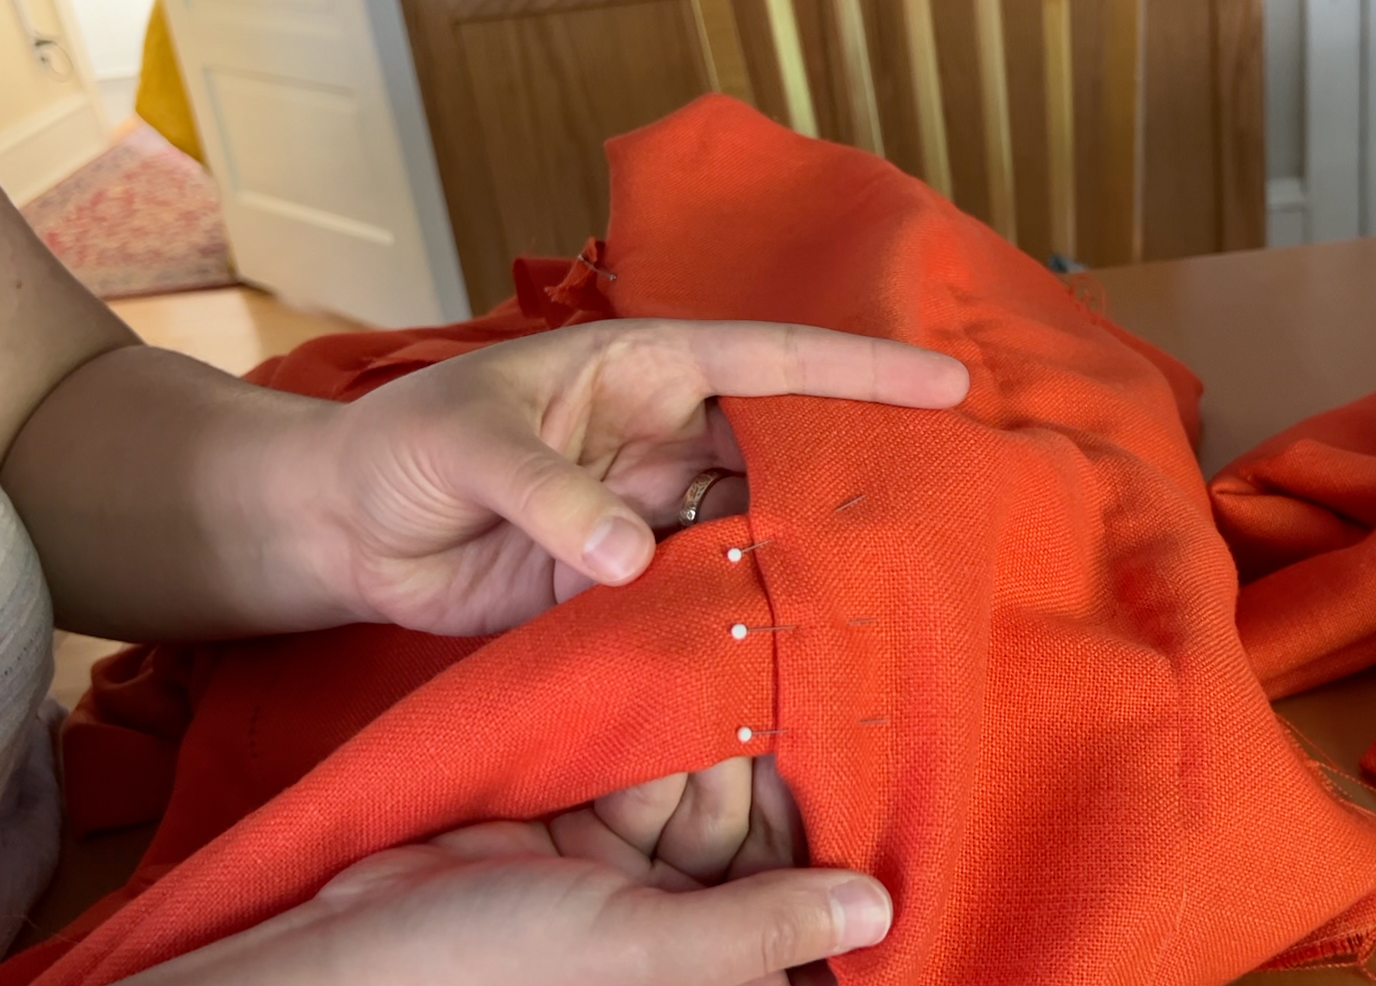
Then I stitched up the side seams, and placed the lining and the outside right sides together before pinning very well and then stitching in place across the top. This is a trust-the-process moment for sure, but I knew it was headed in the right direction!

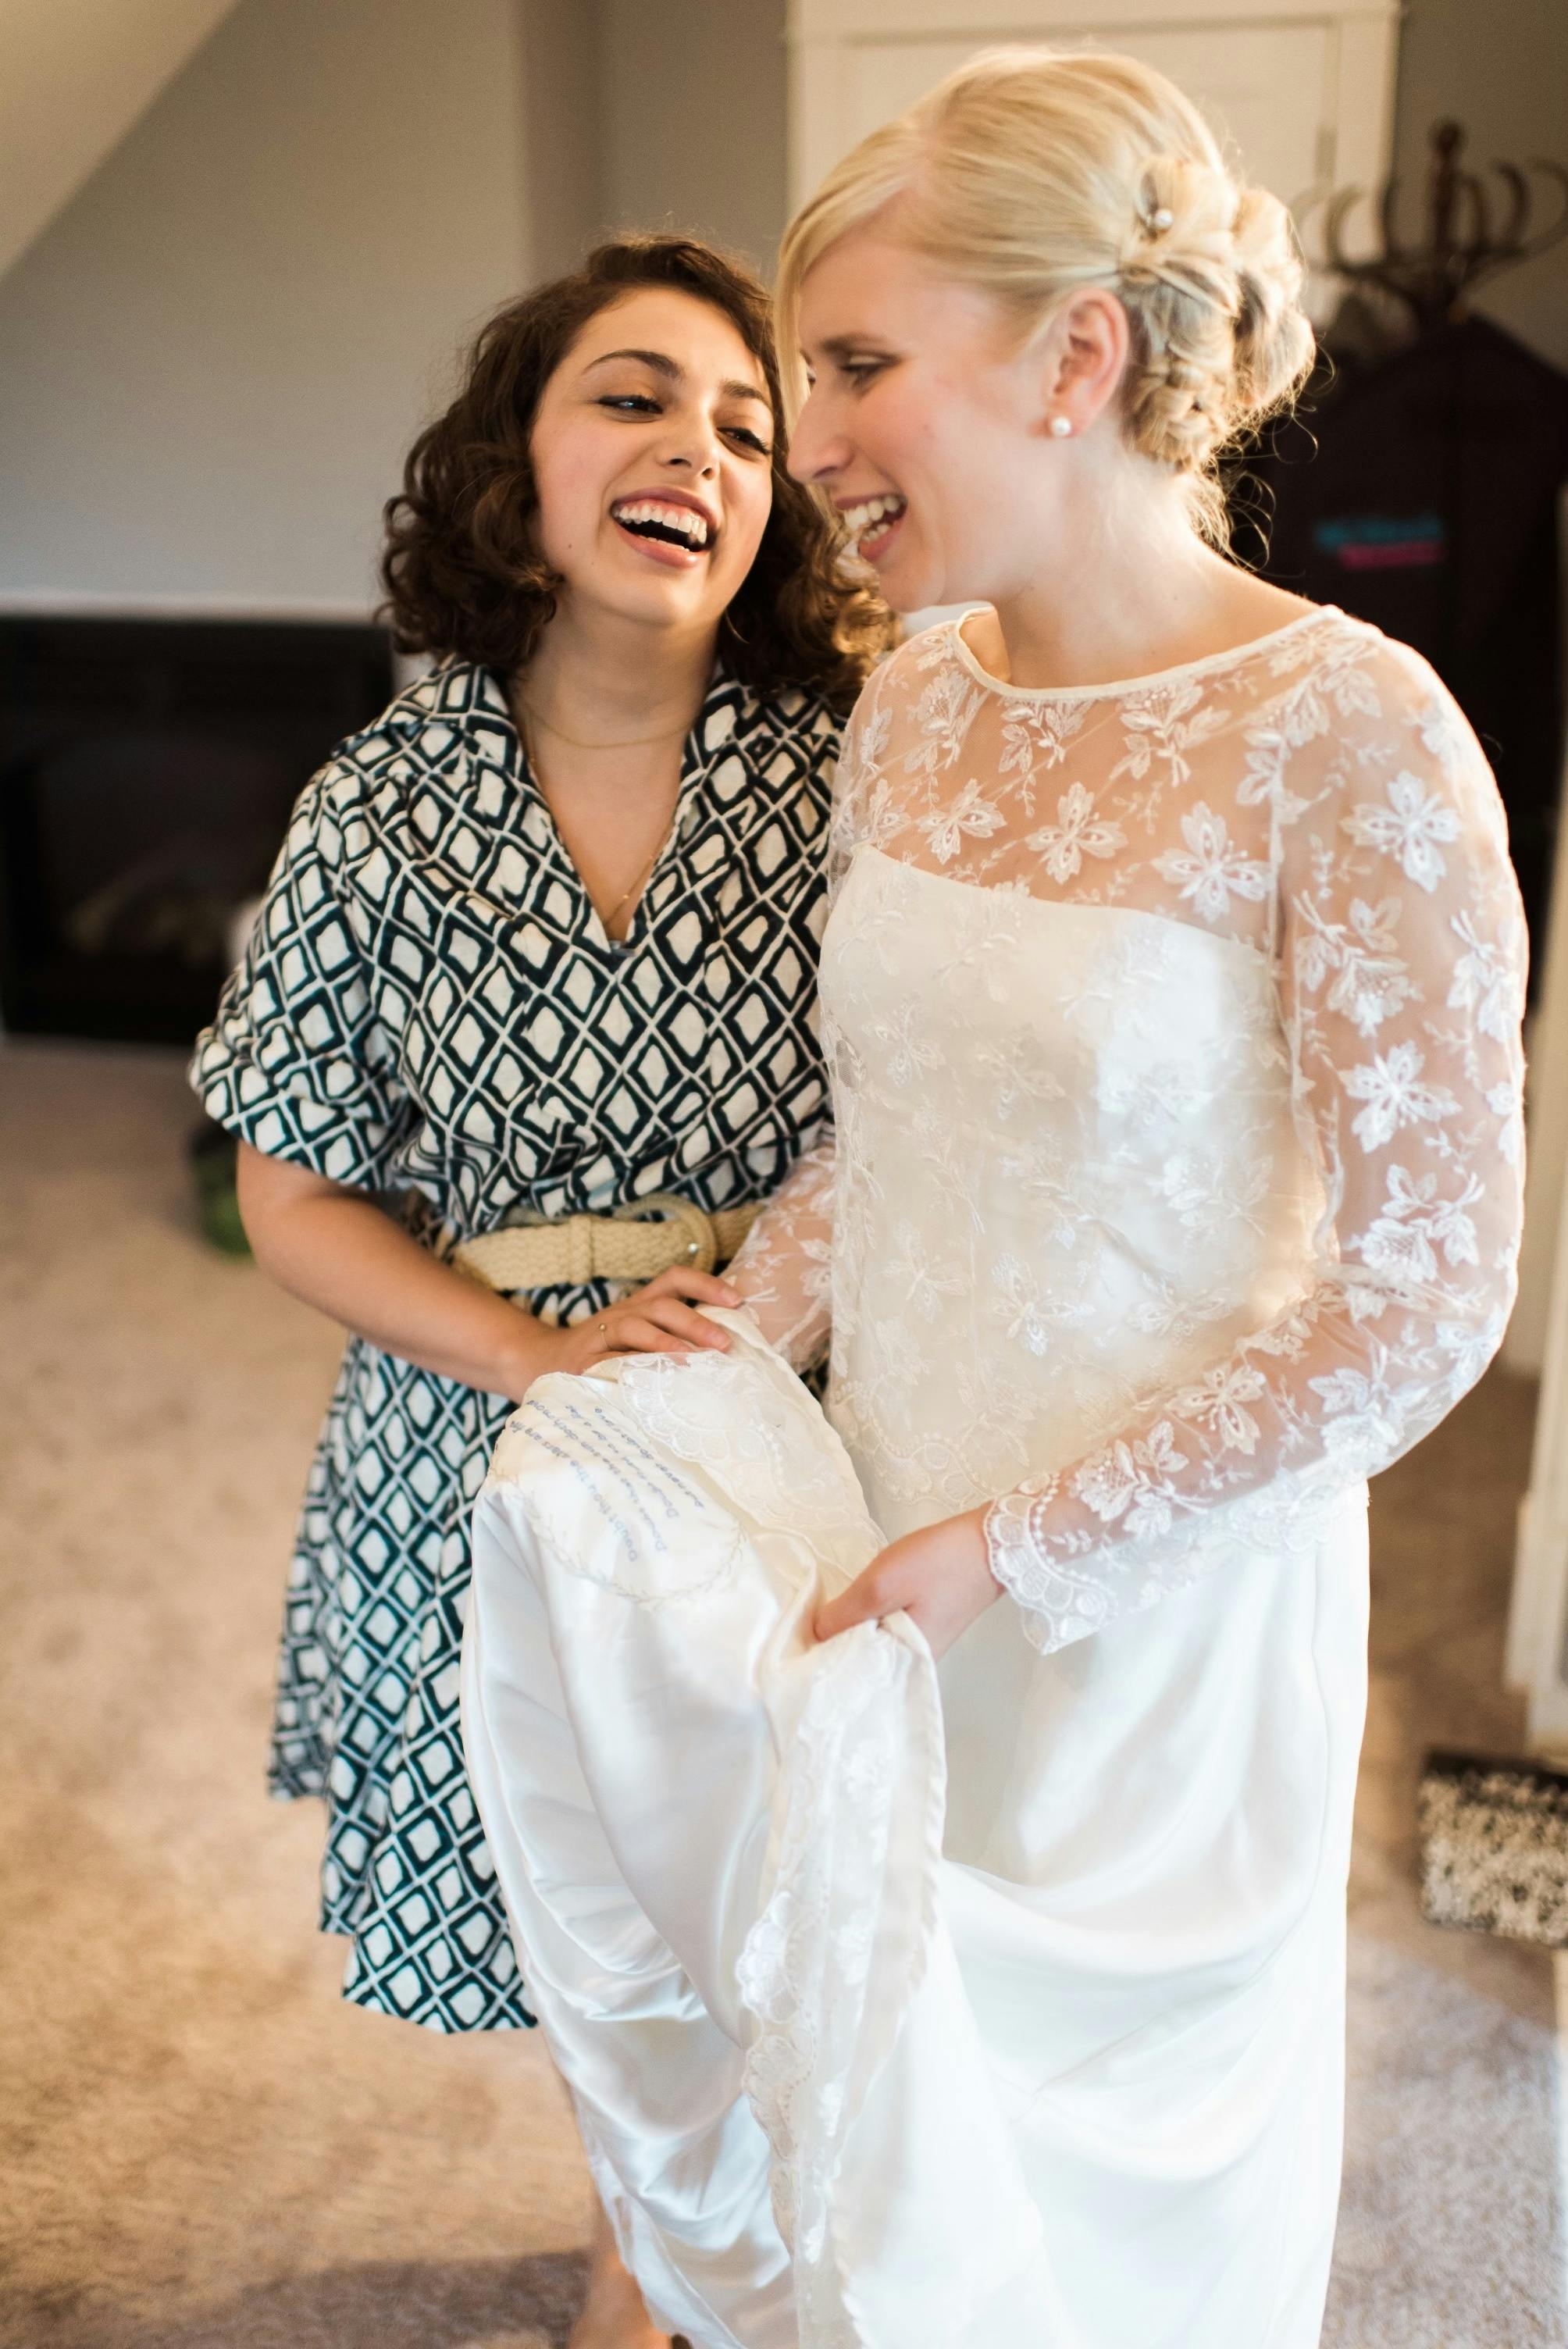
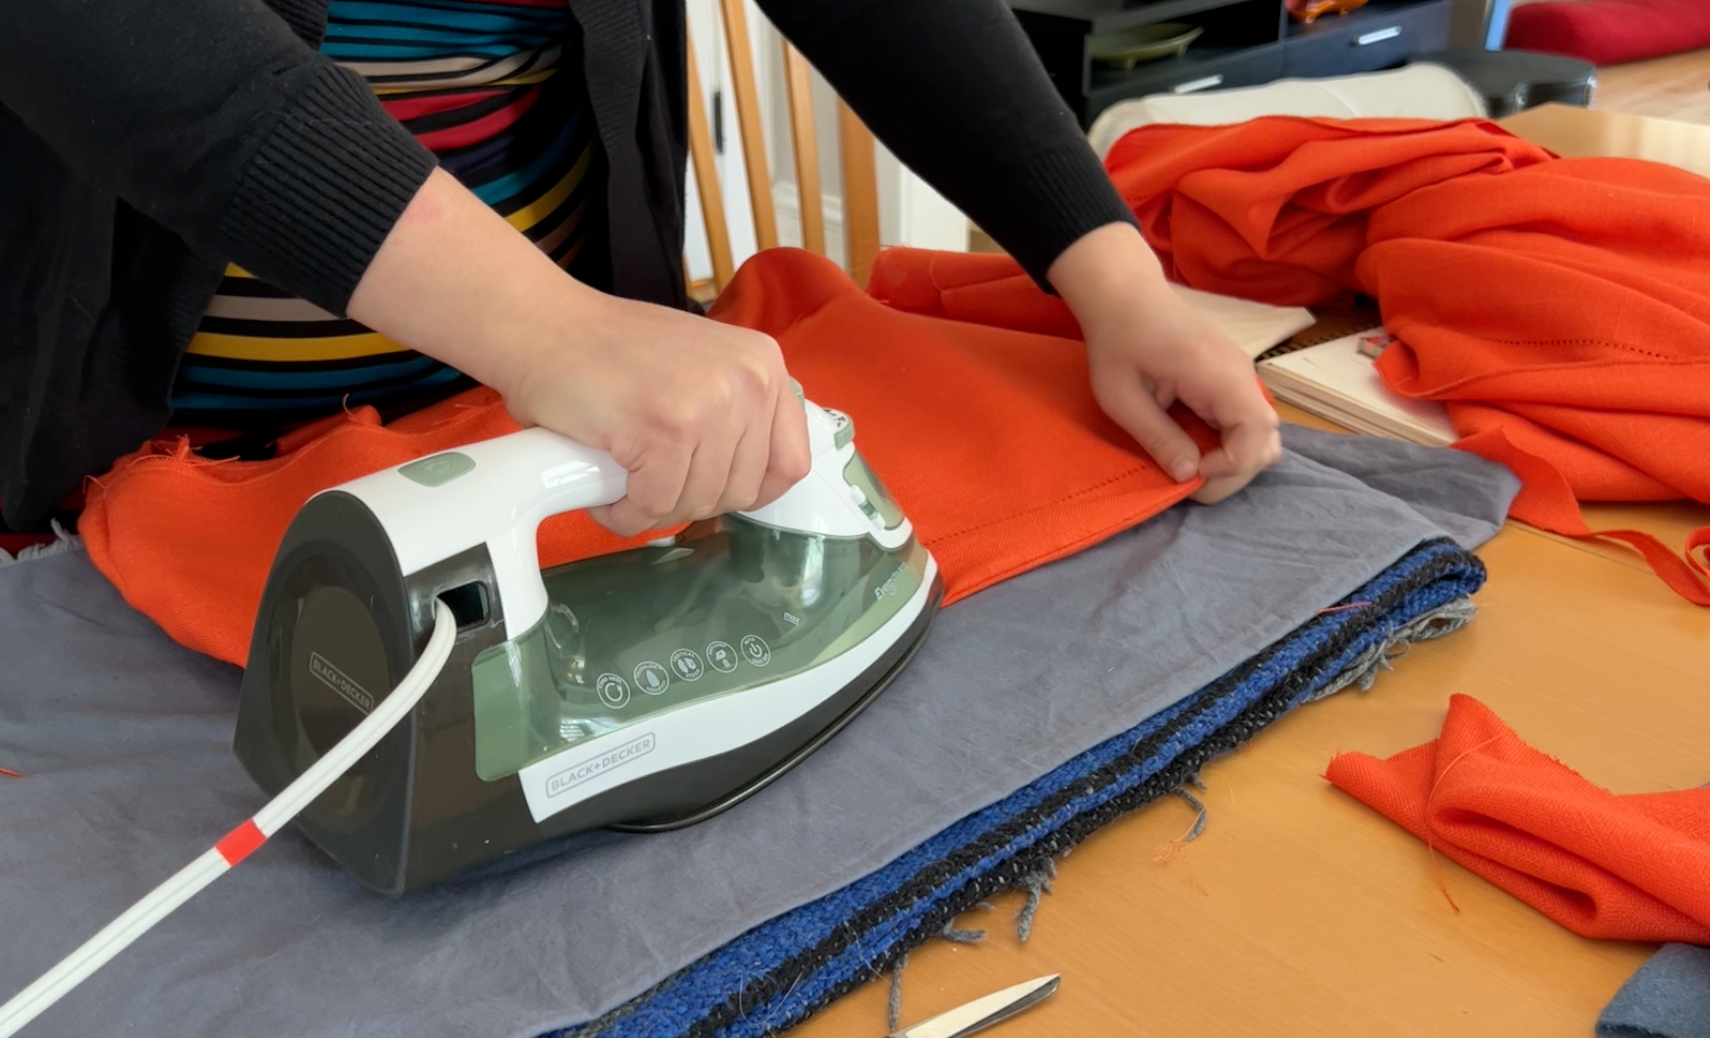
This fabric is very low maintenance, aka it does not crease, so I pressed it for a good long time because I wanted the top of the dress to have a nice sharp edge and not be bubbly and awkward. My friend Hester and I have made a lot of clothes together (such as her wedding dress above!), and she always reminds me that pressing is vital and not to be skipped, even in fabrics that as less balloony than this one. It’s sometimes annoying, but it IS really important!
The Skirt
I wanted the match the structure of the pom pom dress inspirer, but make it more of a midi length. The pom pom dress has three tiers - from the waist down they are biggest, smallest, middlest. I put on a dress that I liked the length of (29") and decided the tiers would be 15", 5", and 9" in height.
Then I had to figure out the width. The pattern I used said the first tier should be 1.5 X the bust measurement, the second 1.5 X the first, and the third 1.5 X the second. I did all the math, adding an extra 1.5" to each height measurement for seam allowance, and started figuring out how to make it fit on the fabric I had left.

It just barely fit, and was going to leave me with a strip just big enough to make the kind of straps I wanted! I laid it out on the floor, measured, and cut.
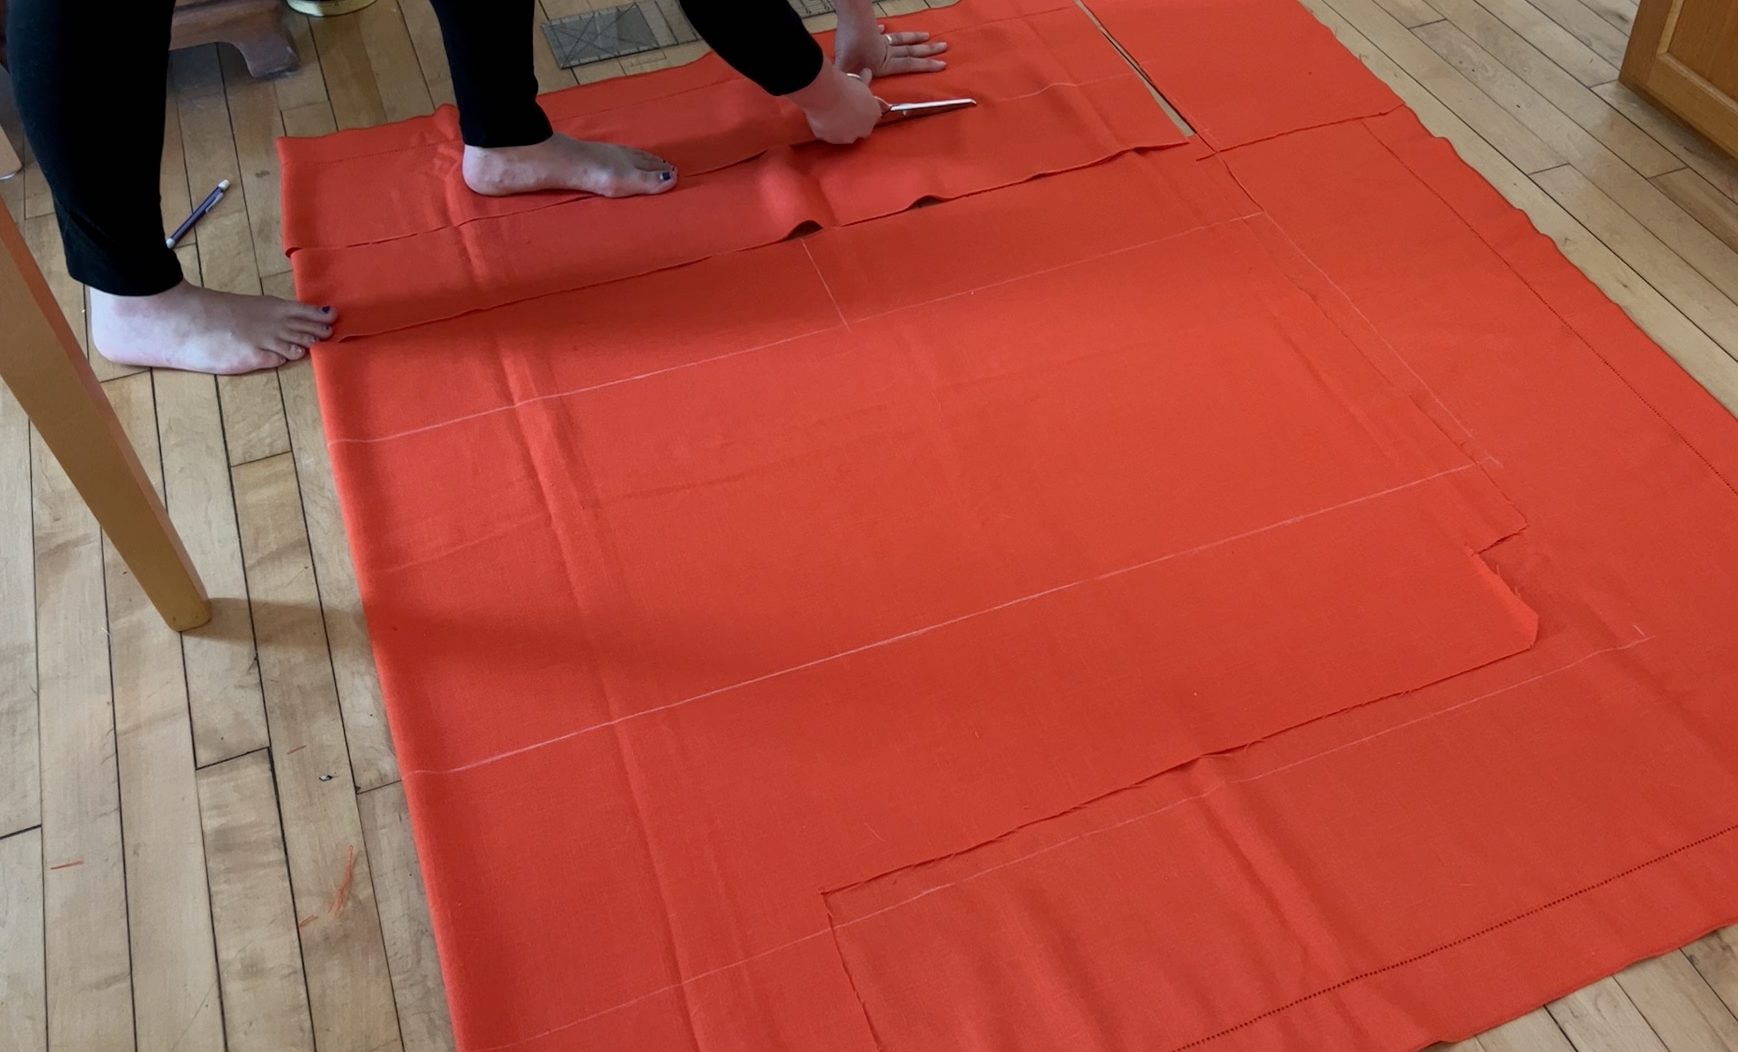
The tiers had to be cobbled together a bit, the bottom two being made out of 4 pieces of different lengths, but I figured it wouldn't show much (and I was right!) so sewed them into rounds and set them aside.
Oh, this old thang? IT HAS POCKETS!
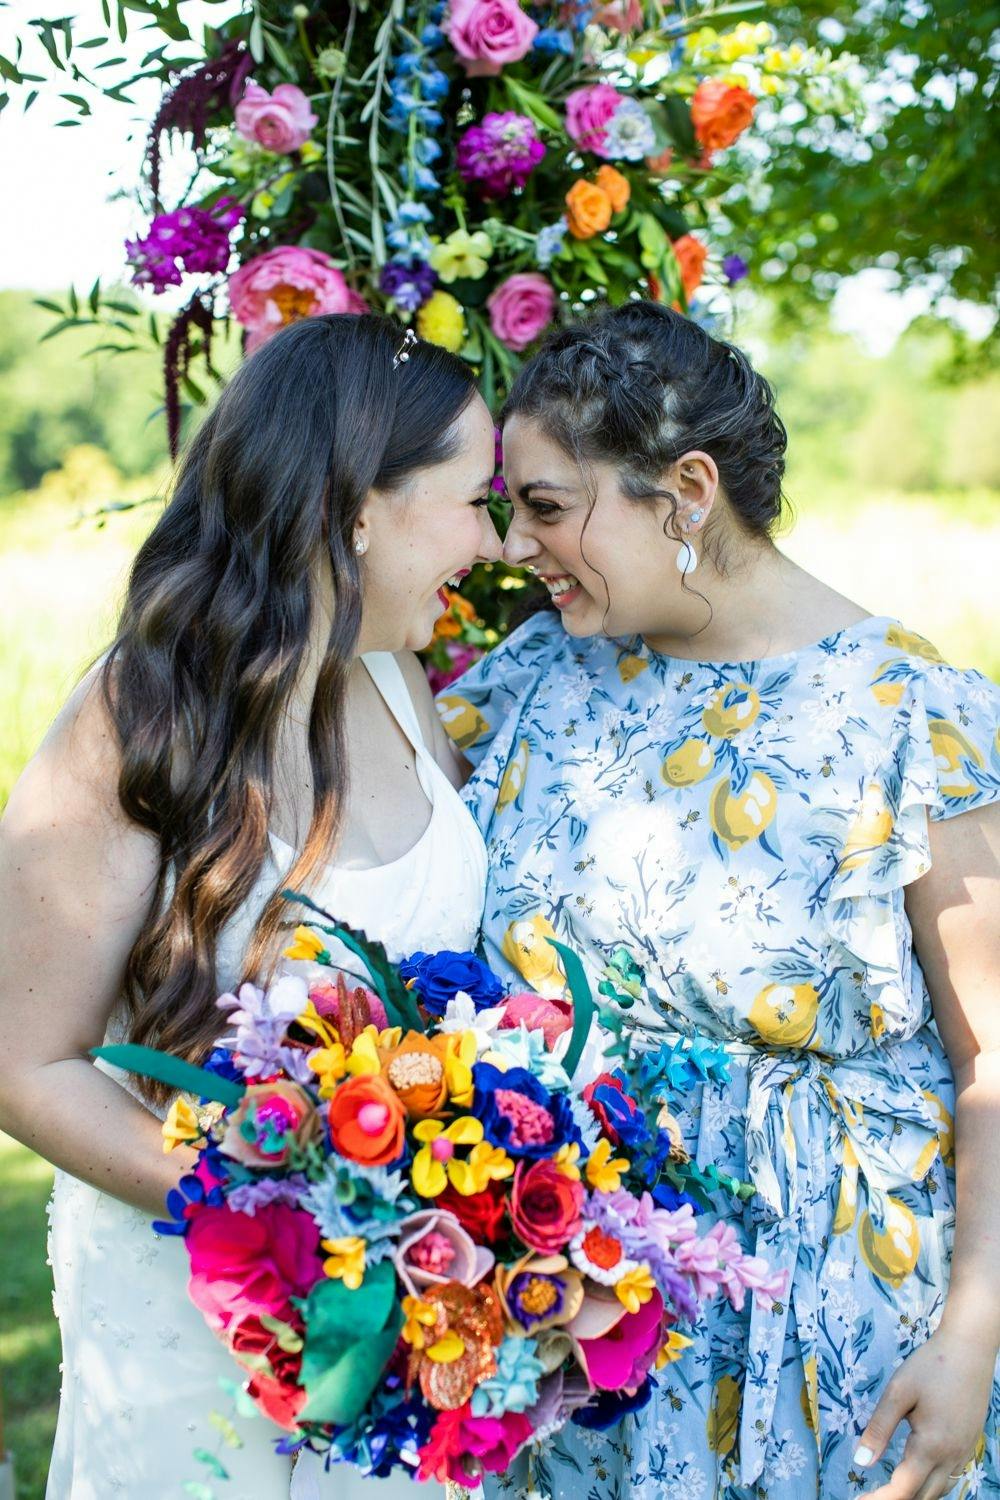
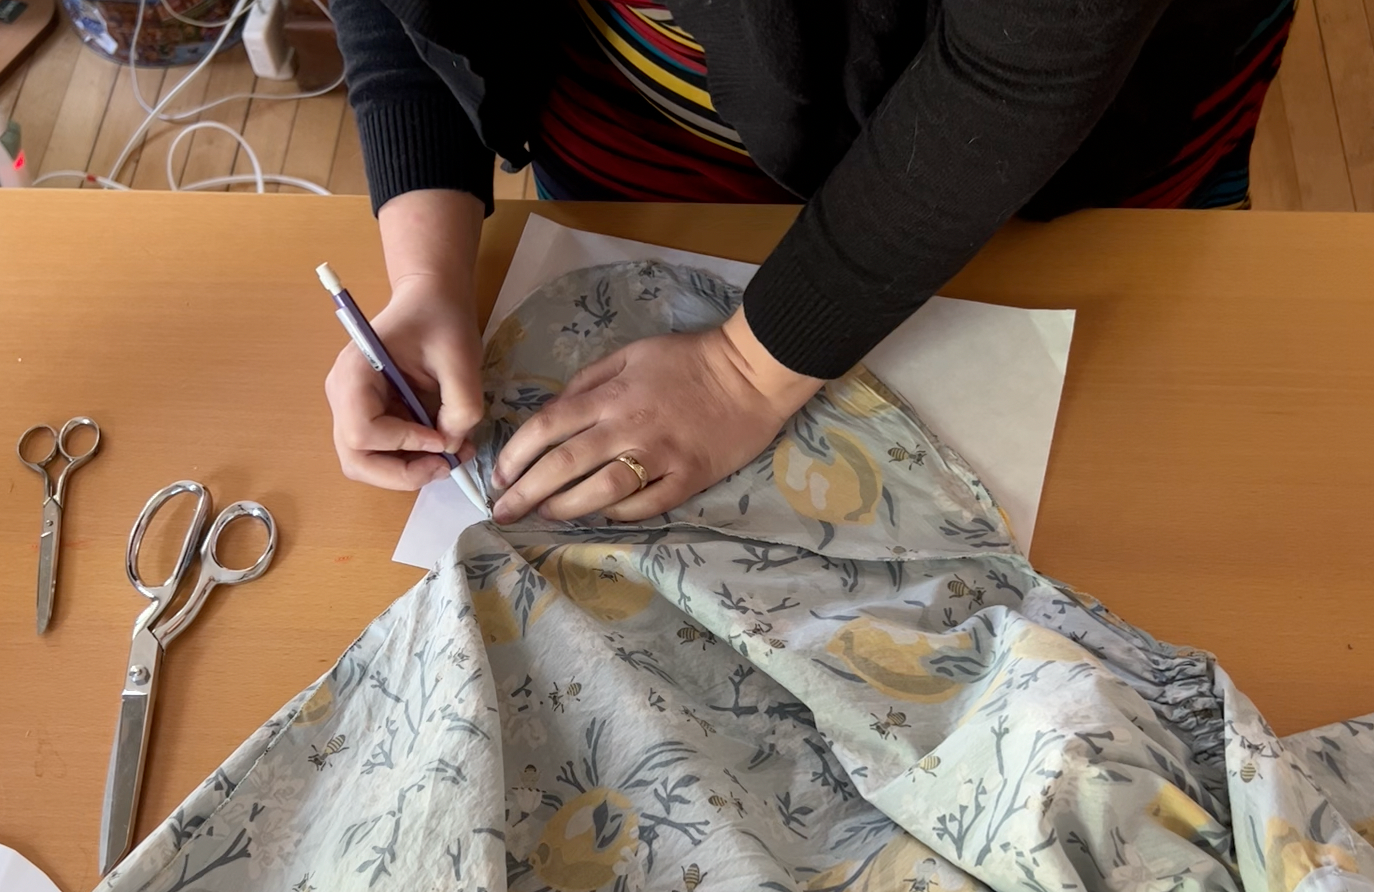
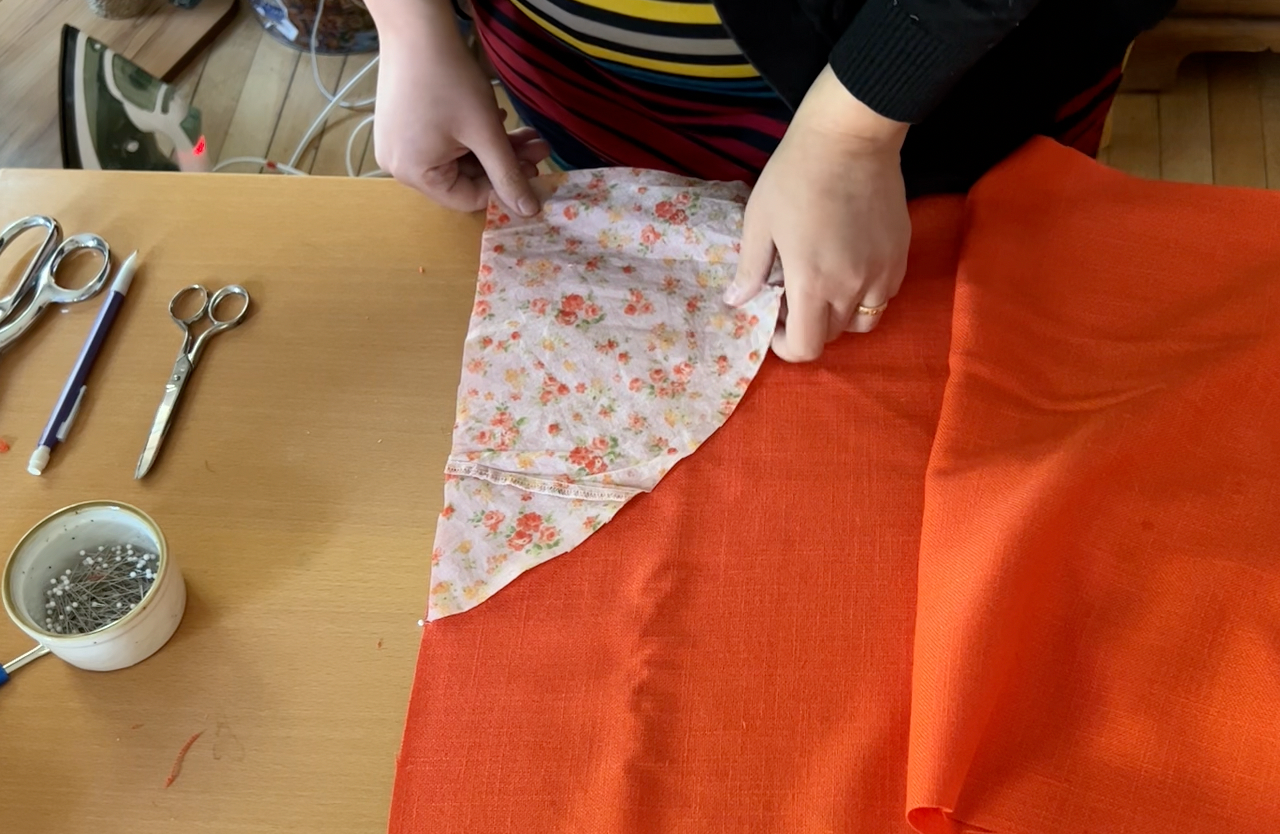
Since there was so little fabric left over, and obviously, dresses need pockets, I decided to use an old pink dress from college to make the pockets themselves. I couldn’t find my pocket pattern, so I grabbed the lemon dress I made for Lauren’s wedding (see how I made her fabric bouquet!) and traced the shape of the pocket.
Attaching pockets like this always trips me up, but basically, the steps are - stitch right sides together the whole length of the pocket with a narrow seam allowance, stitch around the belly of the pocket, and then stitch the side seam of the skirt with normal seam allowance, leaving an opening for my hand to go in.
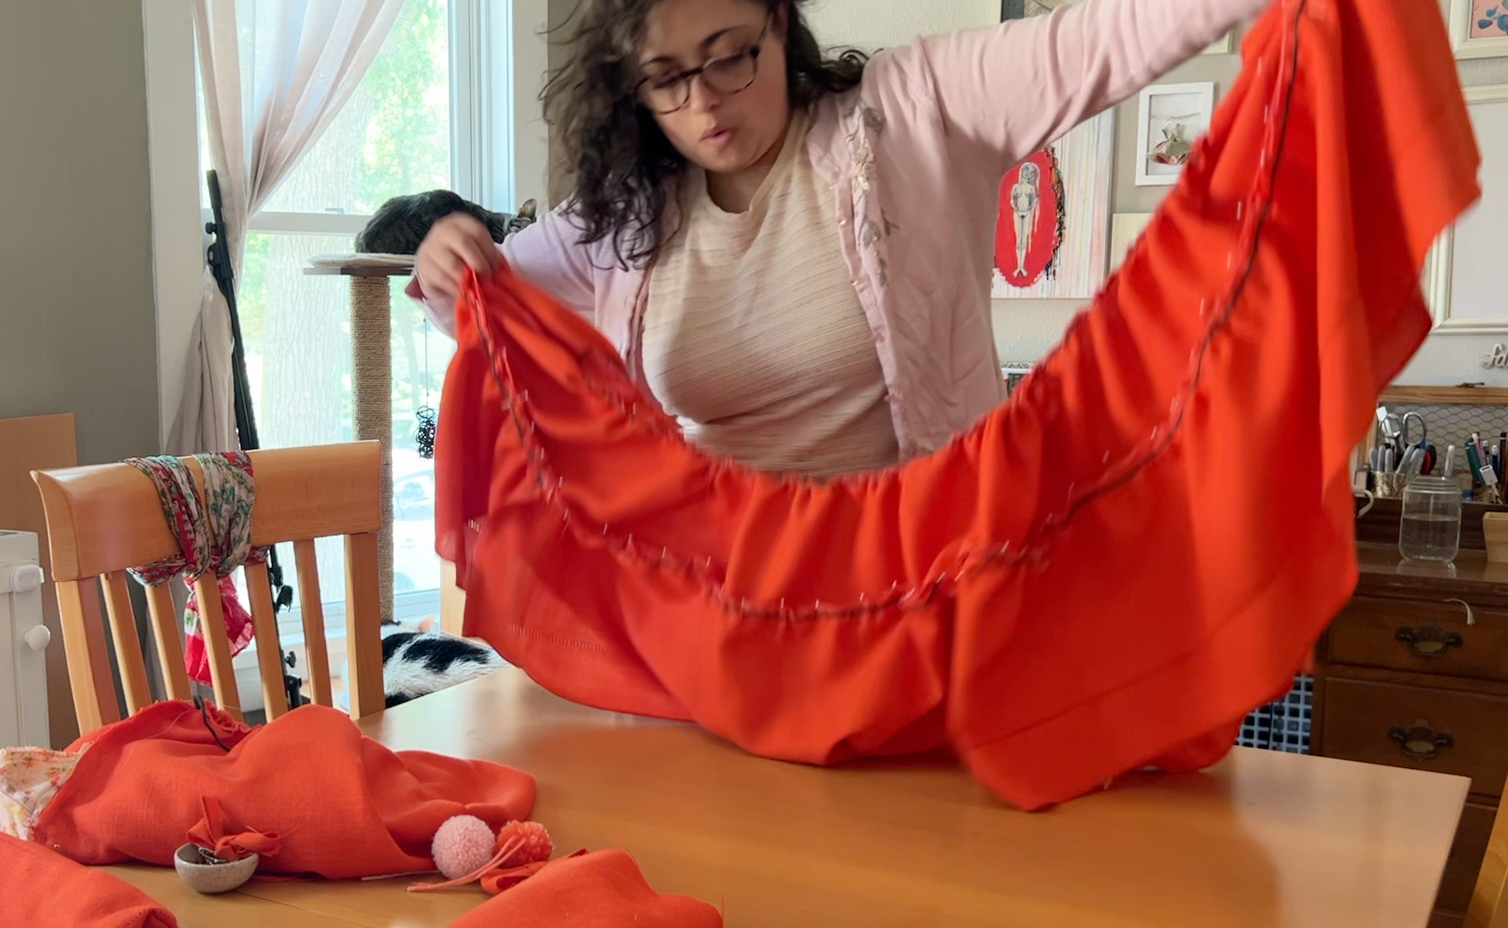
Gathering the Tiers
The process of making the tiers involved gathering the tops of each tier to fit into the one above it. I've usually gathered by sewing two lines of stitching next to each other and pulling, but it's very common for the thread to break and then you have to start from the beginning again.
Right before I was going to tackle this part of the project, the IG algorithm came through and fed me this video showing a new technique. It's so smart! You sew a wide zig-zag over a piece of cording, making sure not to stitch into the cording itself, and then pull the cording. It worked like a dream (except in the places where I DID catch the yarn I was using with the zig-zag stitch - but I'll pretend that didn't happen if you will!)
It took some finagaling in places, but all in all, I think this is a wonderful technique! I would suggest using a cording instead of a yarn because it would be much thinner, much stronger, and less wispy.

Putting the Pieces Together
I pinned the bodice and skirt together somewhat where I wanted it to be, took it off, and pinned it better, before trying it on again.
Once I got it where I *thought* I wanted it, I stitched the bodice and the skirt together.
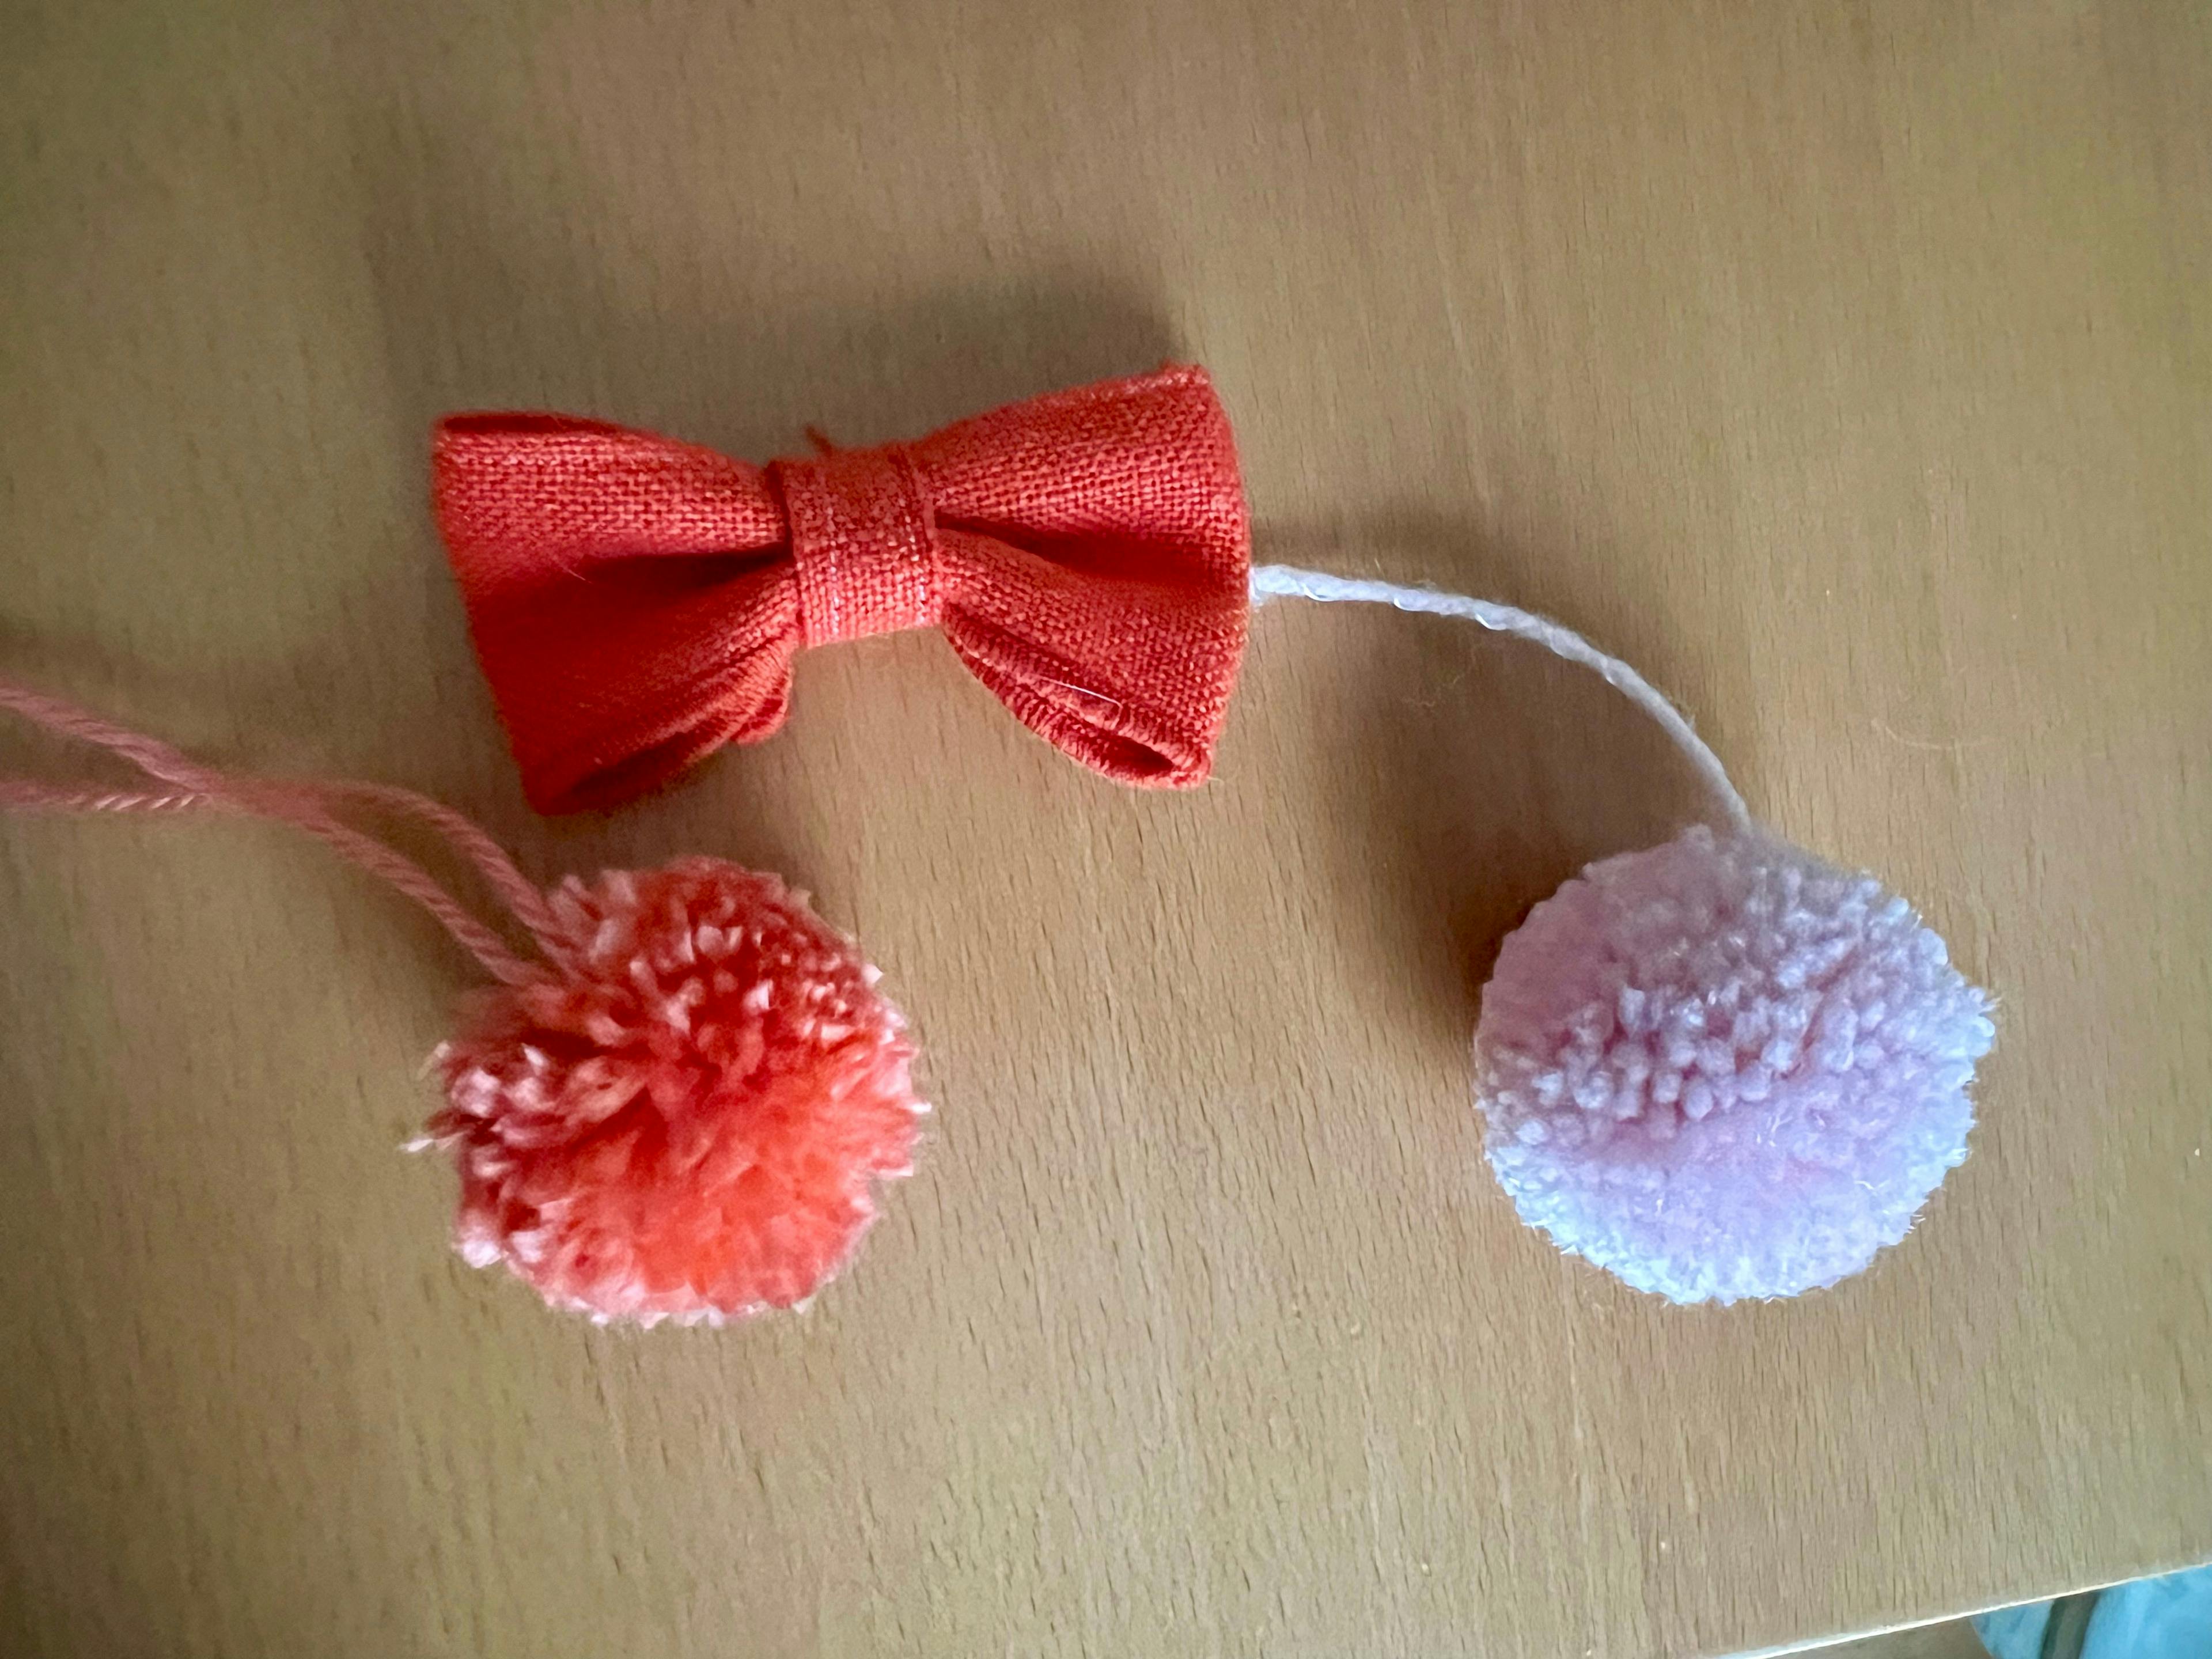
A Change of Plans
Throughout the process, I was debating whether or not to make pom poms, and if so, what color they would be. I grabbed a bunch of different yarns from my stash and decided that either the coral or the light pink would be cute. I made some test pom poms as well as a test bow, which I thought would also look cute scattered all over the dress. In the end, I decided not to do any of these embellishments (and I wouldn't have had enough fabric for the bows anyway!) and just allowed the straps to be the drama on the dress.
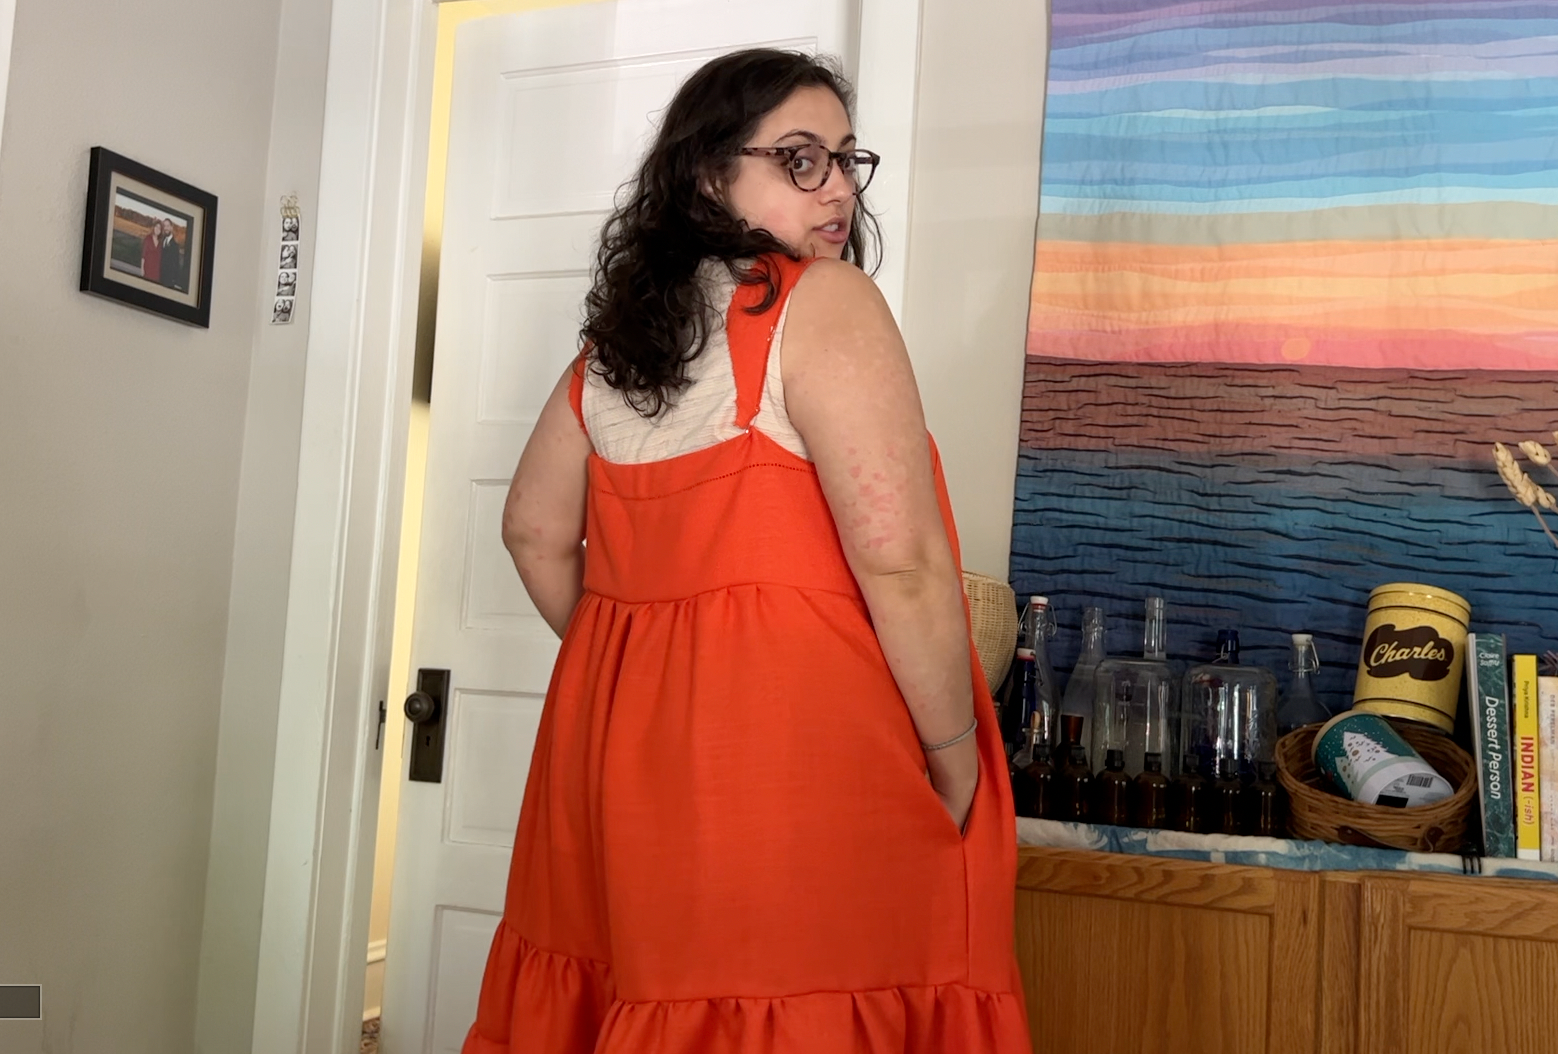
The Straps
So I turned my attention to the straps. I wanted big bows on the shoulders, and I made sure to cut the pieces so that the edging detail was on the ends.
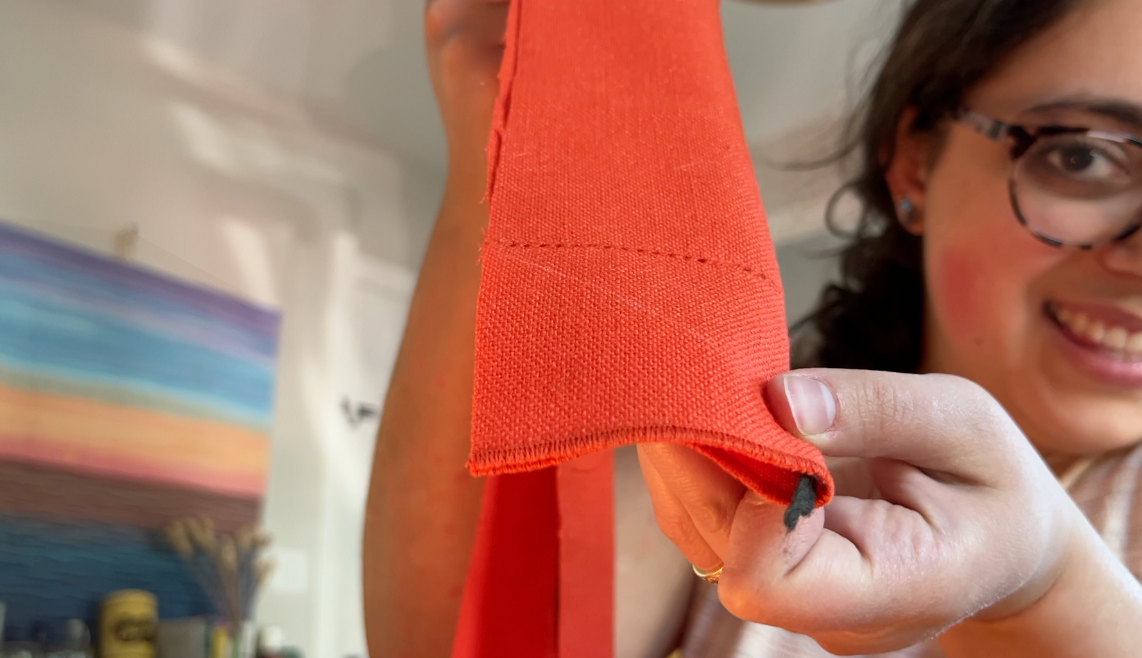

I attached the straps by opening small sections in the top of the bodice, sticking the end of the strap inside, and then top-stitching around the entire top of the bodice and the length of each strap.
Fit Issues
I had originally wanted the dress to hit at the natural waist, as that is often a good look for me. However, I think for it to look the best, I think the skirt either needs darts, more gather, or to be a circle skirt. The way this was laying just wasn't my favorite, so after much soul-searching (and testing with the belt), I decided to move the skirt higher up on the bodice so it would be an empire waist, (just below the bust) as opposed to a natural waist. It took about three tries, but I finally moved the bodice up to where I wanted it to be.
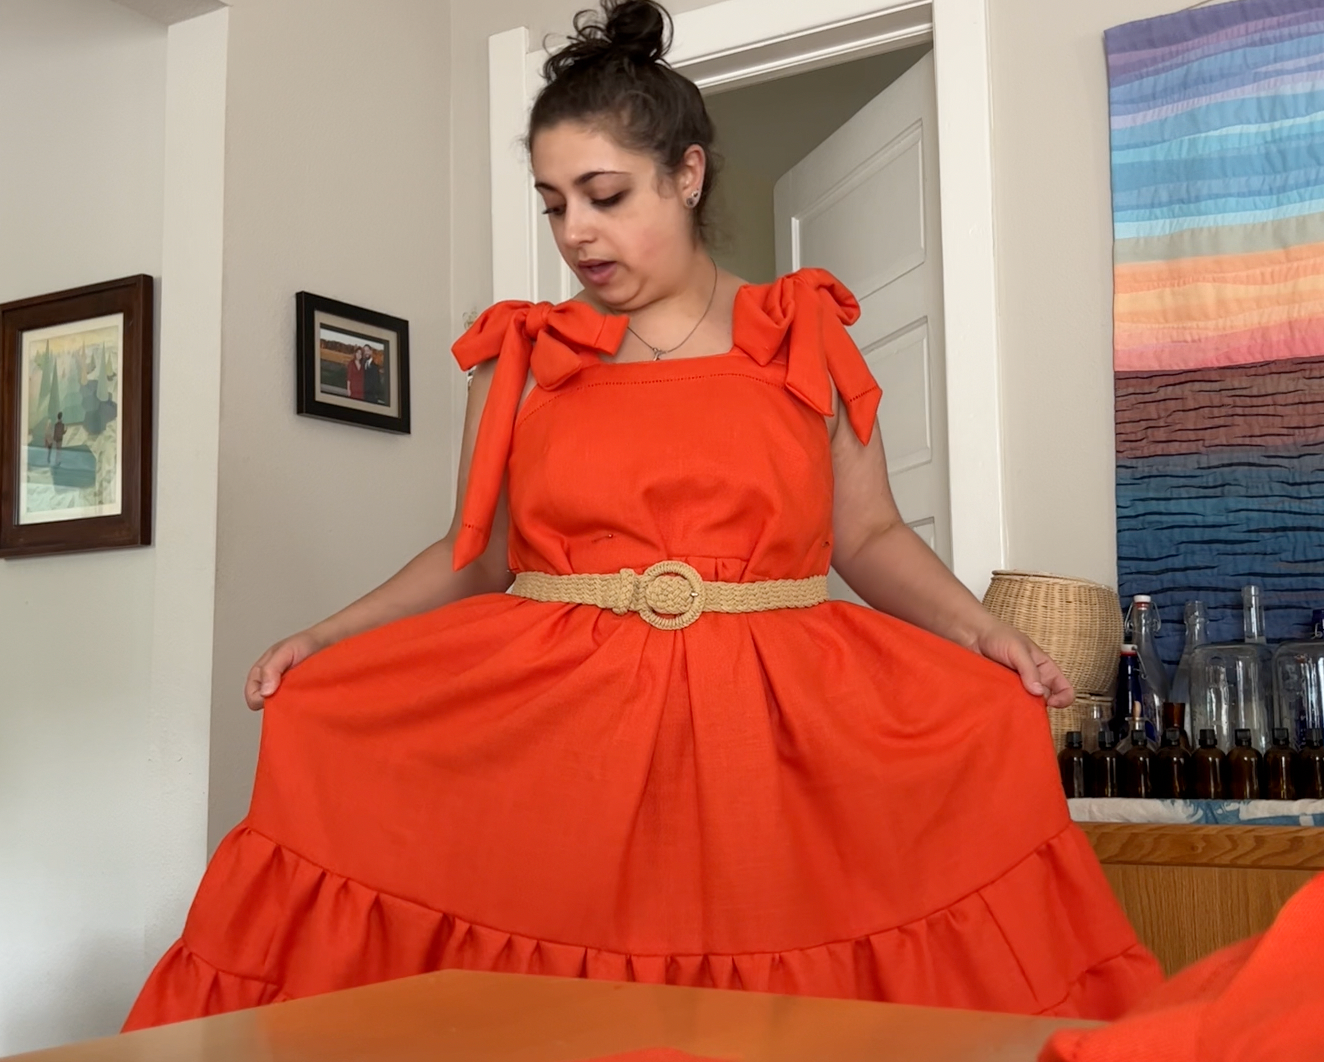
I wasn't sure if I was going to leave it A-line or add an elastic waist or belt. Once I got the skirt higher up, it became clear that the A-line was not looking good, so I added elastic. I started by cutting the excess fabric off of the bottom of the bodice so that I could make a tube by folding the seam allowance from the front and the lining in on themselves (leaving a few-inch opening for the elastic to go in).

Once the tube was stitched, I used a piece of elastic that came from a fitted sheet that was also thrifted to make other clothing (the skirt/top set I got married in, in fact!), to thread through the tube. I safety pinned it to the dress on one end and used a large safety pin on the mobile end to have something to grab onto as I pulled it through the channel.

I sewed the ends of the elastics together, closed the opening of the channel, and the dress was done. Like, totally done.
There was SO LITTLE material left, I was kind of blown away! There were just scraps of the fabric and just a few feet of thread left. It wasn't totally zero waste, but I still call that a win!
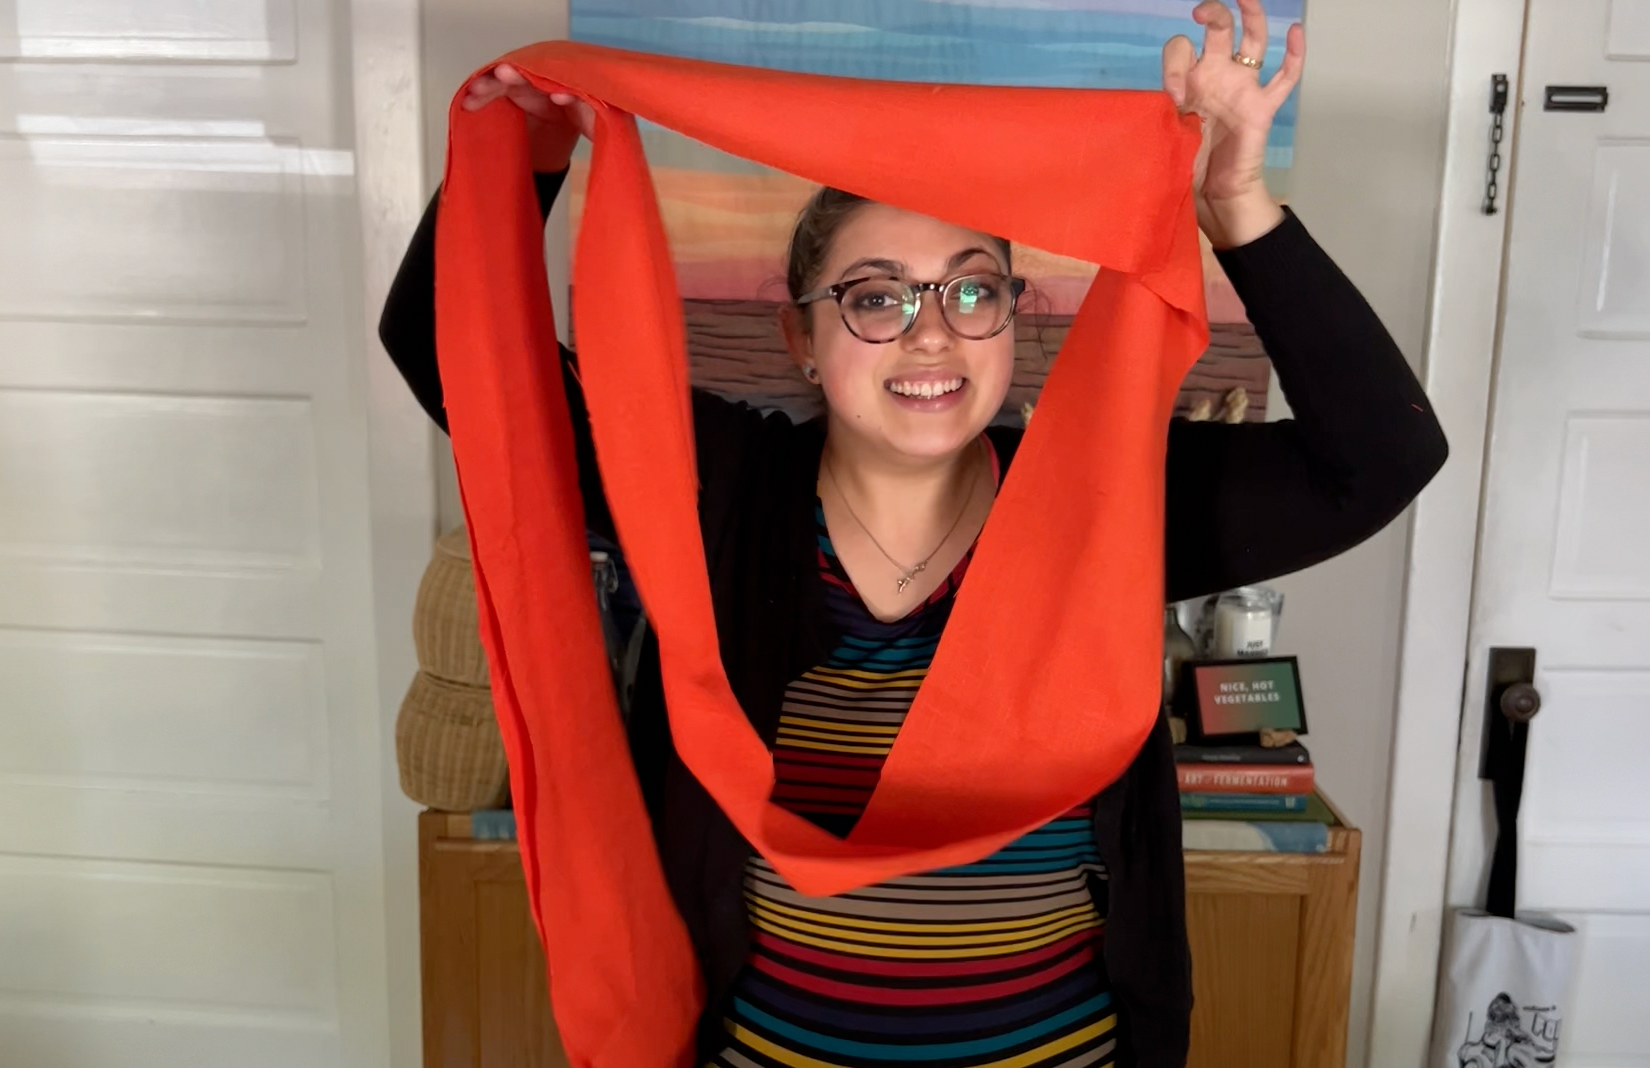
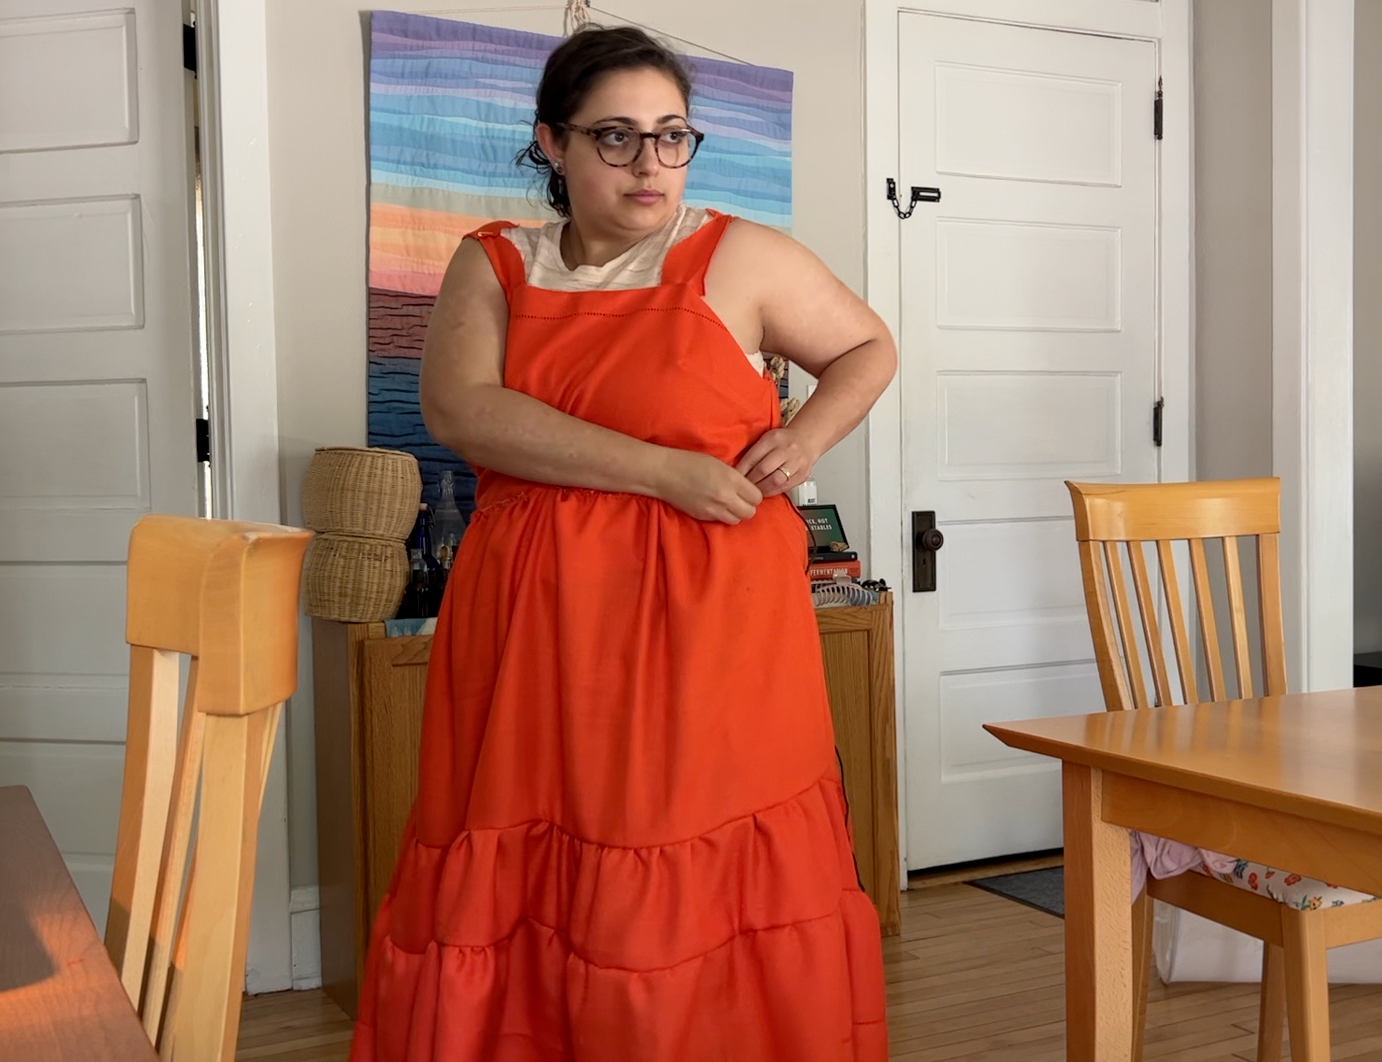
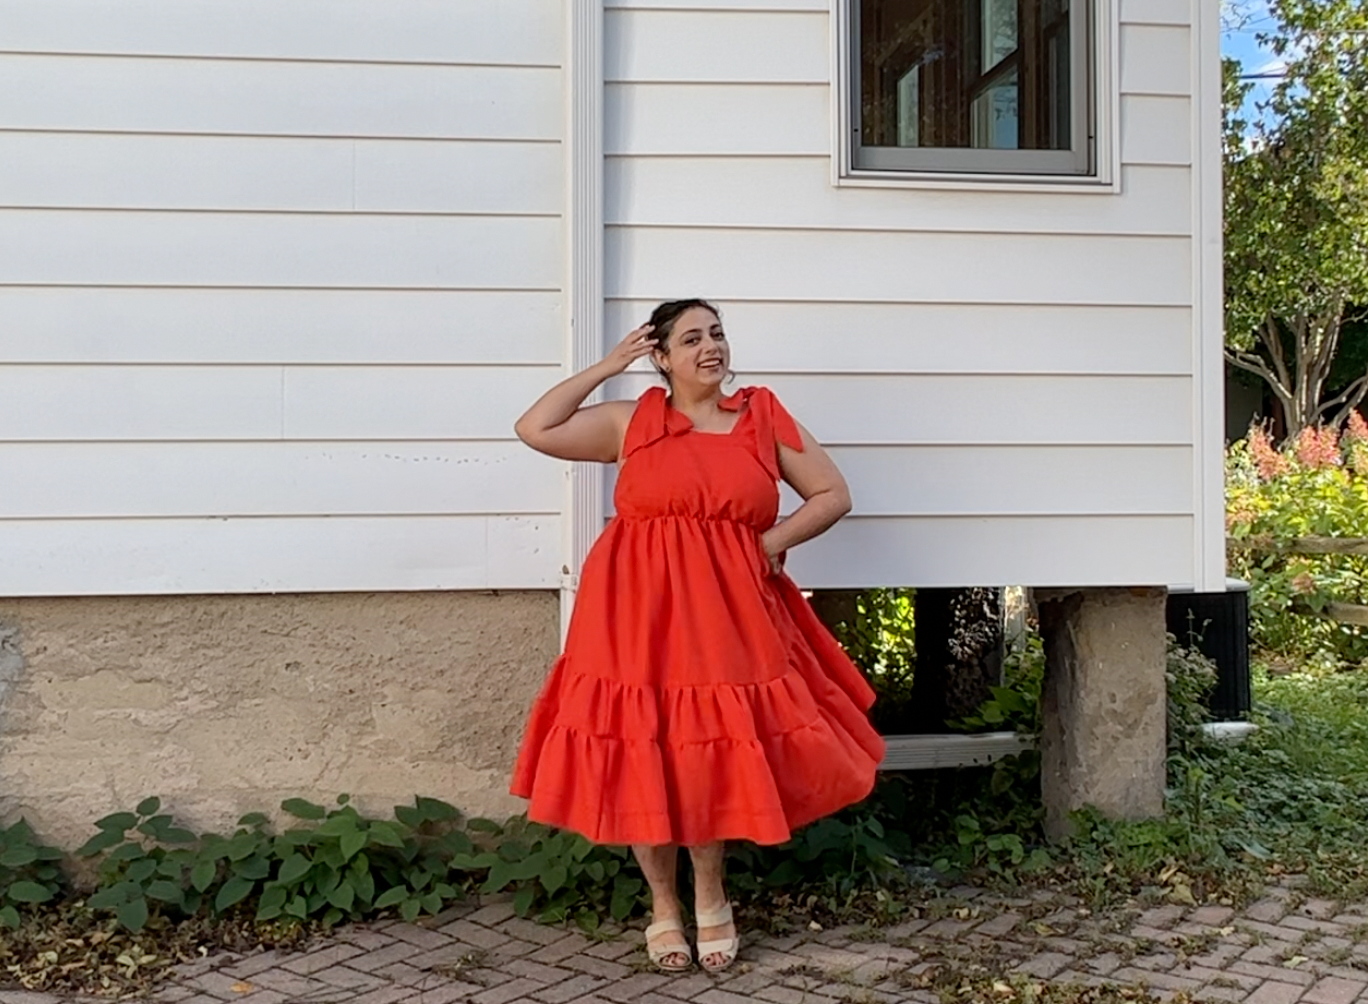
The Big Reveal
There we are at Robby and Julia's wedding! Josh and I had such a great time!

I was brave and bold and asked the very friendly and lovely photographer Hiromi to take some pictures of me for this post. She was so sweet and generous to take these photos! She is a family, maternity, newborn, and special event photographer based in Philadelphia and you should totally hire her! Find Hiromi here. :)


To Sum Up
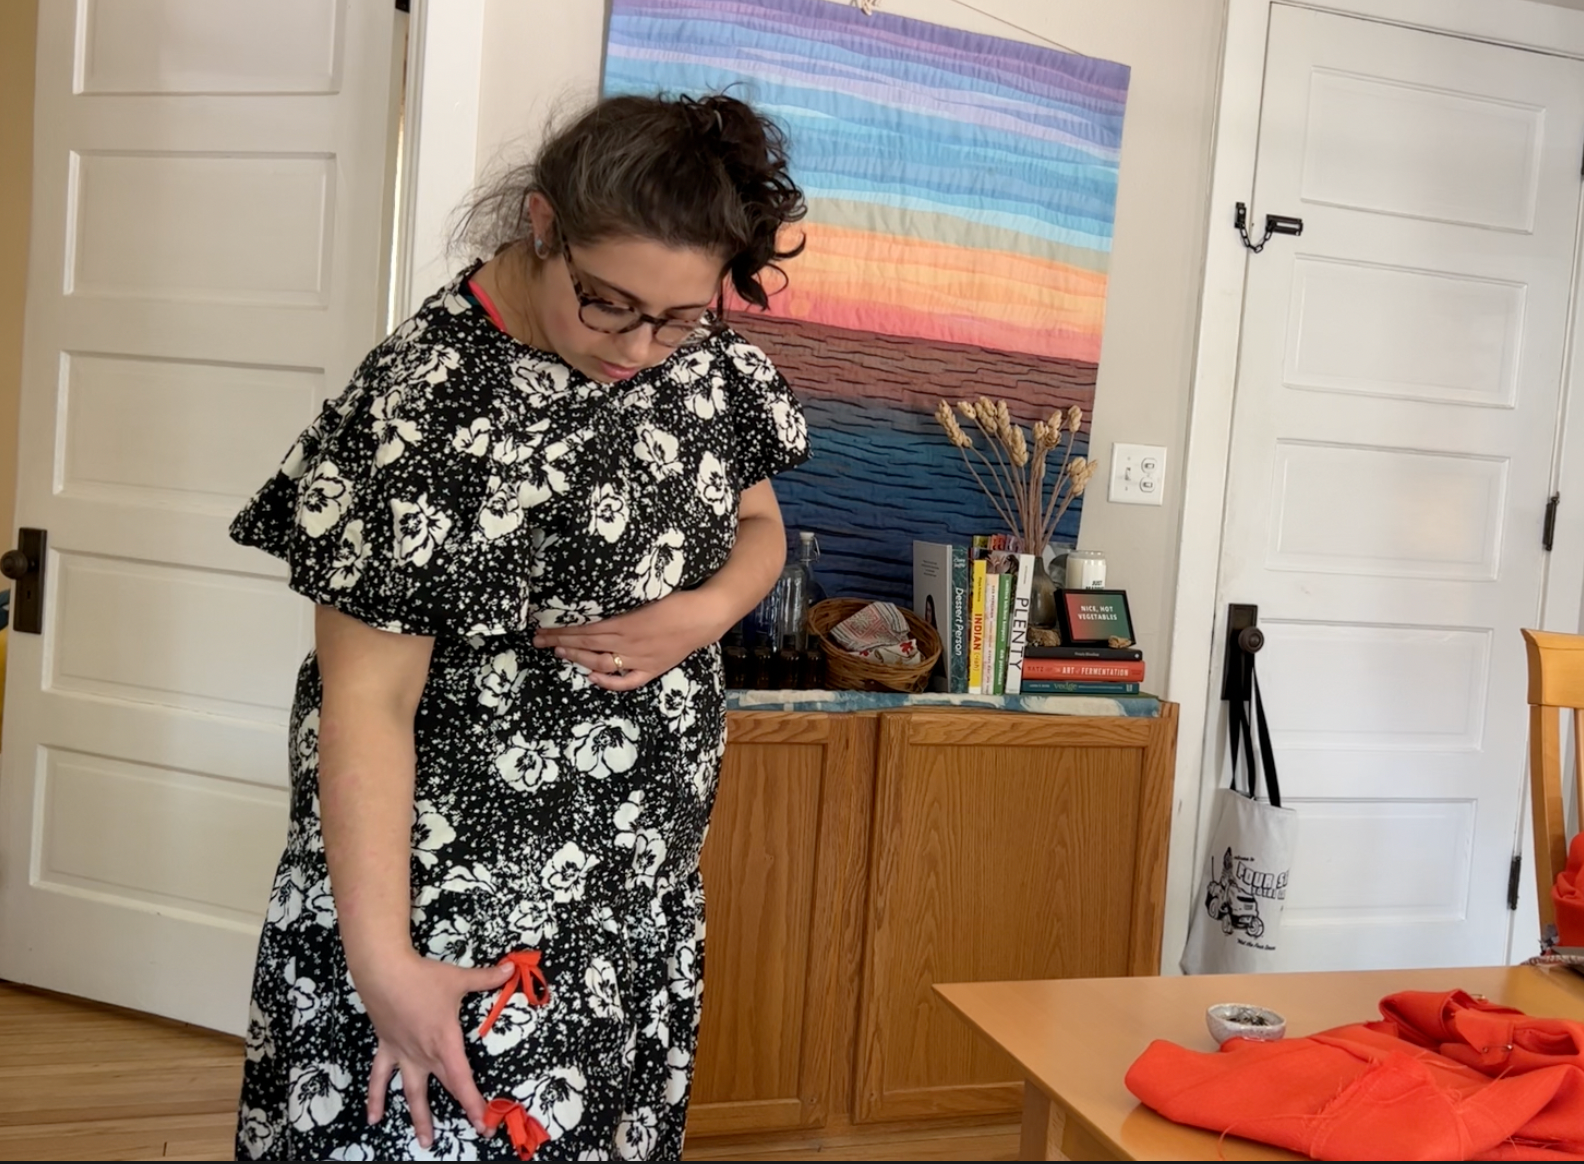
I am obsessed with how this dress came out and can't wait for another occasion to bring her into the sunshine! It's so comfy, the fabric is soft and flows so nicely, and it's such a fun color to boot!
I highly recommend making clothing out of thrifted fabric! It's such an economical and sustainable way to not just cover up your body but to explore truly endless opportunities for creativity and expression.
I hope you have a beautiful rest of your day and thank you so much for being here!
💖, Katrina
Comments: