Nora's Butterfly Quilt, Part 1
April 13, 2023
* Products linked below may be affiliate links. I may receive a small commission if you place an order through them (at no cost to you). For more, see our Affiliate Disclosure.
It Begins, Like Most Things, With a Transformation
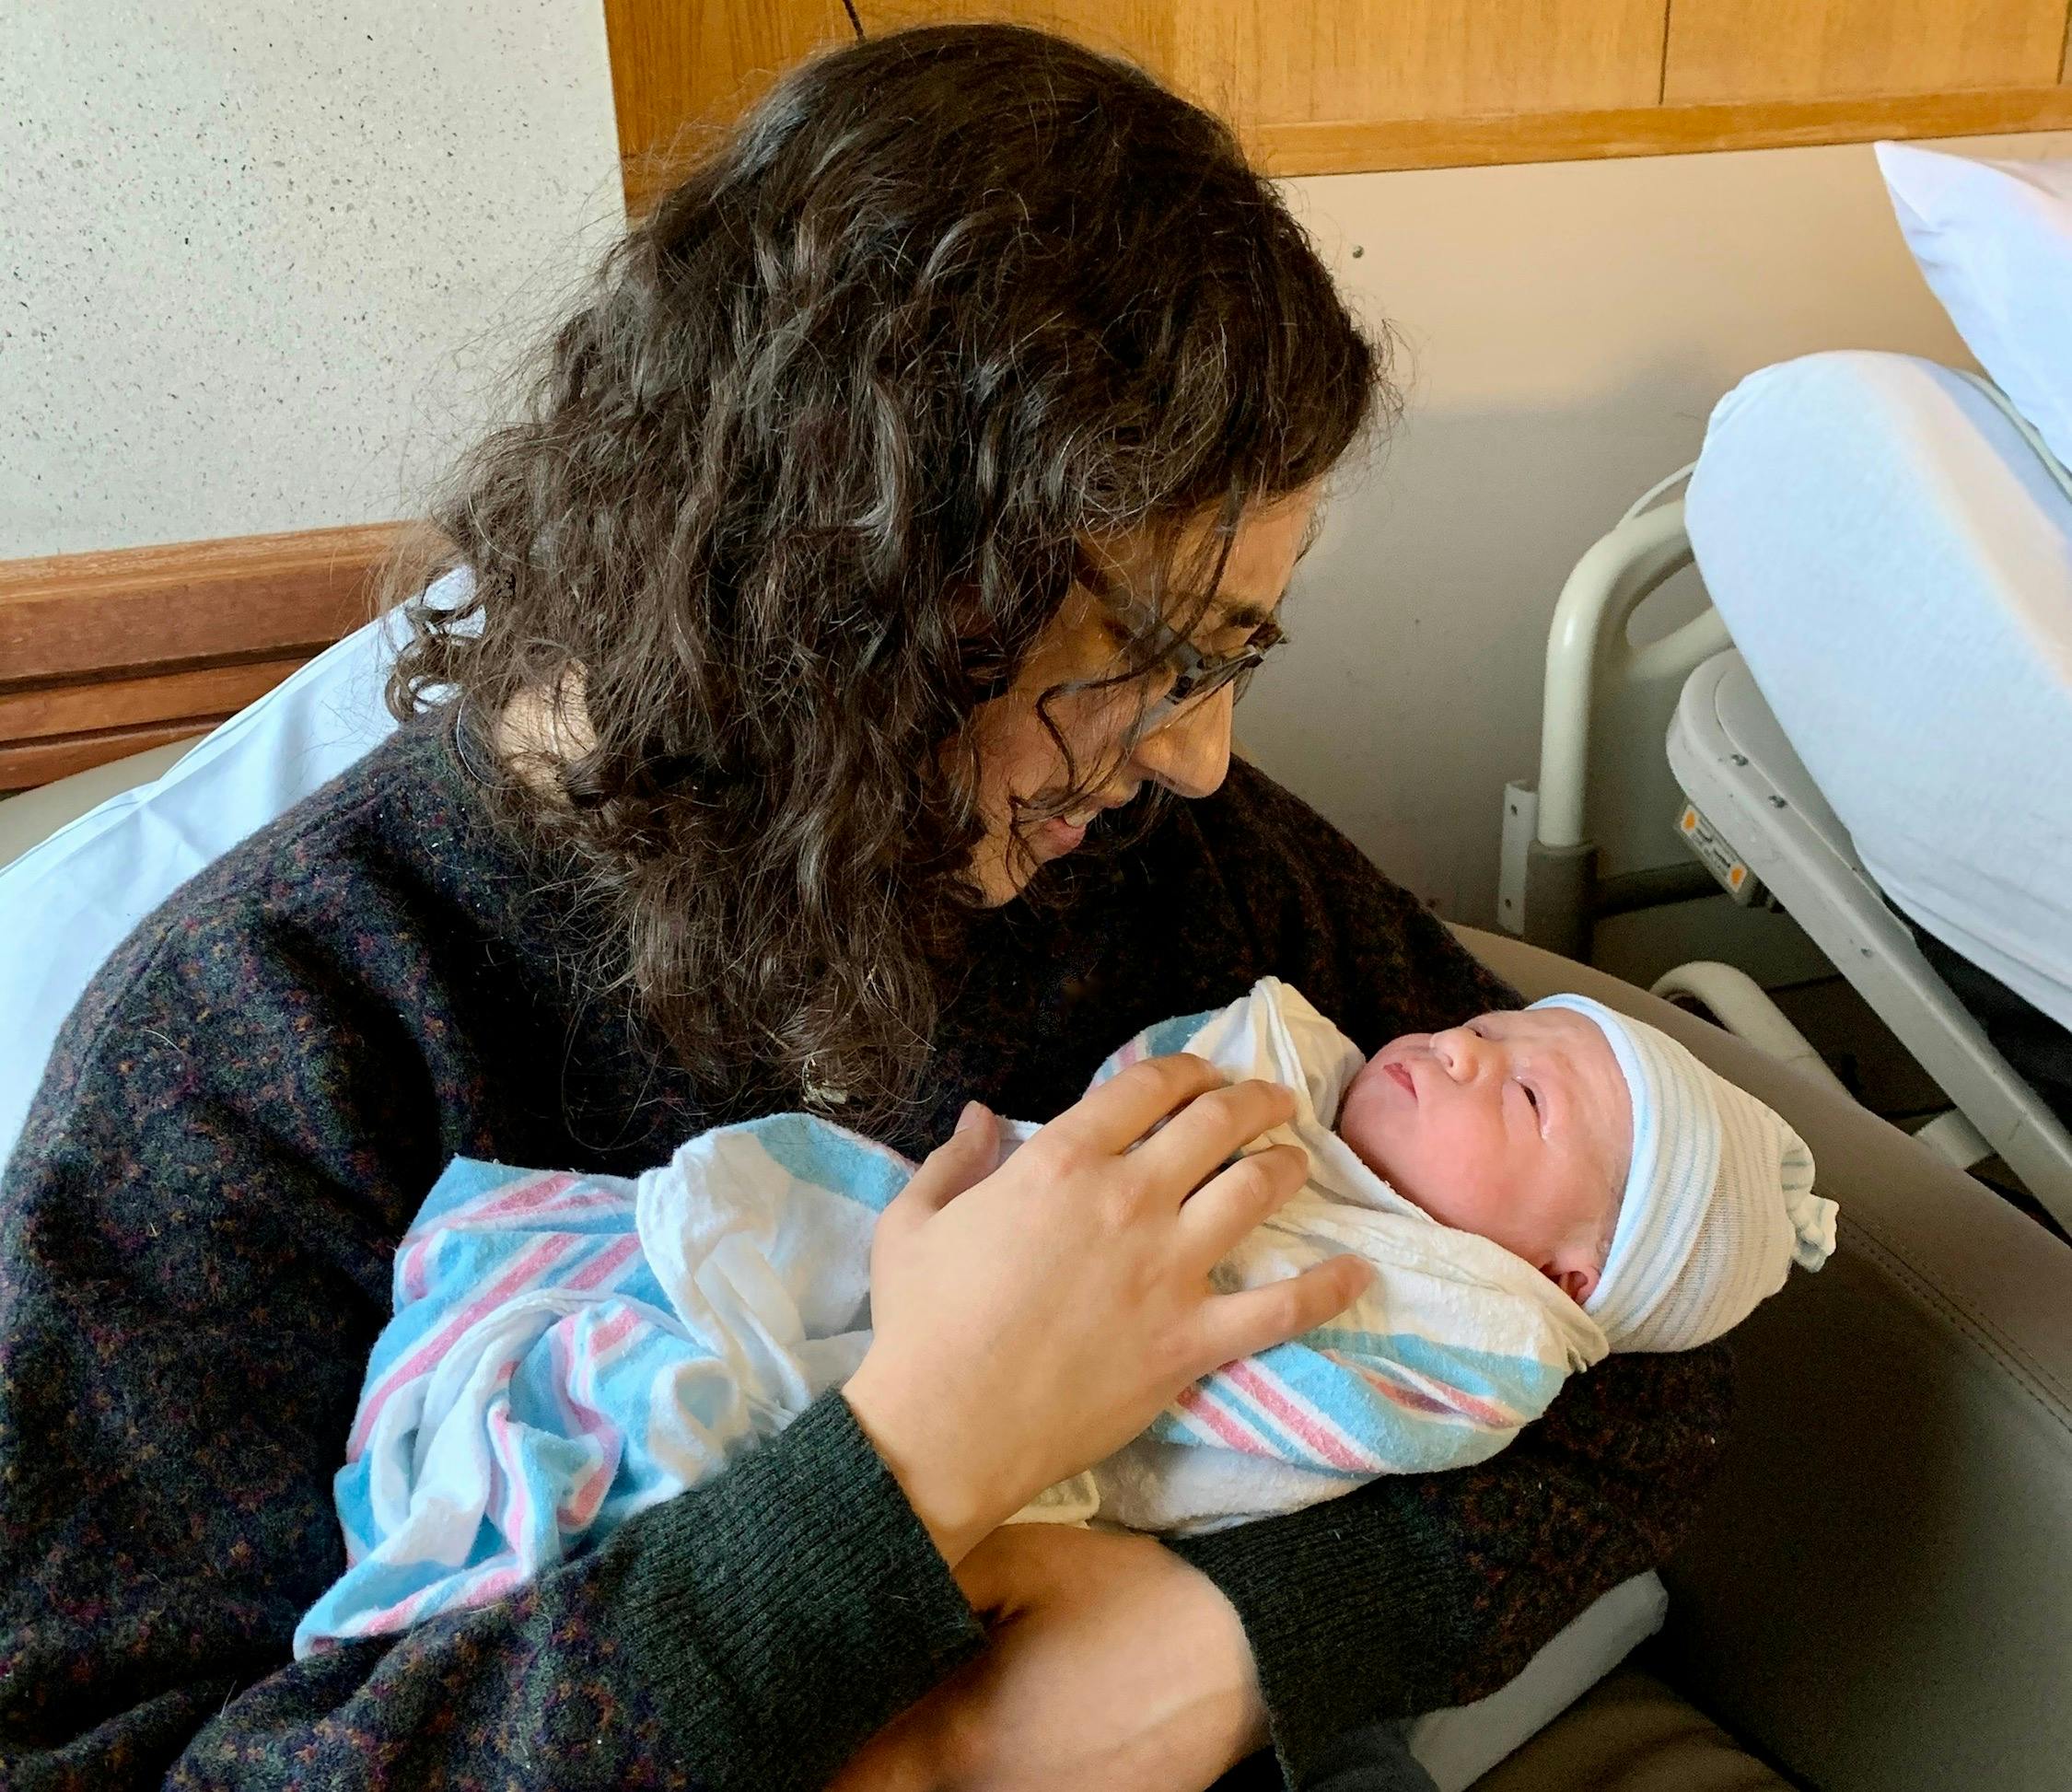
With the birth of my brother-in-law's first child, I metamorphosed into my current form - Aunt Katrina. Perhaps you can picture it? It is a chilly Tuesday morning in December 2019, and our nephew is born. Cut to: me, finishing hand-sewing on the pocket for the hanging rod of his quilt in the car as Josh and I sped to the hospital to welcome baby Austin into the world.
My mom, as well as thousands of quilters before her, has a tradition of welcoming new babies into the world with a quilt, so I felt that I had to continue this tradition as this branch of my family tree grows. And the first step? Planning the design, of course!
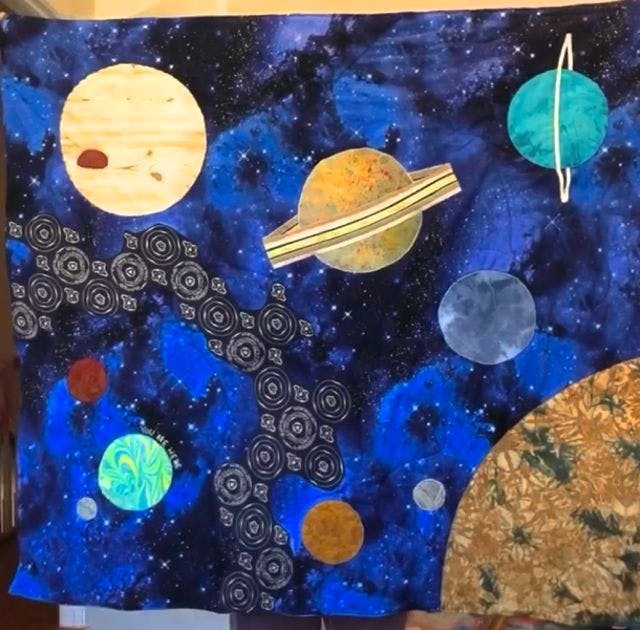
Josh and I are not scientists, but we love how wonder-full science can be - especially astronomy and astrophysics. To even begin to understand the functions of the natural world is incredible, and taking it to the stars multiplies that amazingness exponentially. So, we devised this quilt of our solar system, including the asteroid belt, our Moon, and ribbon rings for Saturn and Uranus. There is also a little embroidery around Earth with the powerful words: YOU ARE HERE. We wanted Austin to have something to look at and engage with that hopefully would excite and comfort him as he begins to know his place in the universe.

About halfway through making this planetary quilt, I had a startling thought: Josh's brother and his wife might have more kids! And if we already gave the whole solar system to the first one... what to do for the second?! What else could hold the same wonder, the same thought provoking magic?
Shortly after opening up the question, I had the answer: Metamorphosis! Specifically, the life cycle of a butterfly.
So that is how this quilt for my niece Nora came to be! I know that's a loooot of backstory, but it feels like important context. When we learned that they were expecting again, I knew it was time to make this quilt. I was honestly so excited! I thoroughly loved this process and it was such a joy to do from start to finish. This is how I did it!
Design Time (aka SO MANY CHOICES)
I knew I wanted to include all four stages of the life cycle of a monarch, from egg, to caterpillar, to chrysalis, to butterfly, but how to arrange that onto a quilt took a bit of figuring. I started out thinking they would be four "scenes" laid out in a grid from top left to bottom left. Then I thought I could do them in a circle with arrows showing the cycle, but that felt too much like a textbook and I wanted this to have an artistic flair.
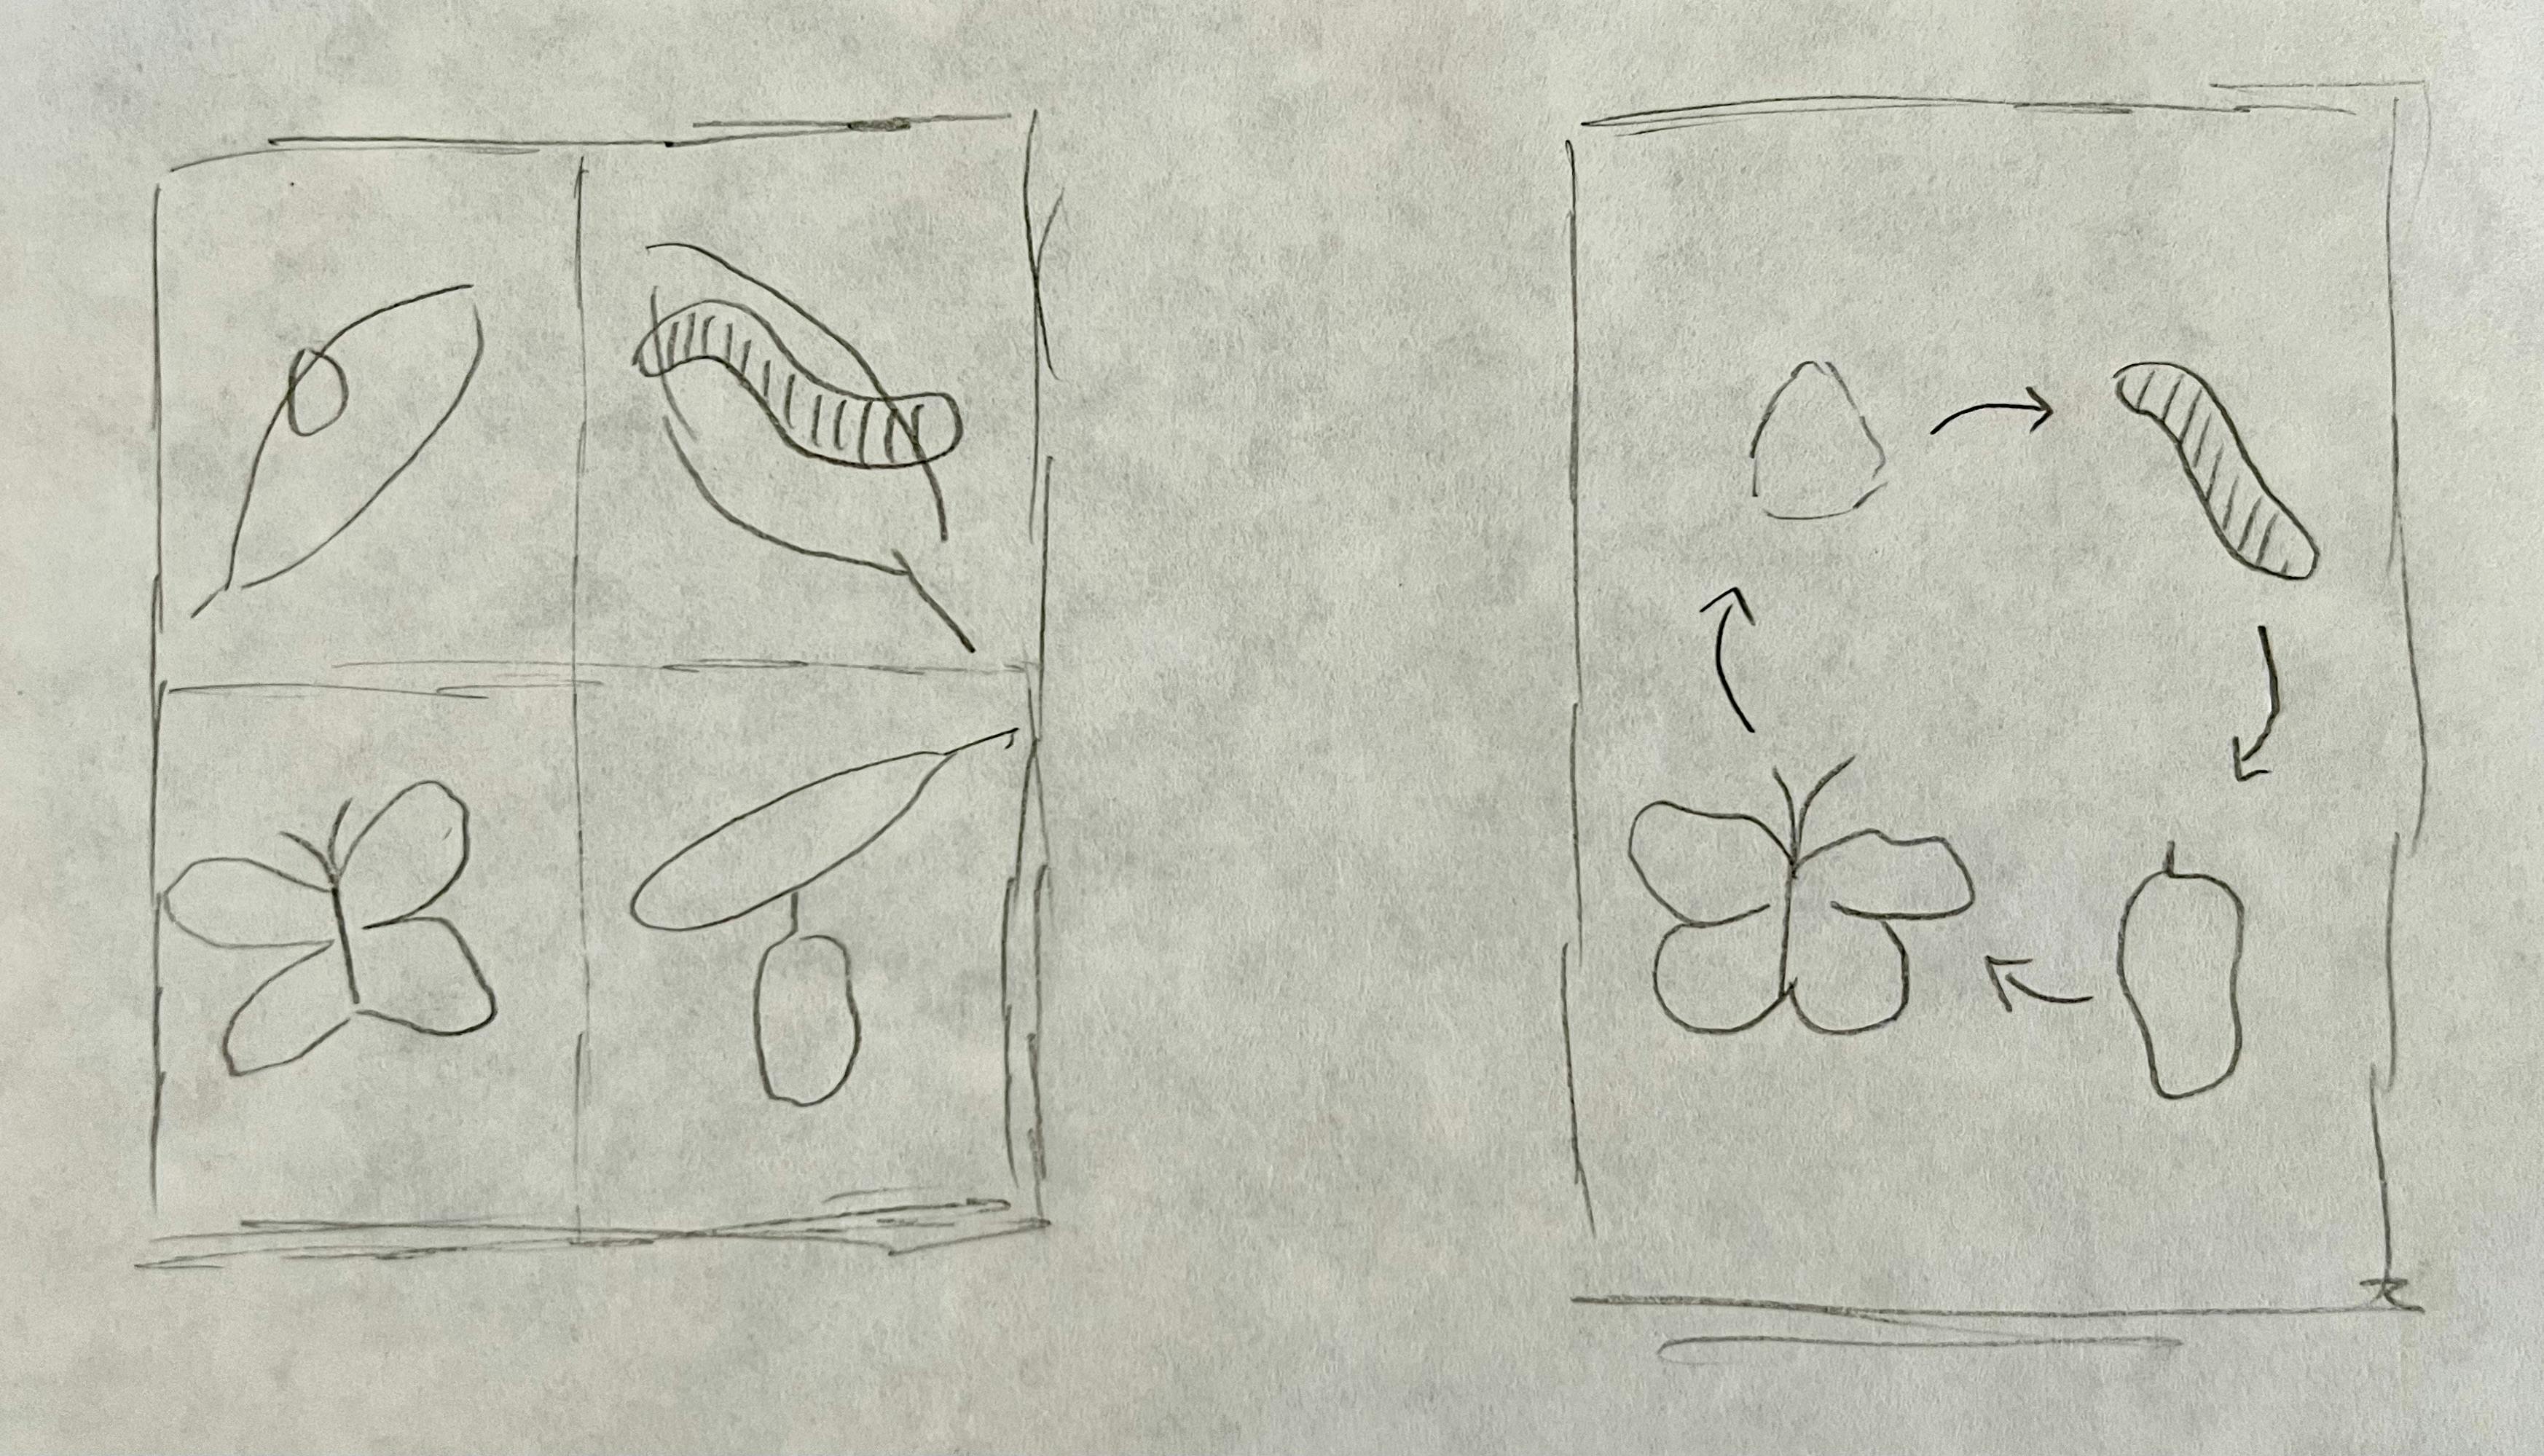
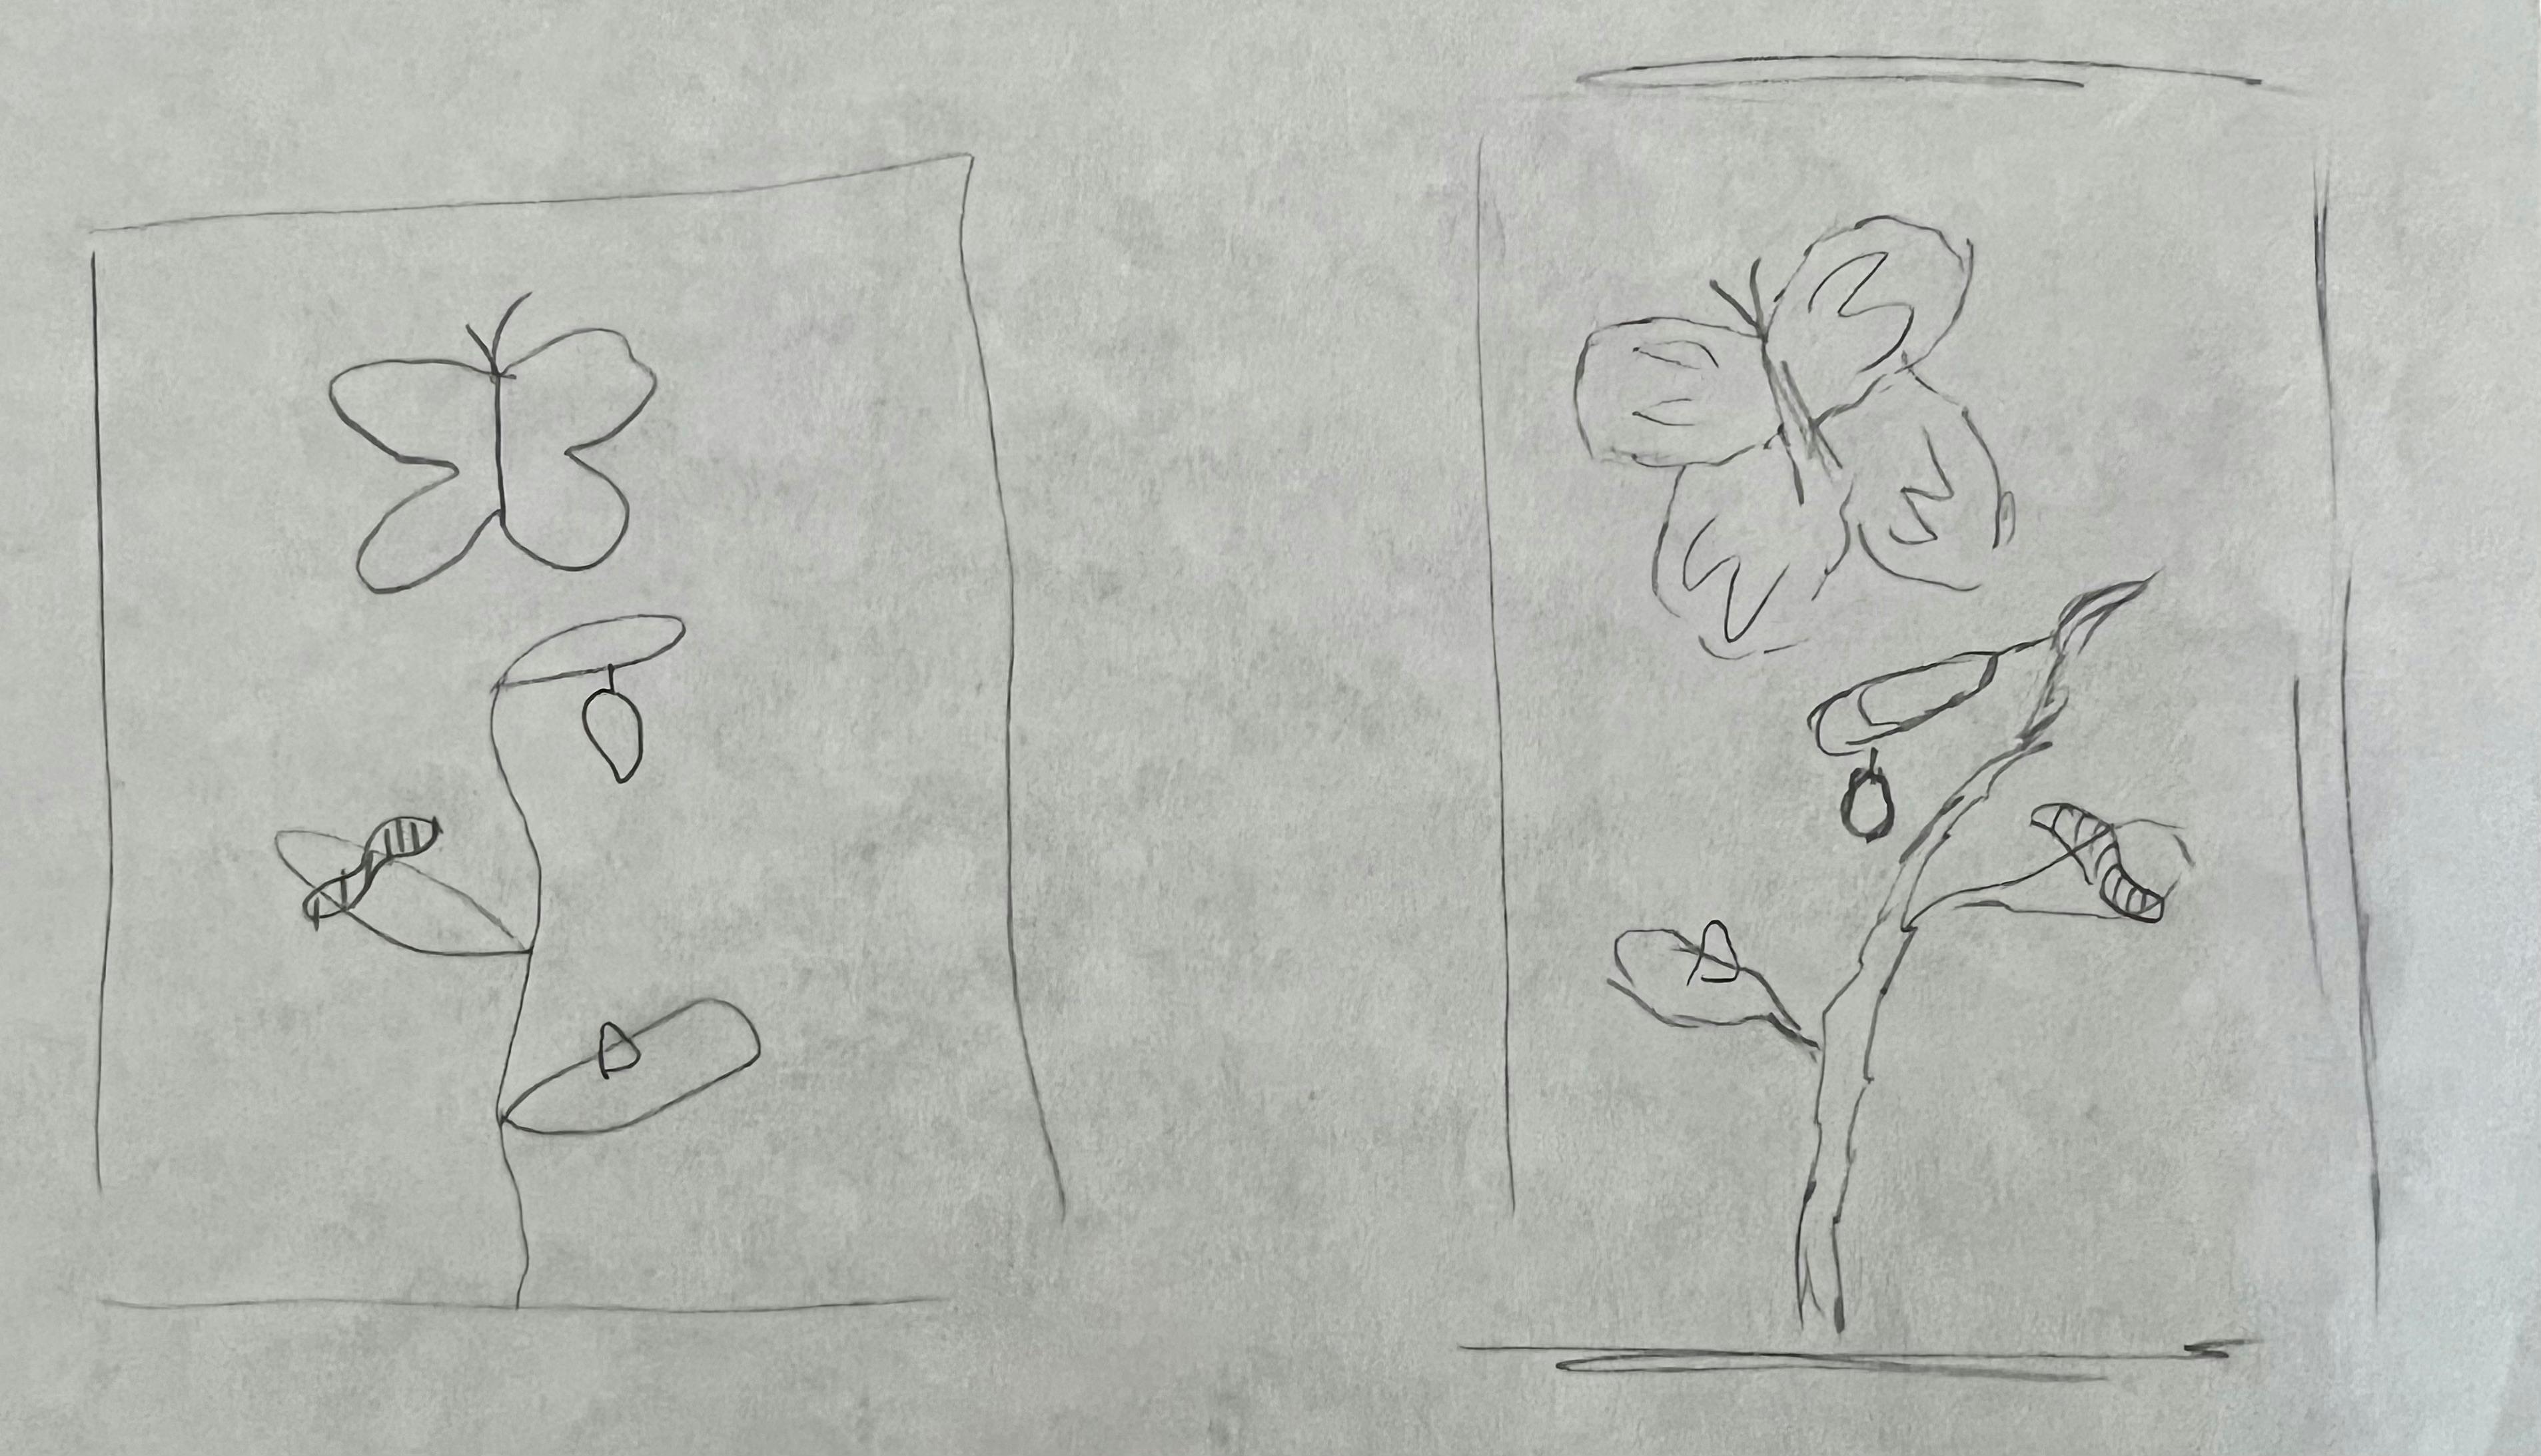
My mom had the idea to do all of the life cycles on one stem, with the butterfly flying above and instantly I knew that was the best idea. With that part done, it was time to dive into my mom’s fabric stash and pick out the perfect fabrics.
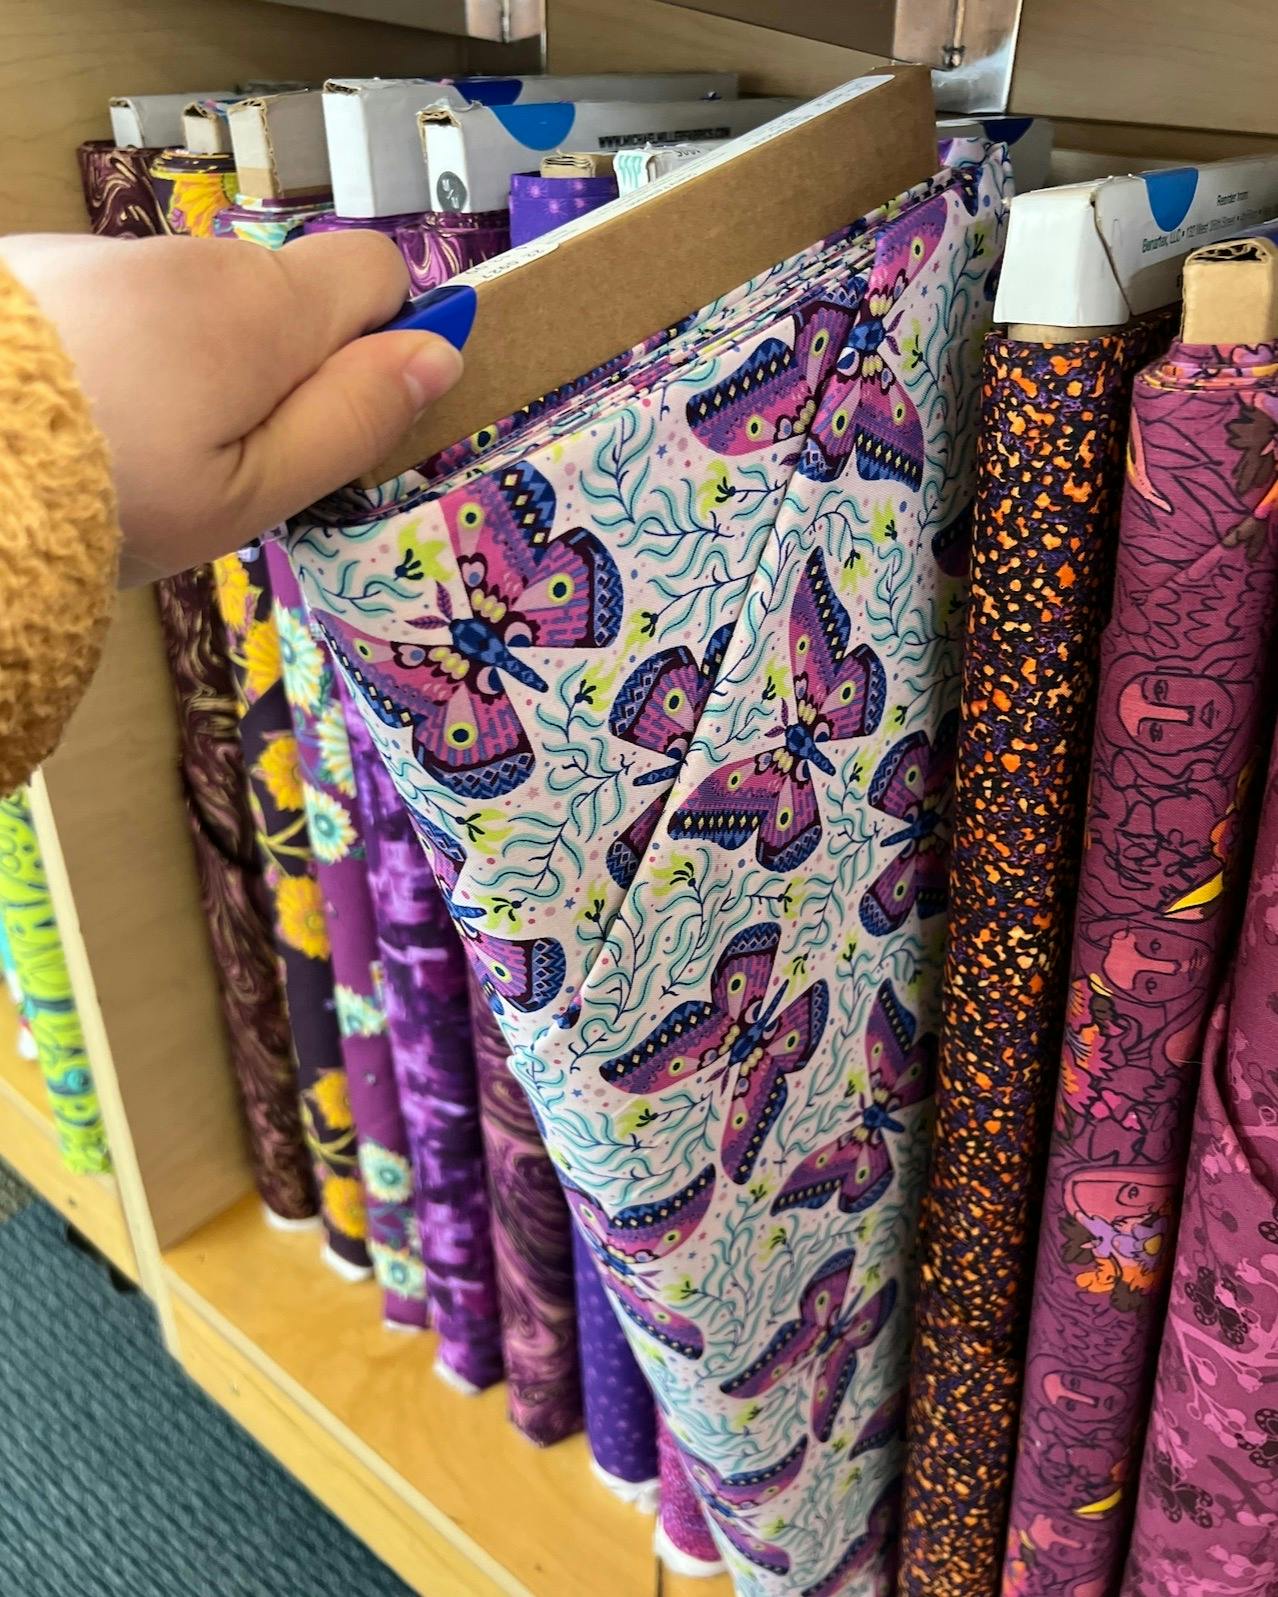
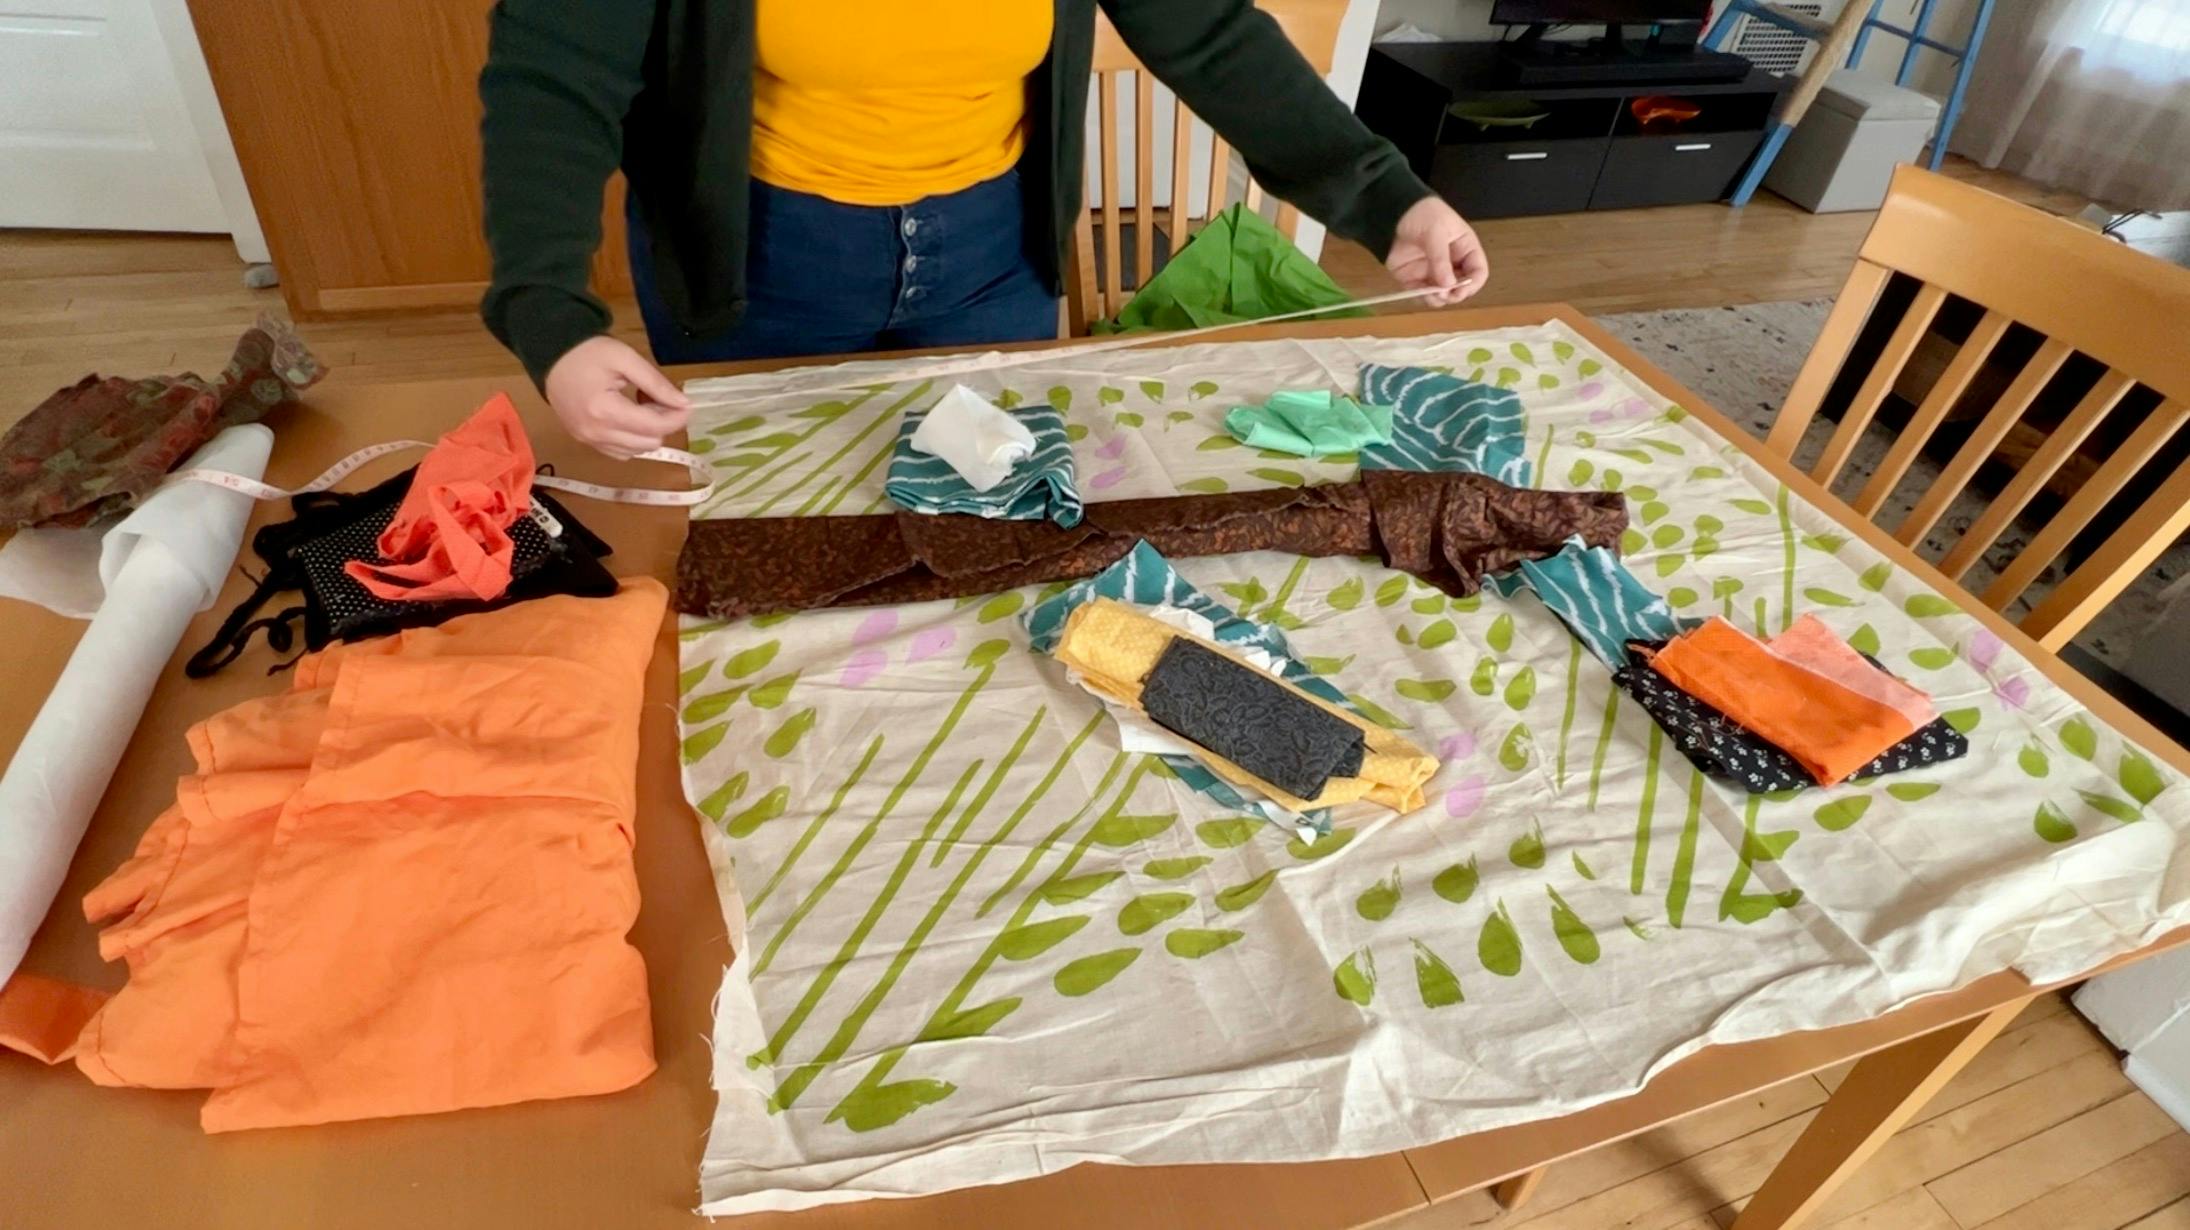
Fabric, Fabric, Fabric
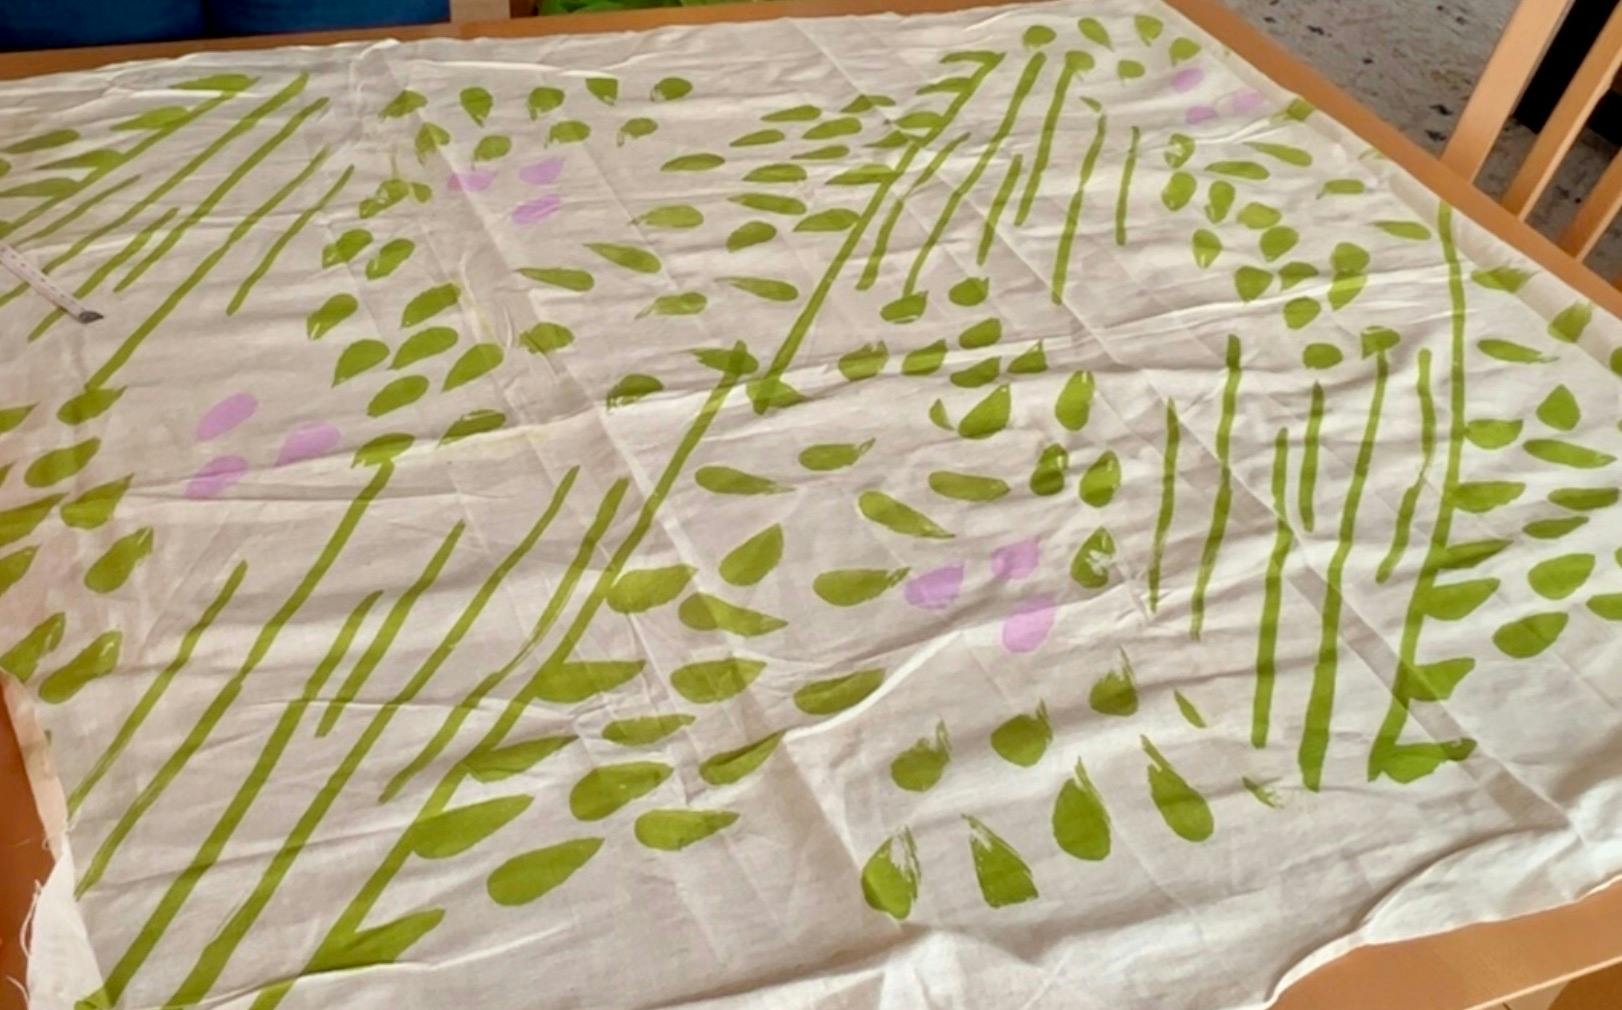
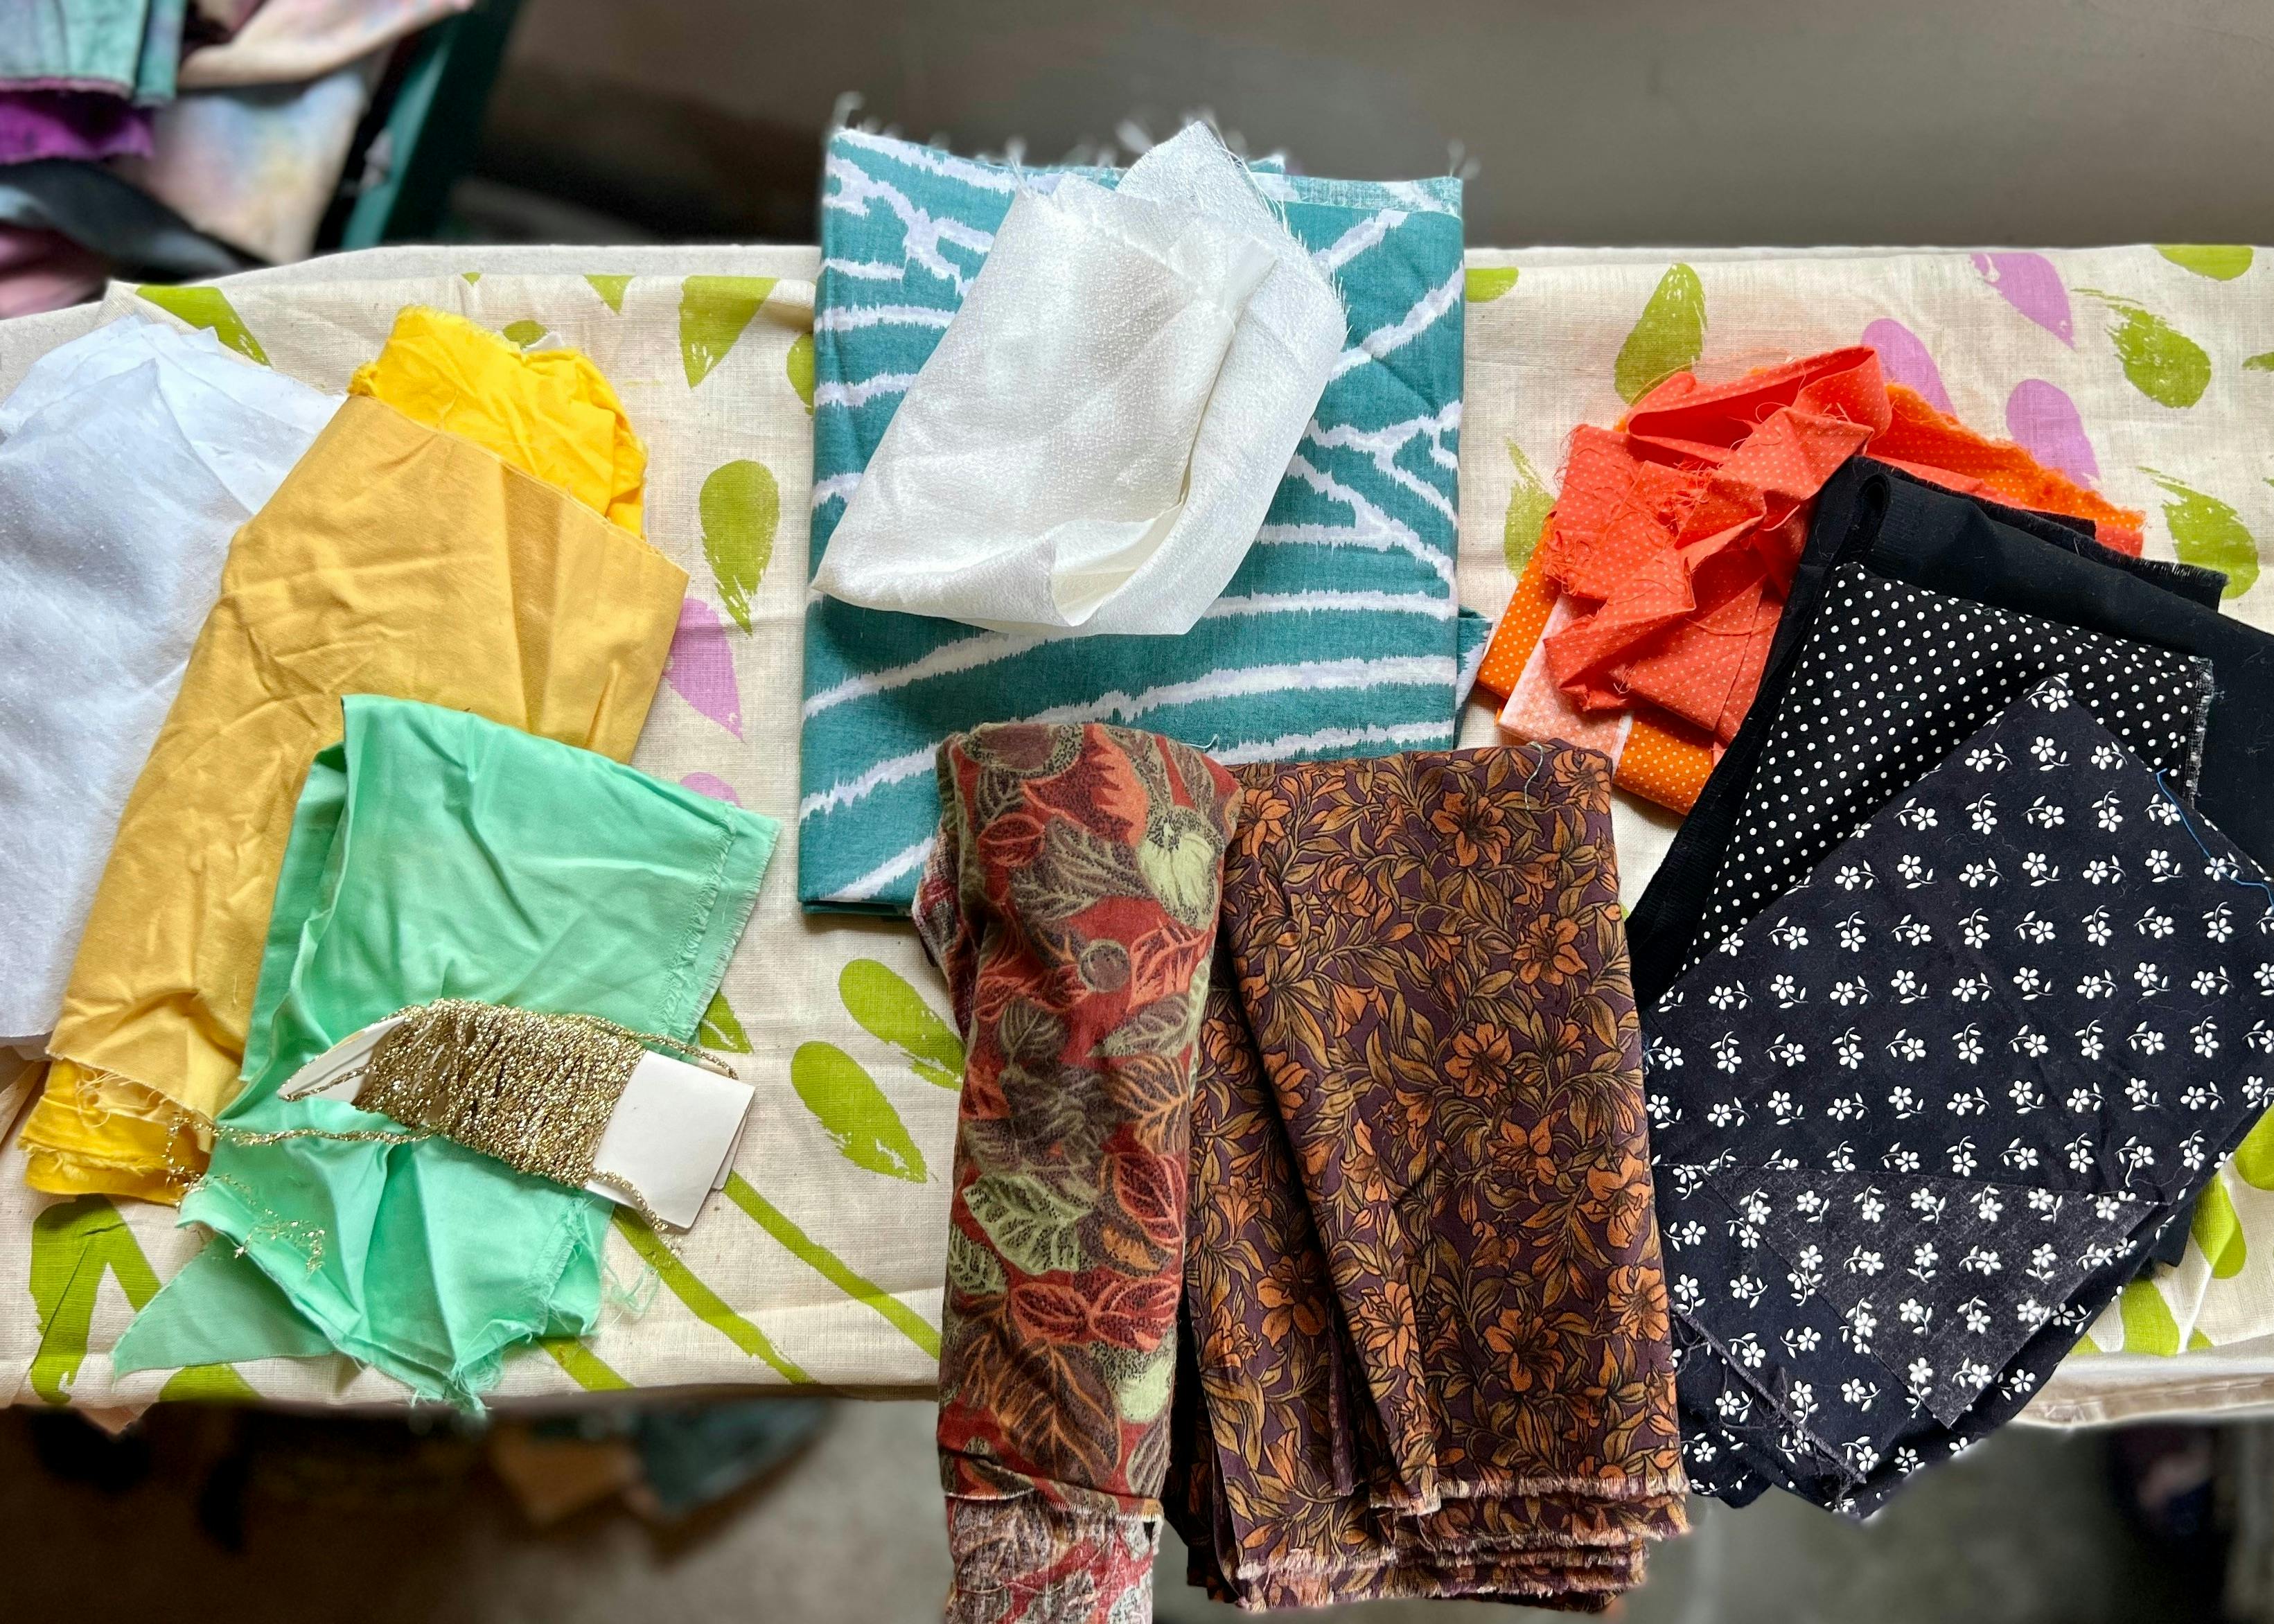
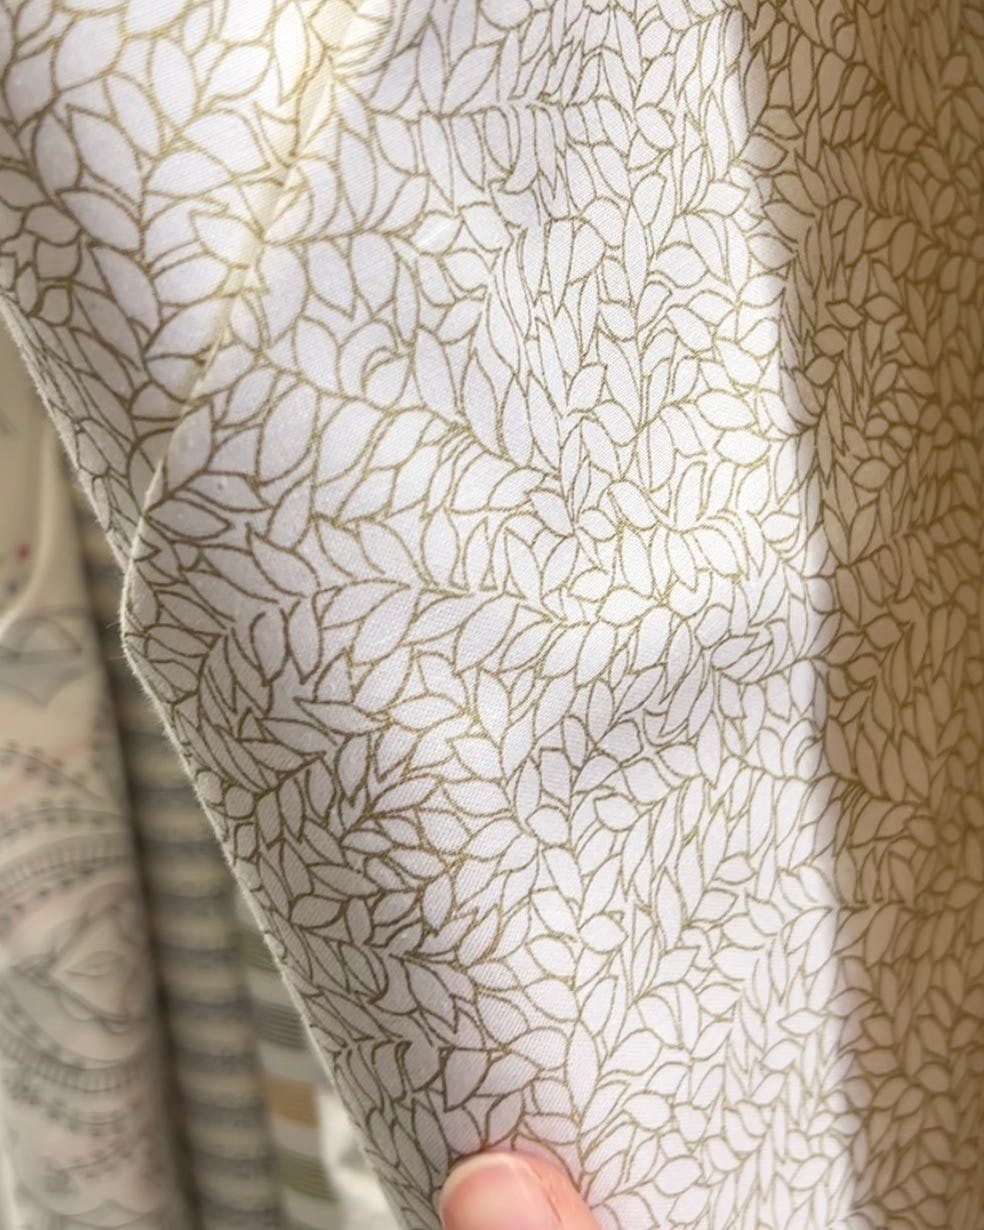
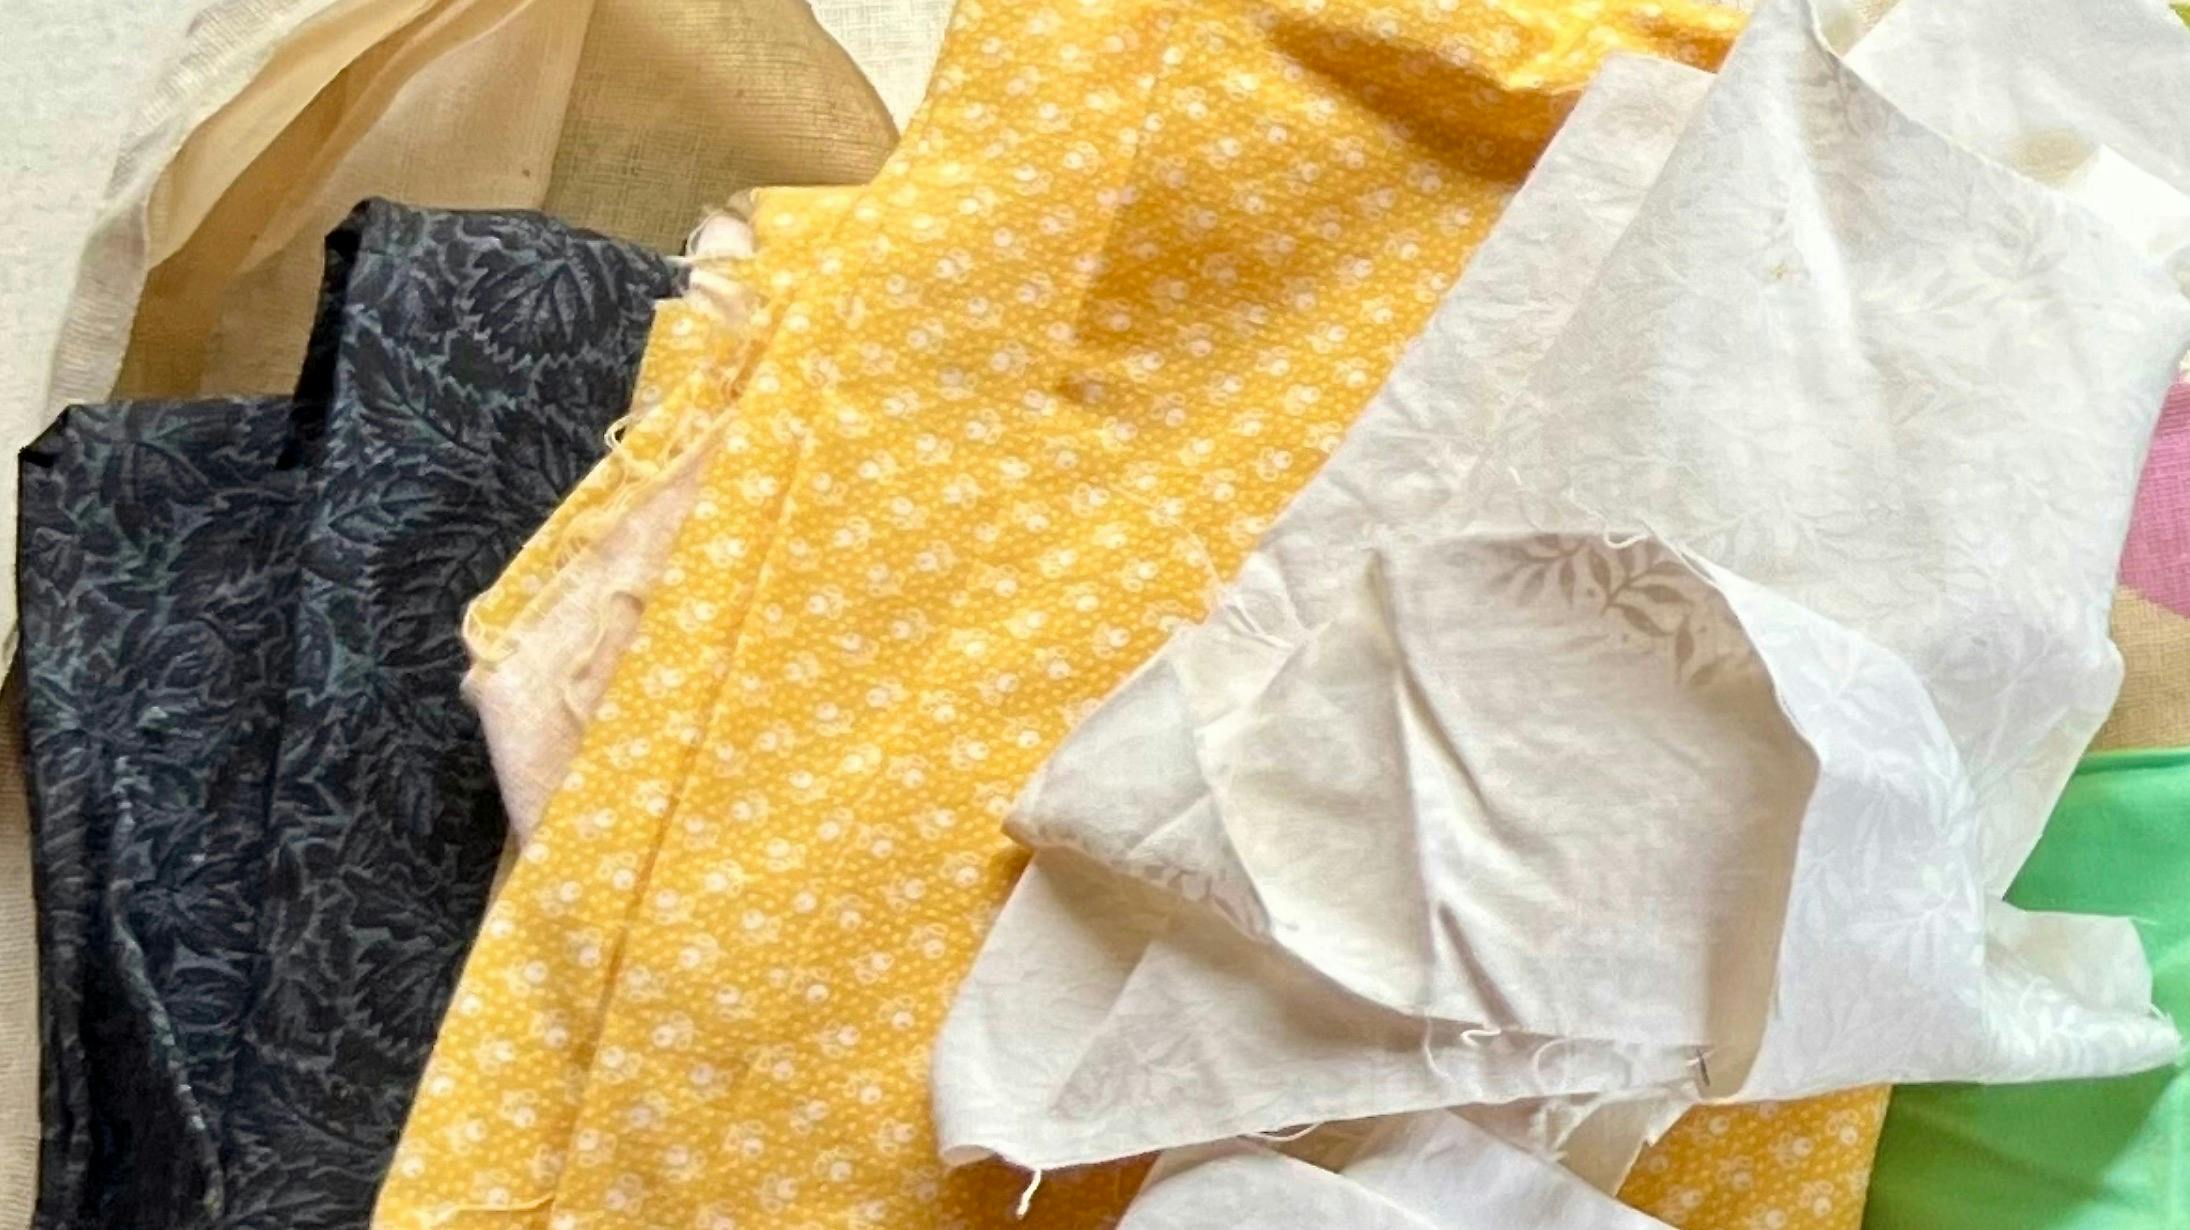
We started picking fabrics with the background and landed on an amazing cream colored fabric that was covered in stylized green leaves and stems.
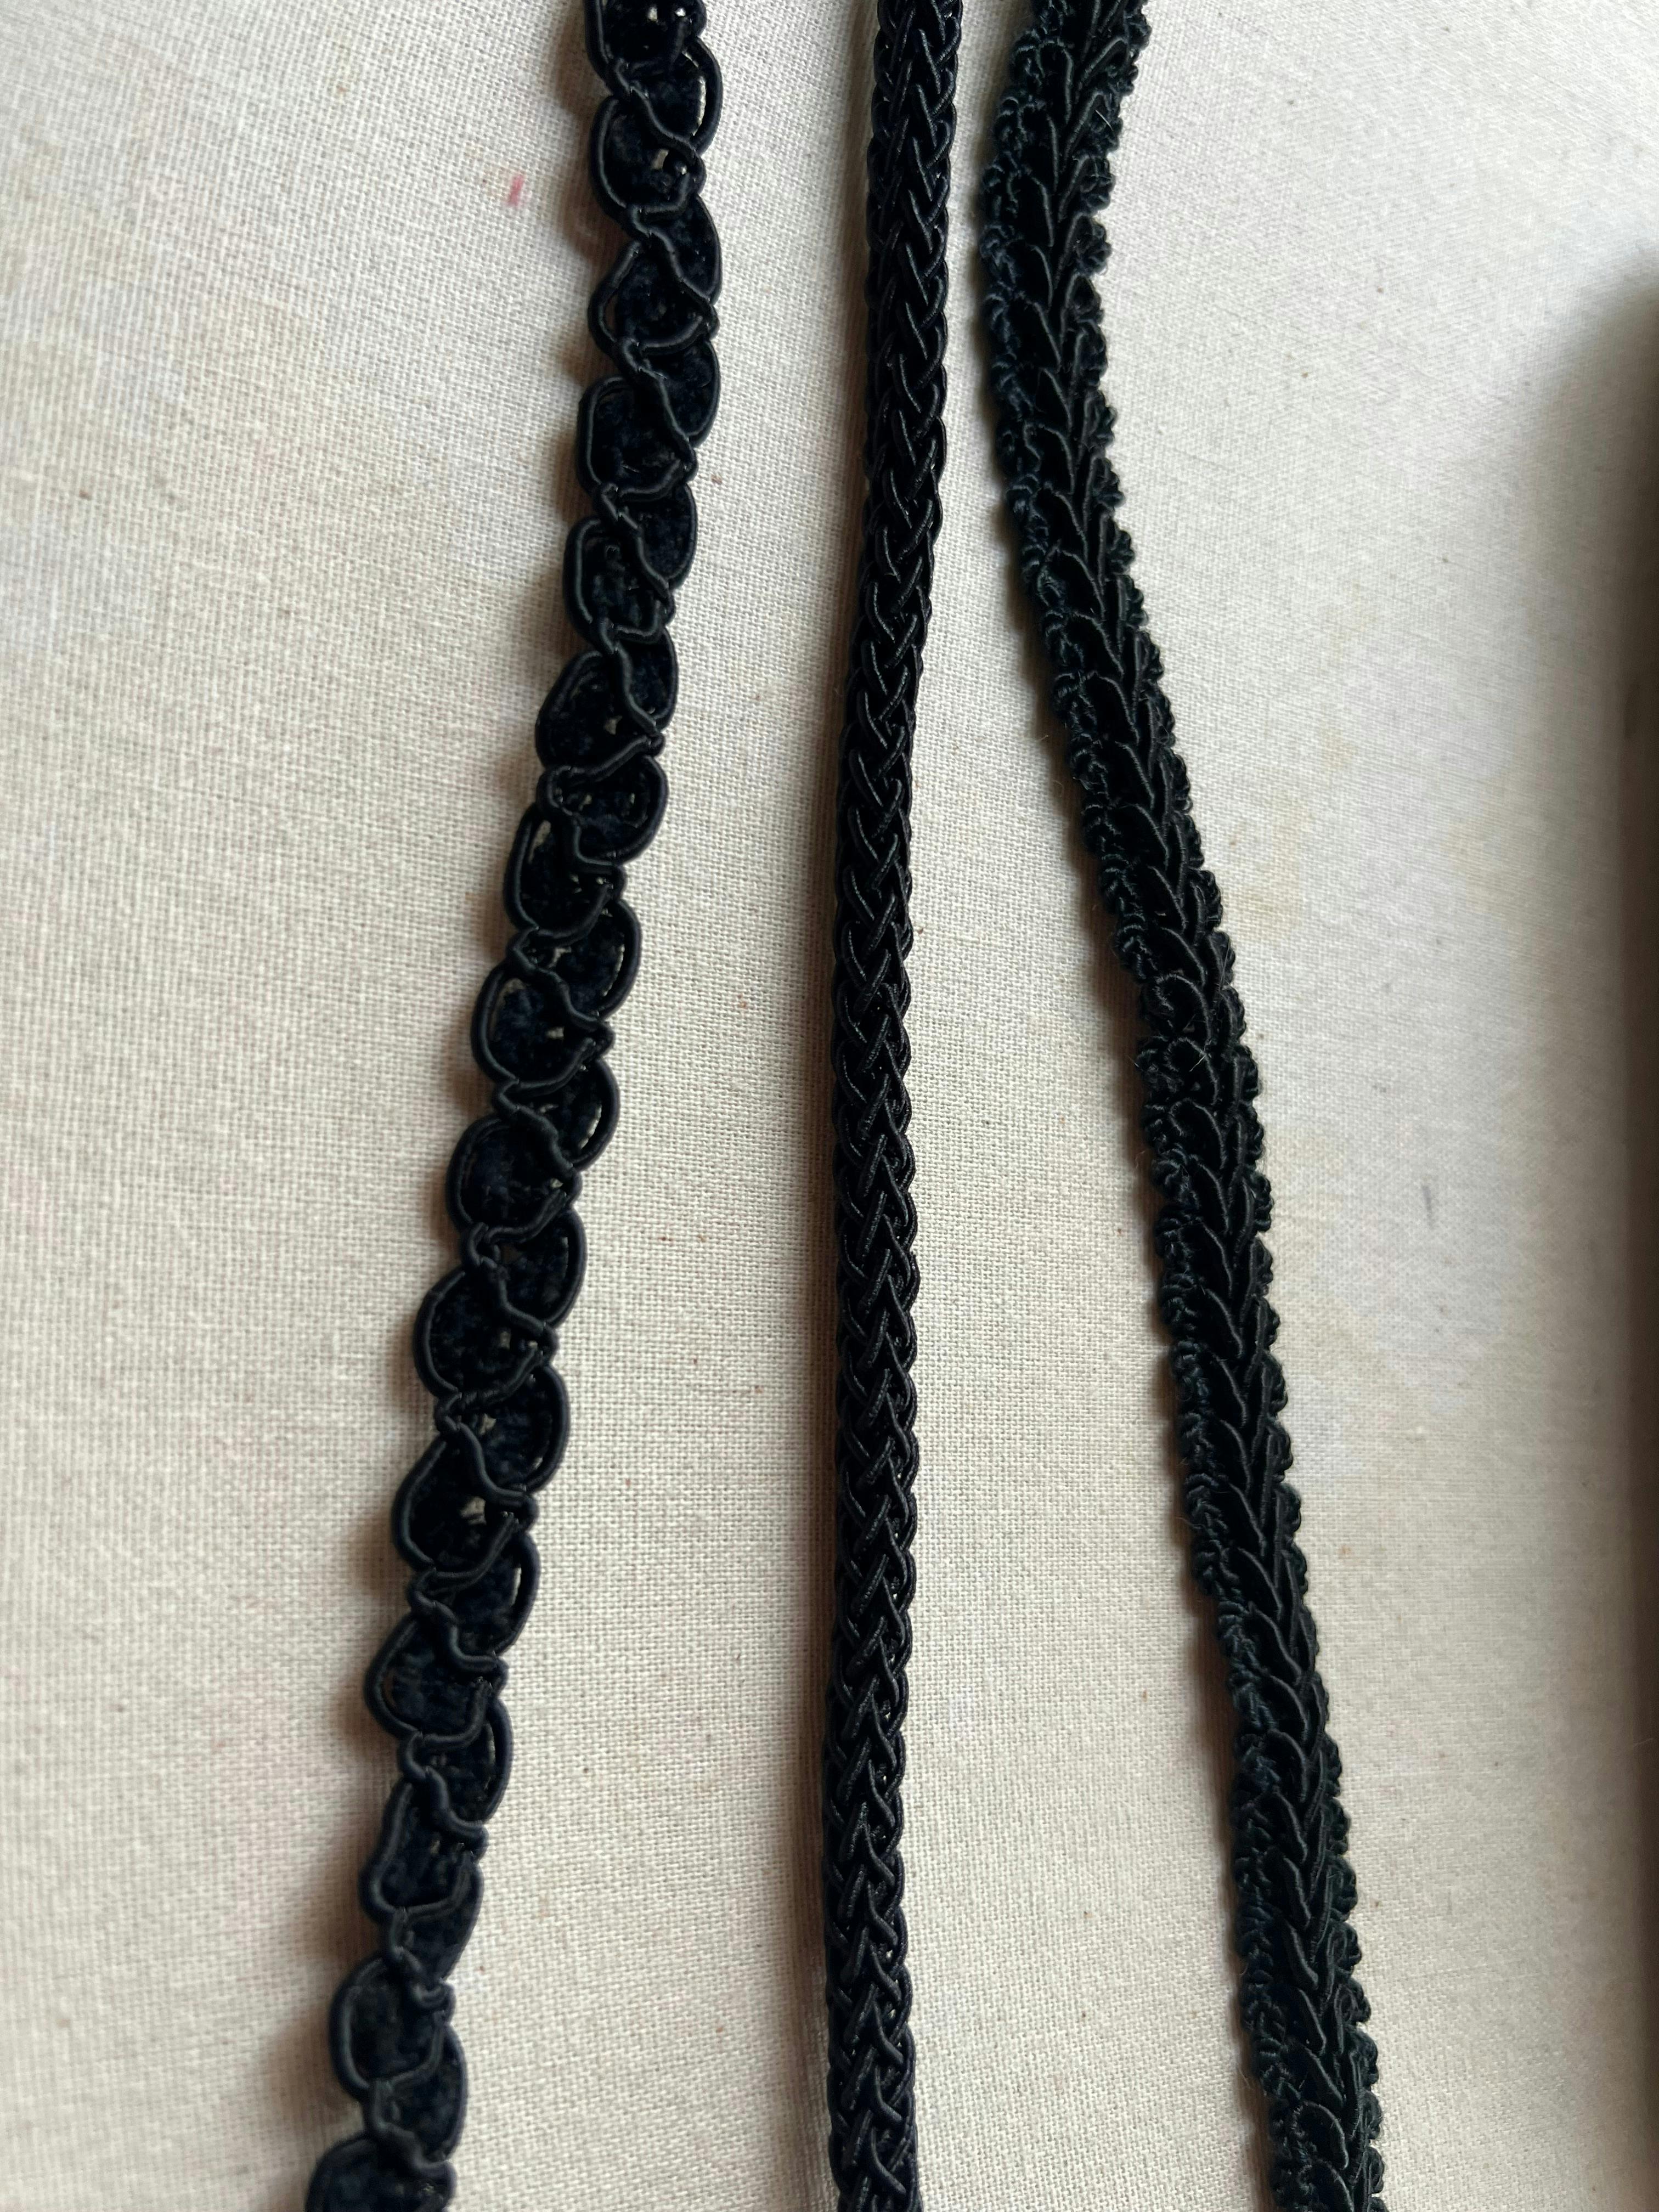
After that, some choices were complicated, like picking which brown to use for the central stem, but some choices were immediately obvious, like using this gorgeous green for the leaves. I even had a selection of black cording to use for the details, check back for part 2 to see how I used each one perfectly on the finished quilt!
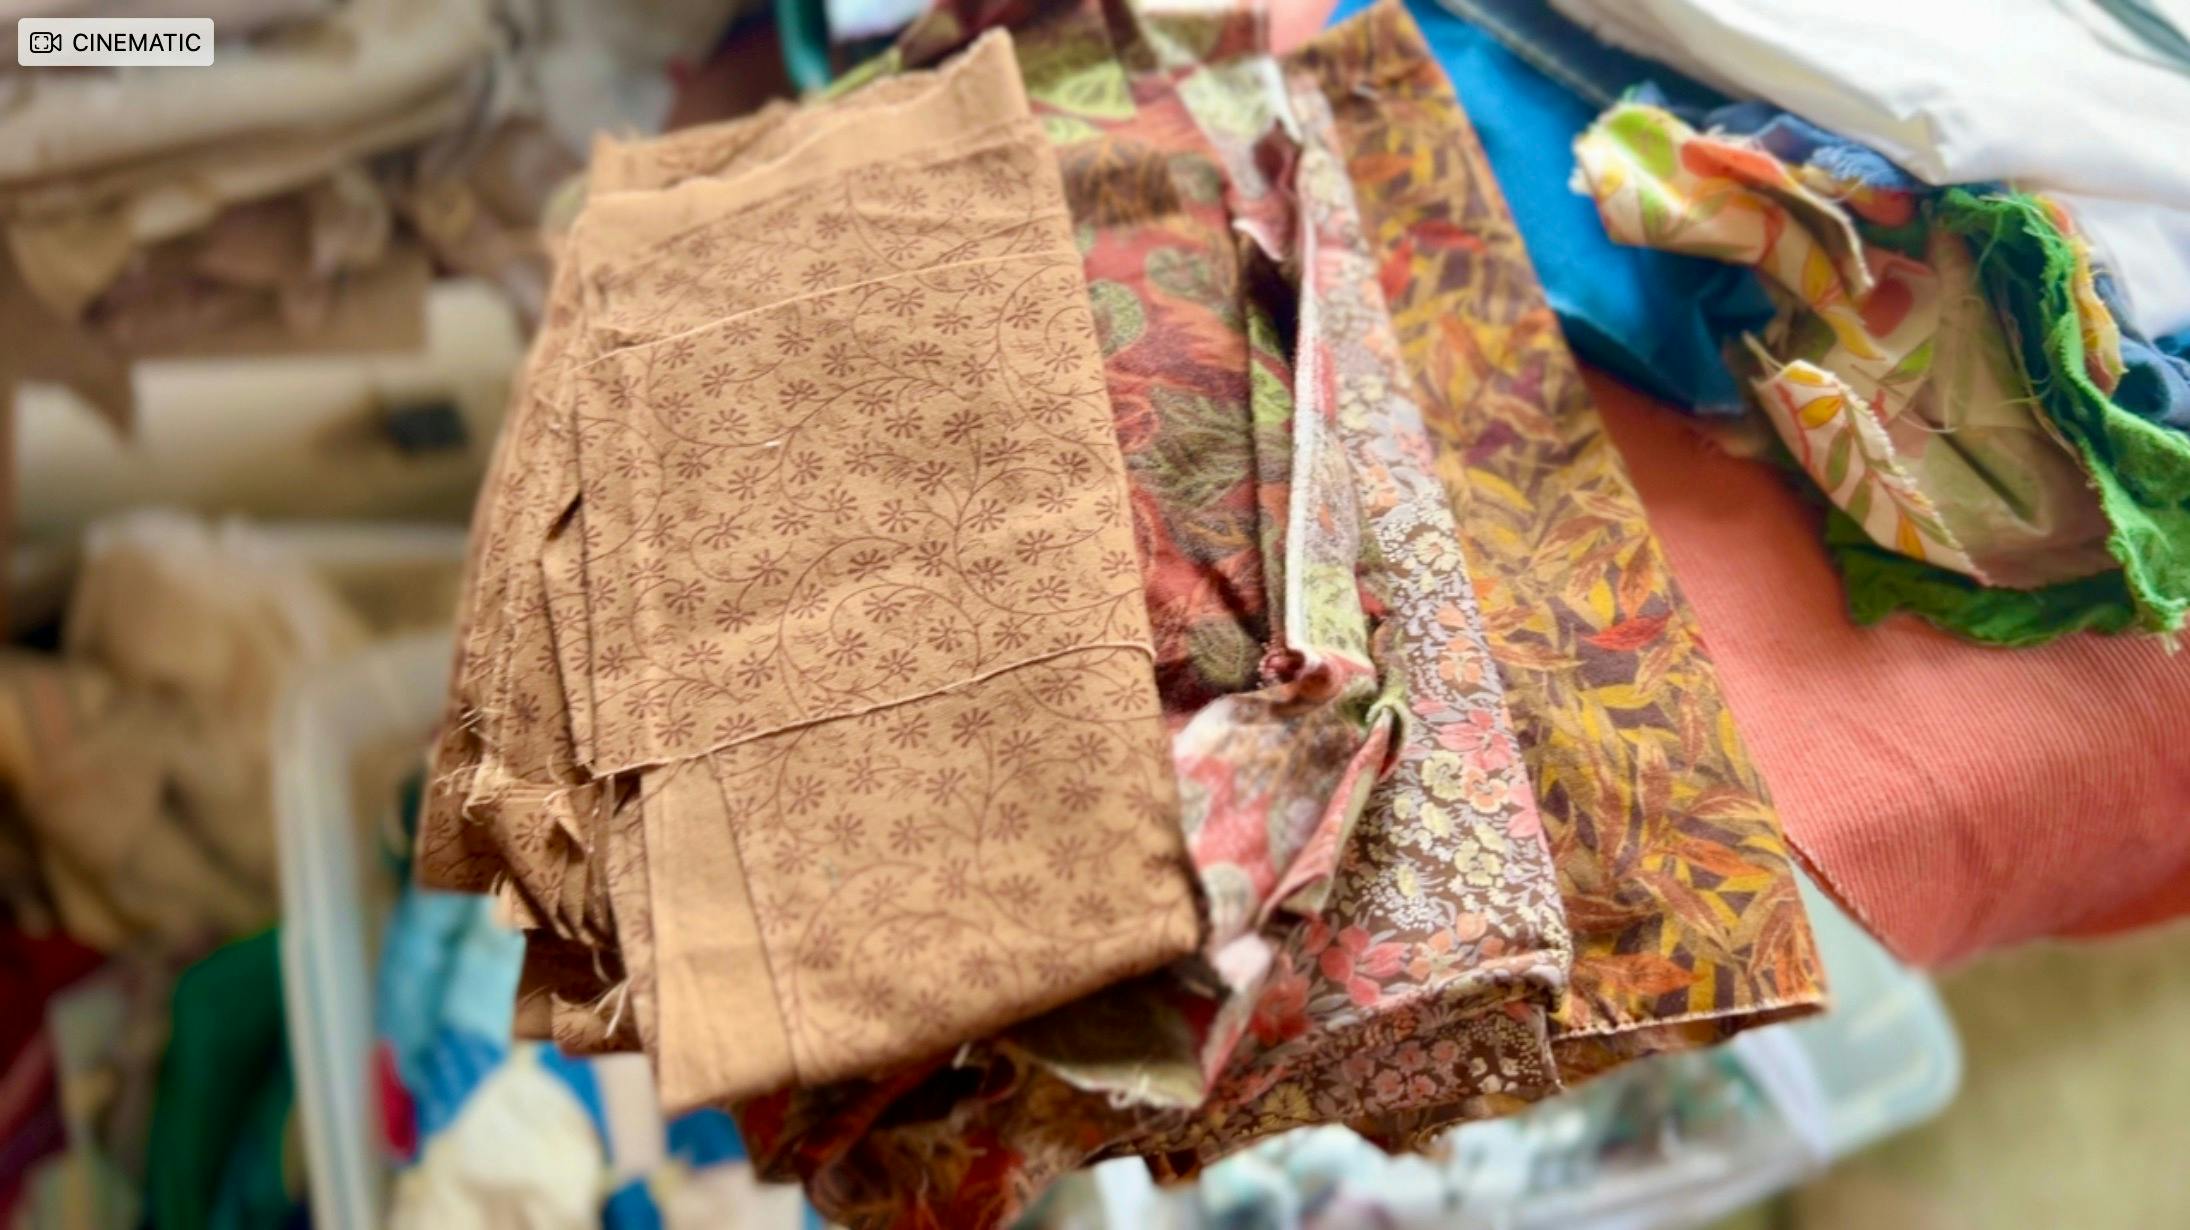
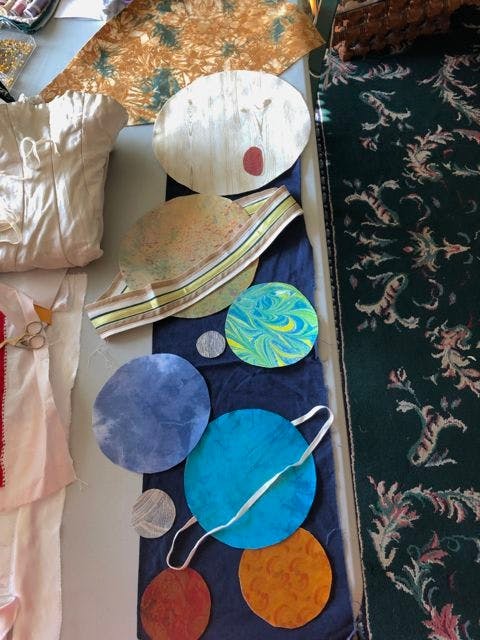
And once we had a few options for each element, we laid them out and looked at them all together to make final decisions and narrowed it down to these options.
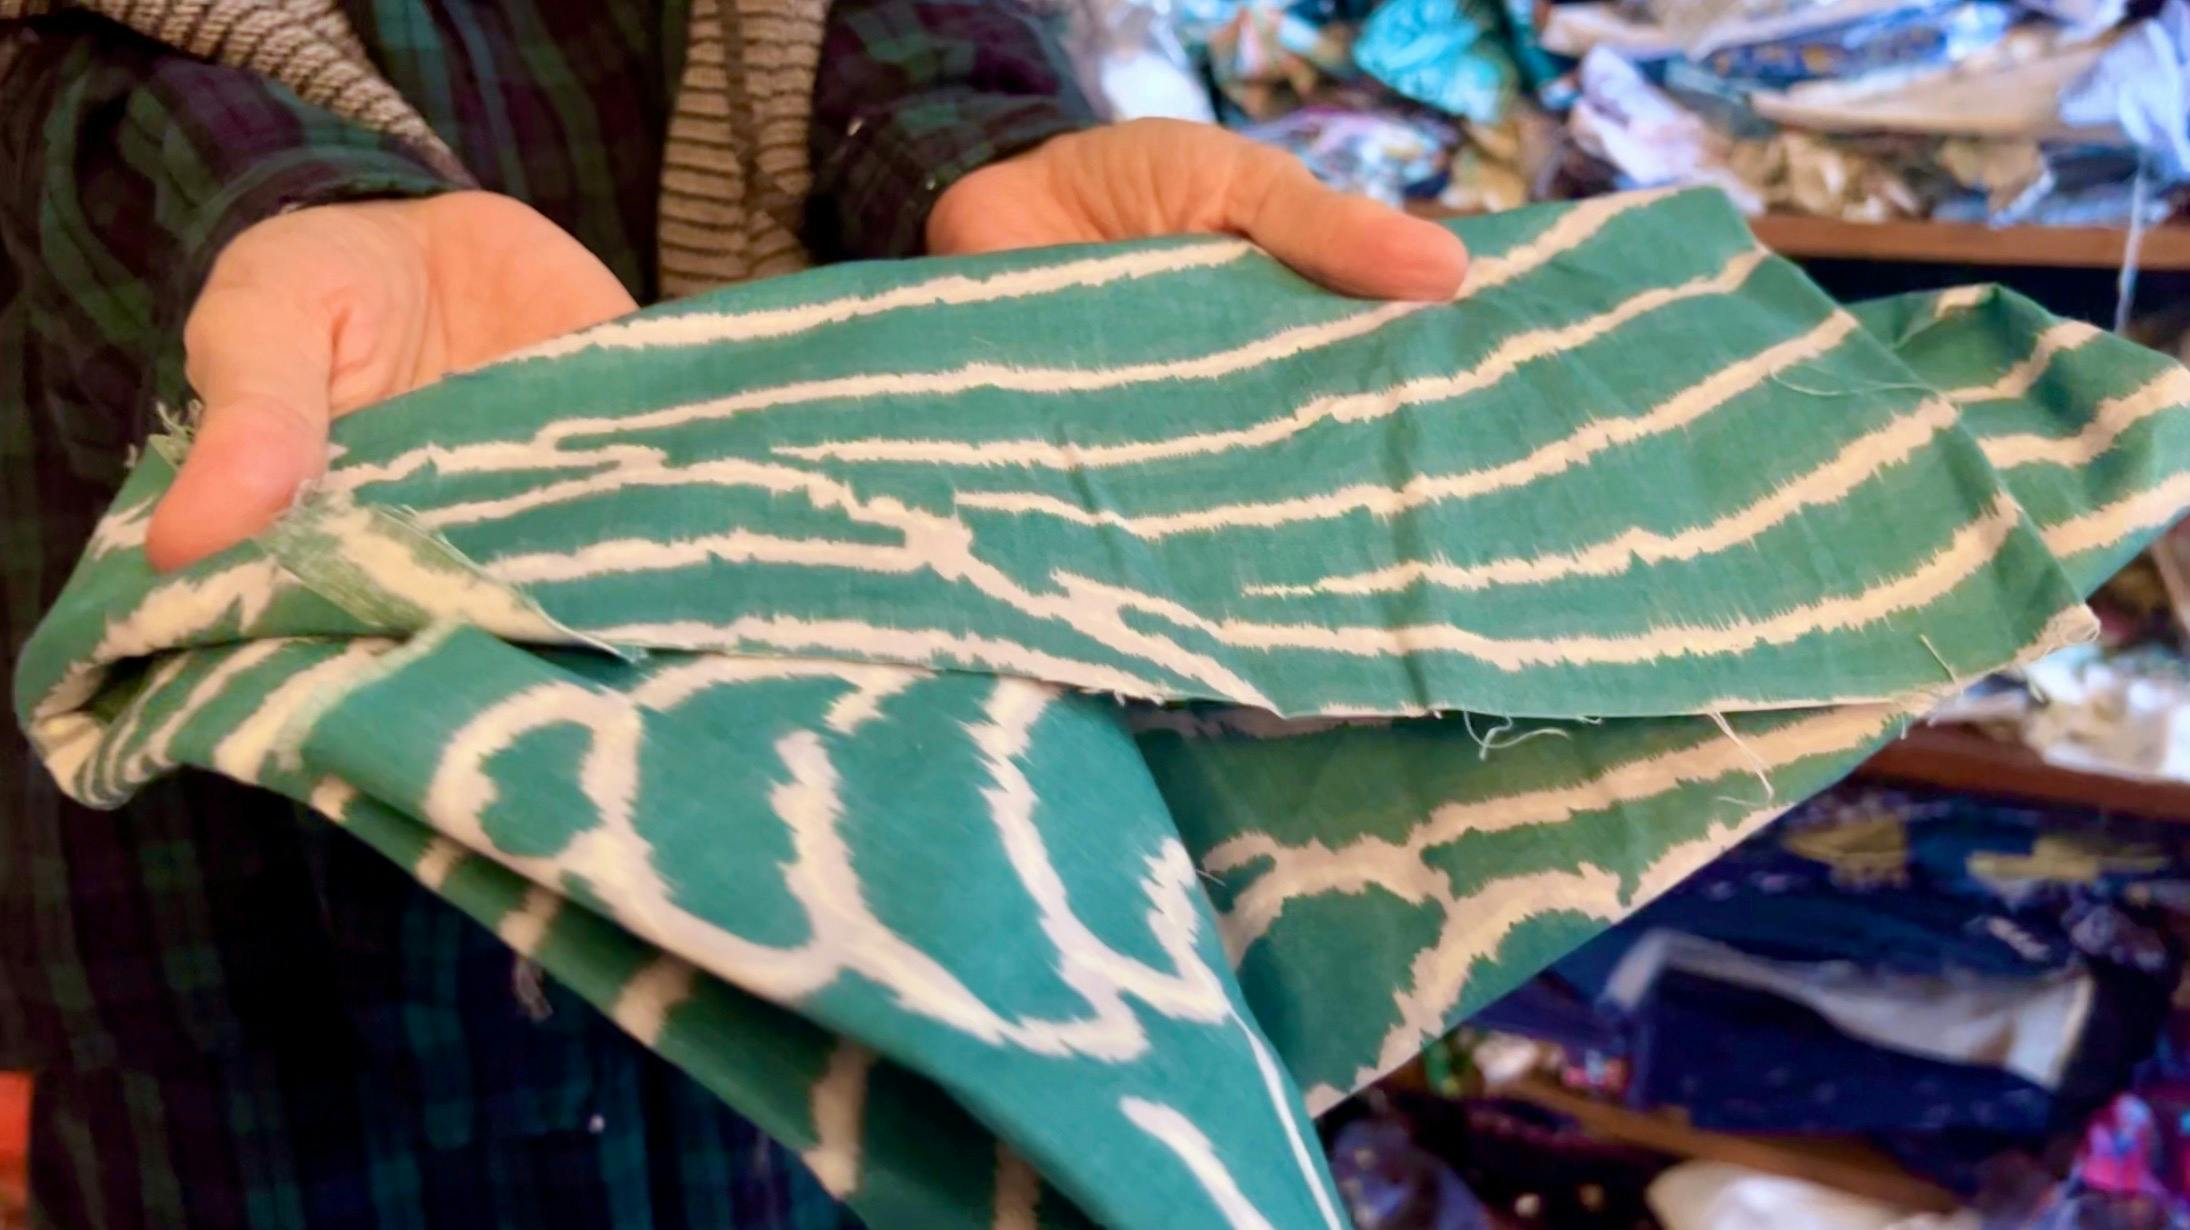
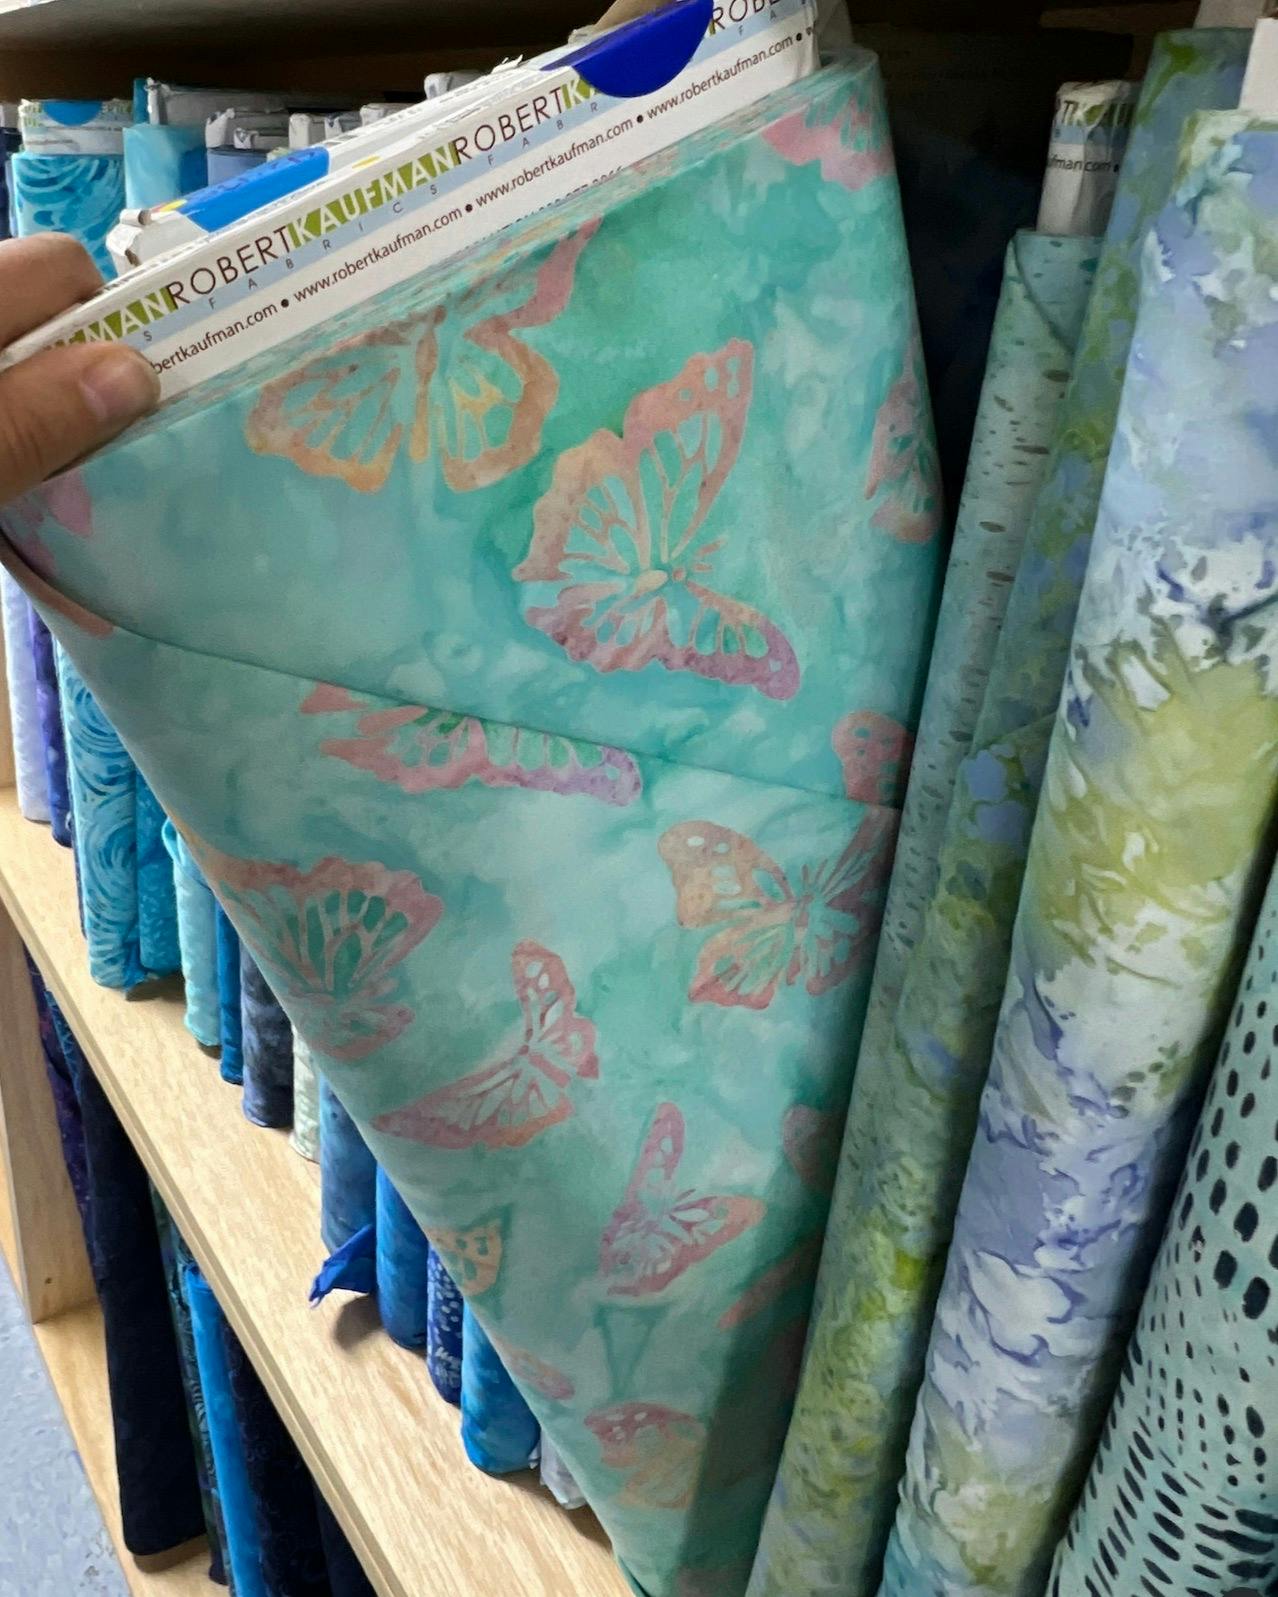
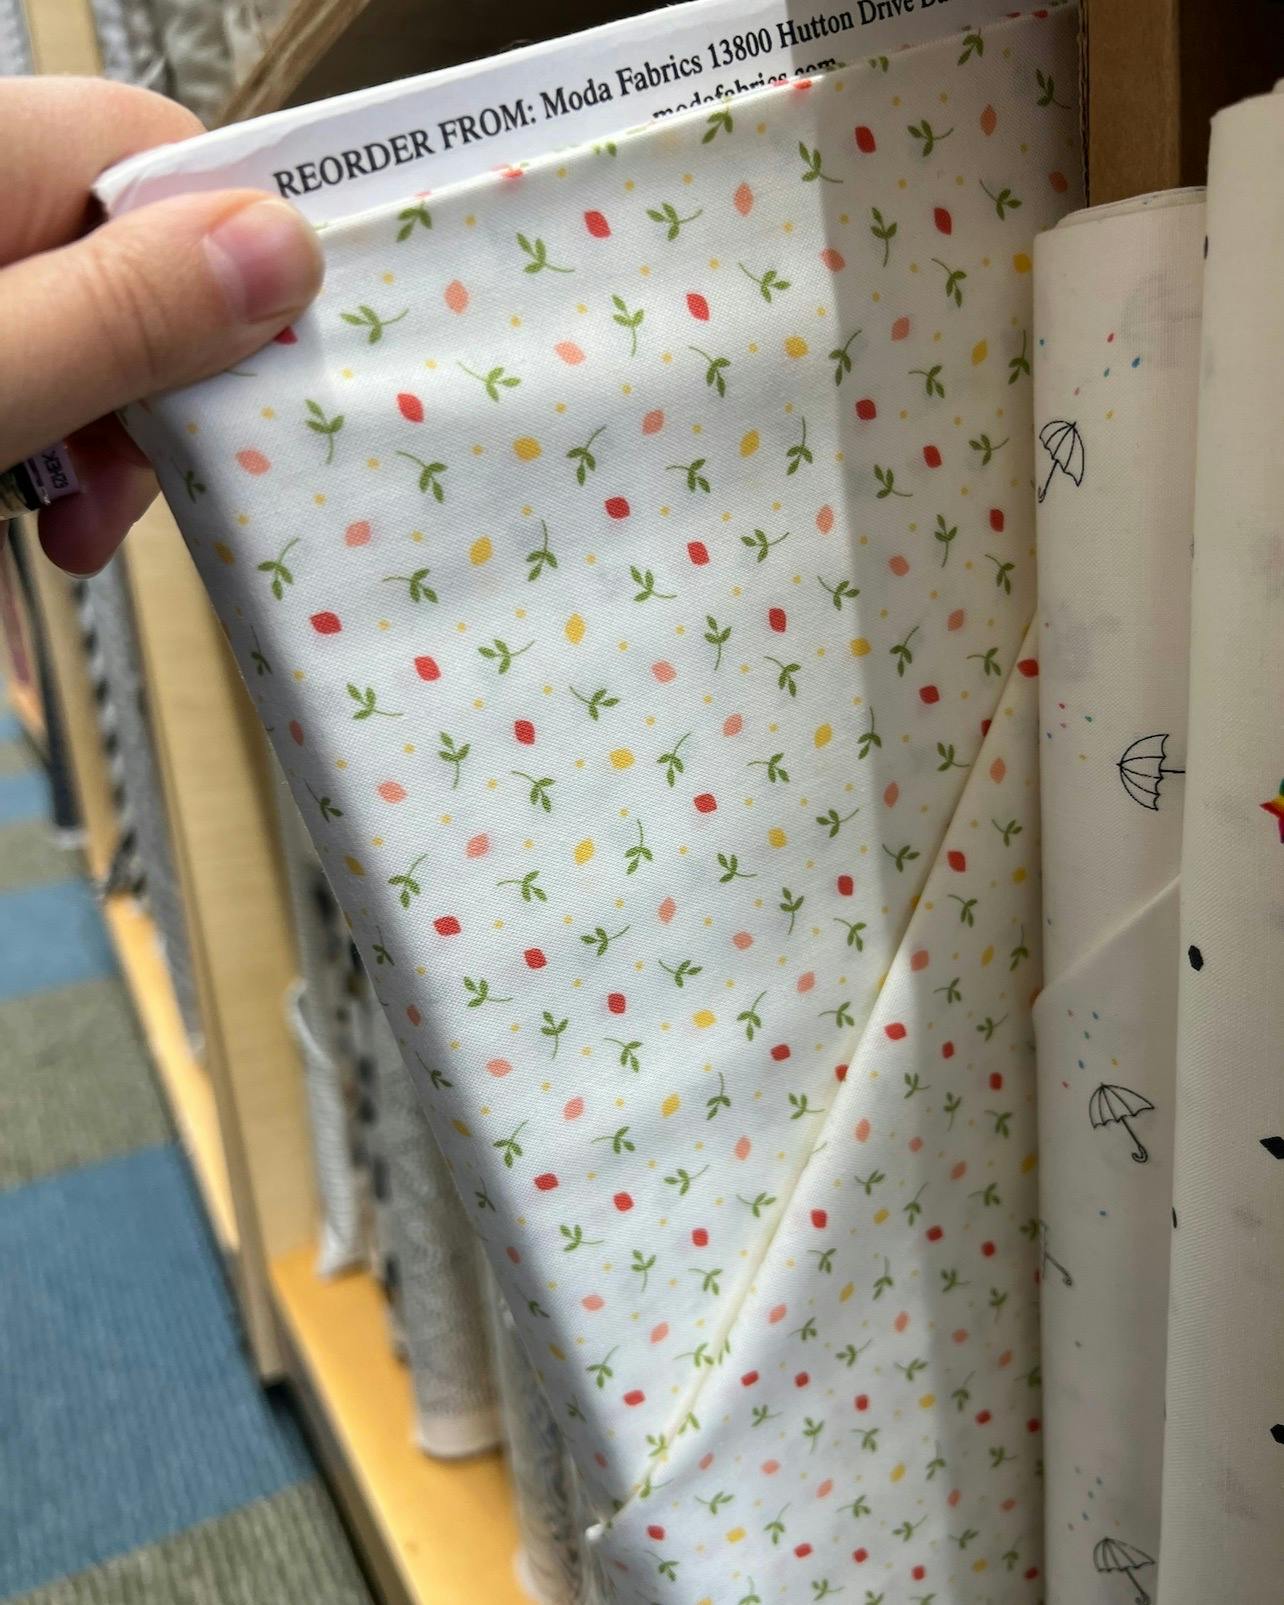
The last thing I needed was a large piece of fabric for the back of the quilt. A bit of quilt anatomy - A quilt is basically a sandwich made with three parts. First, the "top" is the side that you see, made of fabric that usually has a design of some sort. The middle layer is batting, which is a fluffy fiber product that is like if cotton candy was stretched into a sheet, and made of cotton or polyester. (Pro tip: Do not eat batting.) And the "back" is usually one large piece of fabric, that sometimes speaks to the design on the front. This is not always the case, you can totally make the back of a quilt with multiple pieces of fabric, but I usually do one big piece on the back. Then the three layers of the sandwich are stitched together with thread and that stitching is called "quilting".

While my mom has yards and yards of fabric in her sewing room, she doesn't have many pieces large enough to be a quilt back, which means that I needed to go to the fabric store. (Woe is me, right? 😉) There were so many good options, but I chose the one on the bottom right because I felt like it was the daintier sister to the background fabric on the front.

Template Time
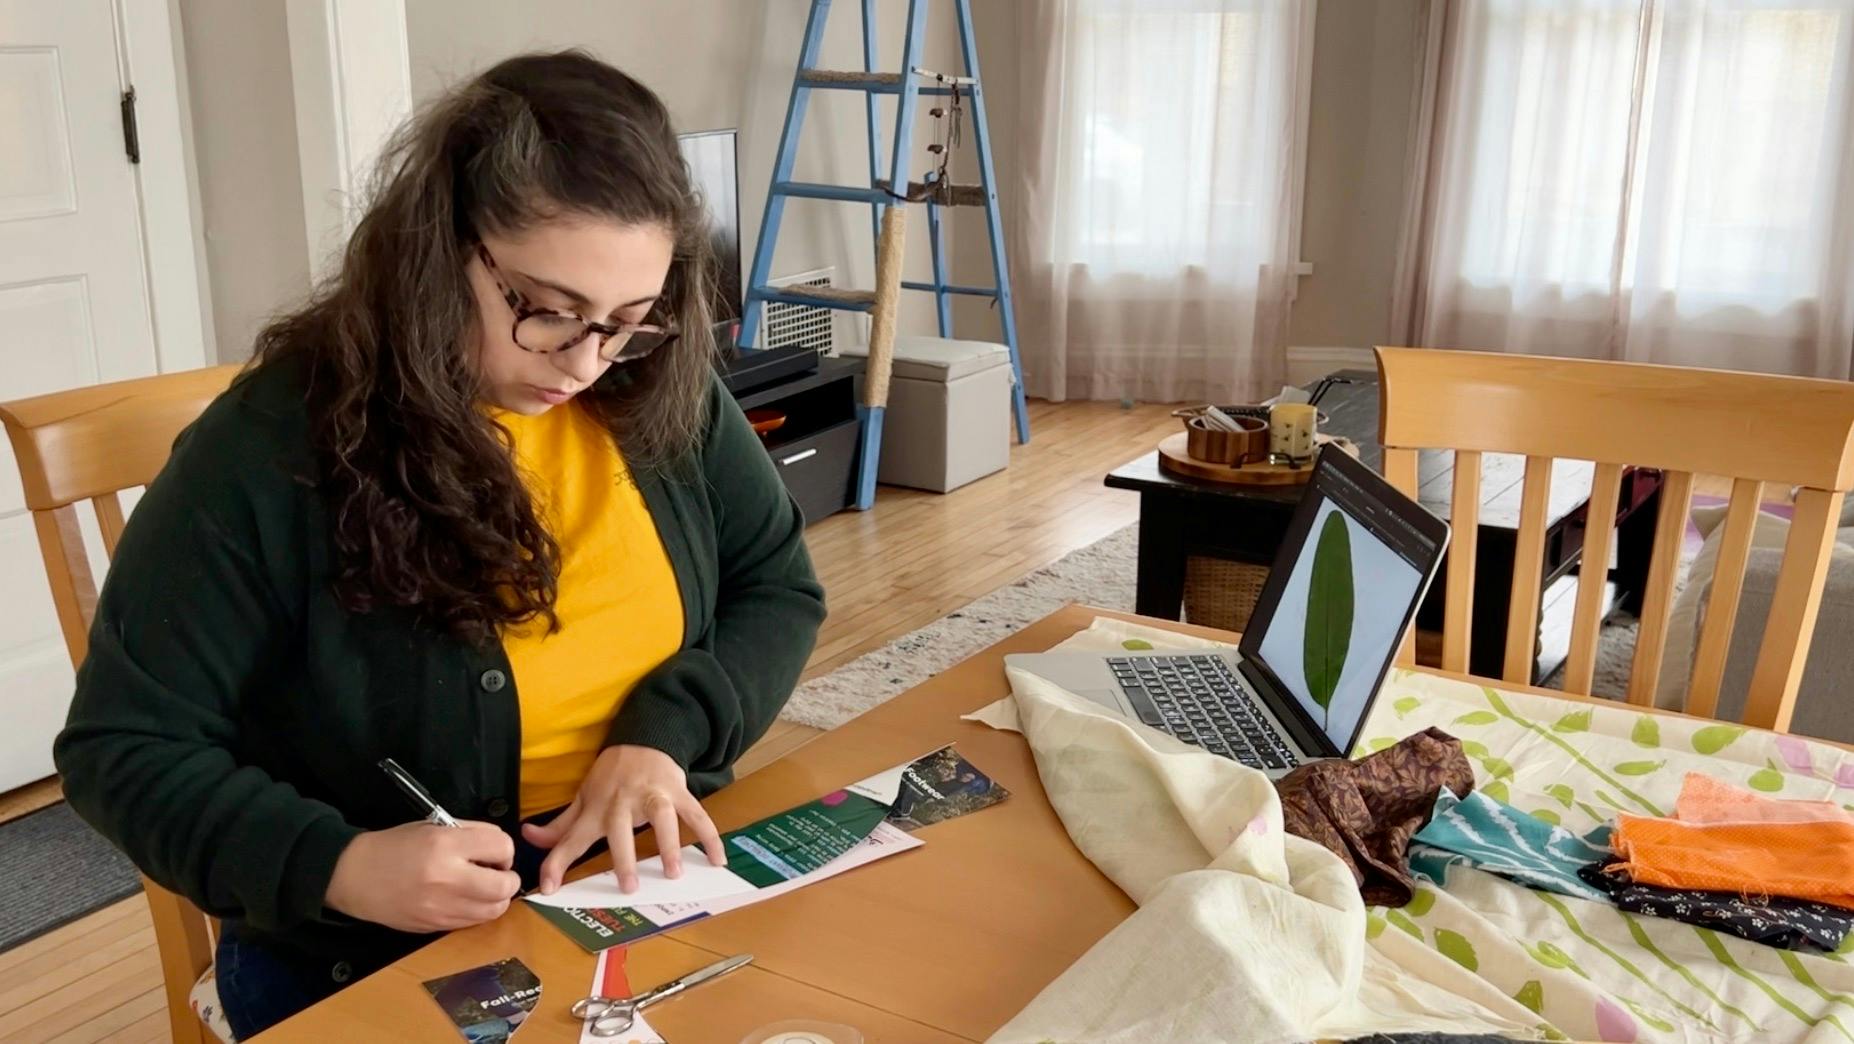
With all my supplies in hand, I began to lay everything out and get measuring. Once I knew the size of the background fabric, I was able to determine how everything else would be placed, so I could make correctly sized templates for all the components.
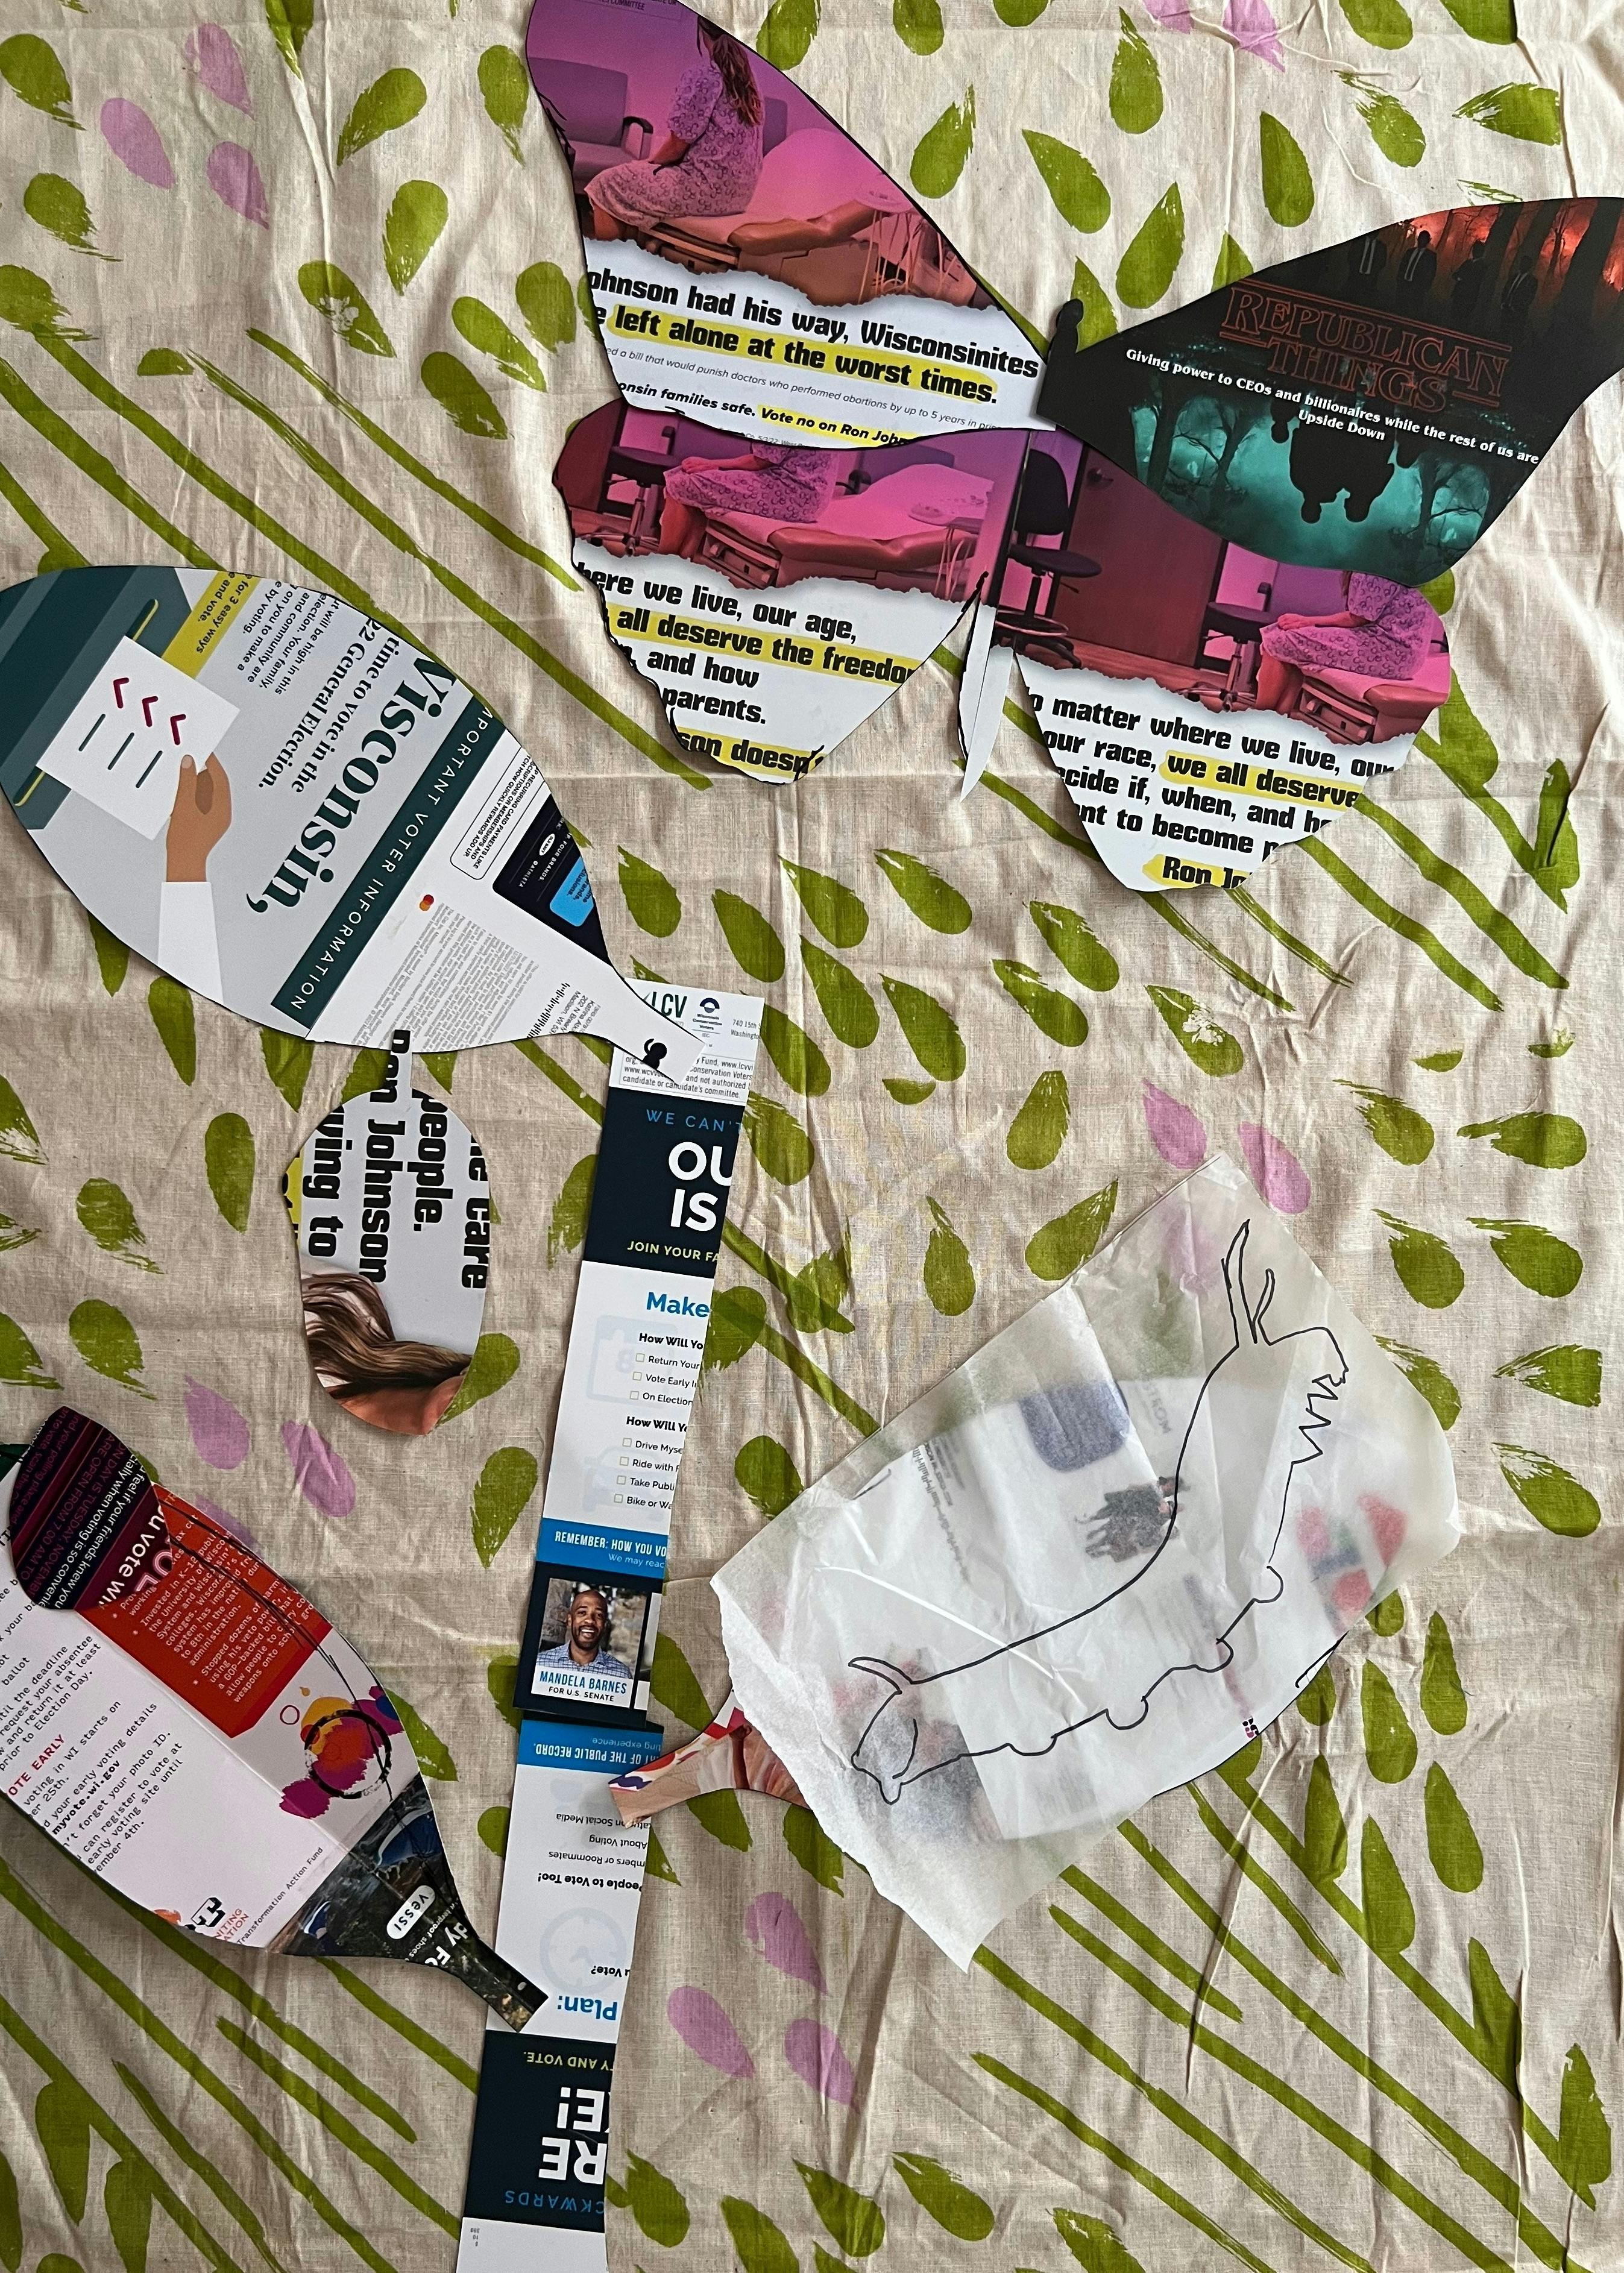
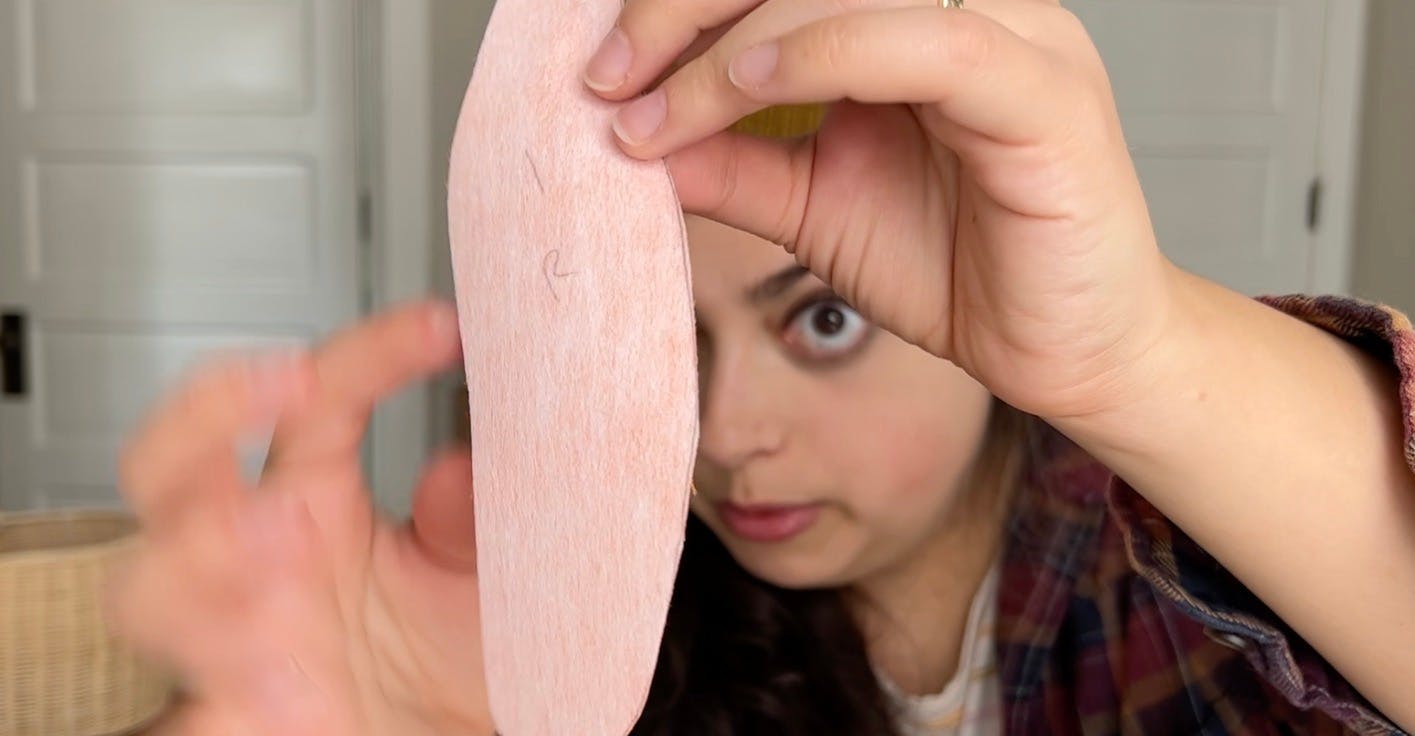
I happened to be doing this project in October in a swing state, so we had gotten a billion political attack mailers which magically make fabulous templates. They are the perfect weight cardstock, and they were free! As I have mentioned before, I am terrible at drawing, so I found some images online to copy so that this quilt didn’t look like a 3 year old designed it.
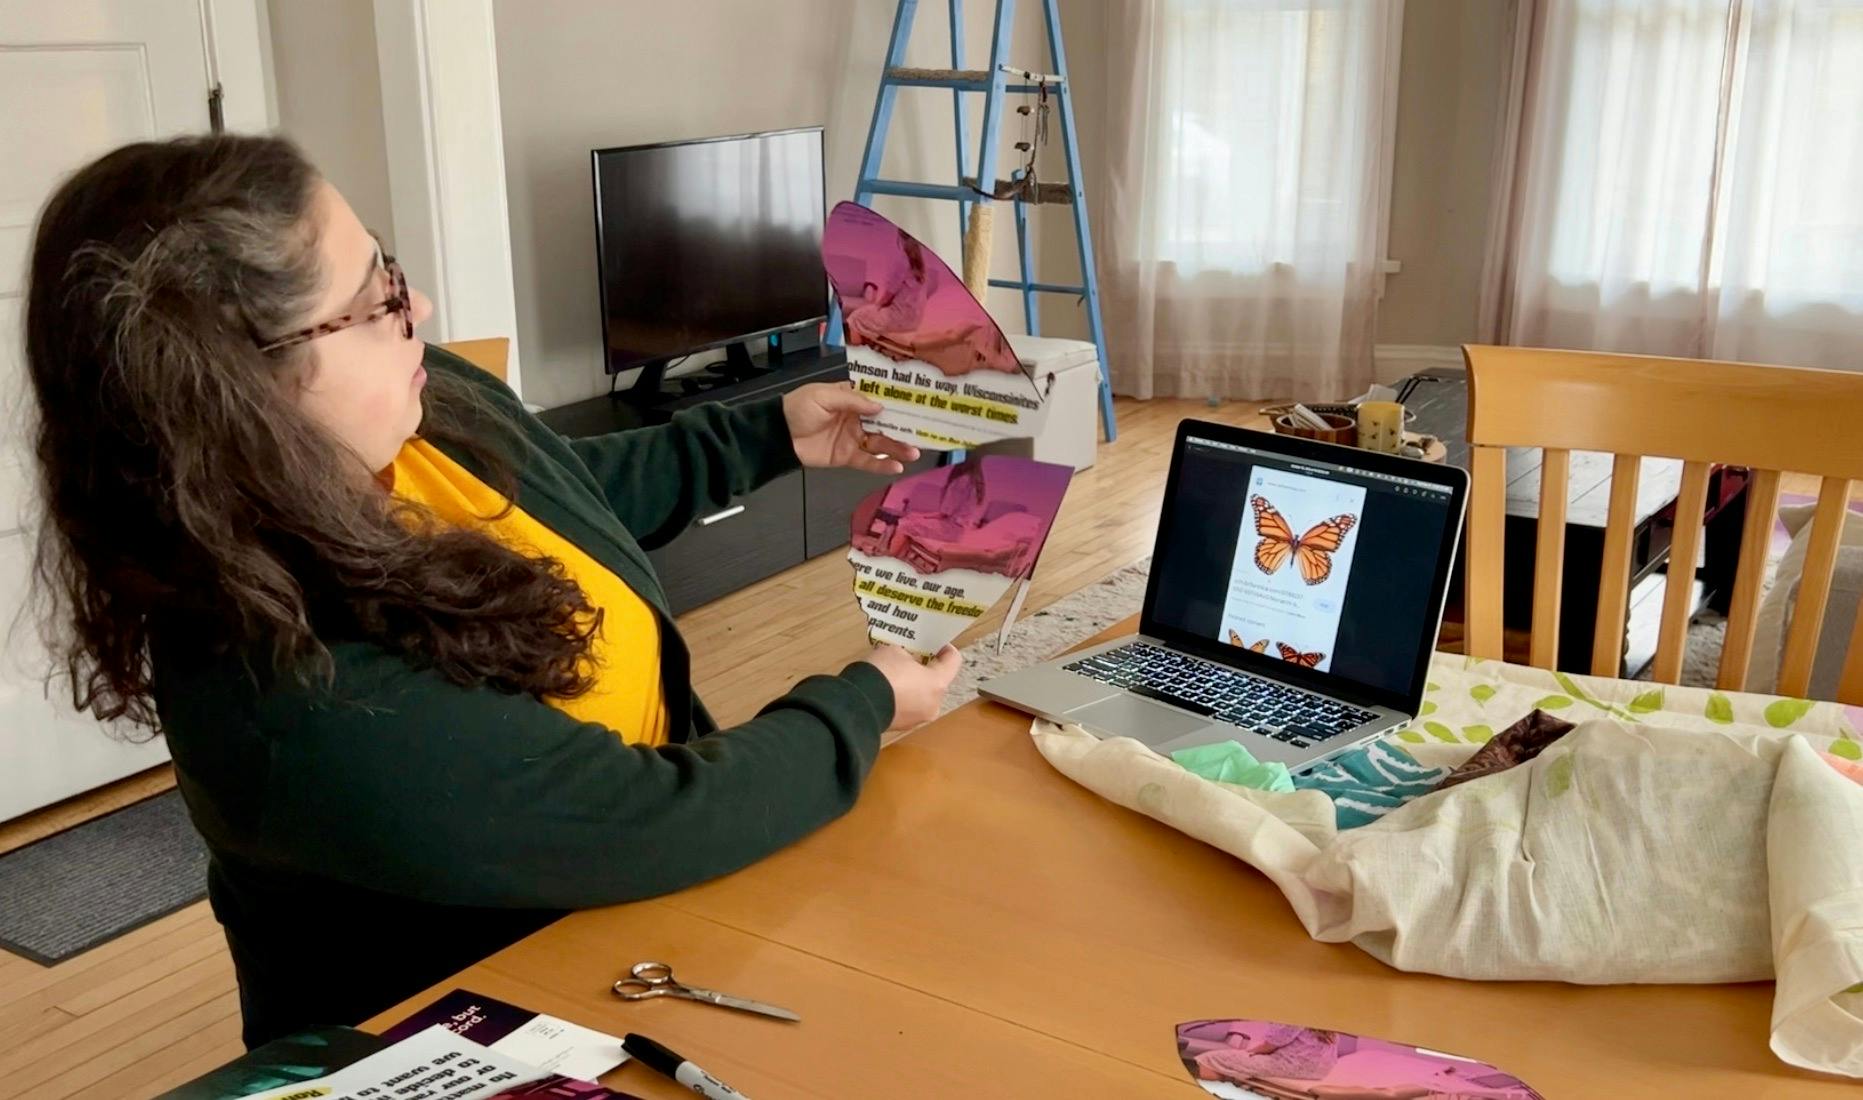
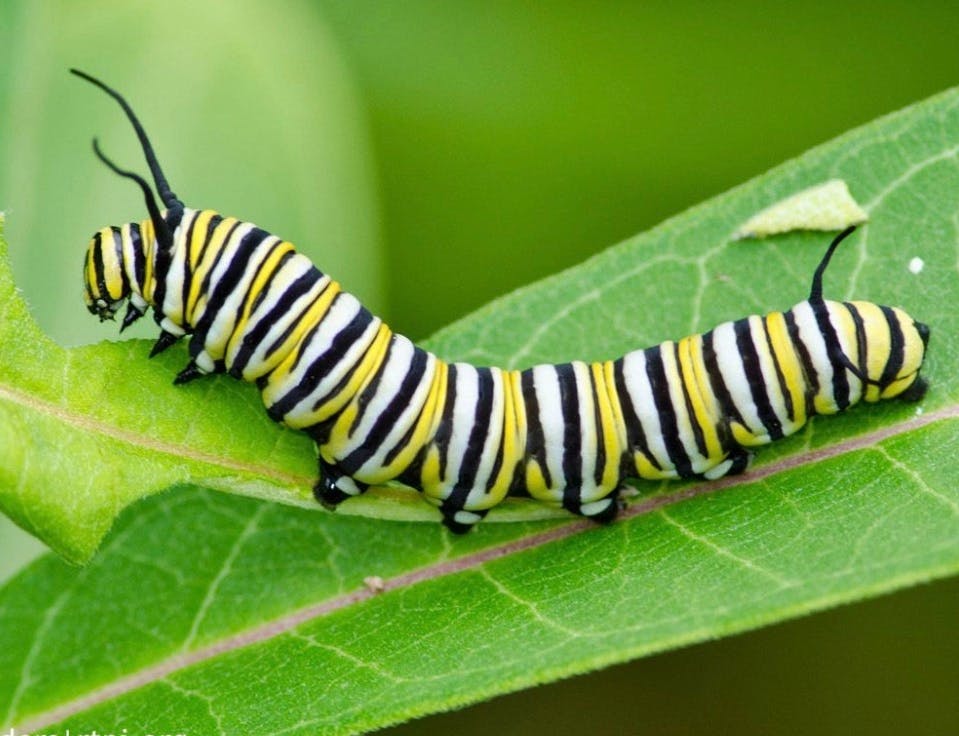
Monarch butterflies only lay their eggs on a plant called milkweed, so I pulled up a picture of a milkweed leaf. I taped two mailers together and then folded them in half so I could get perfect symmetry. Using a sharpie, I did my best to copy the shape of a leaf into the cardstock.
I repeated the process with the other leaves, chrysalis, butterfly, and egg, and then did my famous laptop tracing hack to make the caterpillar. If you ever choose to trace using your laptop screen as a light table, please go to my post about making block printed thank you cards for all the details of how I do this safely!

Once all the templates were cut out, I laid out my background fabric again and made sure everything would fit, and then with my mom on FaceTime, we designed the stem and figured out how everything would actually be made.
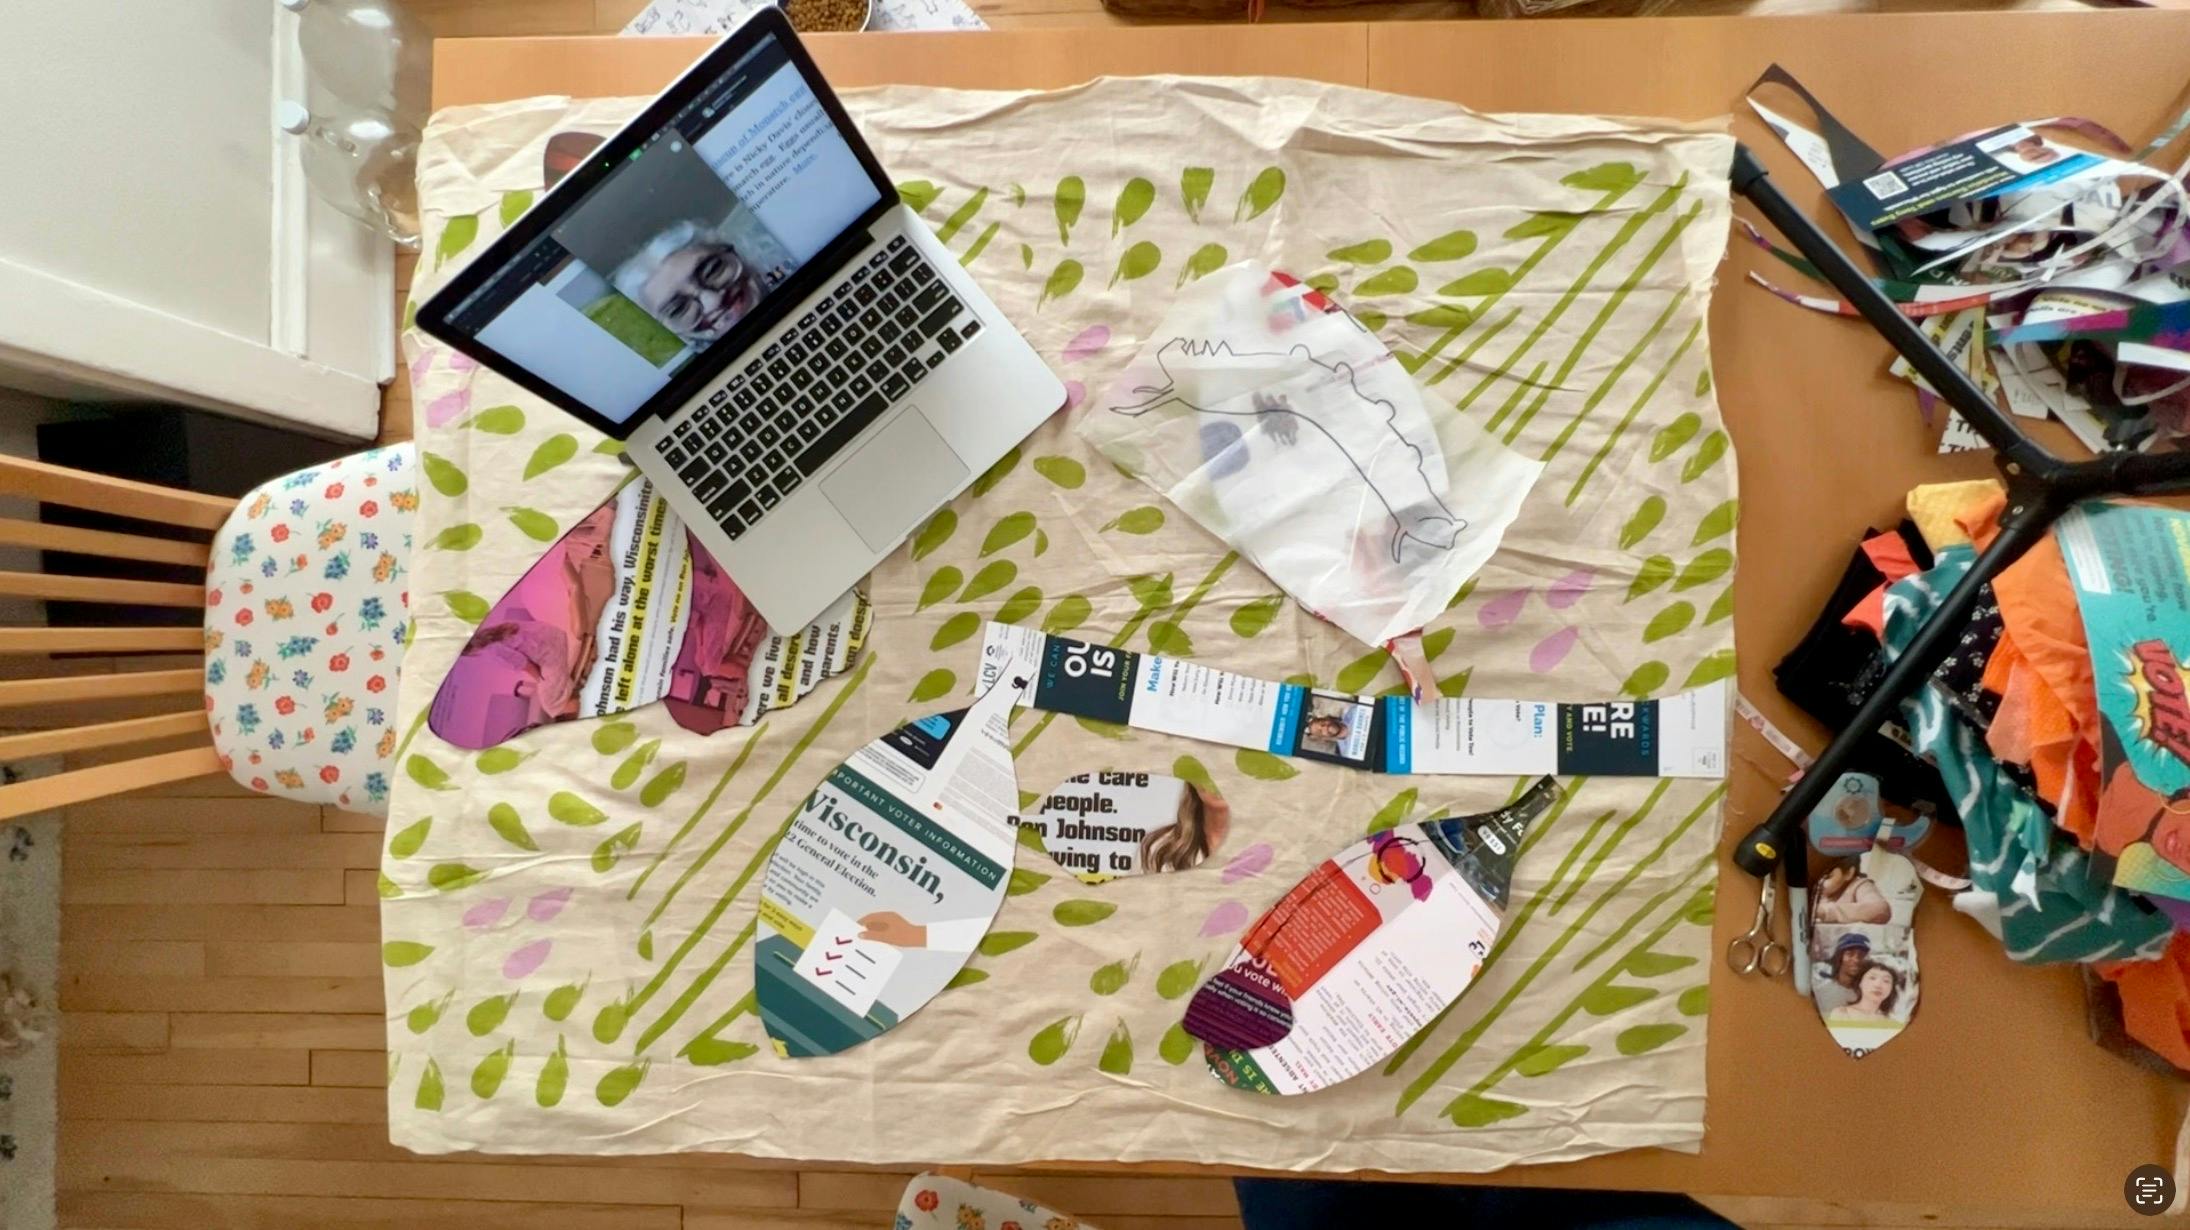
I cut a few things a little smaller, made the template for the stem, and cut out bite marks on the leaf that the caterpillar was sitting on, and the design part was done!
Making the Elements
The next step was to add interfacing to the back of each fabric. Iron-on interfacing is a fabric stabilizer that has a heat activated glue on one side. When you place the gluey side of the interfacing on the back of a piece of fabric and press it, it will adhere and basically create a thicker fabric that won’t lose its shape. I cut out approximate shapes of interfacing and fabric for each item on the quilt and attach the interfacing FIRST before cutting everything out.
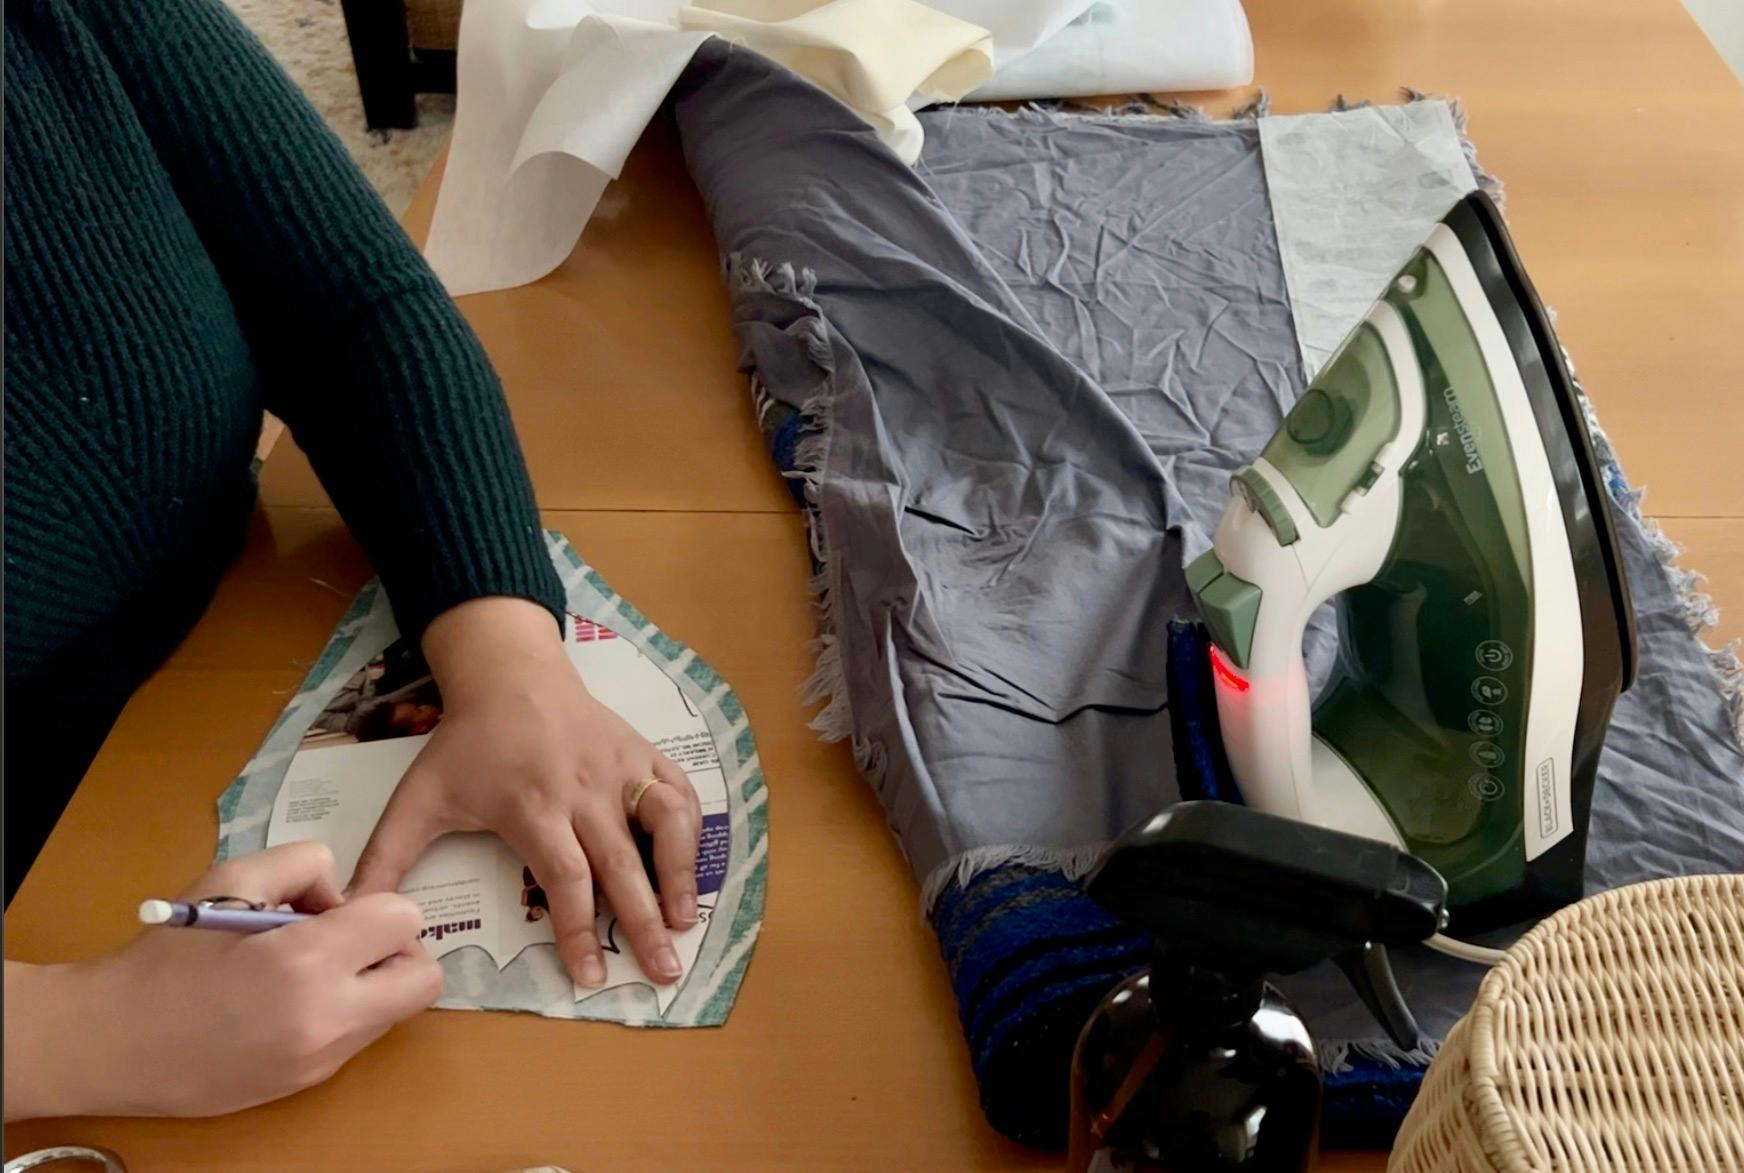
While it is possible to put the interfacing on after you have cut out your shape, it’s really difficult and not fun to get perfectly lined up, and when it’s not lined up, you run the risk of getting that glue on your ironing surface, which then can get on your iron or other fabrics in the future and make a very hard to clean up mess. It's also a good idea to use a piece of undyed fabric called muslin as "press cloth", a piece of fabric that goes on top of the interfacing process to protect the iron even further. Just in case.
Our Friend the Caterpillar
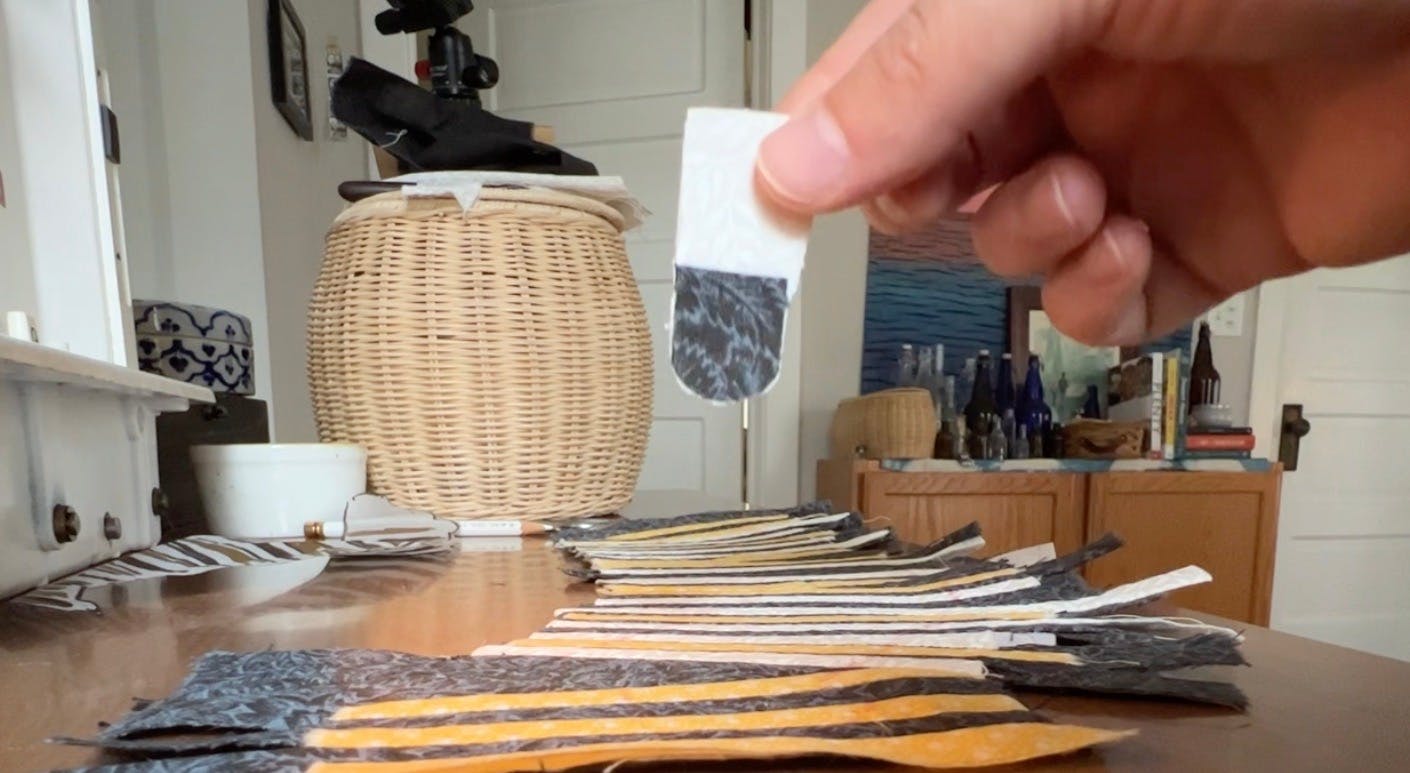
Let's talk about this caterpillar. I knew I wouldn’t be able to find fabric with the perfect yellow, black, and white stripes, so I decided to make my own fabric by piecing together strips of each color. I laid the template on the picture, and used black and gold sharpies to mark how thick the stripes were. I counted how many I needed, and then I cut my fabric into strips, making sure to leave enough extra space for the seam allowance on each side.
I laid the template on the picture, and used black and gold sharpies to mark how thick the stripes were. I counted how many I needed, and then I cut my fabric into strips, making sure to leave enough extra space for the seam allowance on each side.

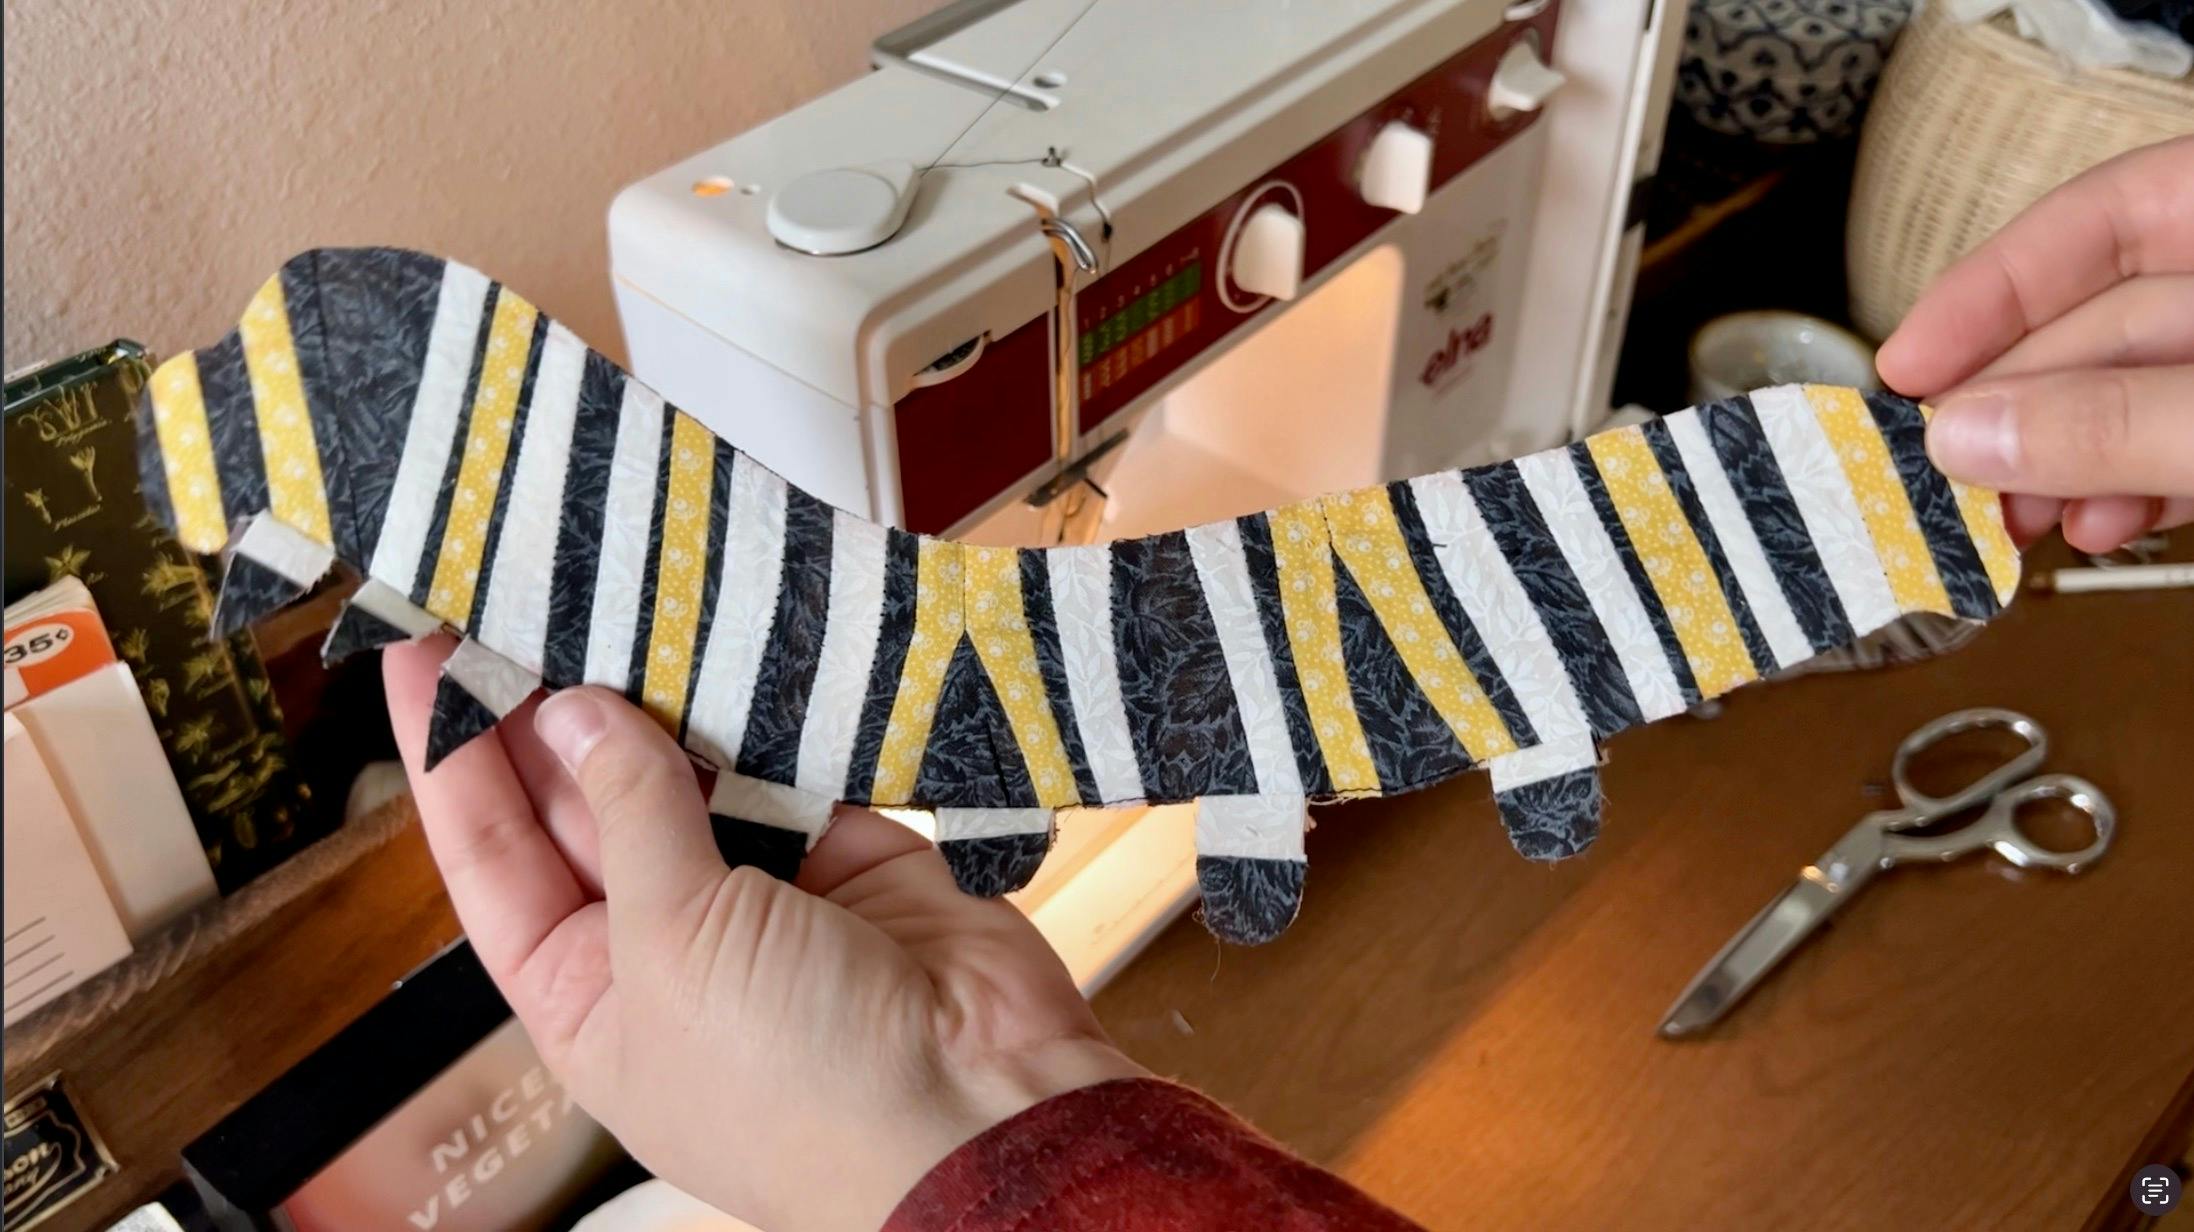
I stitched the strips together in the correct order that they showed up in nature. There were some thin black strips and some thick black strips, so I did my best to keep track of those as I stitched.
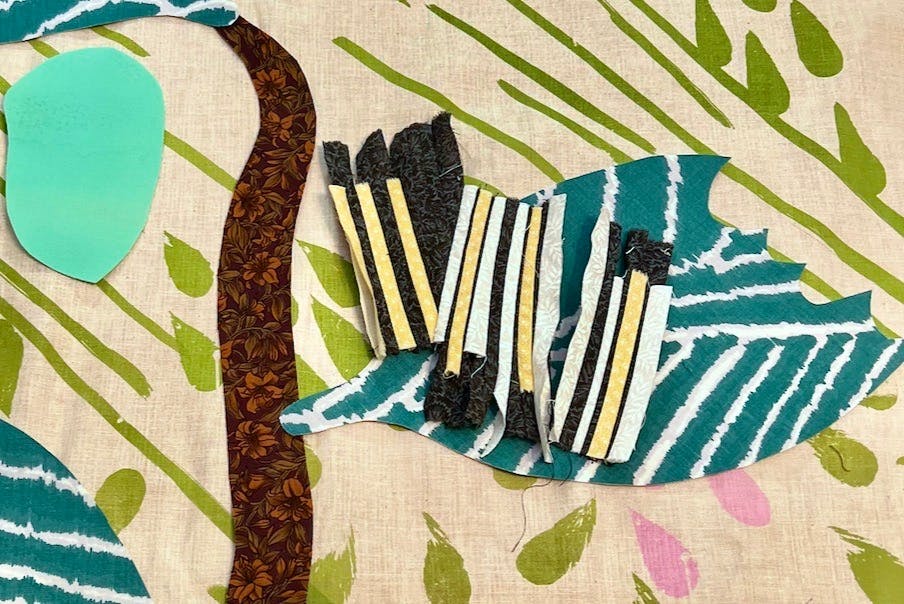
I added in a few strategic triangular shapes to allow for the caterpillar to curve while keeping the stripes going the right direction. Once I had sewed together about 45 strips, the basic shape of a caterpillar began to emerge!

As you can see in my reference photo below, monarch caterpillars have the most adorable little feet, so I wanted to do their adorableness justice. There are three pointier ones in the front, and three chunkier ones near the middle. So I cut out some verrrry little pieces in the black and white fabrics, stitched them together to make 6 cute little caterpillar tootsies.
I added some interfacing to the stripy fabric and then cut out the shape by tracing my template. I stitched on the feet, and the caterpillar was done!
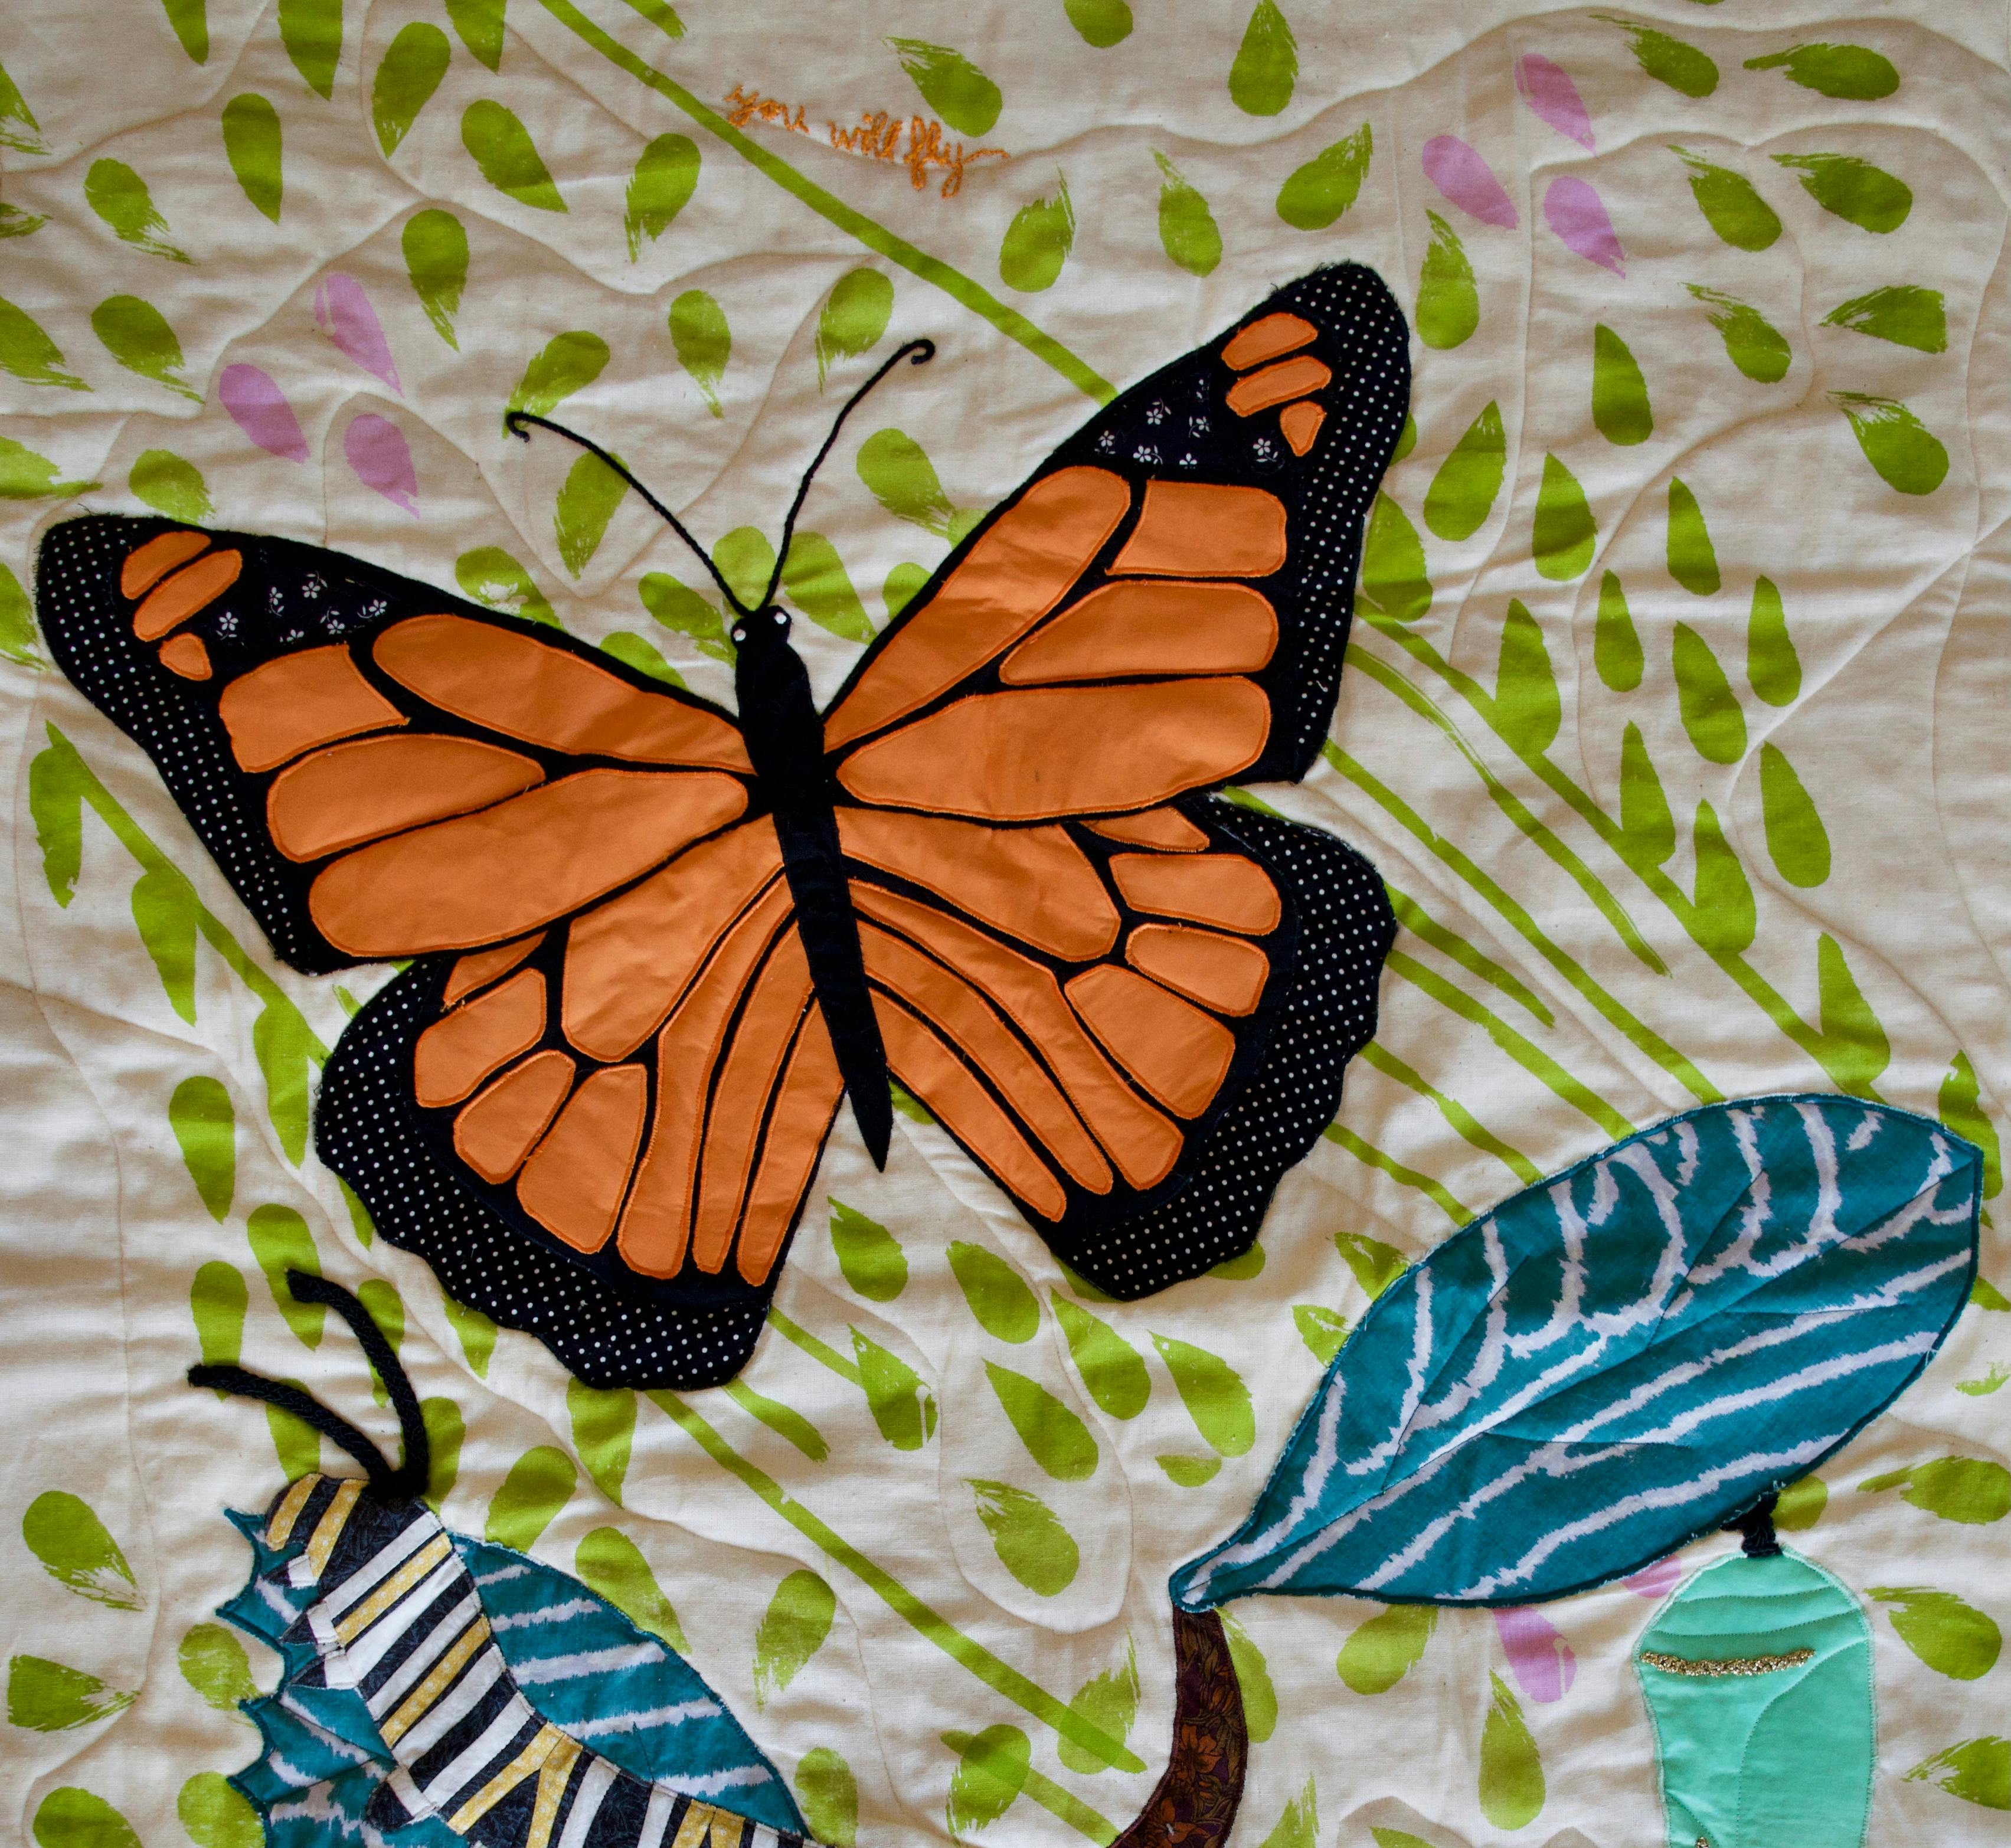
It's a Butterfly
This butterfly. The only thing I can say is that I am truly shocked at how well it turned out. I thought it was going to look just okay, but it really looks amazing. I took my templates that I had cut out and, using my reference image, I drew the outline for both the orange and the block dotted segments.
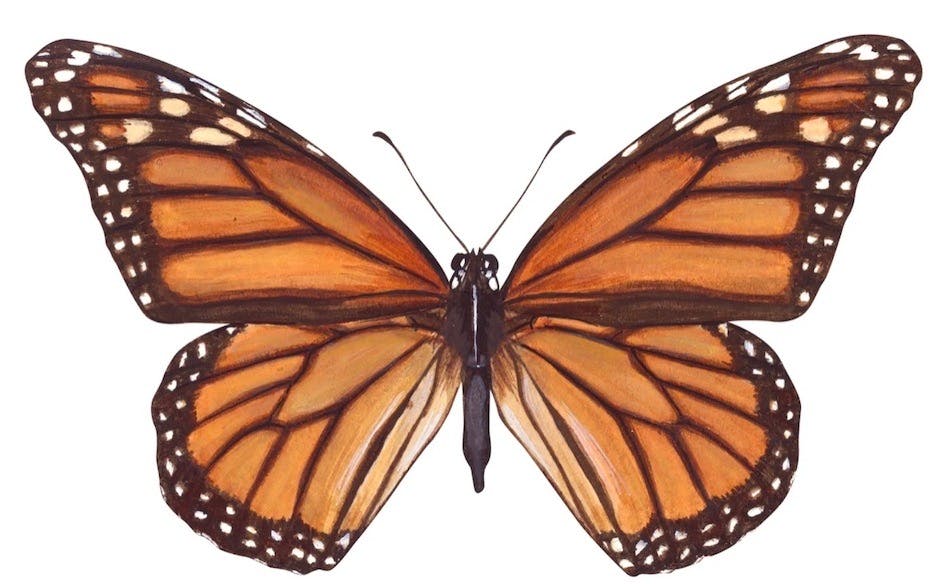
Once that was drawn, I filled in the solid black inbetween parts with my black marker to make it look like the actual wings, and then cut the segments out of the cardstock while leaving the black lines as intact as possible.

I then cut out the orange and black dotted fabrics in the corresponding shapes, numbering each fabric piece on the back in pencil with which number piece it was, and if it was for the right or left wing.
I cut out solid black fabric pieces the shape of the entire wing, and pinned each piece down using the base of the template I had cut the pieces out of as a guide for where each piece needed to go. PHEW! This is not a real technique, but it worked perfectly for my purposes!
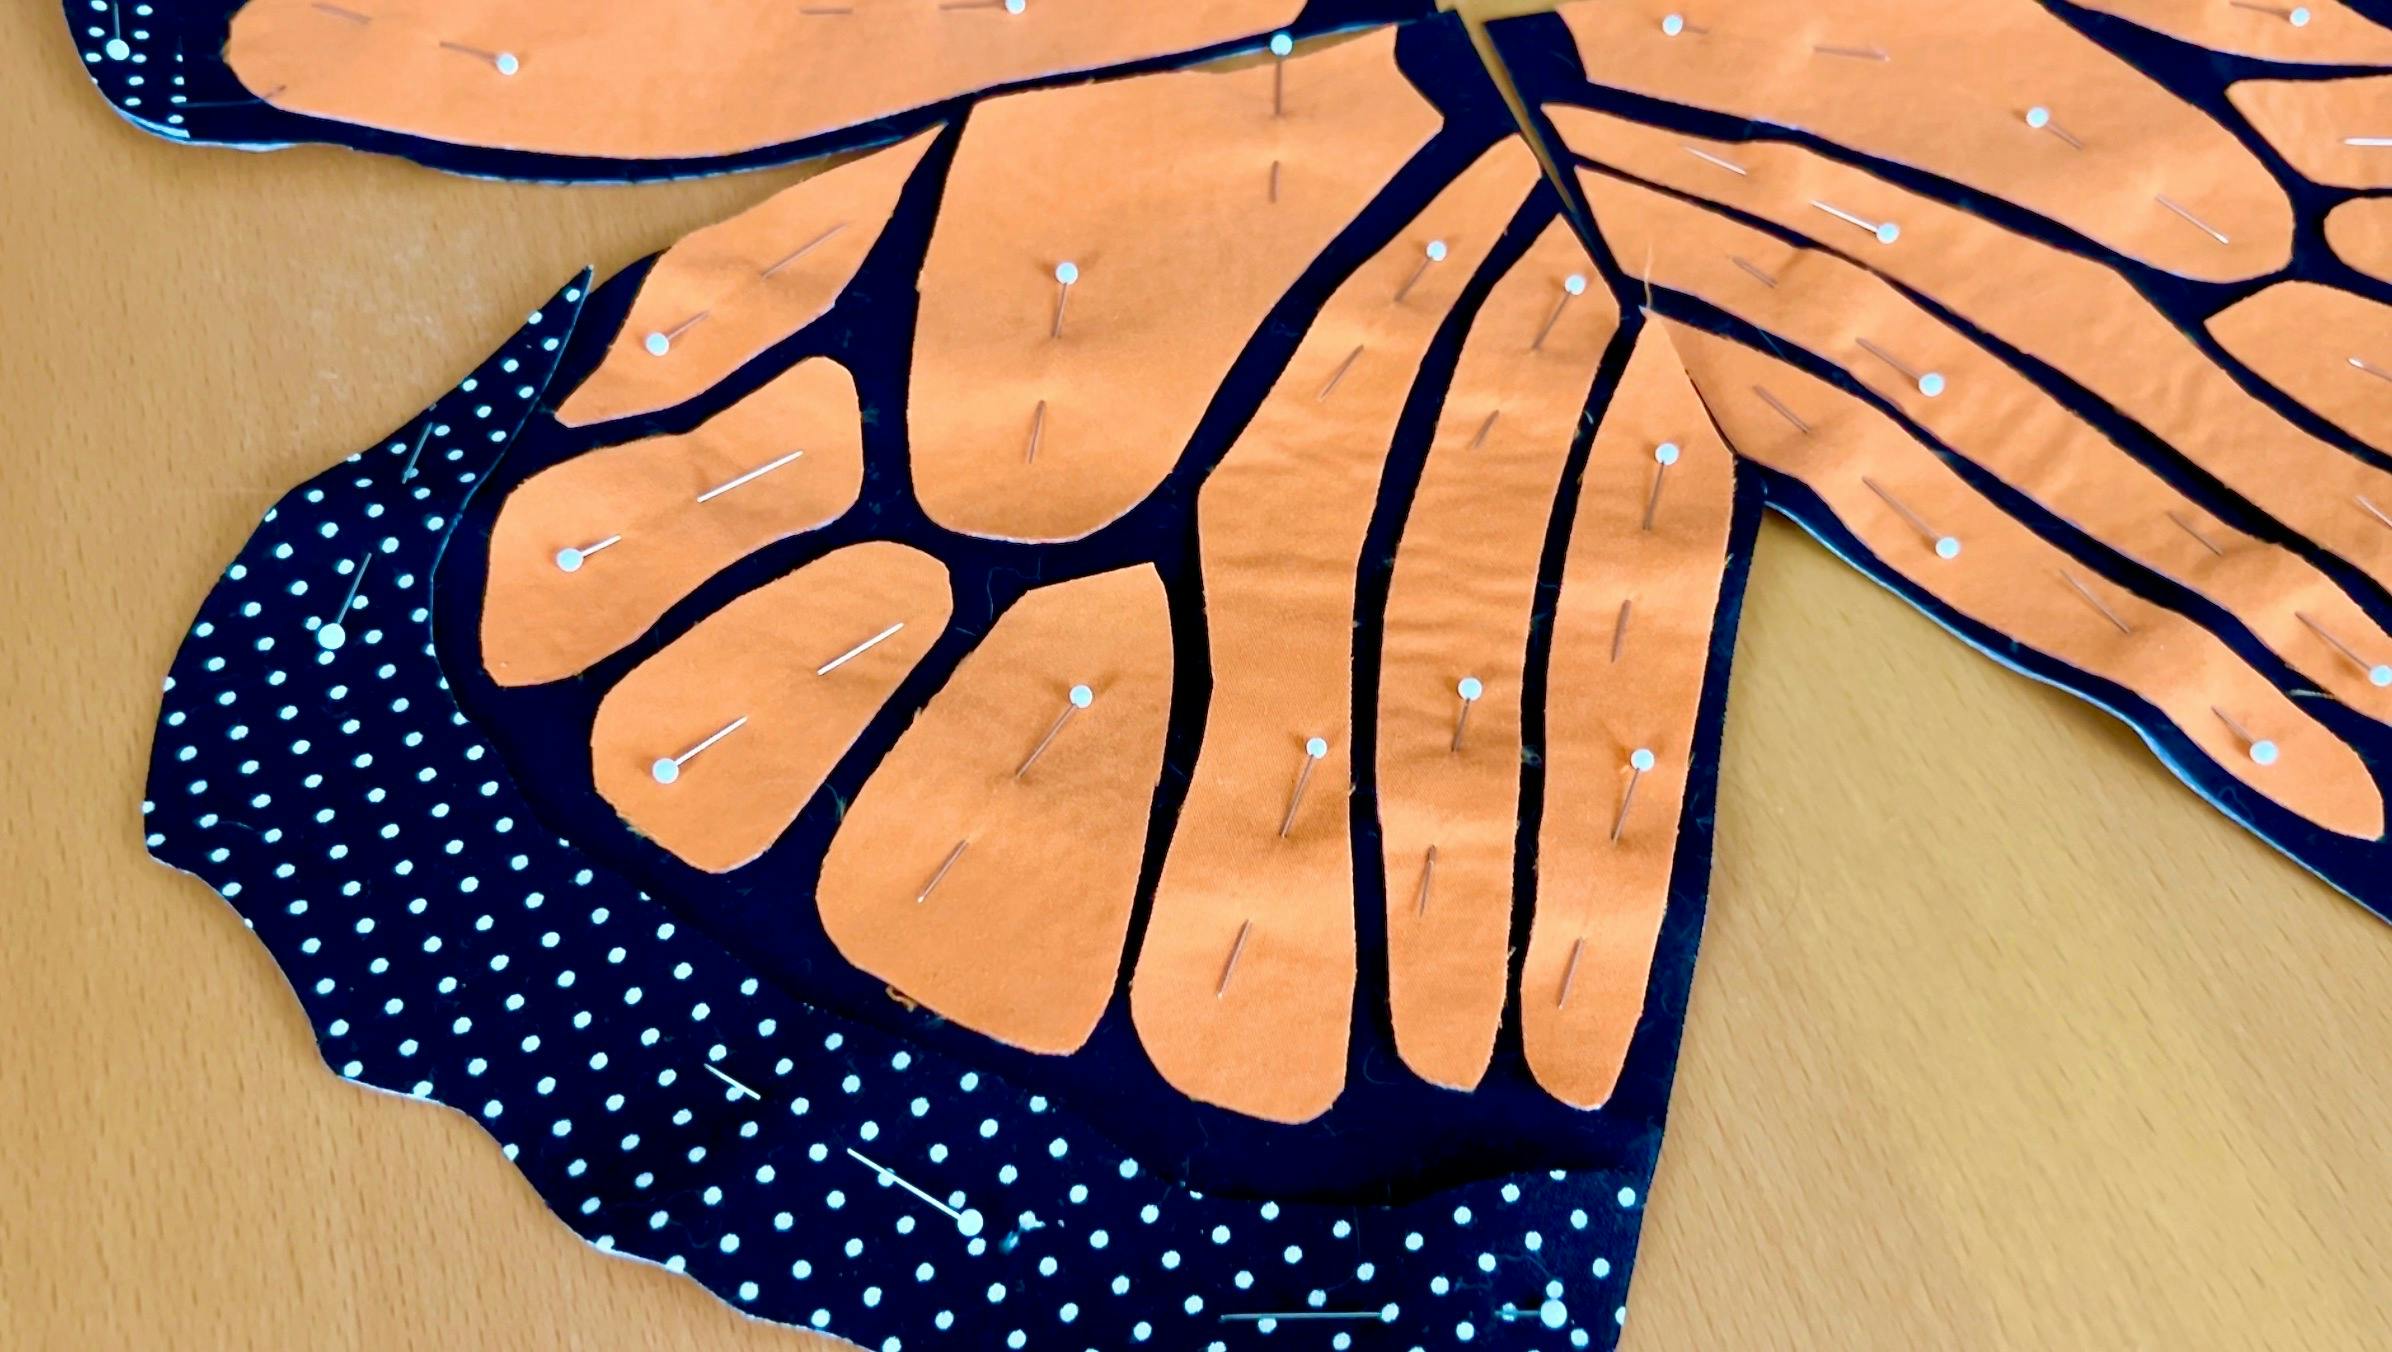
Then, using a very short zig zag stitch, I stitched down every little piece, using orange thread for the orange pieces, and black for the black pieces. (Side note: This part alone took over 4 hours, in case you are curious how long it takes to make a simple little quilt like this!)
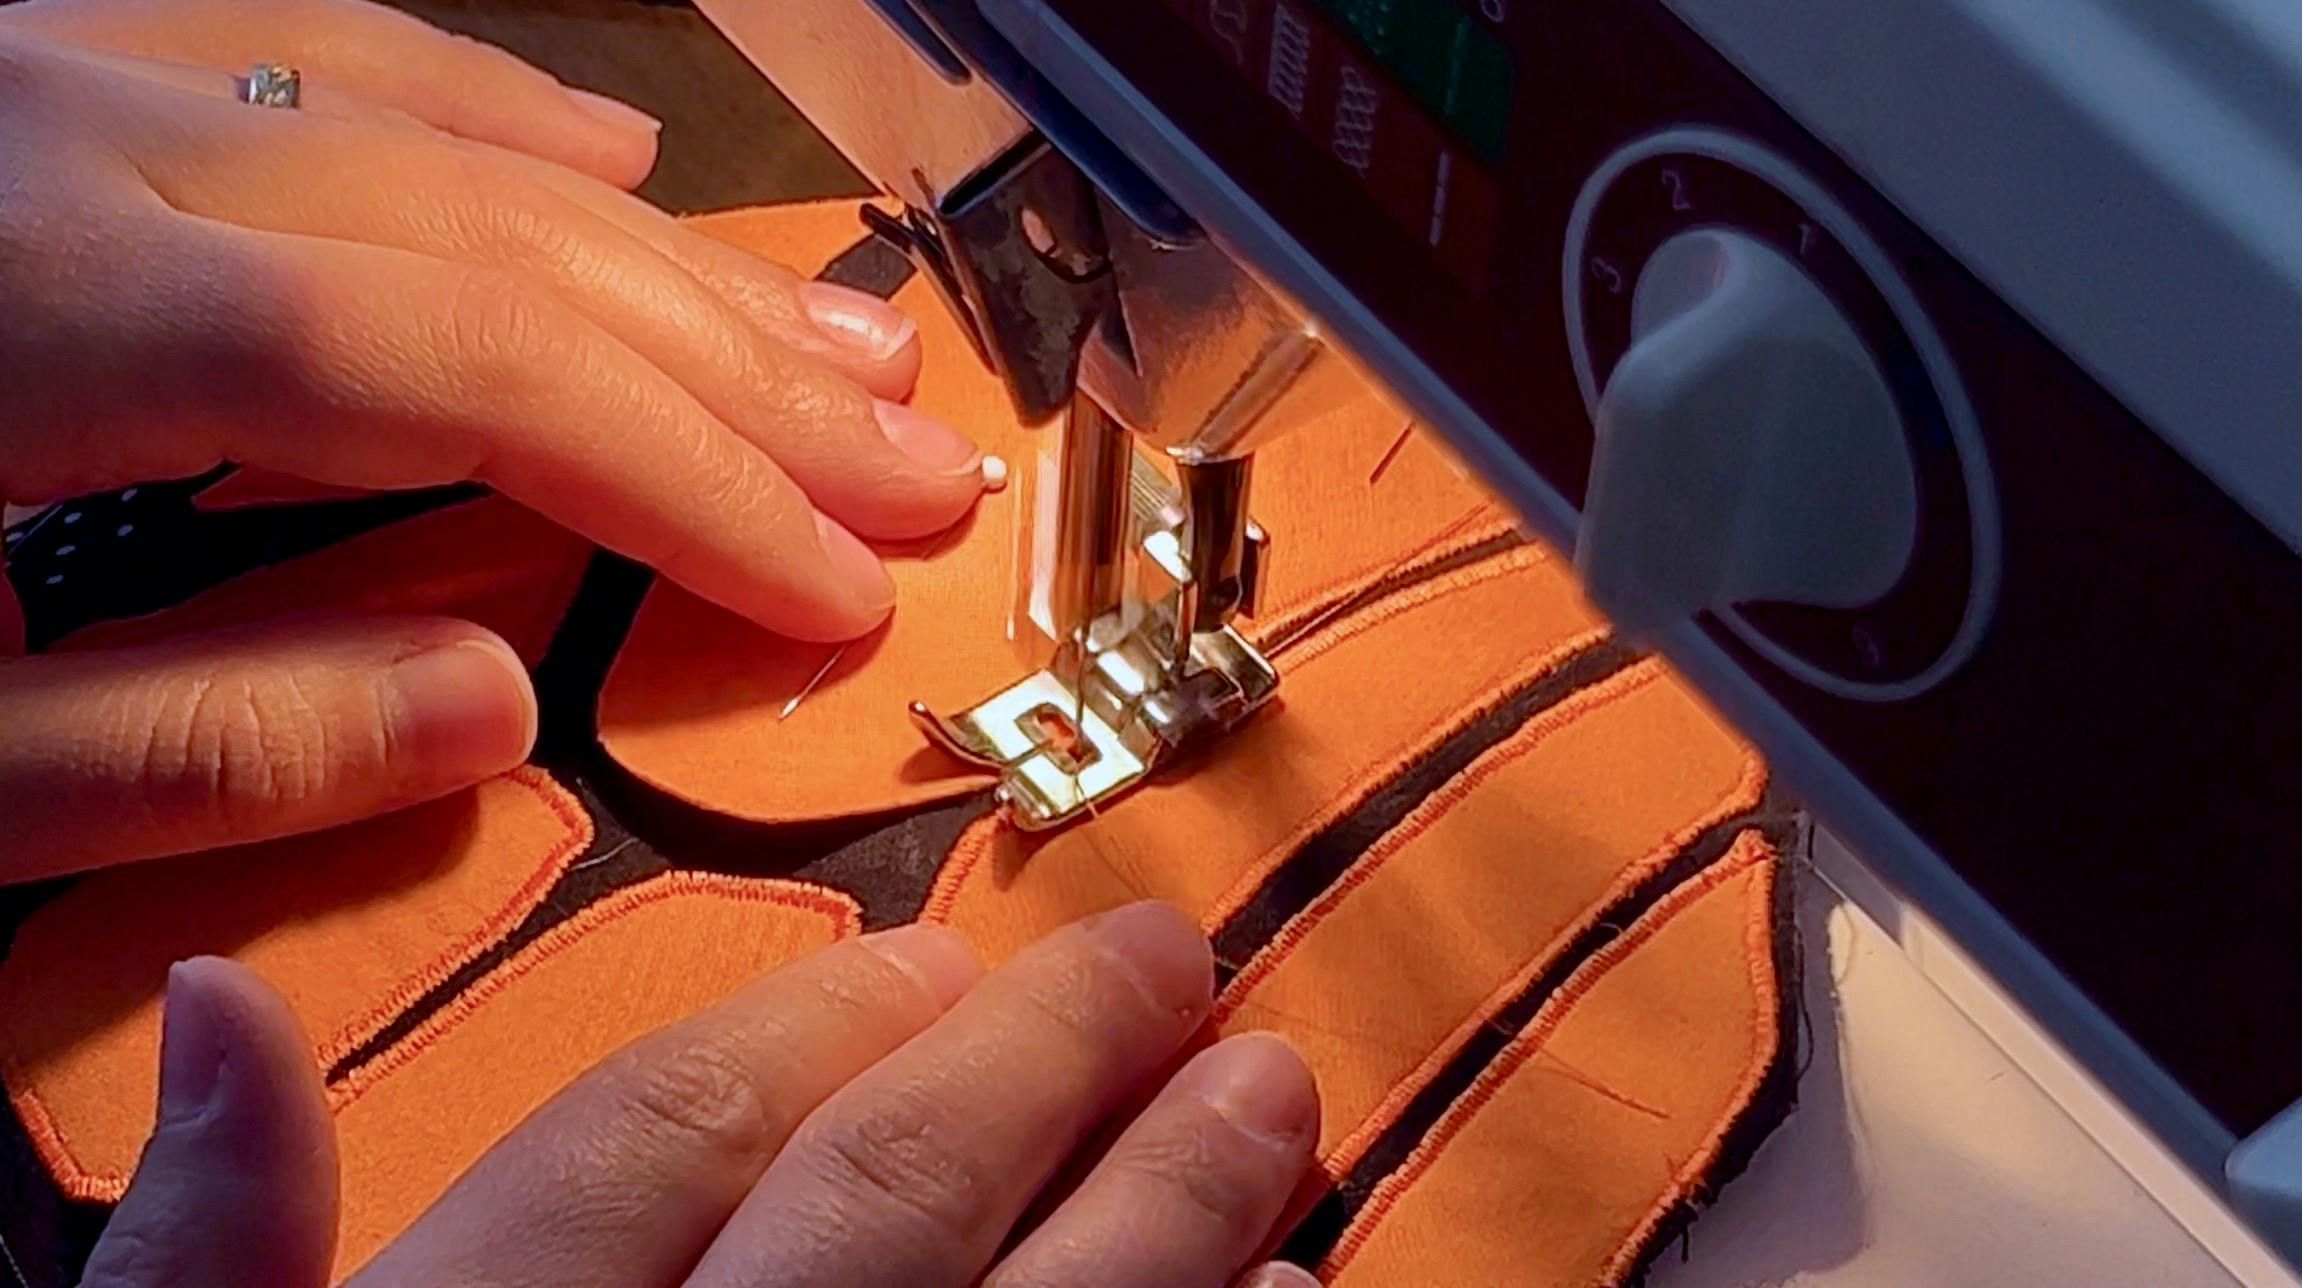
And once the pieces were all stitched down, the butterfly and all the other pieces were ready to be stitched to the background!
To Sum Up
That concludes part 1! Please come back soon for part 2, where I will share how I attached the pieces to the background, added the black cording and embroidery embellishments, quilted the layers together, finished the edges, added a pocket for the hanging rod on the back, and stitched a sweet message for my new little niece on the front.
This quilt came out better than I could have dreamed and I can't wait to share the rest of the project with you! I hope you have a beautiful rest of your day and thank you so much for being here!
💖, Katrina
Comments: