Julia's Mushroom + Snail Bread Sculpture
November 14, 2023

* Products linked below may be affiliate links. I may receive a small commission if you place an order through them (at no cost to you). For more, see our Affiliate Disclosure.
Welcome to Katrina's Great British Baking Project, aka Bake Along with Bake Off! If you haven't checked out my post about the hows and whys of this project, please head over there and give it a quick peruse. (TL, DR: I am baking the recipes from Bake Off that sound the best to me for fun, deliciousness, and learning!)
The Challenge
This bake comes to us from Collection 5, Episode 3 - Bread Week. I have decided to skip the first 2 bakes of the episode because, well, I wanted to. I wasn't super excited about them and figured you wouldn't be either. So I am diving right into the Showstopper which is a naturally dyed Colorful Bread Sculpture.

The Rules
The Bake Off rules stipulate that the sculptures must be, "eye-catching, with natural ingredients for color and flavor," and that they need, "at least 3 colors." The contestants have 4.5 hours to complete their bread sculptures.
Pitfalls To Beware Of
The judges mention that there are two main things they are looking for.
- Paul - Too much of the add-ins can inhibit the yeast, so it’s all about proportions.
- Prue - The sculptures have to look amazing, be as vibrant as possible, and "every bit has to taste good."
My Favorite Bakes
There were a few bakes that didn't do it for me, as they were colored with things I didn't really feel like eating (squid ink, for example, is not my thing), but it was still hard to pick. I narrowed it down to these three:
- Yan's "Basil the Vegetarian Dragon and his Pumpkin Hoard"
- Cilantro and garlic focaccia forest floor
- Basil dragon
- Turmeric and tomato chili pumpkins
- Parmesan mushrooms
- Raspberry glazed white chocolate mushrooms
- Steven's "Bag I Knead" (this was a purse)
- Chorizo and manchego bag, stripes of beet, spinach, and chili chocolate quince
- Curry breadstick chain
- Chocolate and peppermint breadstick handle
- Julia's "Snail under a Mushroom"
- Beetroot and potato mushroom cap
- Black Russian rye stem
- Goat cheese and caramelized onion filled red pepper and paprika bread snail
- Cheddar and bacon filled spinach and parsley rolls forest floor
The Snail Sculpture Is Chosen
I was really leaning towards Yan's dragon, but I decided to go for flavors rather than cuteness and pick Julia's, which happens to ALSO be incredibly cute, even if it isn't quite as narrative. :) I also love Russian rye bread and have never made it, so that was another vote for Julia's bake!
While they were required to make 3 breads minimum, Julia did 4. I did a bit of searching, and picked the following recipes:
- The Bacon + Cheese Rolls for the green forest floor came from Tatyana's Everyday Food (with plentiful tweaks).
- I used Taste of Home's Roasted Red Pepper Bread for the snail (also with tweaks).
- The mushroom stem was Smitten Kitchen's Black Bread. The only thing I did to this was to leave out the caraway seeds because I hate the flavor of caraway. Random, I know.
- The mushroom cap was the Beet Bread from Tablespoon.com, and I made this one exactly as written.

How I Did It
The first three breads were baked at the same temperature, so I started with the black rye since it had the longest proofing and baking times, and finished with the beet bread. The doughs all started out somewhat the same, which involved proofing the yeast in warm water or milk, some with a bit of sugar.

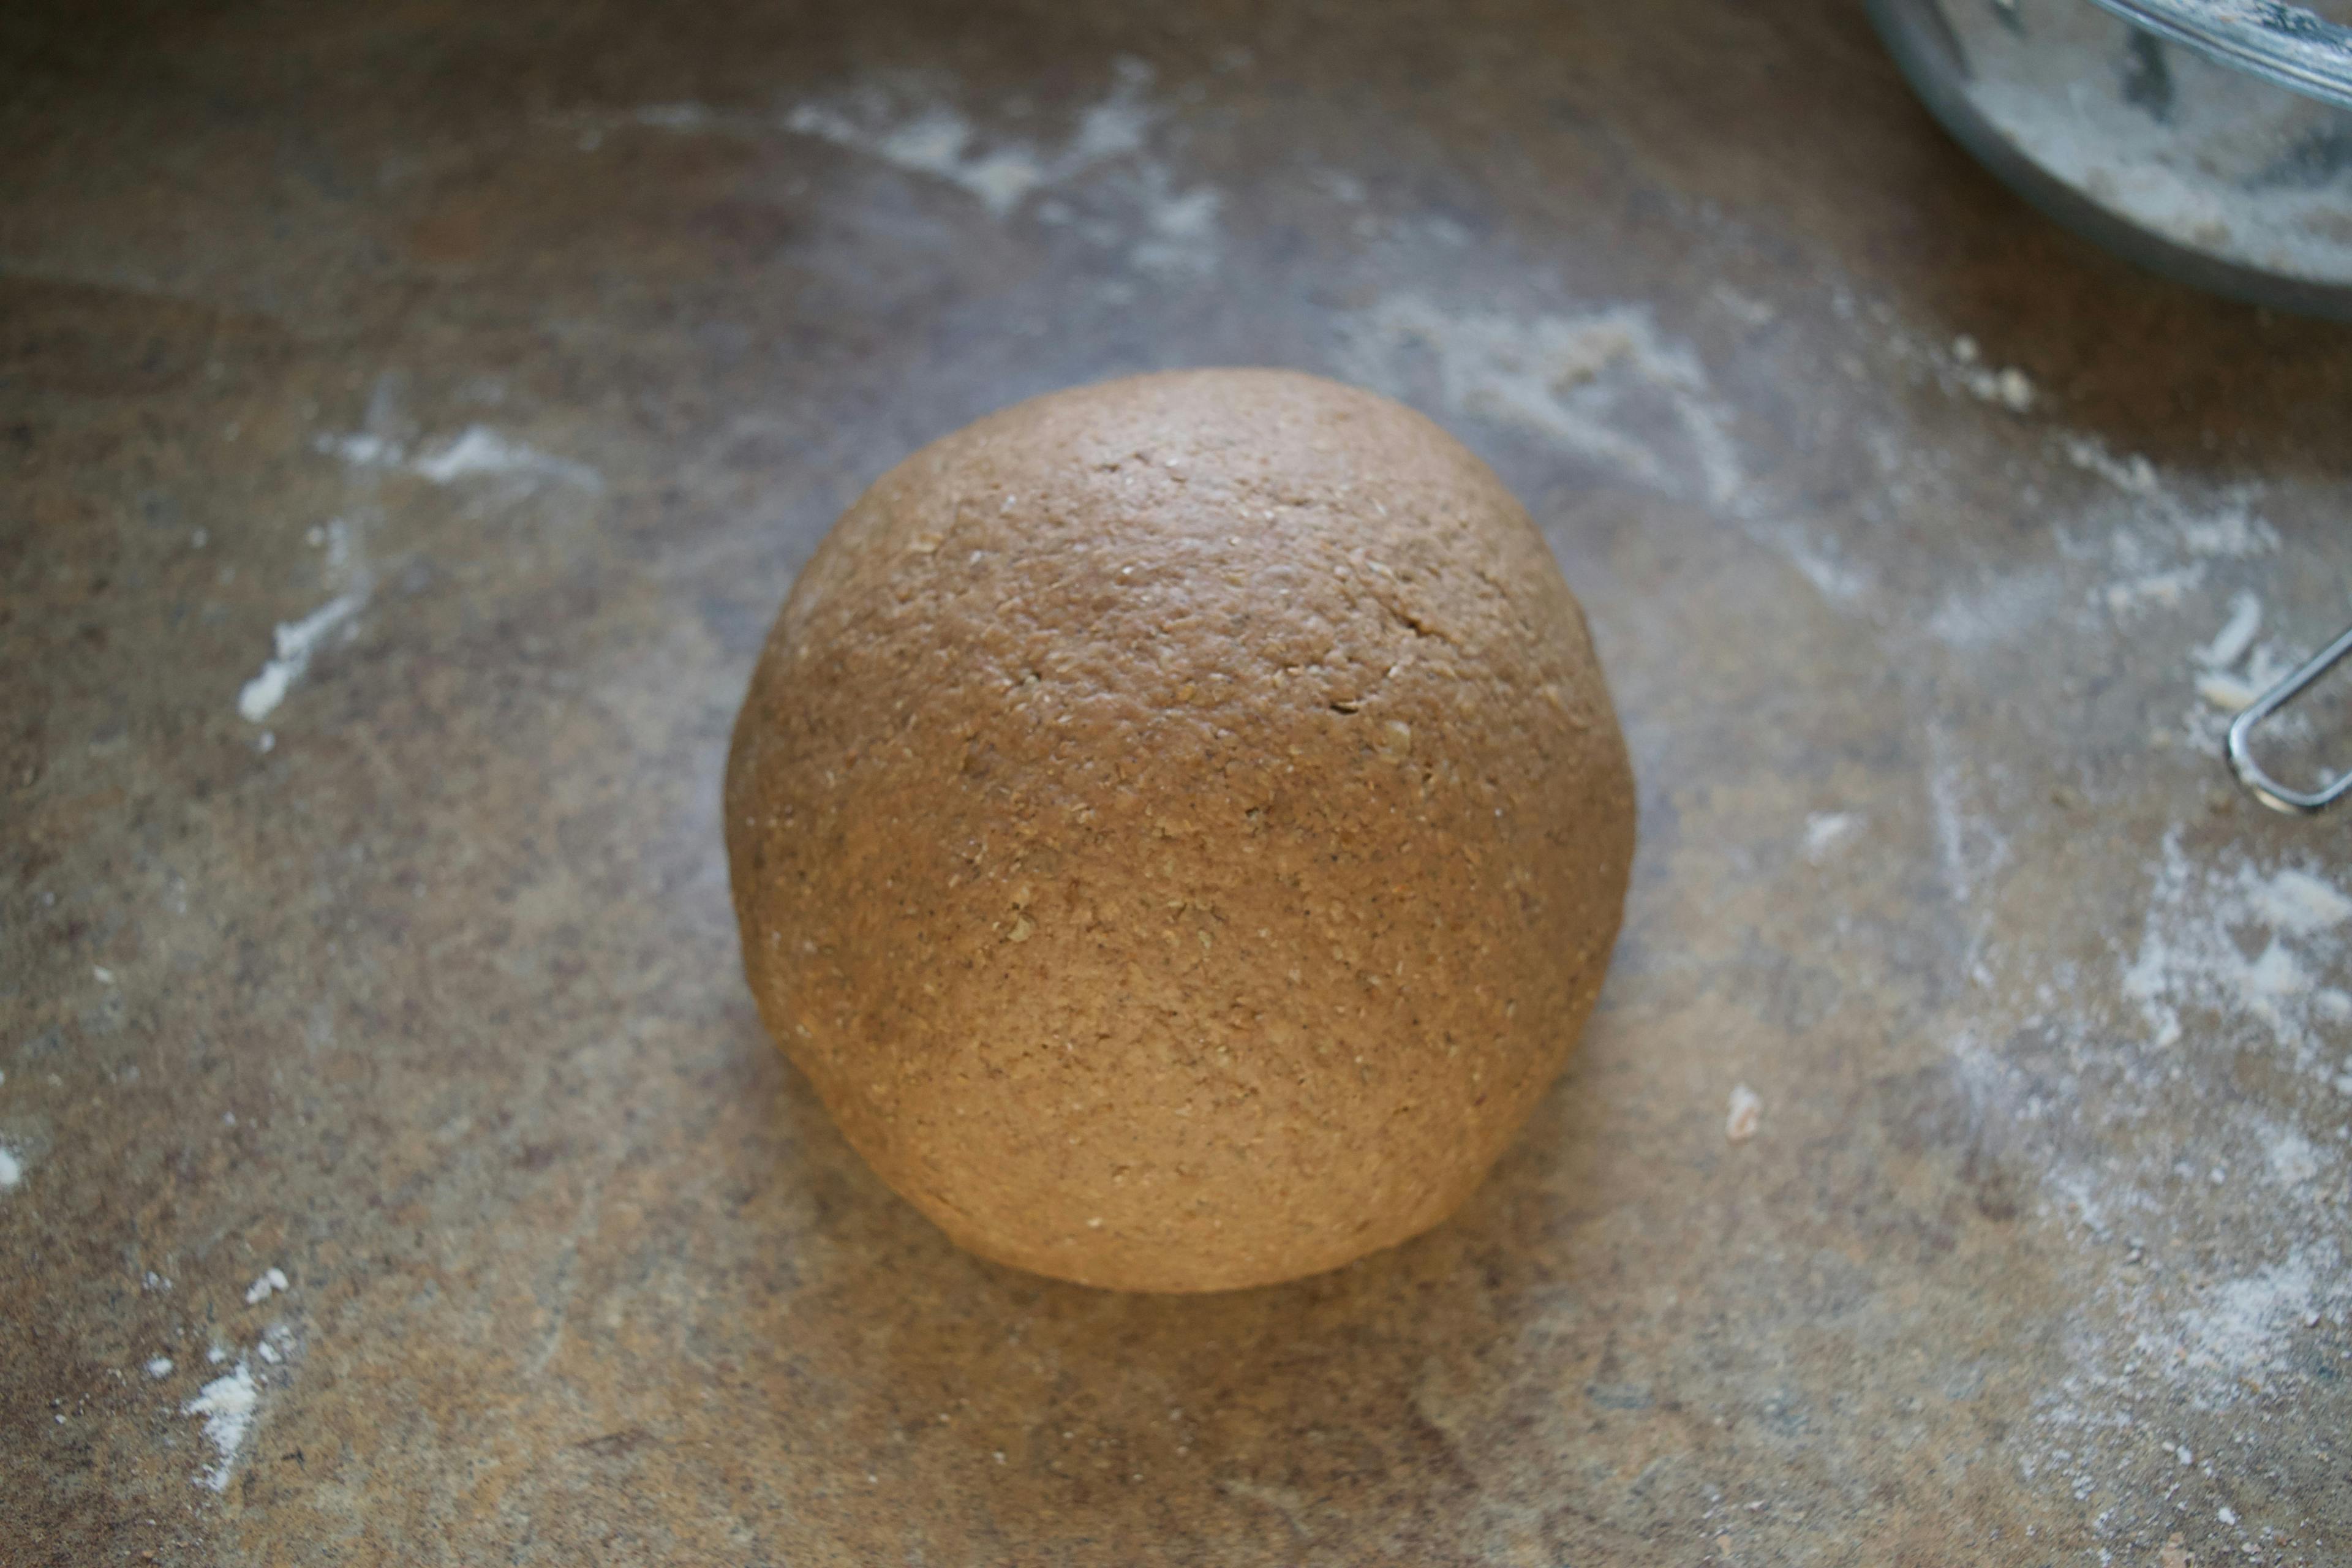
Dough #1: Black Rye
The yeast for the black rye was proofed in water, and while that puffed up I put together a bowl of water, molasses, apple cider vinegar, butter, and 99% unsweetened chocolate. (Have you ever had 99% chocolate? It's soooo bitter. Not at all a fun eating experience!) I warmed this up in the microwave until the butter and chocolate were melted. I then whisked it together to cool it down a bit so it didn't kill the yeast, and sadly it smelled really bad - something about steamy vinegar and bitter chocolate just doesn’t do much for the ol’ olfactory sensory neurons.

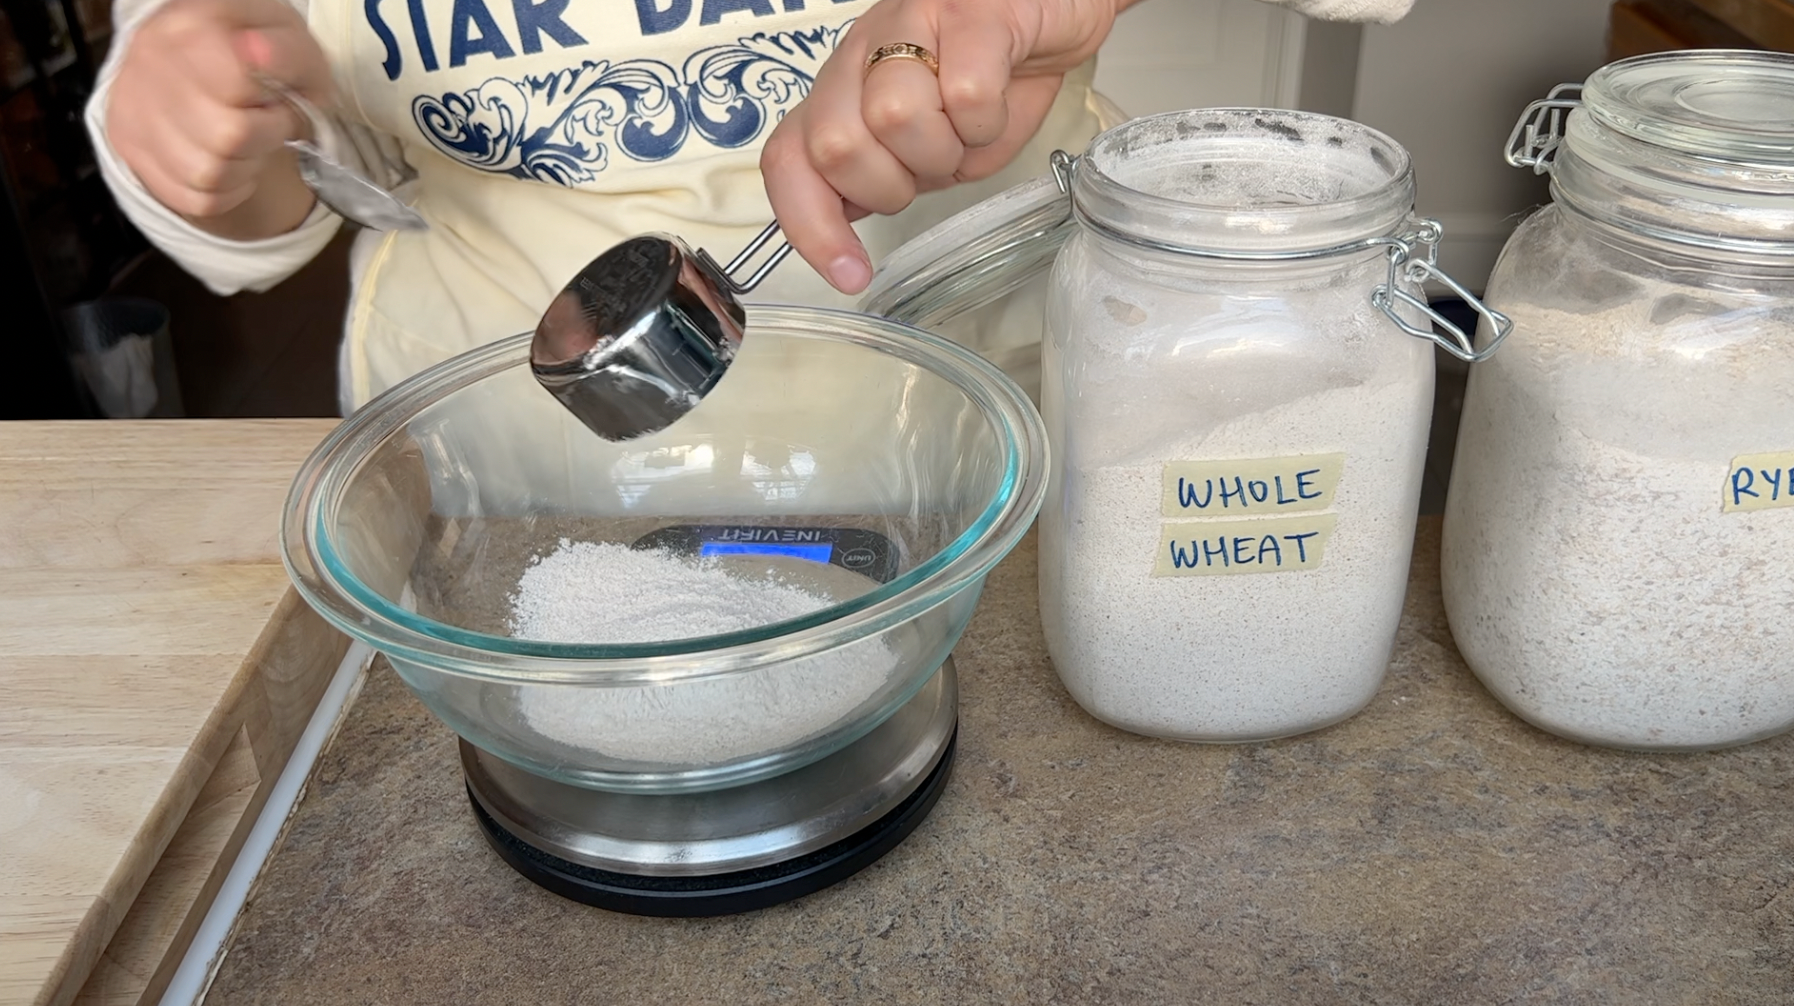
Then, I mixed the flours - whole wheat, rye, and all-purpose - in one bowl, and in the bowl of Art Vandelay, my stand mixer, I added a cup of the flour mixture, oat bran, fennel seeds that I lightly crushed, some finely minced red onion, finely ground espresso beans, and salt, as well as the cooled stinky liquid and the yeast mixture.

After Art went to town on that sloppy mixture for three minutes, I added scoops of the flour until the dough stopped sticking to the sides of the bowl. Then it was time to knead. I added a bit more of the flour mixture but didn’t end up using all of it. Then I rolled it into a ball and it went into a greased bowl to rise.

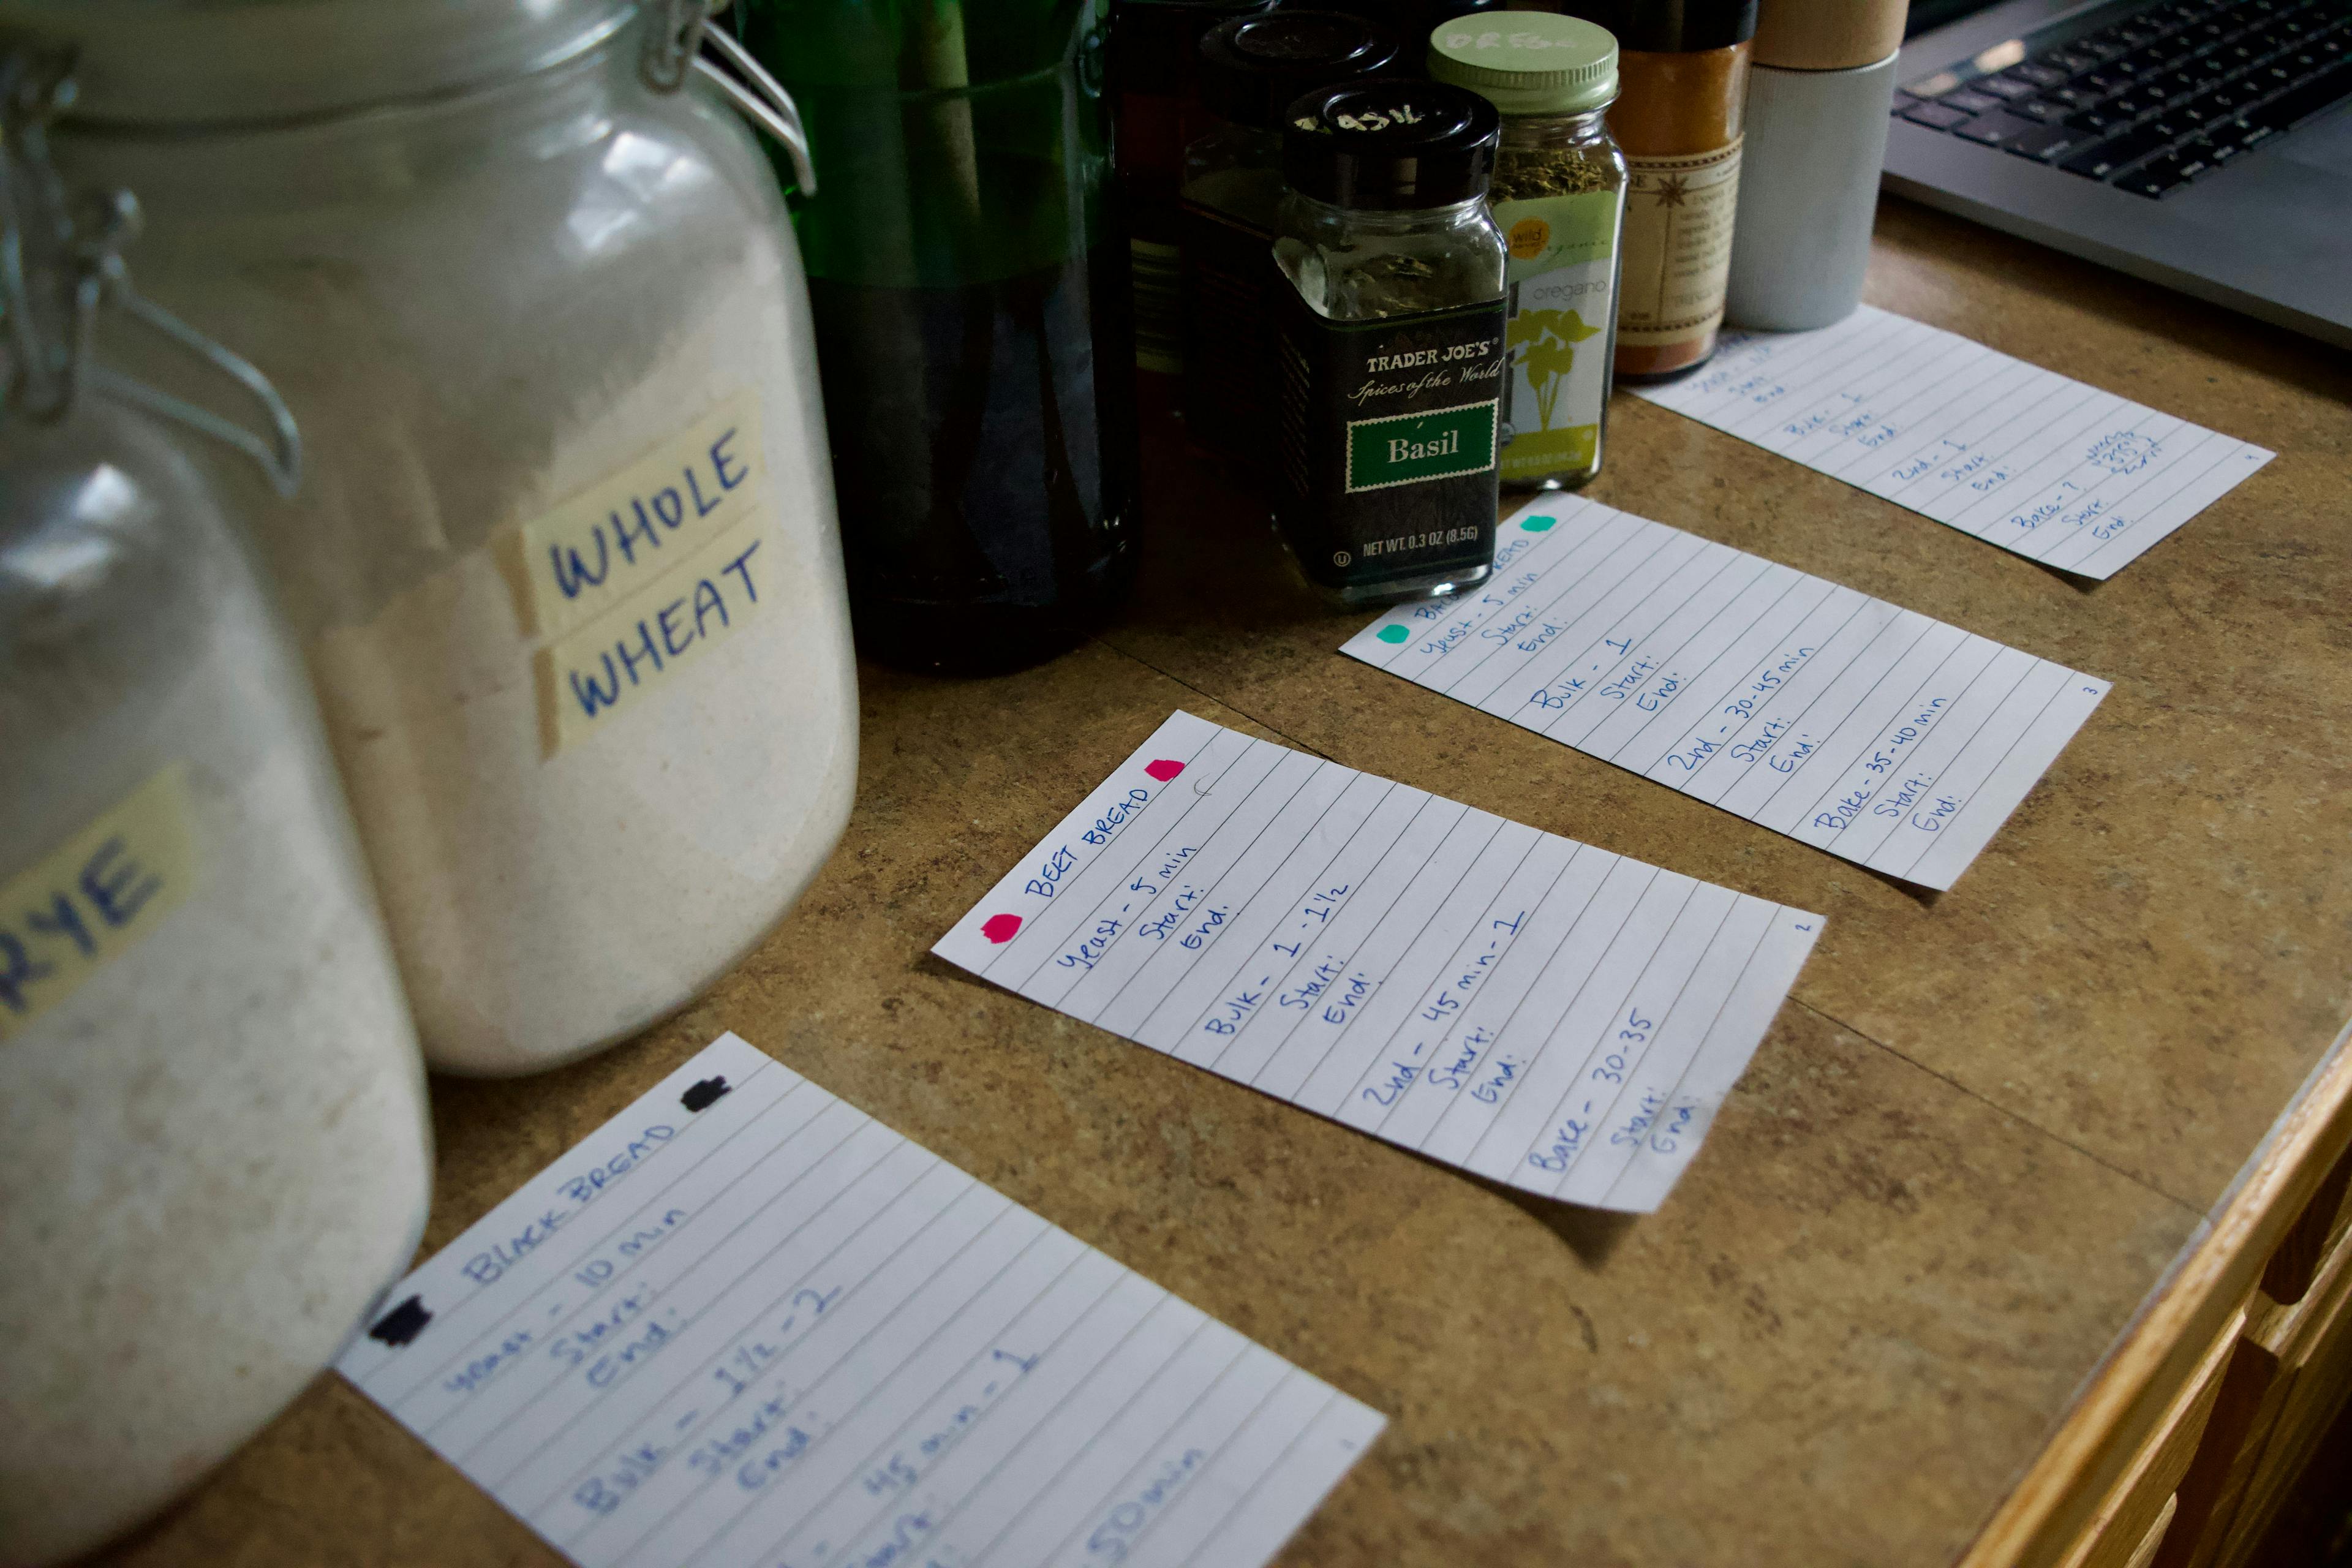
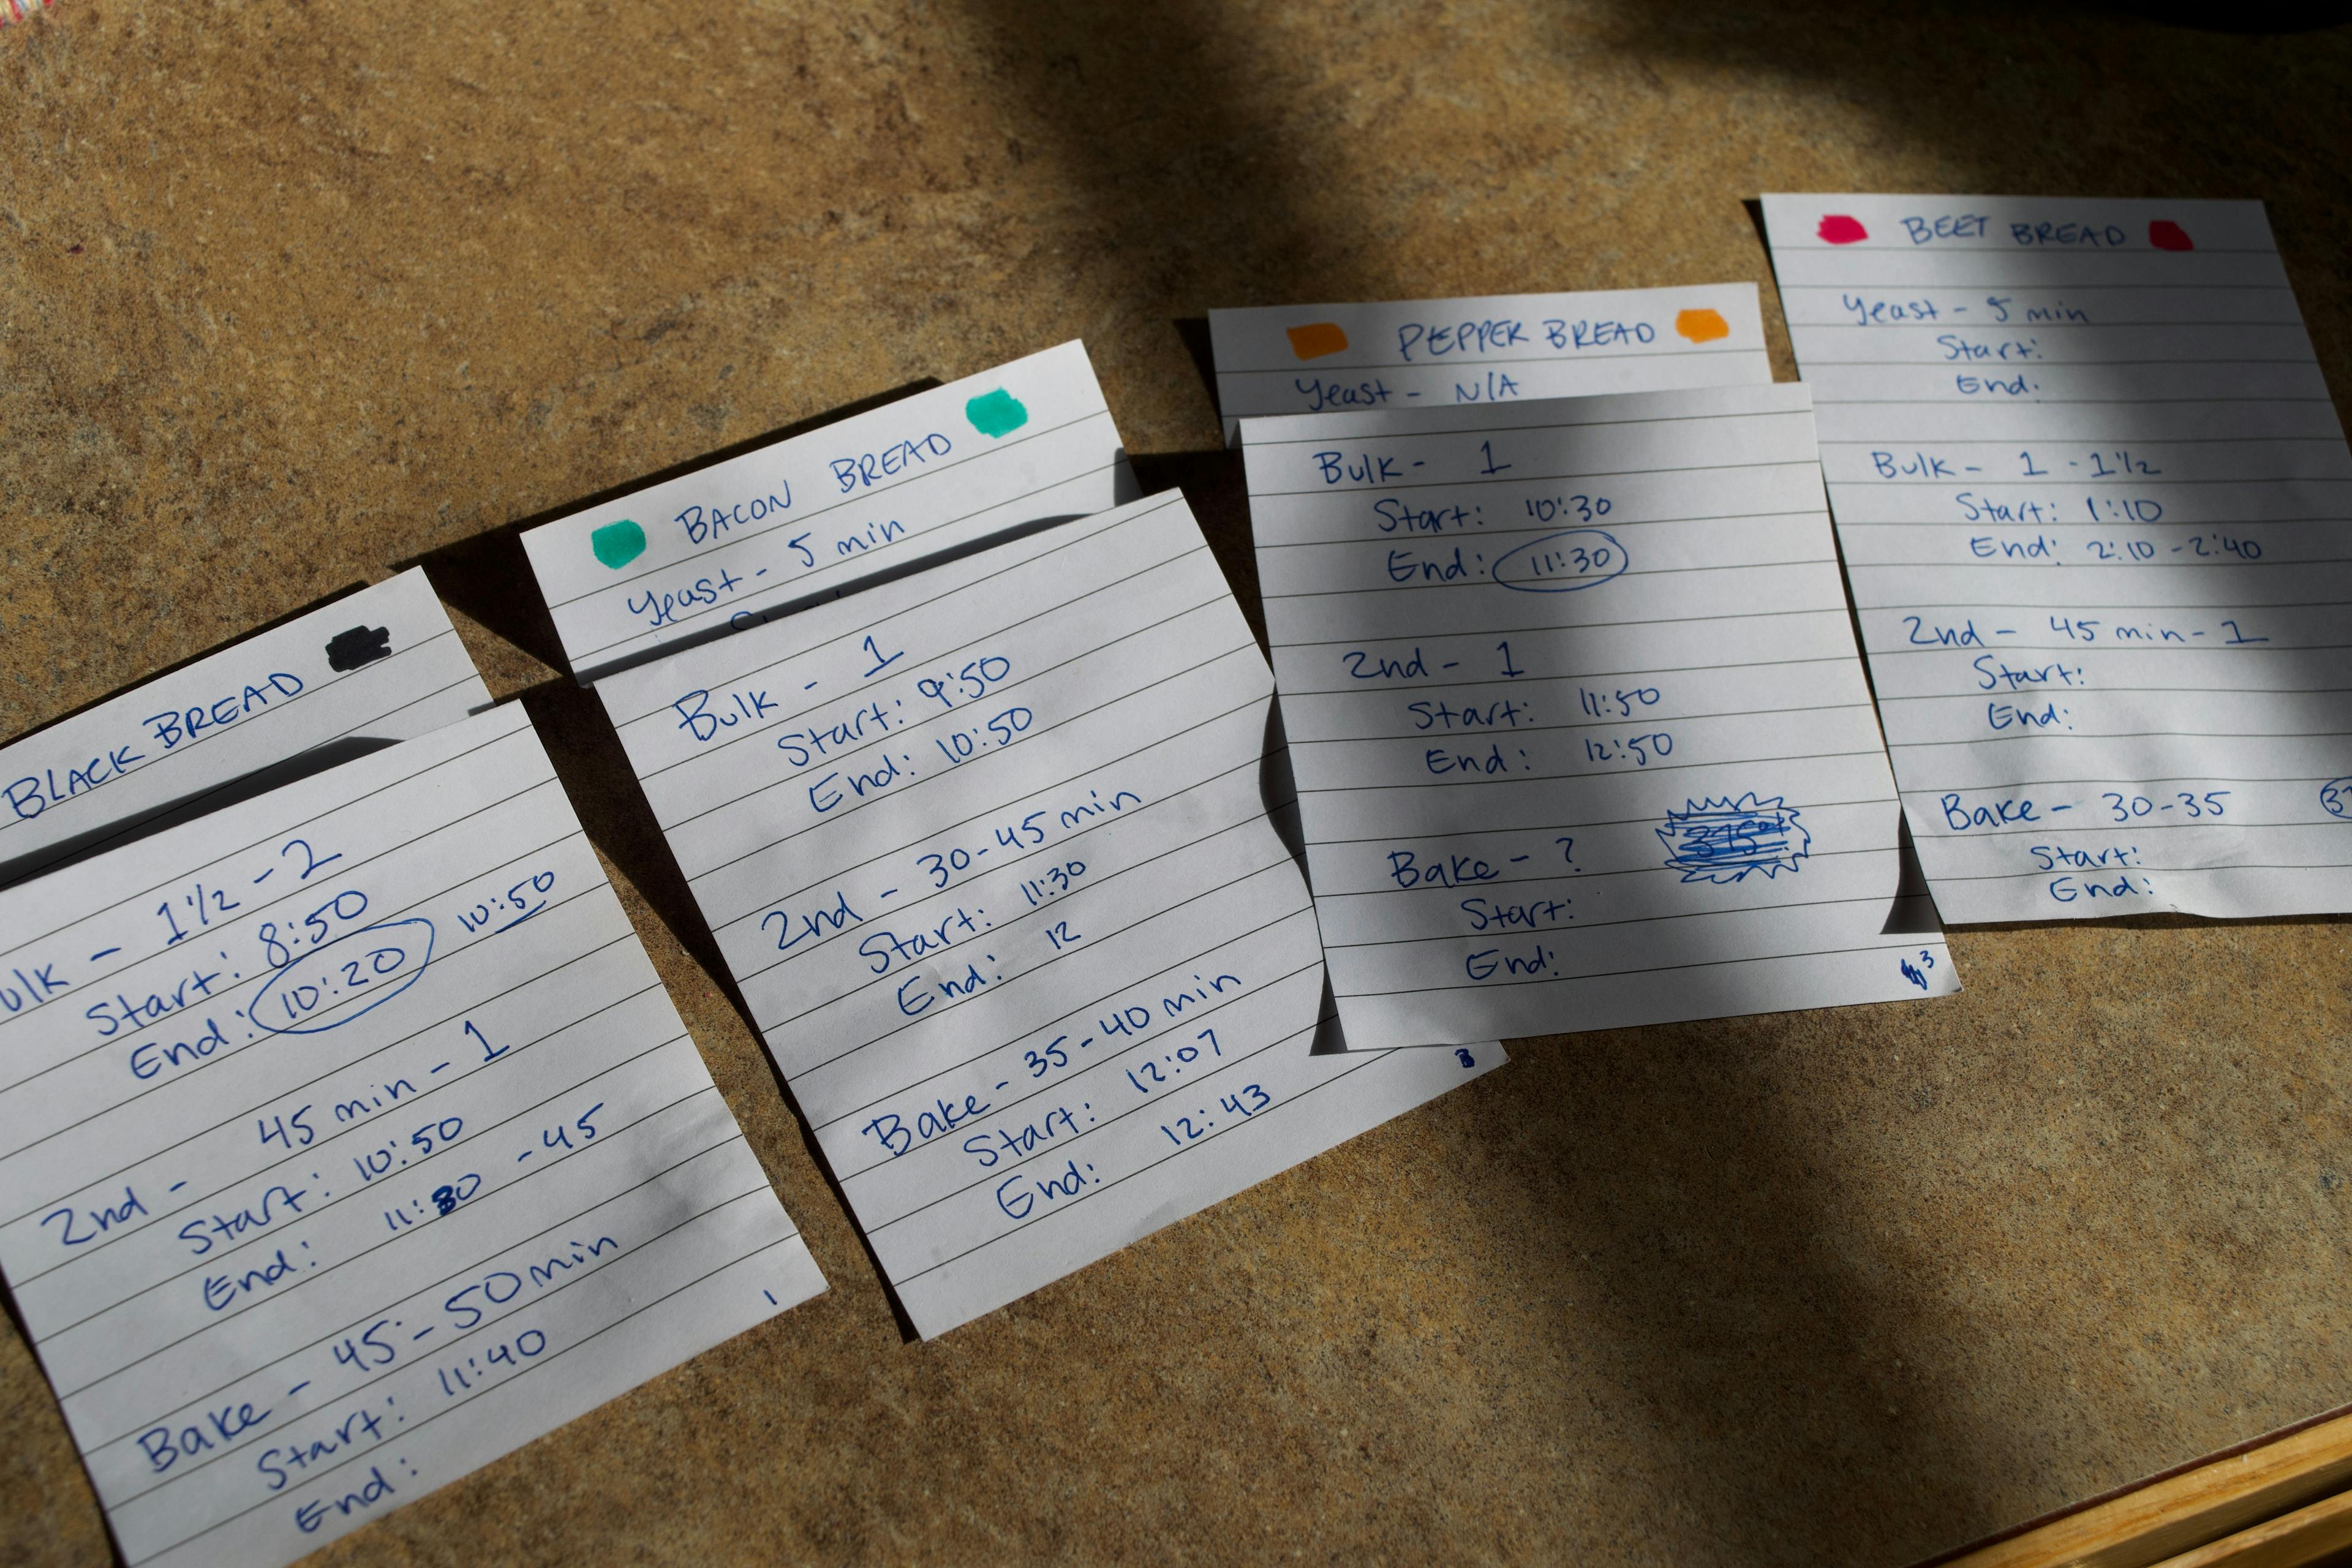
I made little notes to keep track of when the rises and bakes started and ended because I don’t have that many timers, although there probably is an app for that and if there isn’t, someone should develop it.
Then I reset the kitchen for dough number 2 - the green dough for the forest floor.
Dough #2: Green Bacon Cheddar Rolls
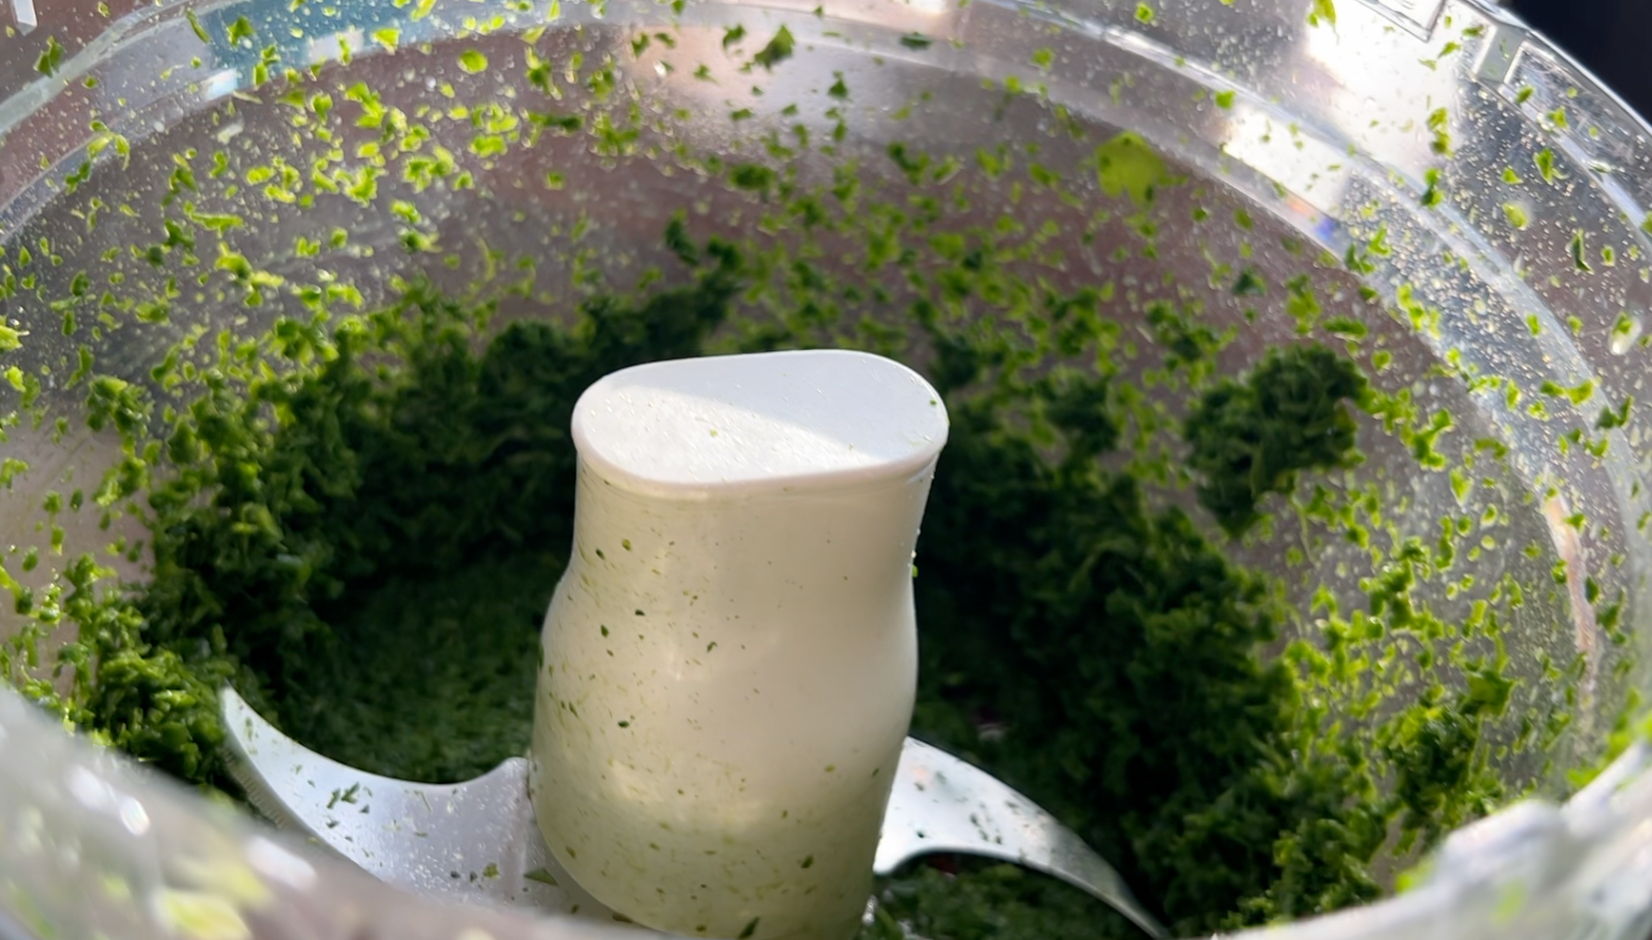
The one simple, yet dramatic adjustment I made to this recipe is making the dough green. I got out my food processor (who doesn’t have a name yet but I would love suggestions! Comment below!) and pureéd some raw spinach and parsley until very fine. This step was one of the few that I actually saw Julia do on the show, so I knew I was on the right track. I added a splash of the milk that the recipe called for to help it along and scraped down the sides many times.
Then I added the greens to some melted butter with eggs and salt. The milky yeast went in, and then the flour in gradual additions. Once it was more like a dough and less like a soup, I started the kneading process and this is where it got a bit weird. I didn’t measure so I don't know exactly how much, but I had to add a lot a lot more flour. Like a lot.
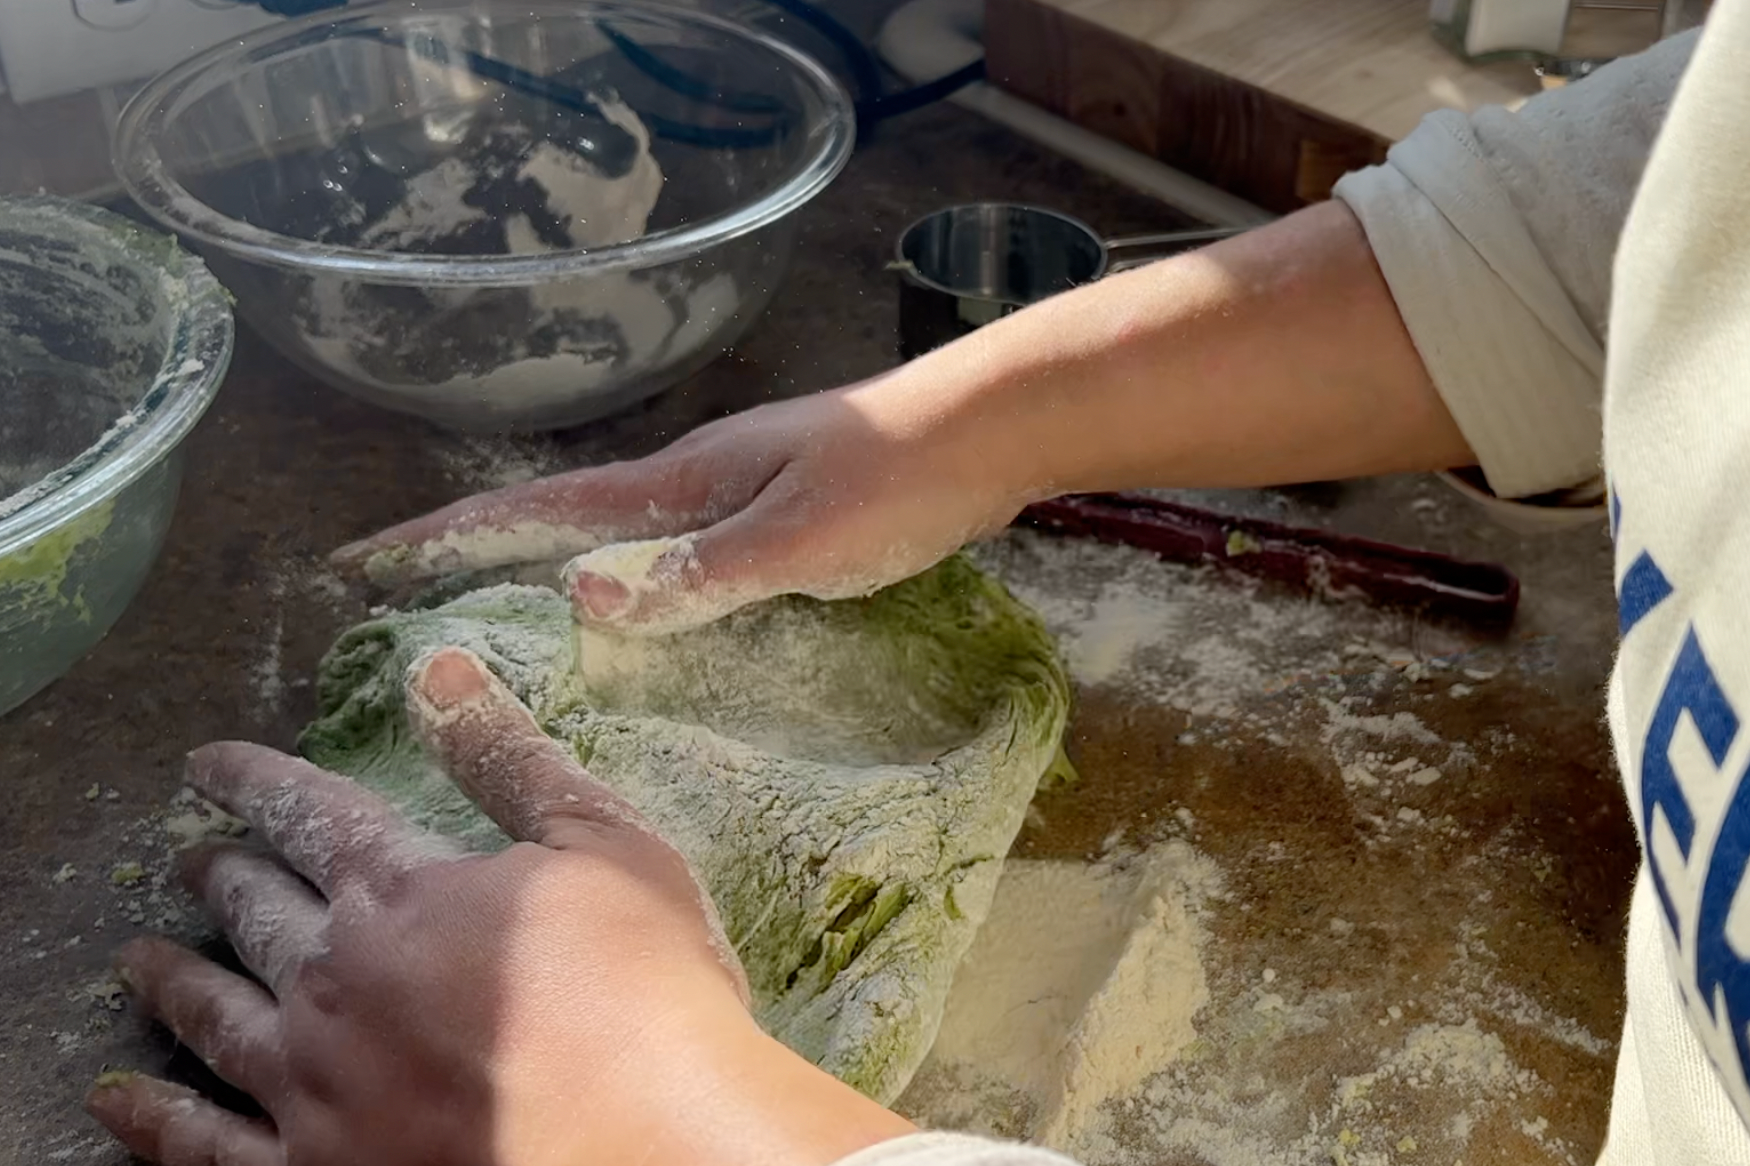
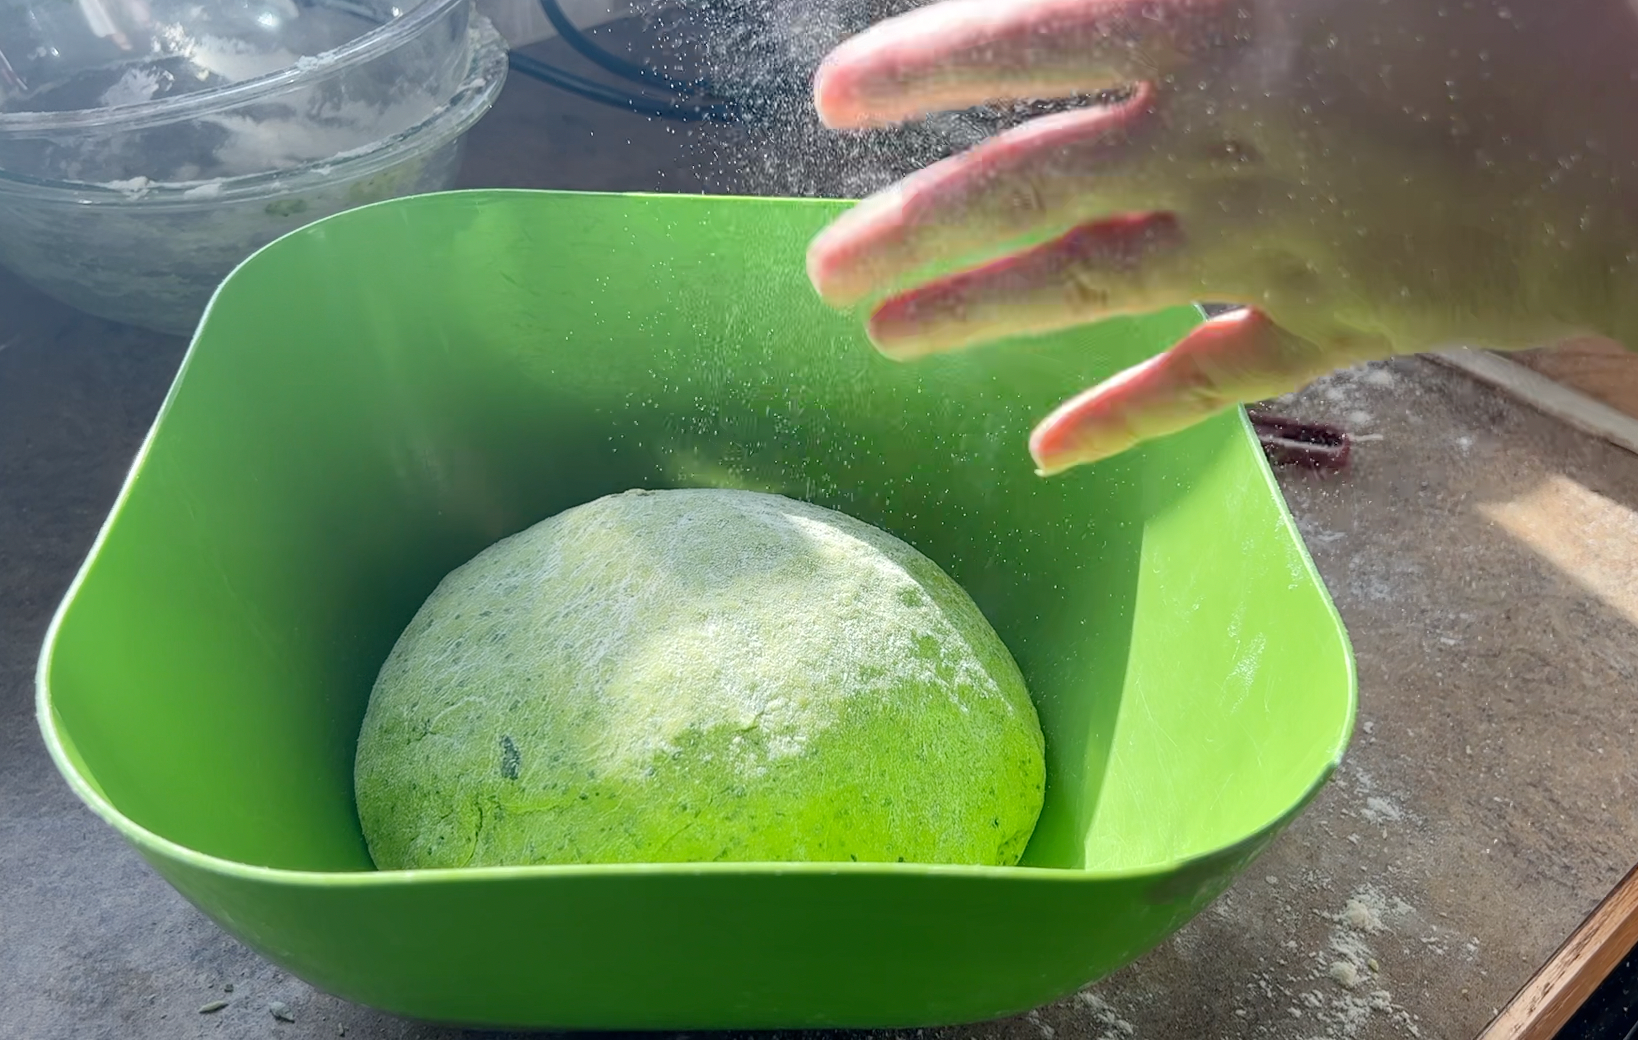
I didn't really consider that the greens would add a lot of moisture to the dough and throw off the ratios. Luckily, I had added a bit of extra yeast at the beginning because I remembered Paul had mentioned that the add-ins can inhibit the yeast and therefore the rise, so it ended up being okay. Once it stopped sticking to my hands and the counter, I popped it in a bowl, covered it, noted the time, and then reset the kitchen for dough number 3 - the orange dough for the snail.
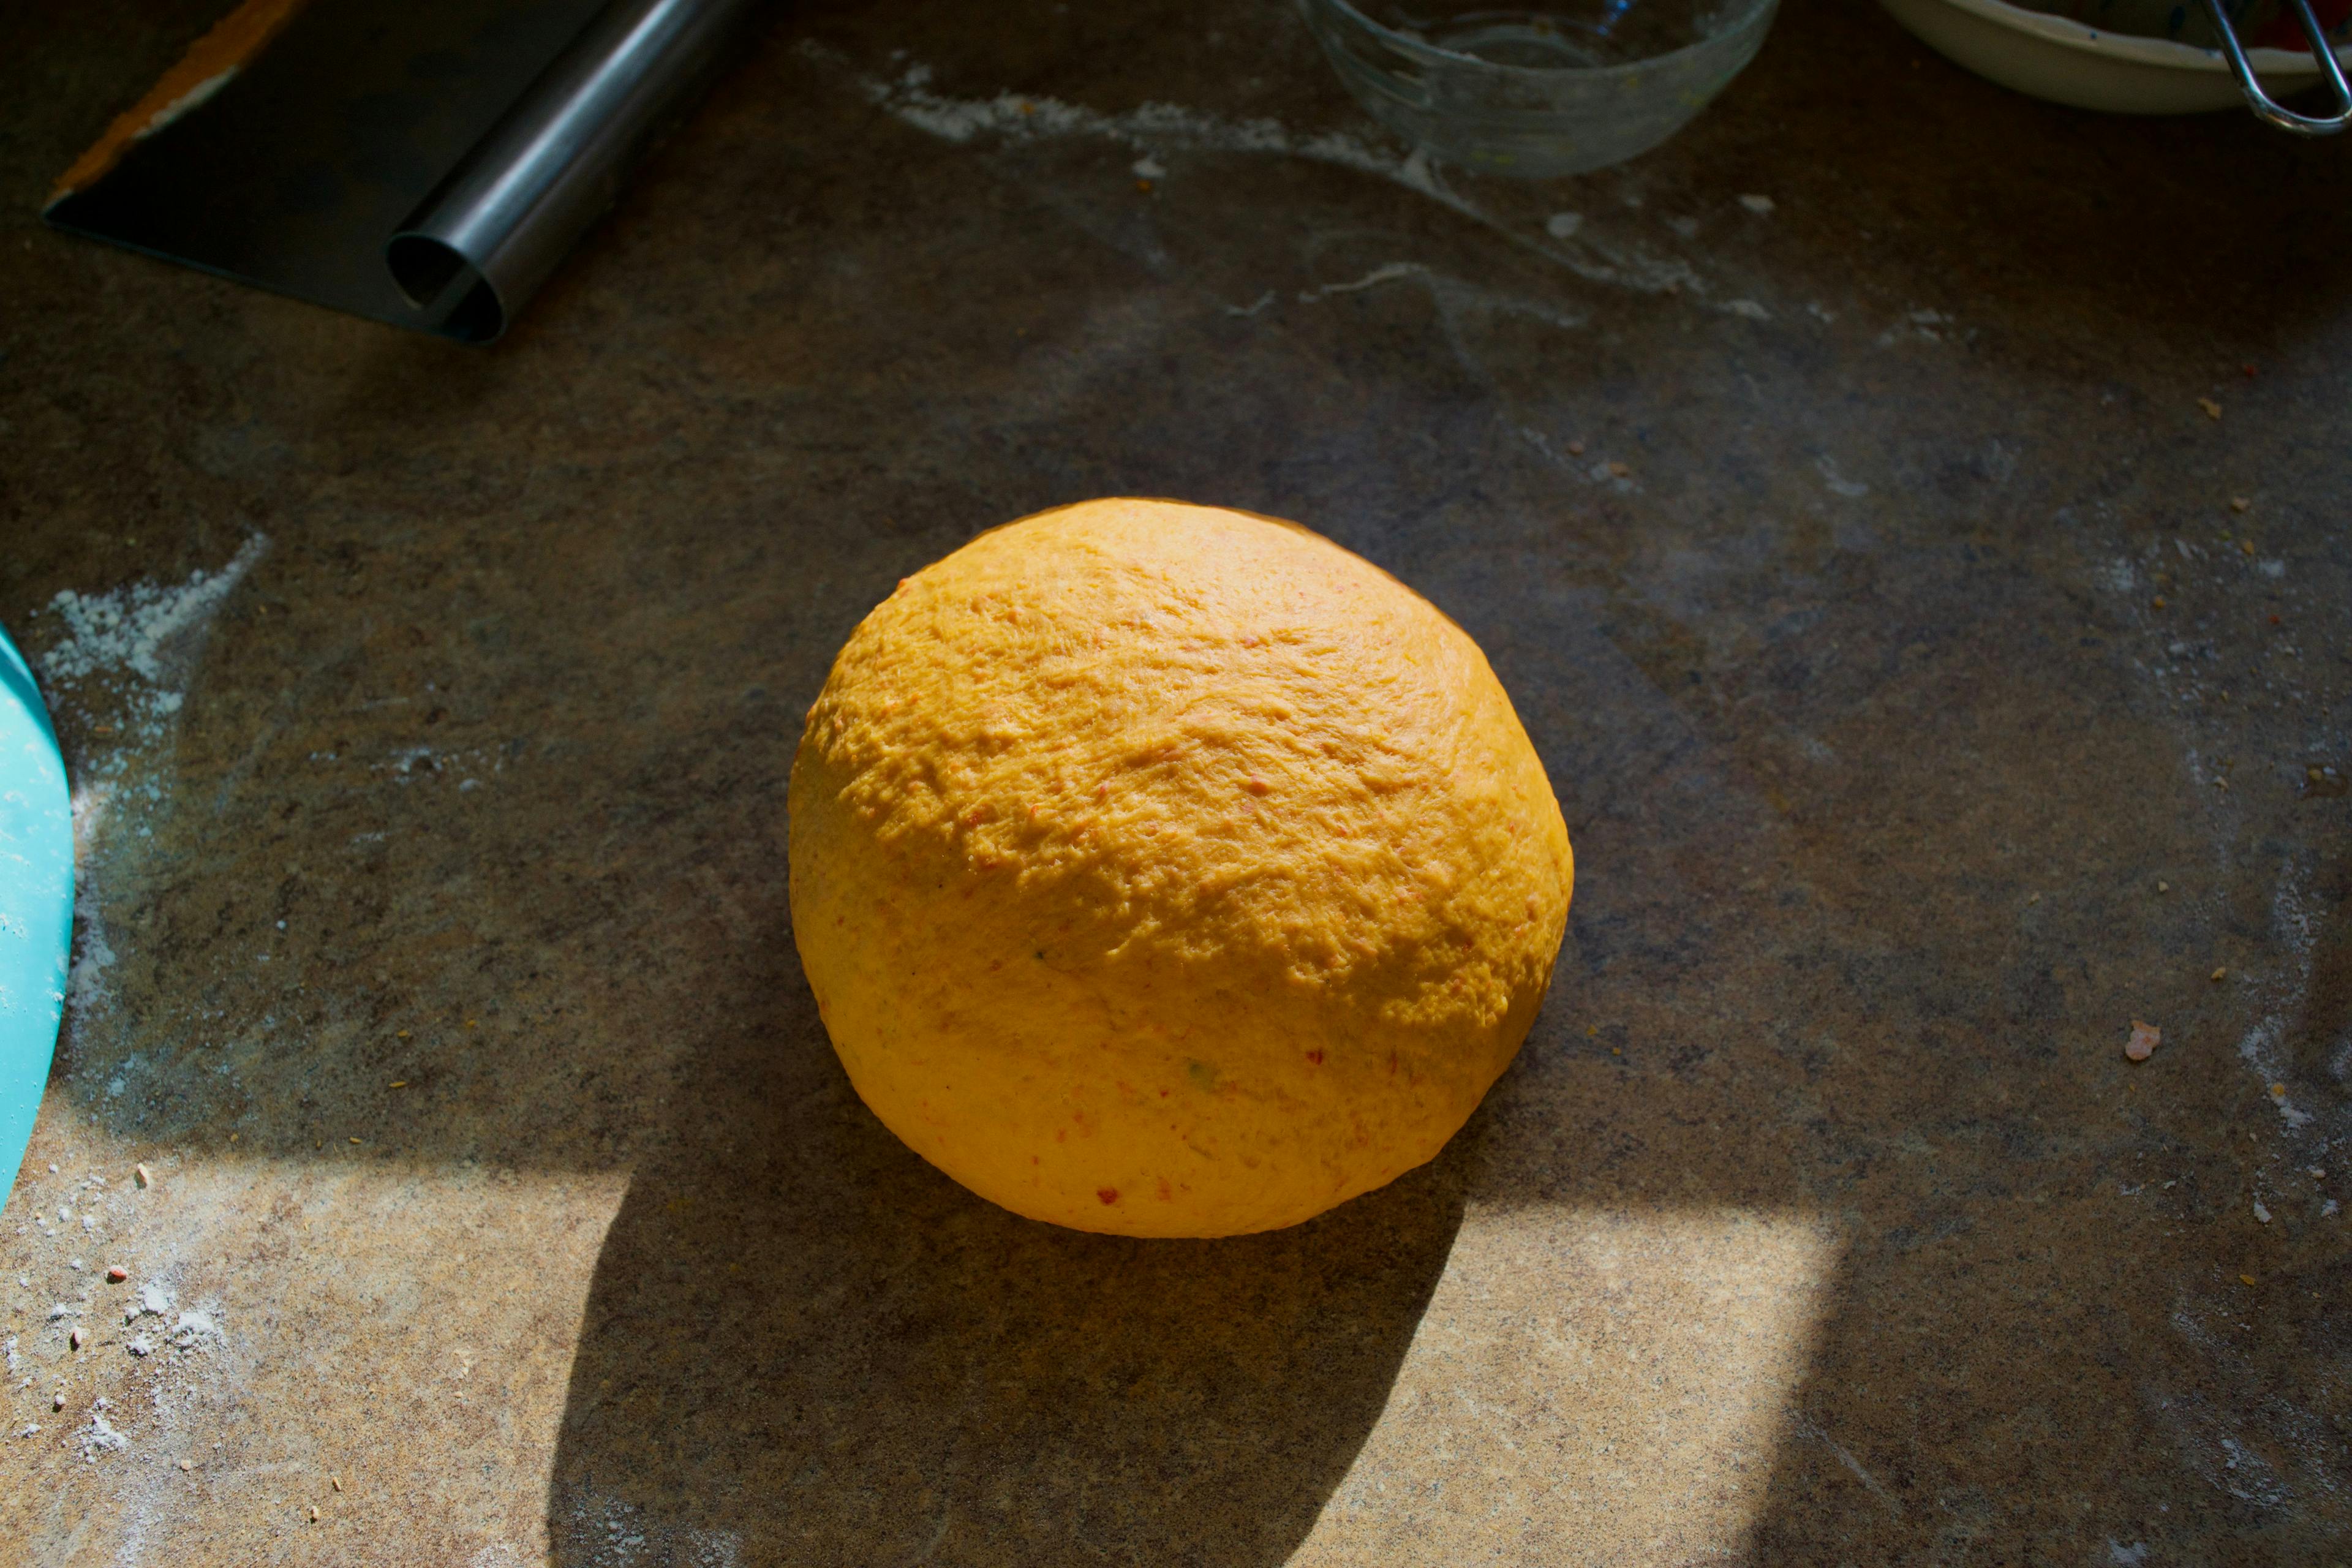
Dough #3: Orange Pepper Bread
I was able to make this dough almost as written, so after pureéing some jarred roasted red pepps, I warmed up some milk, added some soft butter, and grated a bunch of parm.

That went into a bowl with the proofed yeast, and some salt, and the one adjustment I made, which was to add a half teaspoon of sweet paprika. Then I added the flour and turned it out to knead for a few moments. Then it went into a greased bowl to rise with its buddies.

Forgotten Fillings!
I reset the kitchen and then realized that I needed the fillings to be ready for the doughs when they were done with their first rise! Most breads rise twice - once as a large mass of dough which is sometimes called a bulk fermentation or a bench rest, and then once after it’s in the shape that it will bake in, which is sometimes called second ferment or final rise. Because two of my doughs, the green and the orange, needed to be filled, I had to have the fillings done in time for them to not over-proof on their first rise.
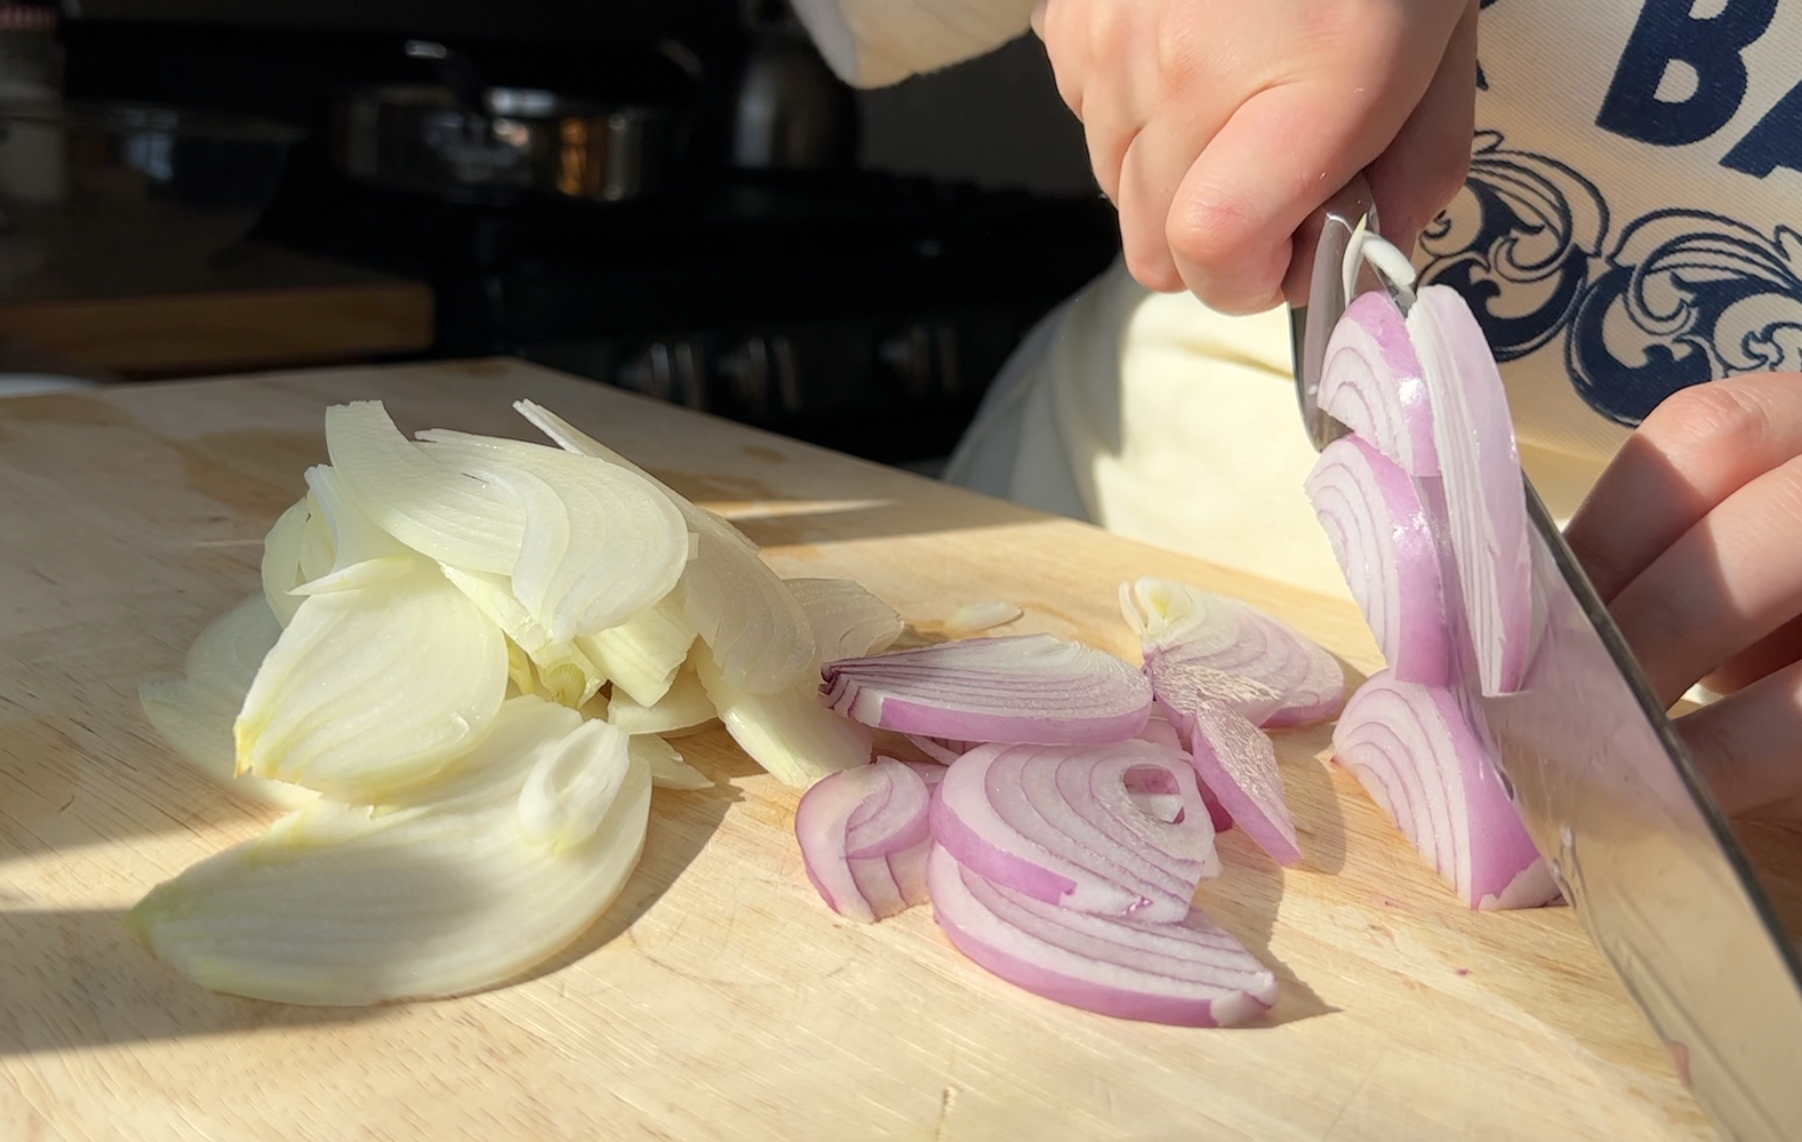
Caramelized onions take a long time to do properly, so I started with those, using a partial red and yellow onion I had patiently waiting in the fridge. I almost always cut my onions pole to pole because I think I once saw a Kenji article where he said that cutting the onions this way broke fewer cell walls and made for sweeter onions than cutting orbitally. I can’t find it now, so let’s take that with a grain of salt, just like the salt I added to the onions.
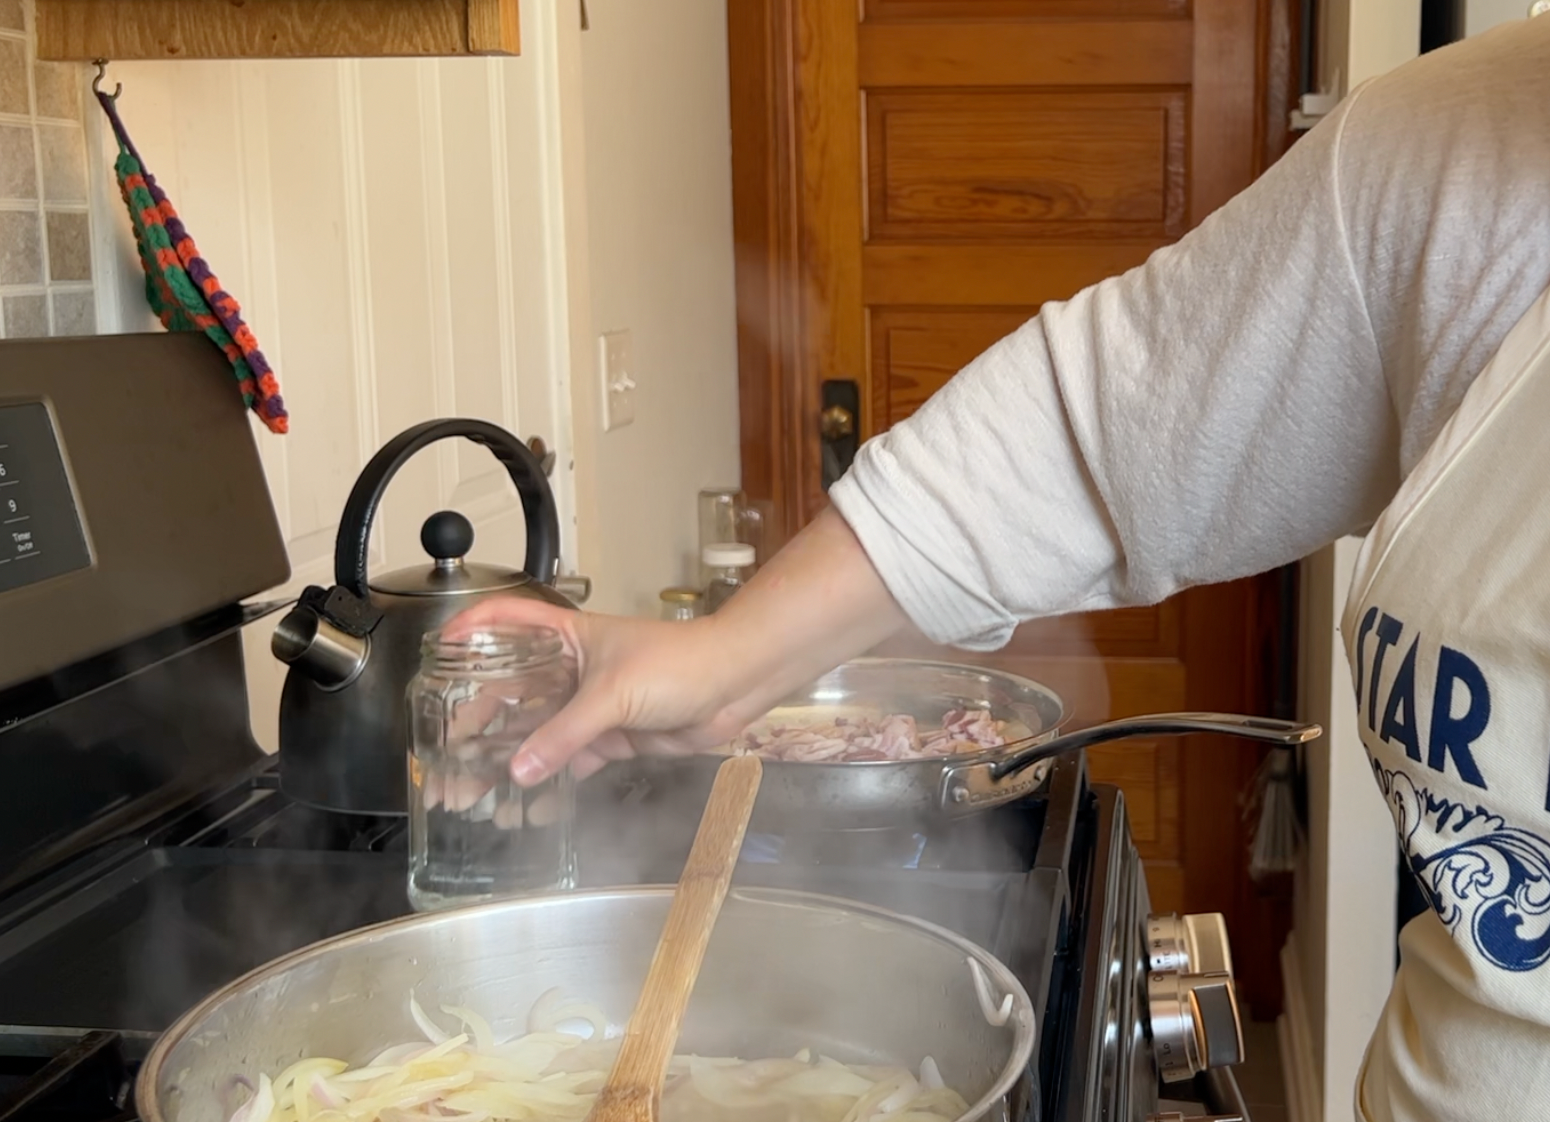
I cooked these for about an hour on medium heat, adding a splash of water and scraping the pan with my wooden spoon anytime the onions started to stick. Eventually, they looked like this.

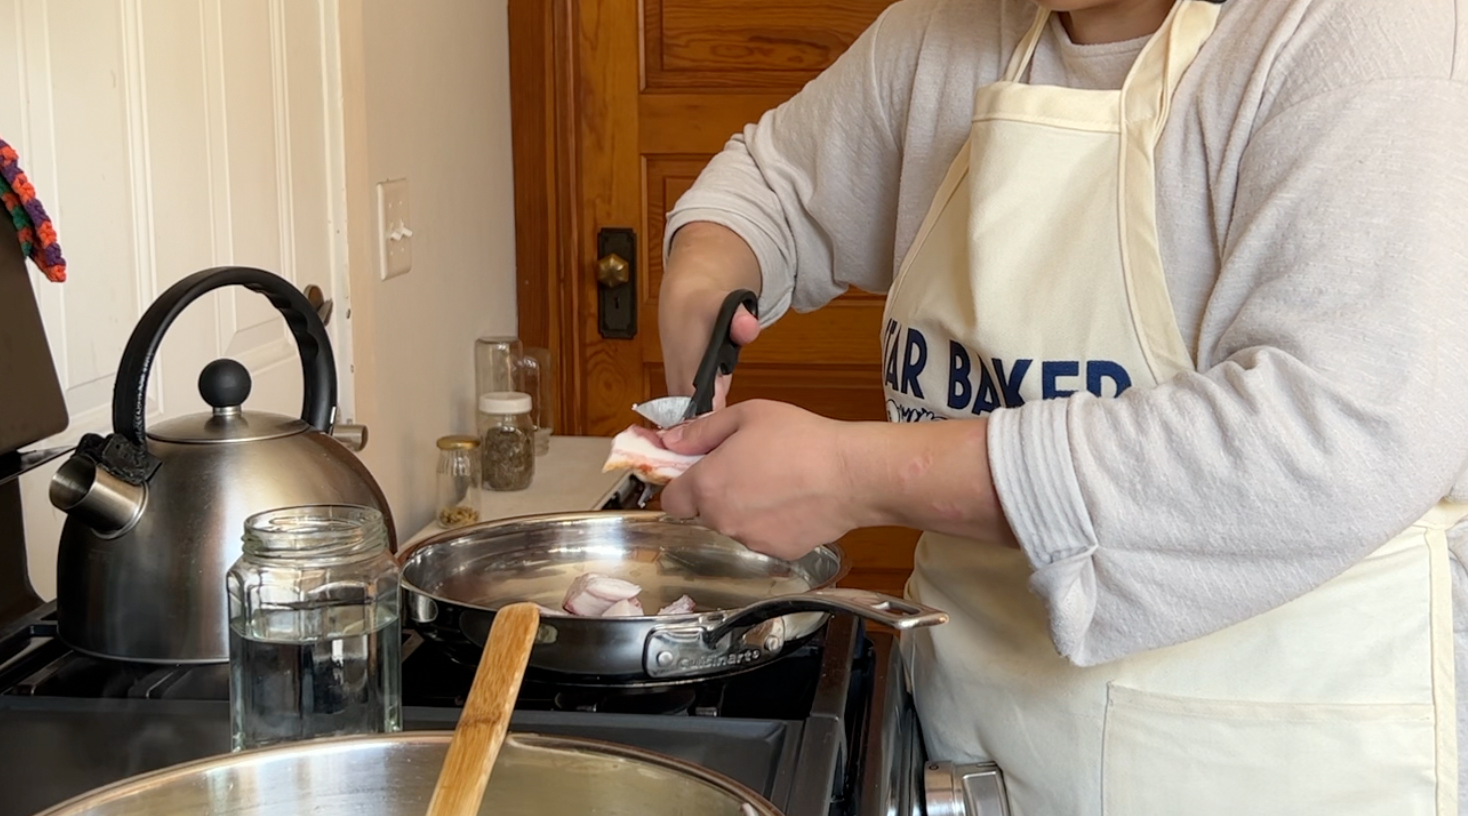
While that was happening, I also cooked some bacon. I like using clean kitchen shears if I am cutting bacon prior to cooking. Then I don’t have a icky, balcony cutting board, and these scissors aren’t precious so they go right in the dishwasher.

While my stove bubbled away, I shaped the black rye bread. I wanted it to be a bit triangular rather than rectangular, so I made little cone shapes of foil wrapped in parchment to tuck around the bread while it baked. Then I noted the time, and the first bread was on to its second rise. After it rose for about another hour, I baked it off at 350ºF, which also took nearly an hour.
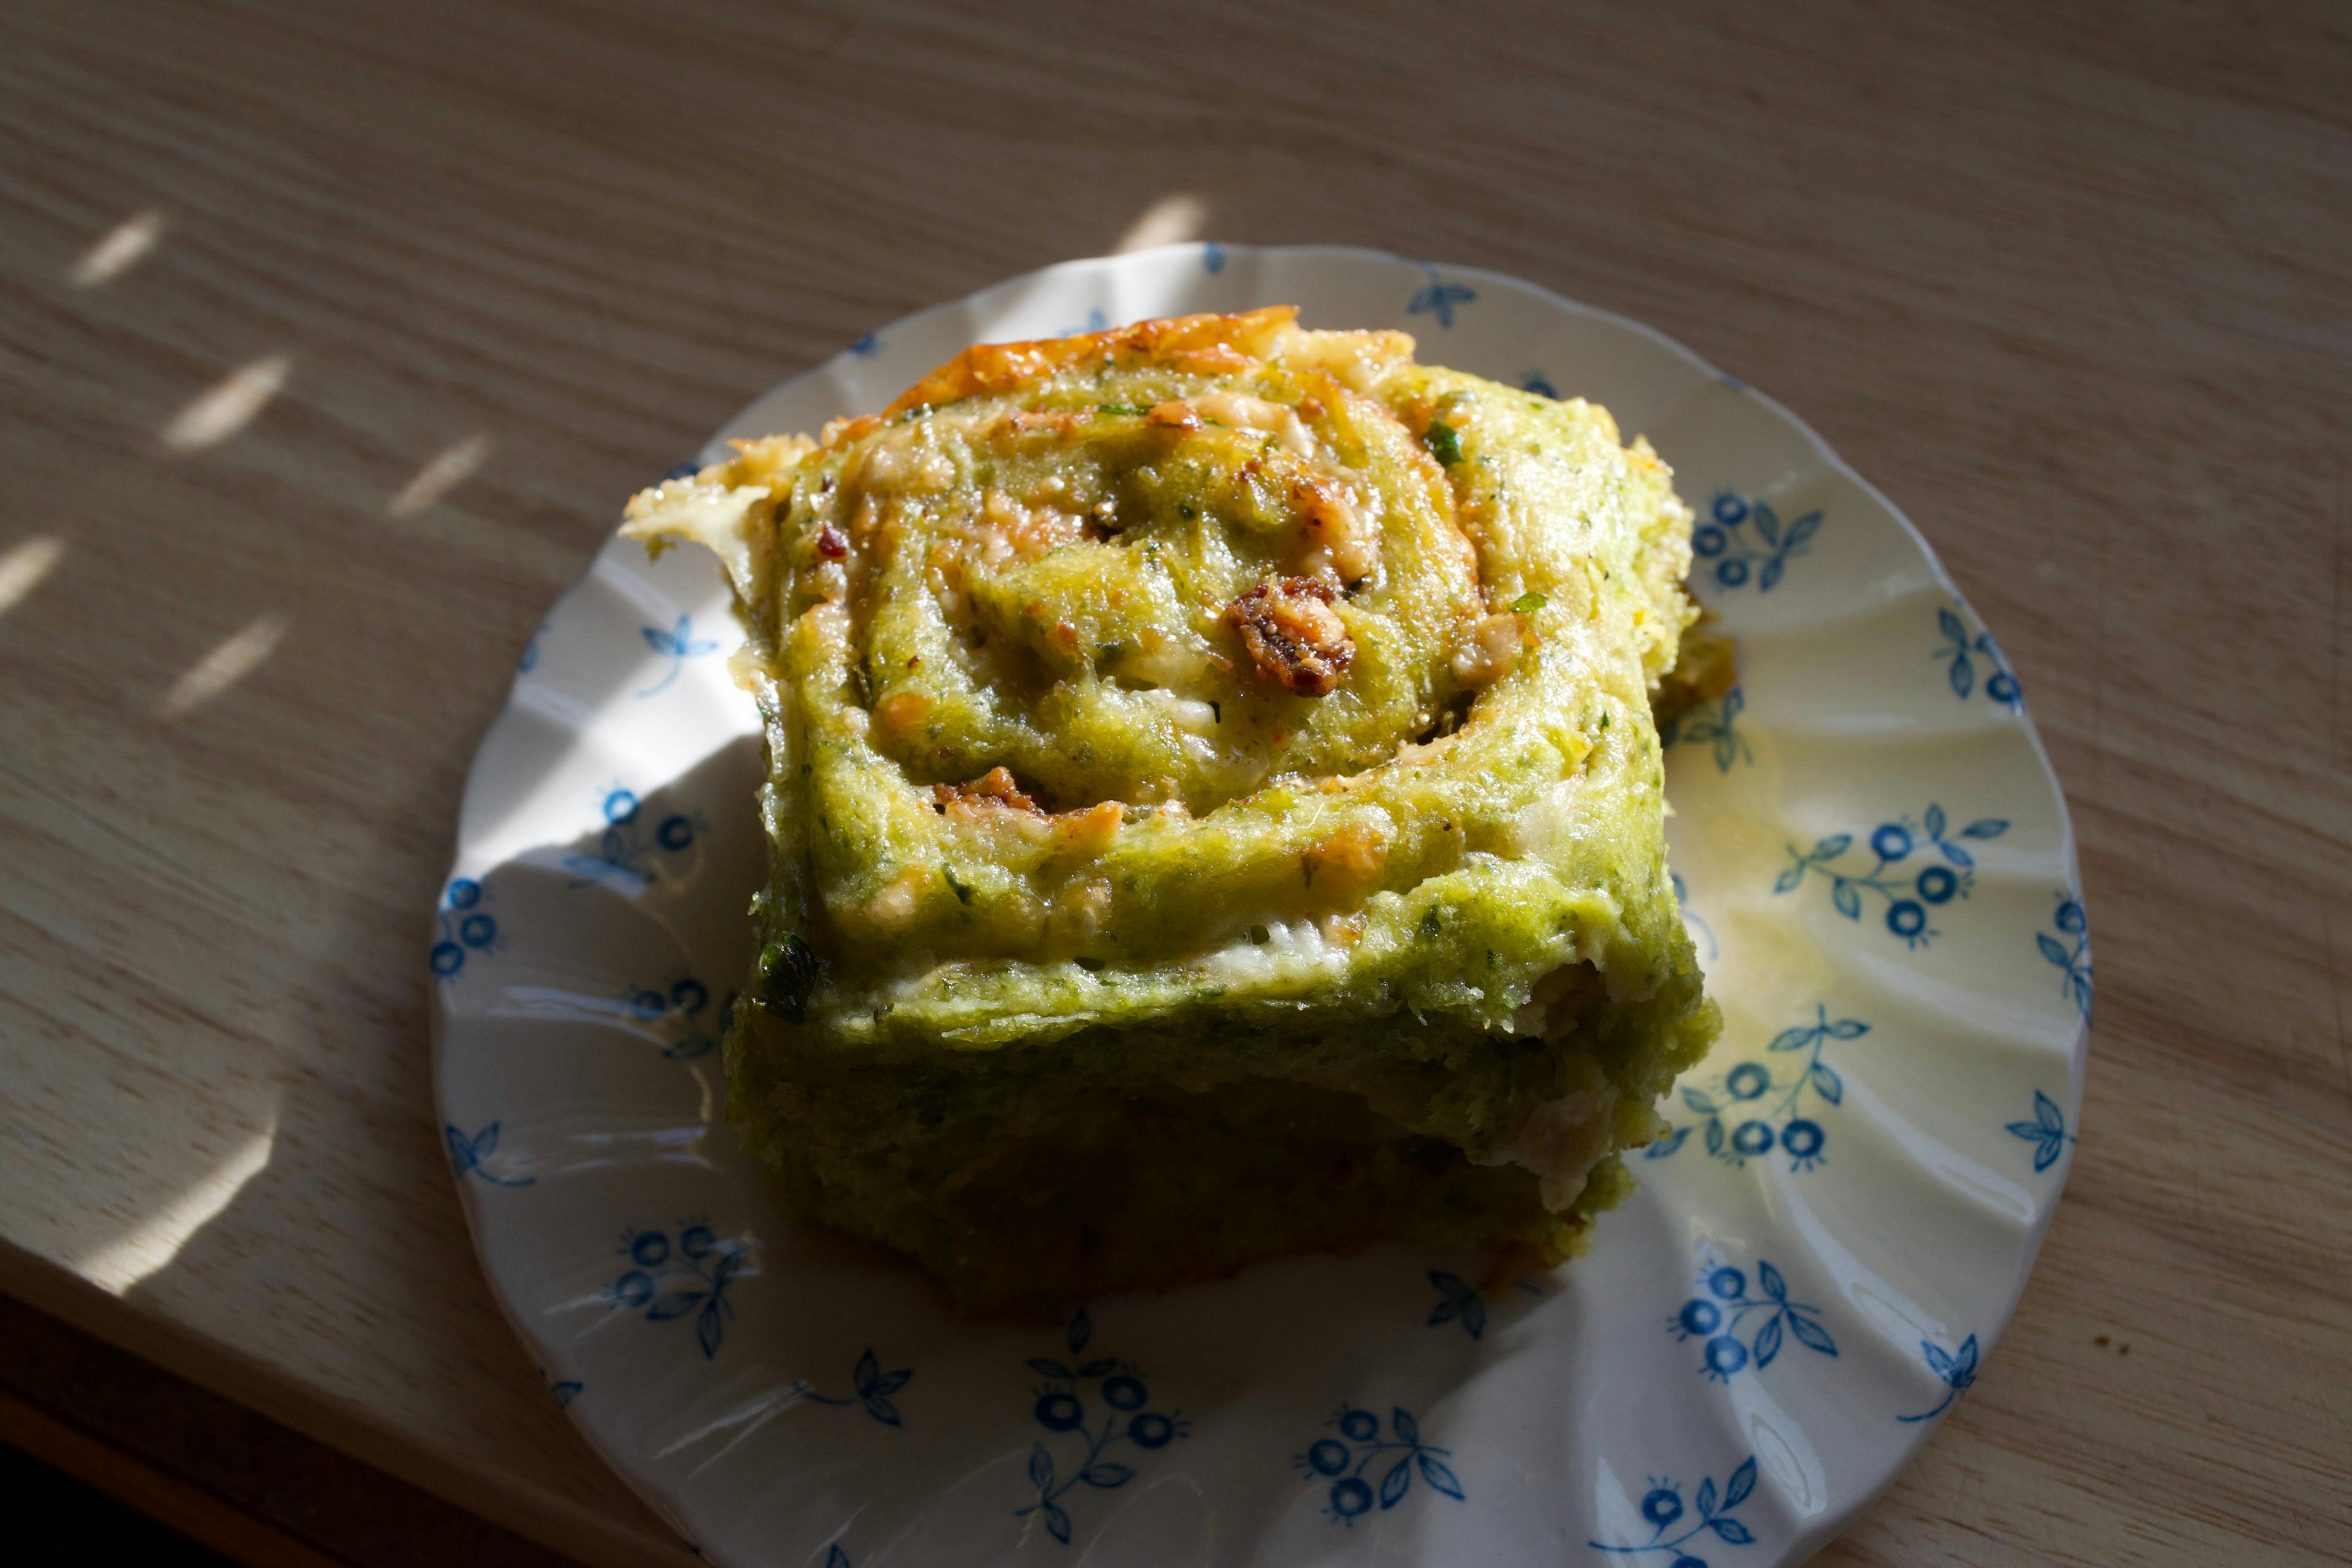
Then I filled the green rolls. After rolling them out, I spread on seasoned, melted butter (basil, oregano, garlic powder, onion powder, smoked paprika, and salt) -
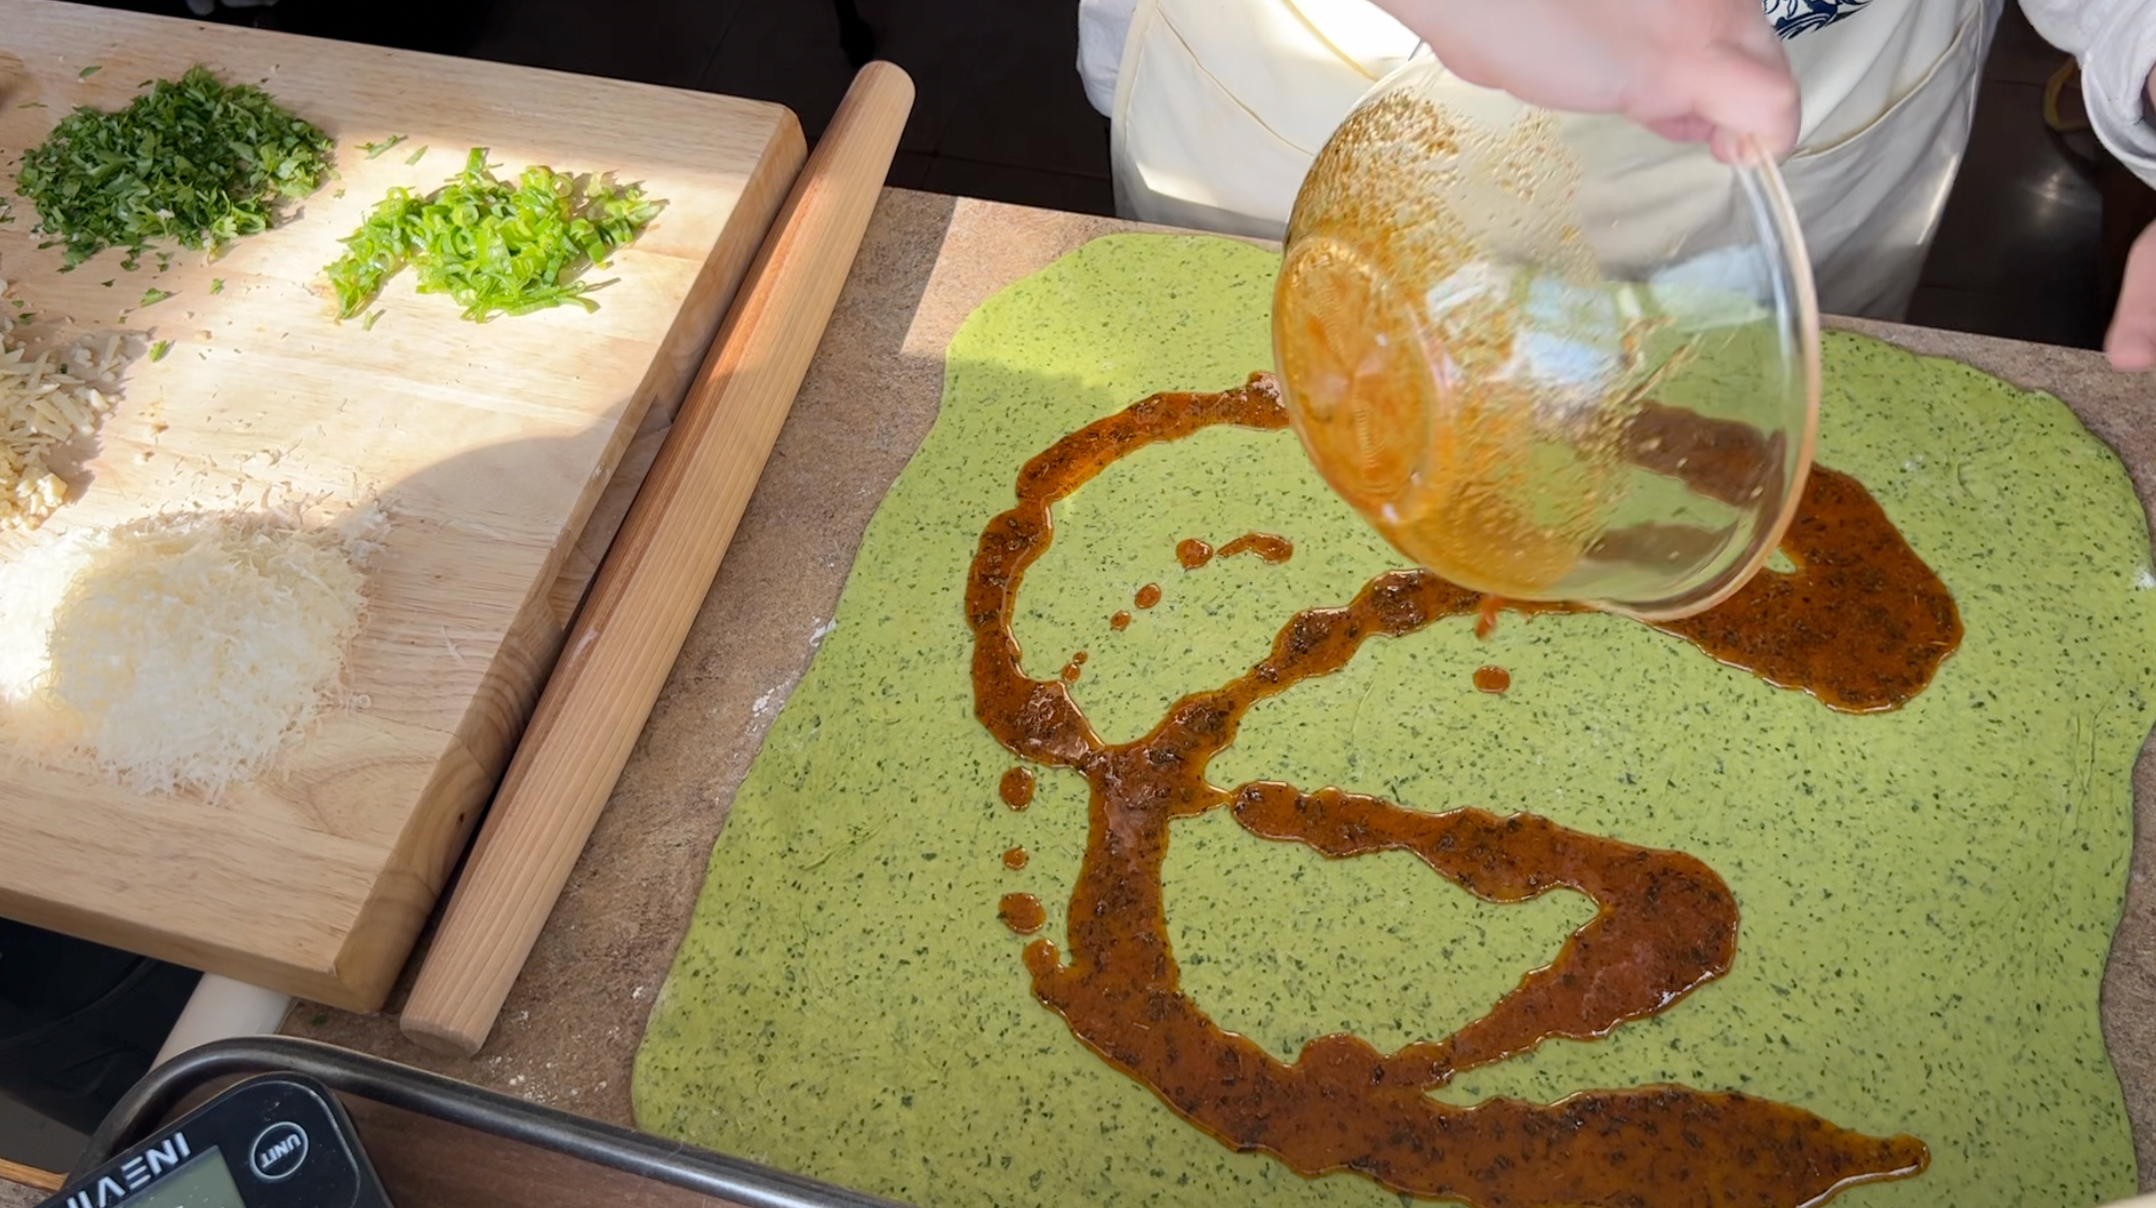
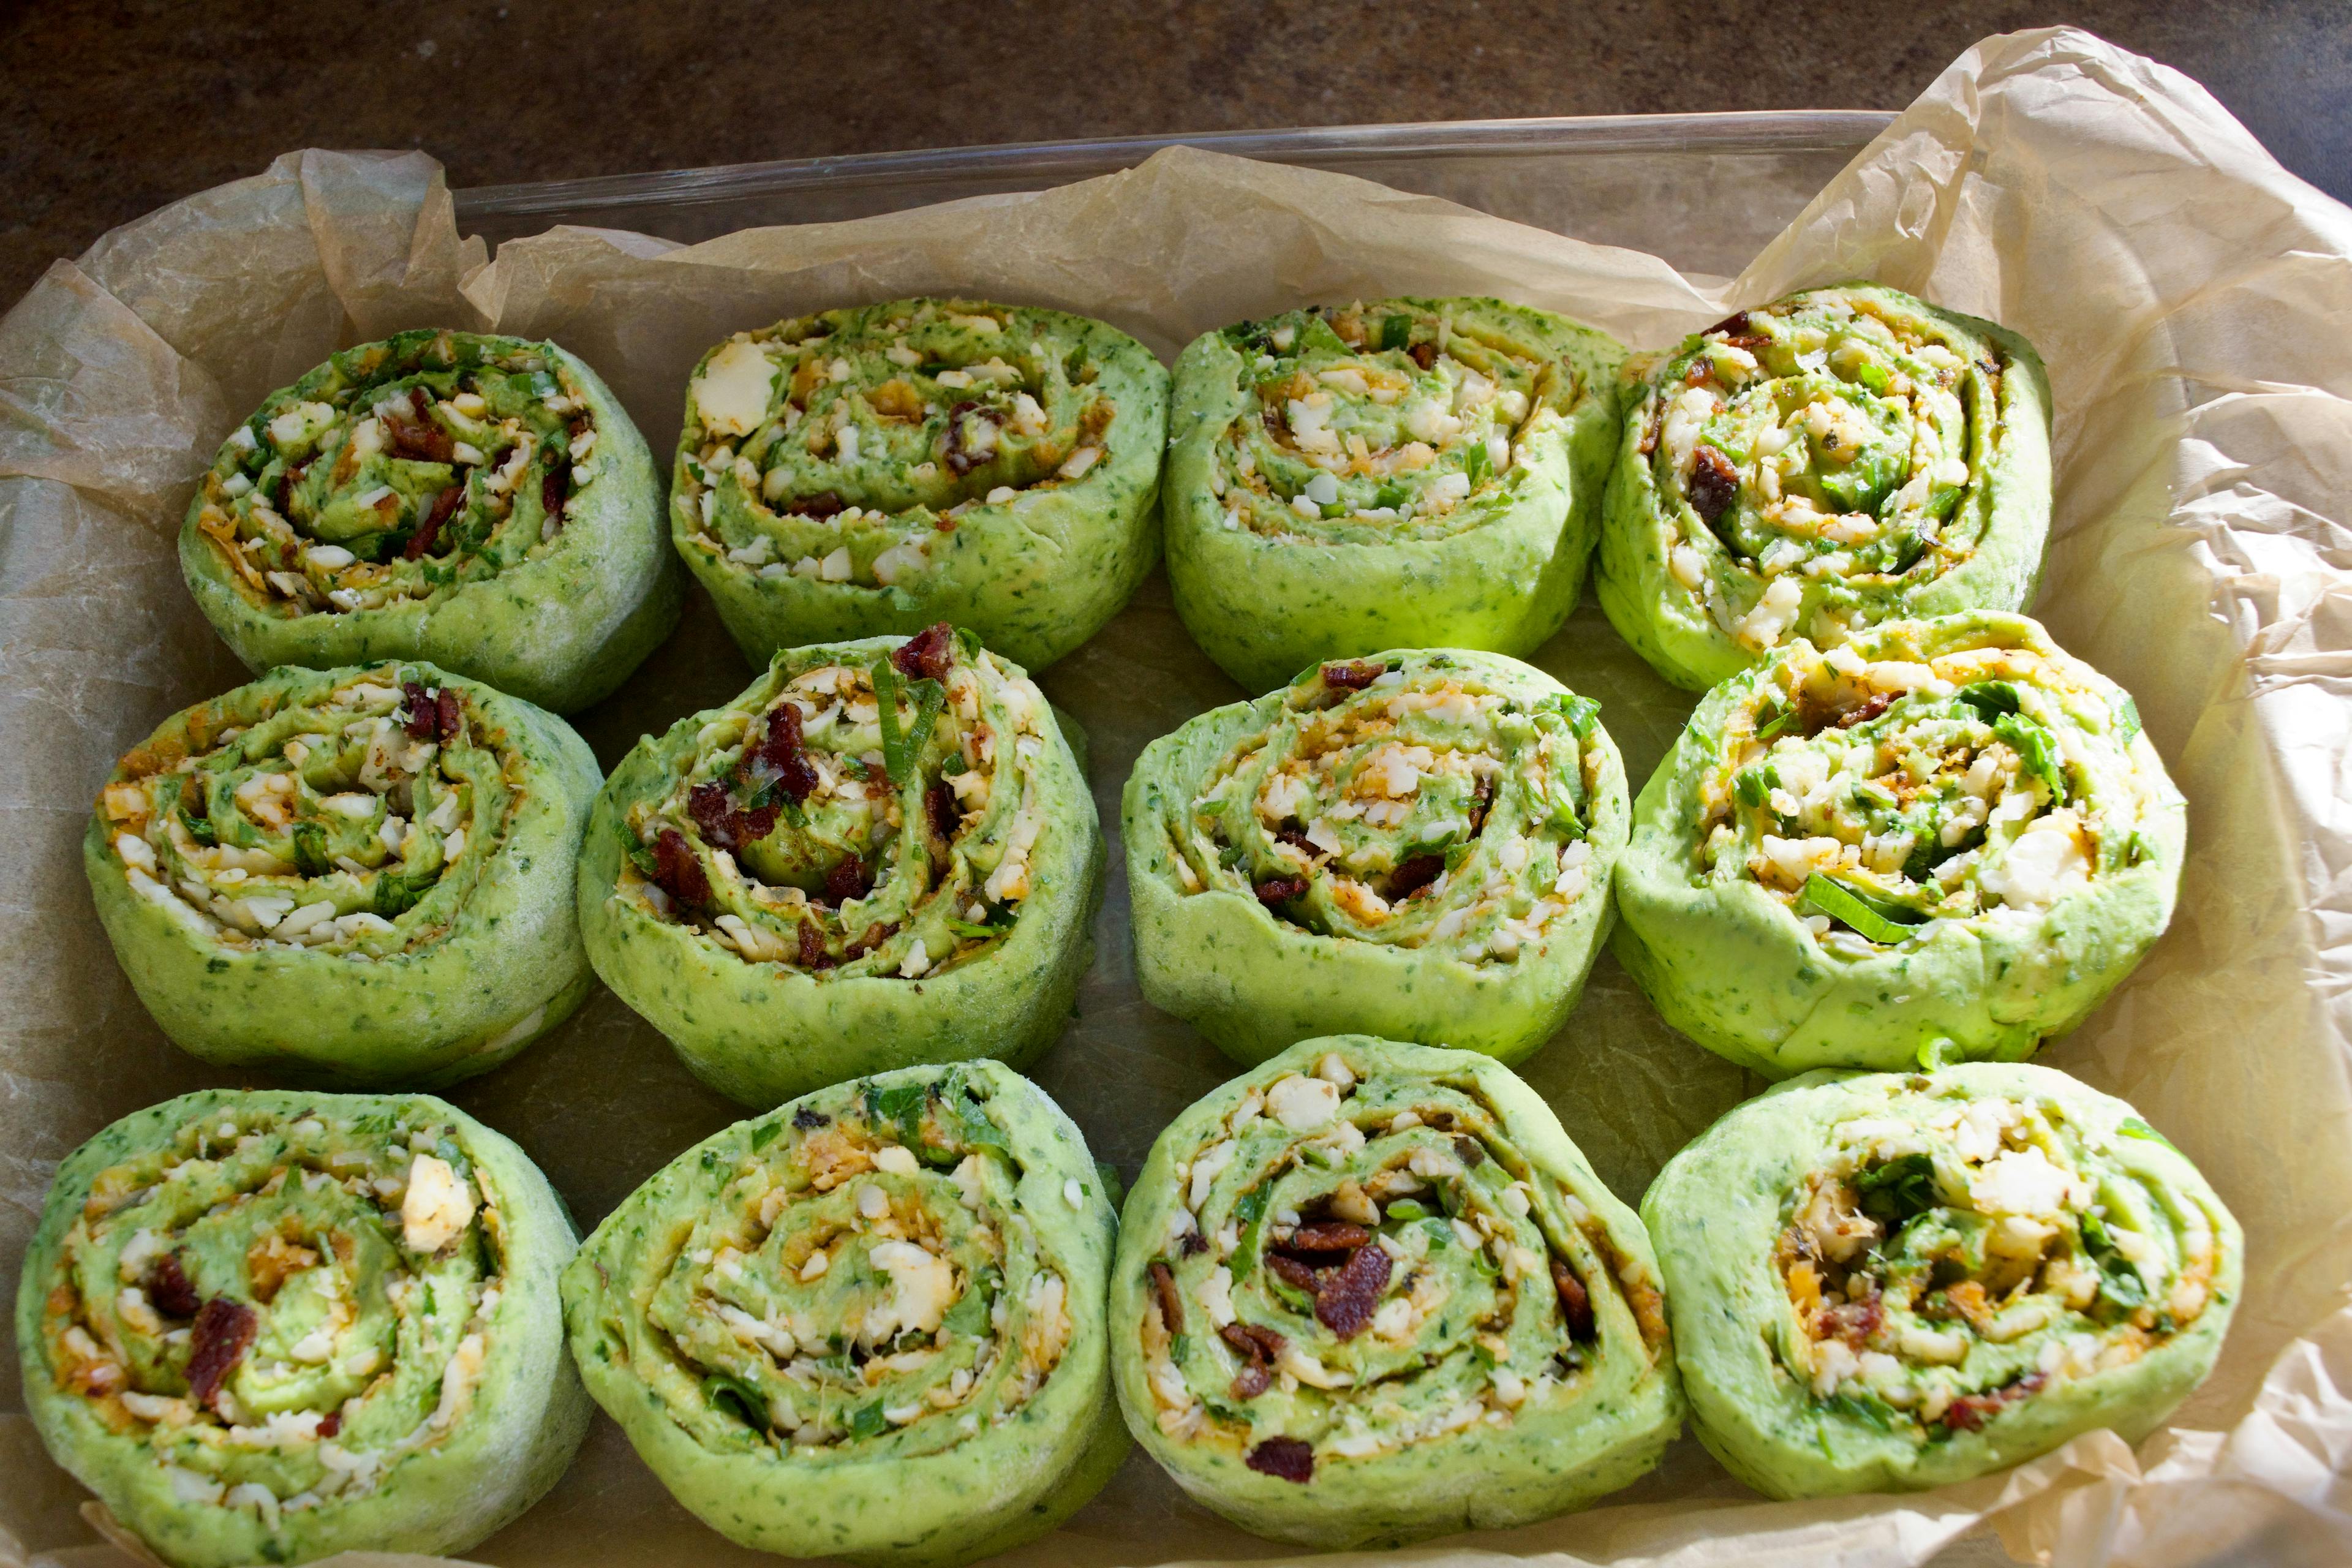
- and then rained on grated parm and cheddar, green onions, parsley, and the rendered bacon.

I rolled them up, cut them into 12, and put them in the baking dish for their second rise.
Then I filled the pepper bread with the caramelized onions and some plain goat cheese.

Julia’s snail looked quite reminiscent of a certain piece of reproductive anatomy, and I wanted to try and make mine less… suggestive.
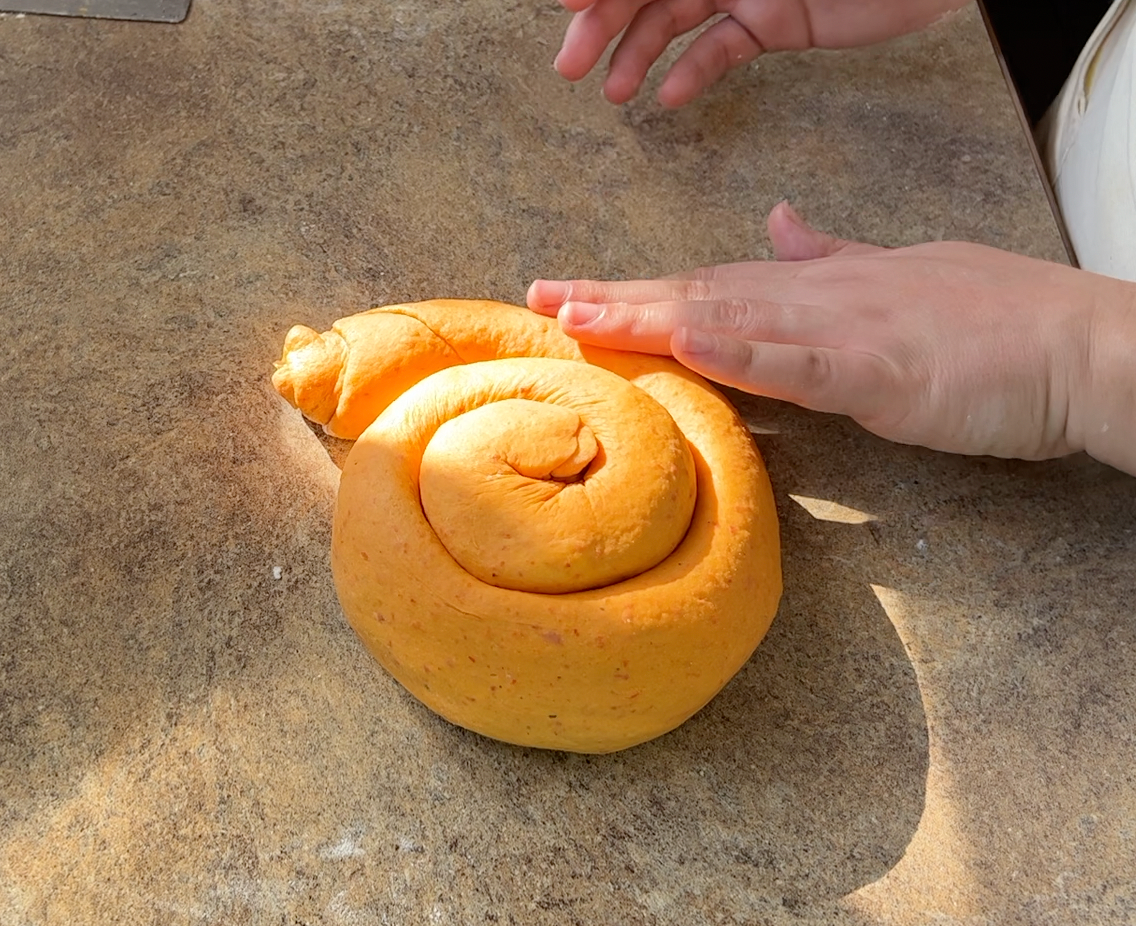
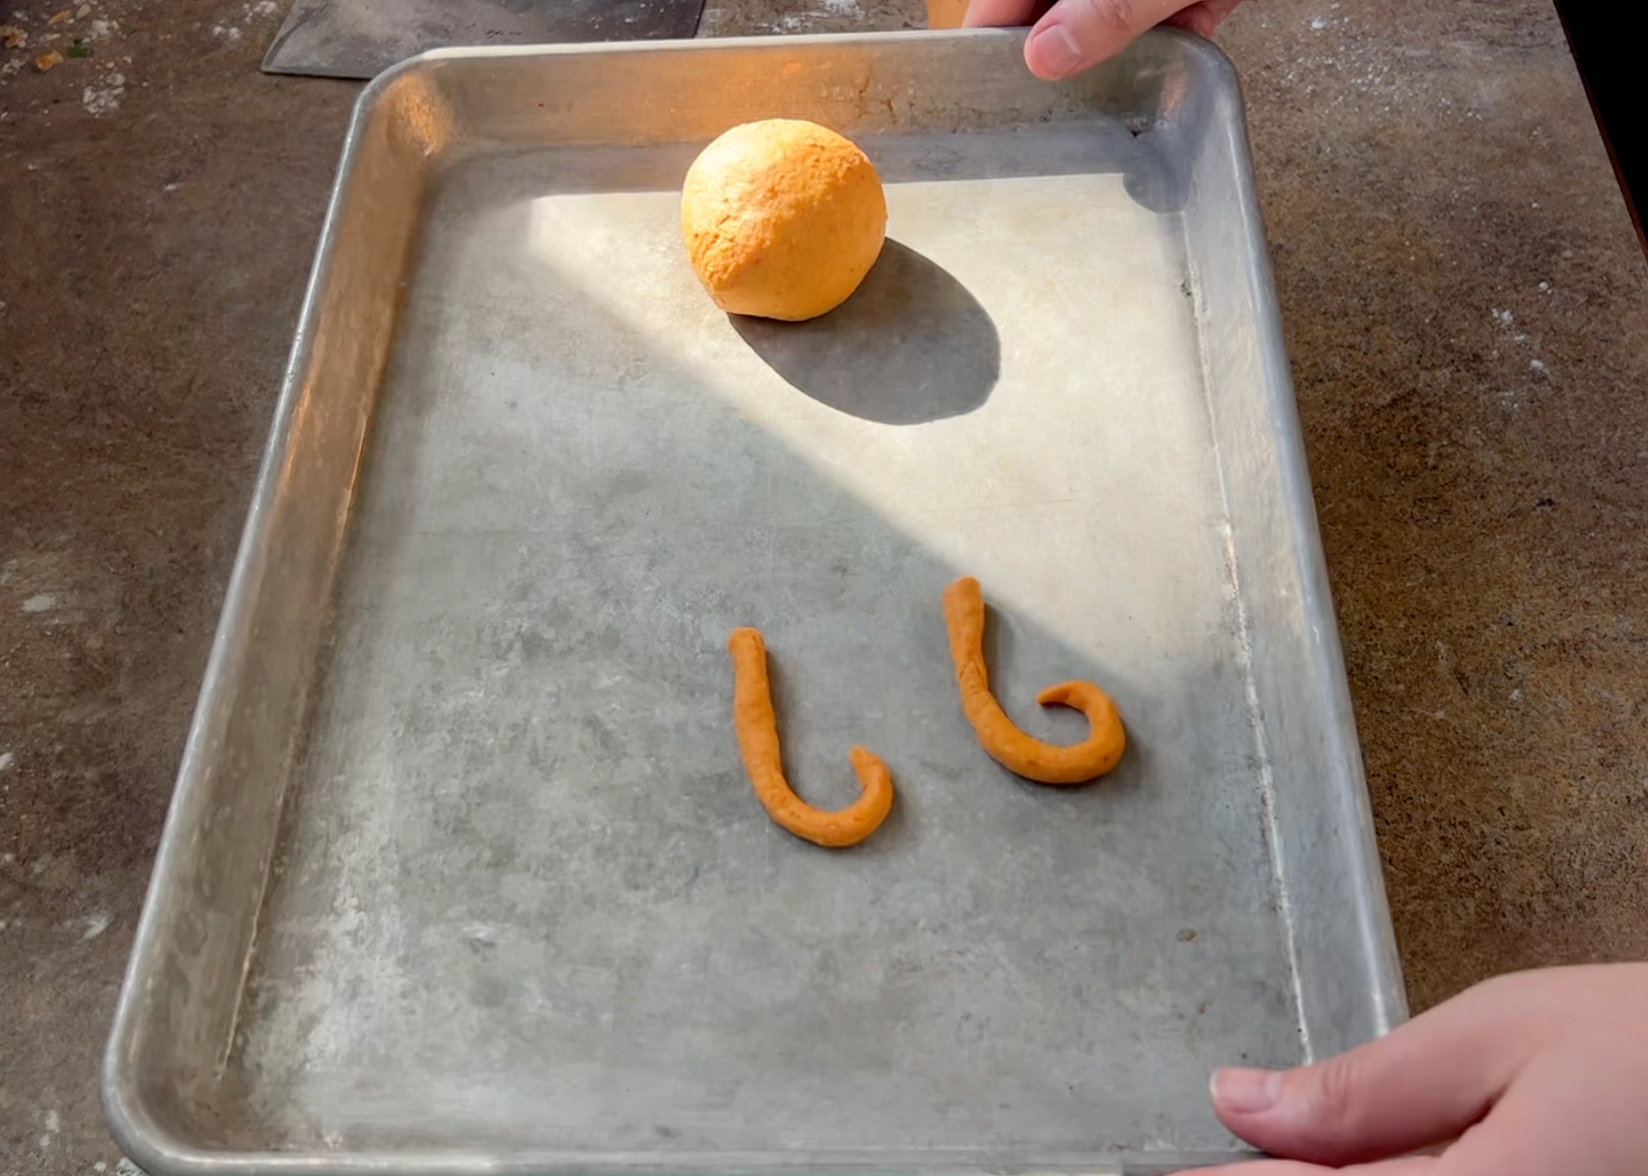
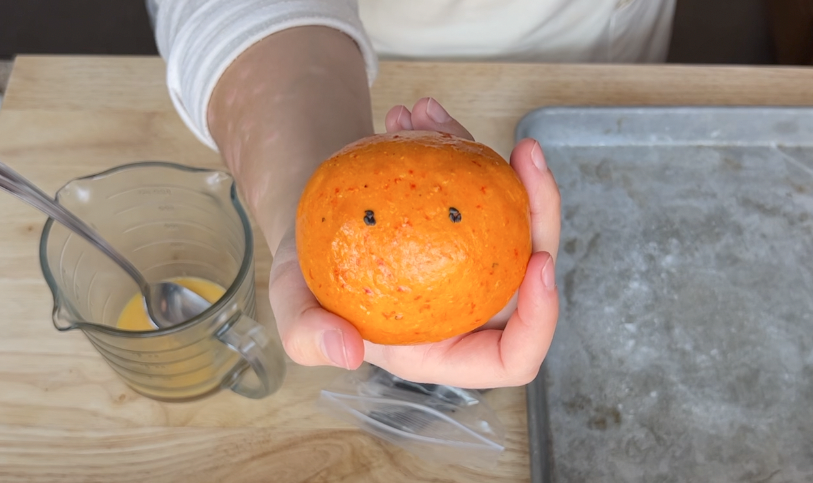
She just used the roll and had the end sticking straight up, (like the picture above, which honestly feels NSFW!) but I decided to make a round of dough for the head, and skinny little pieces for some eyestalks. Then the pepper bread was off for its second rise.
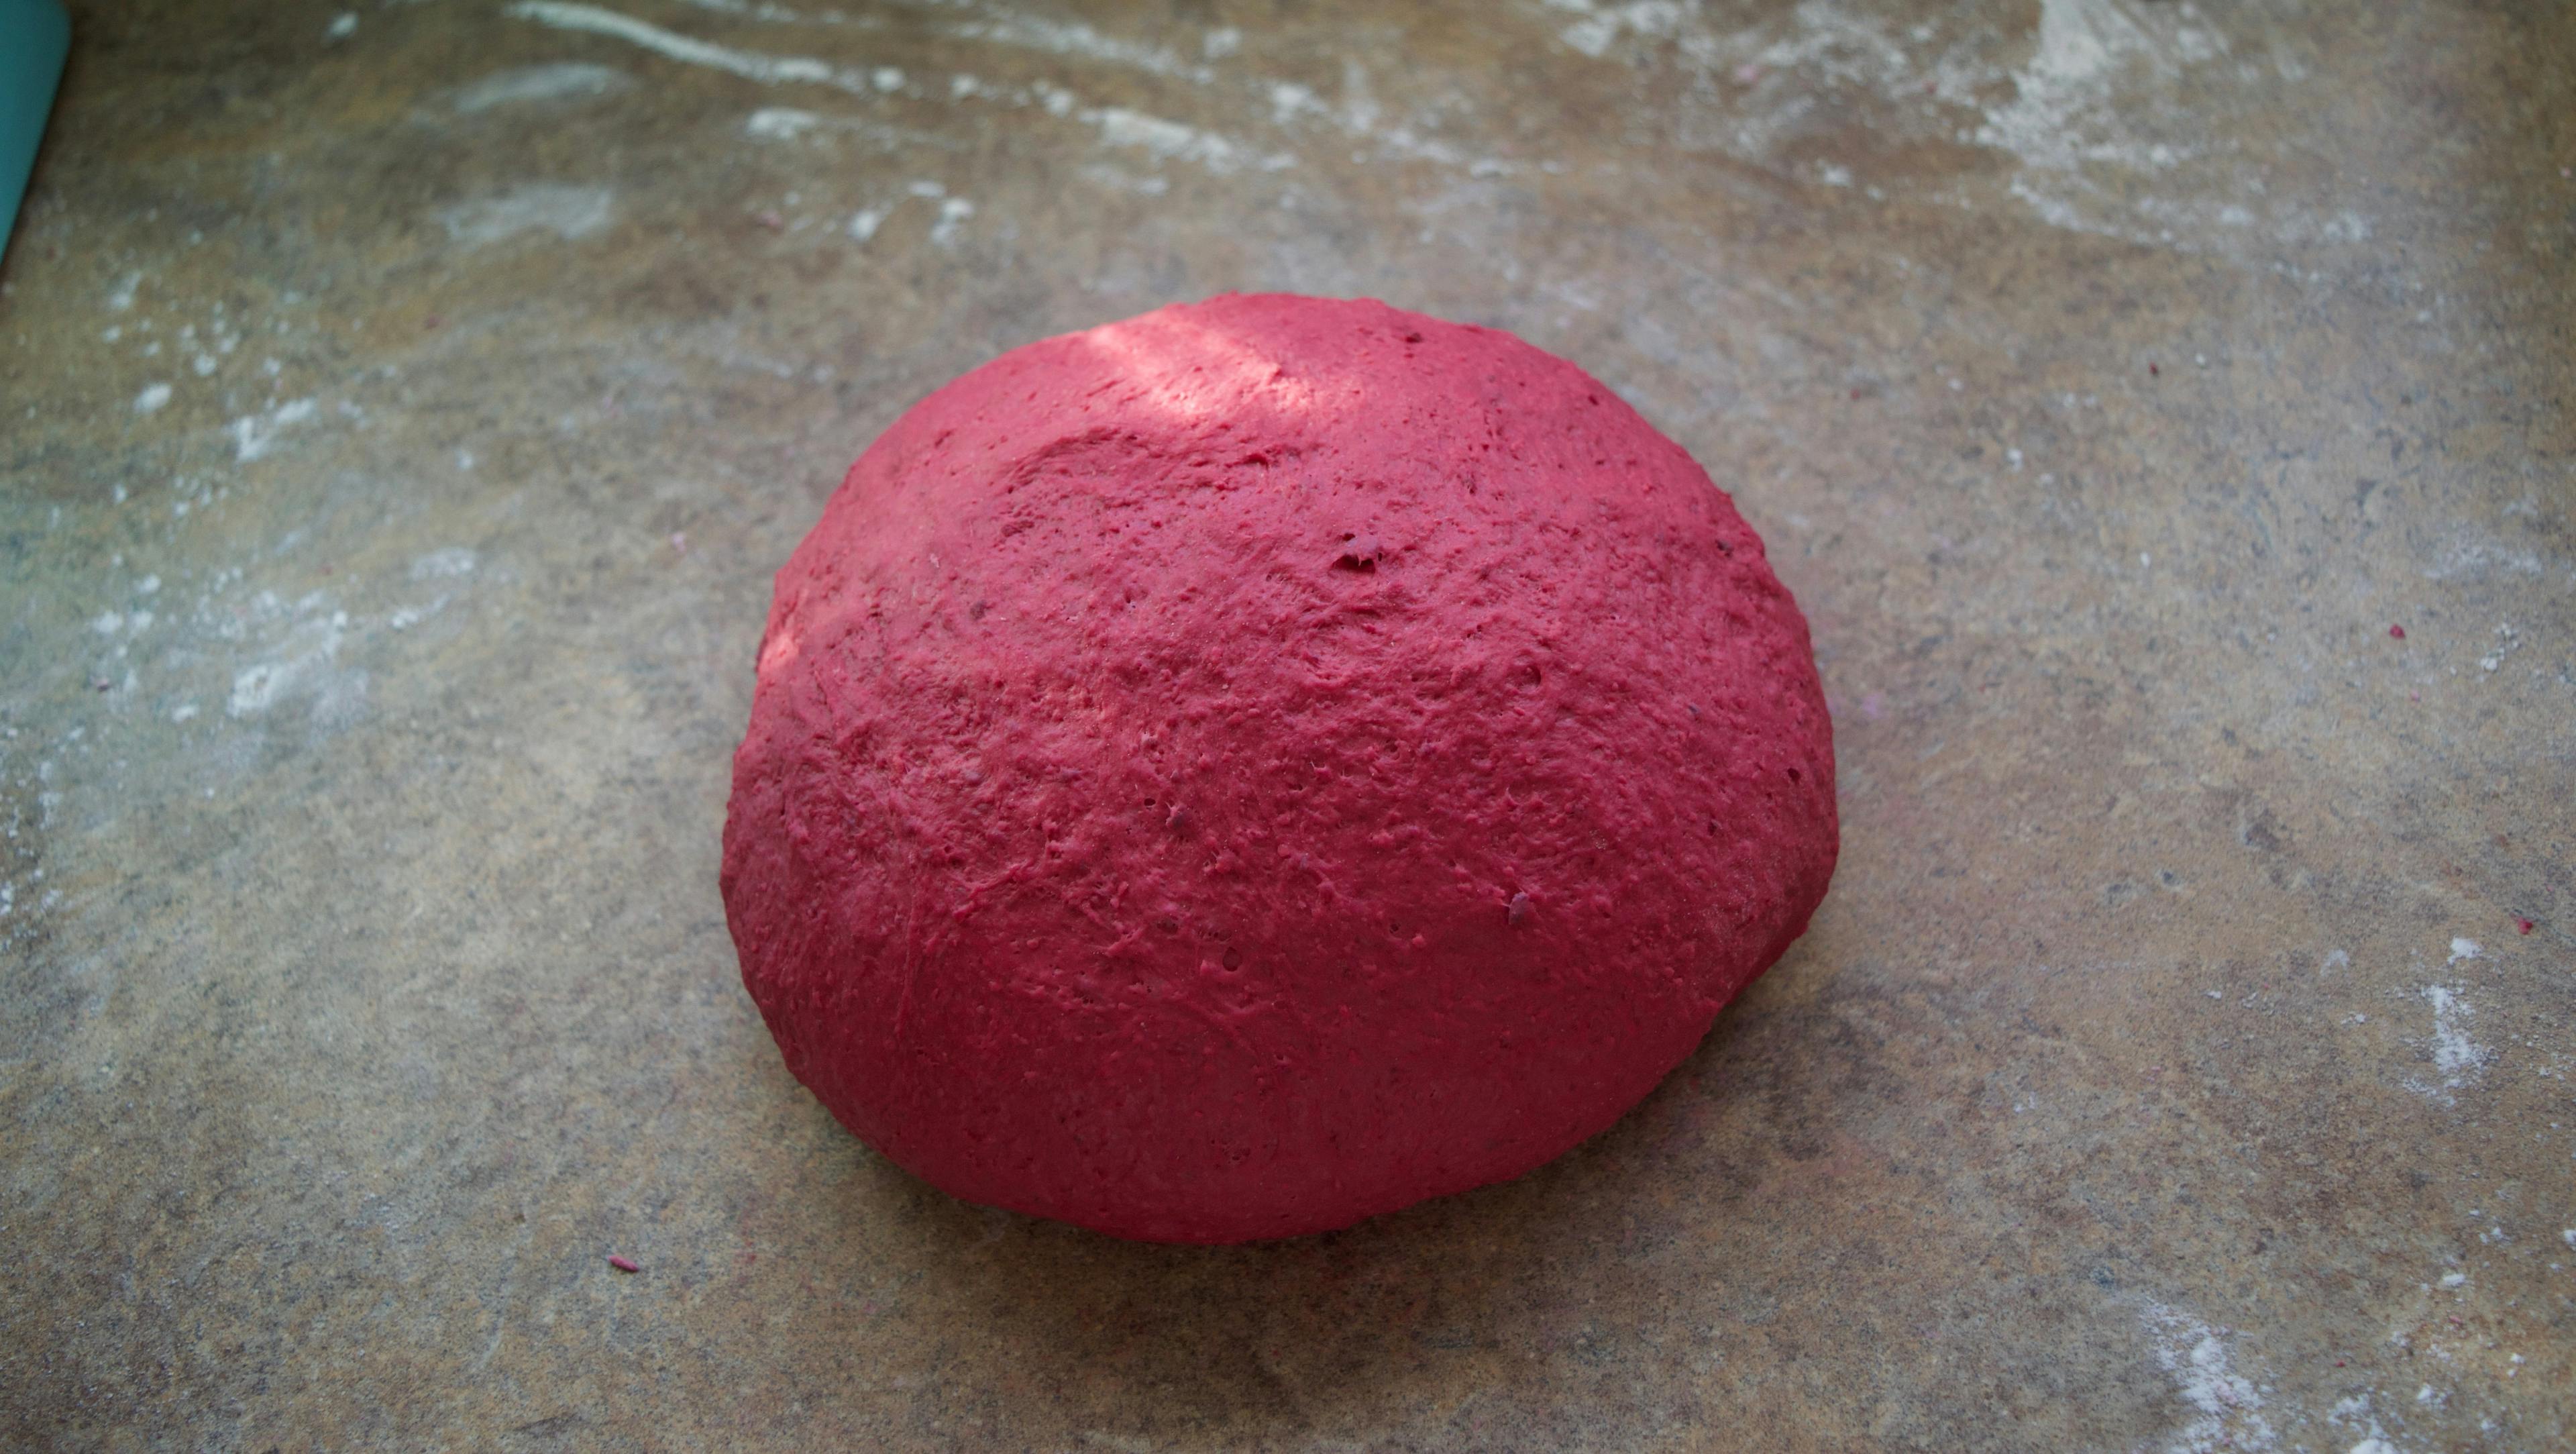
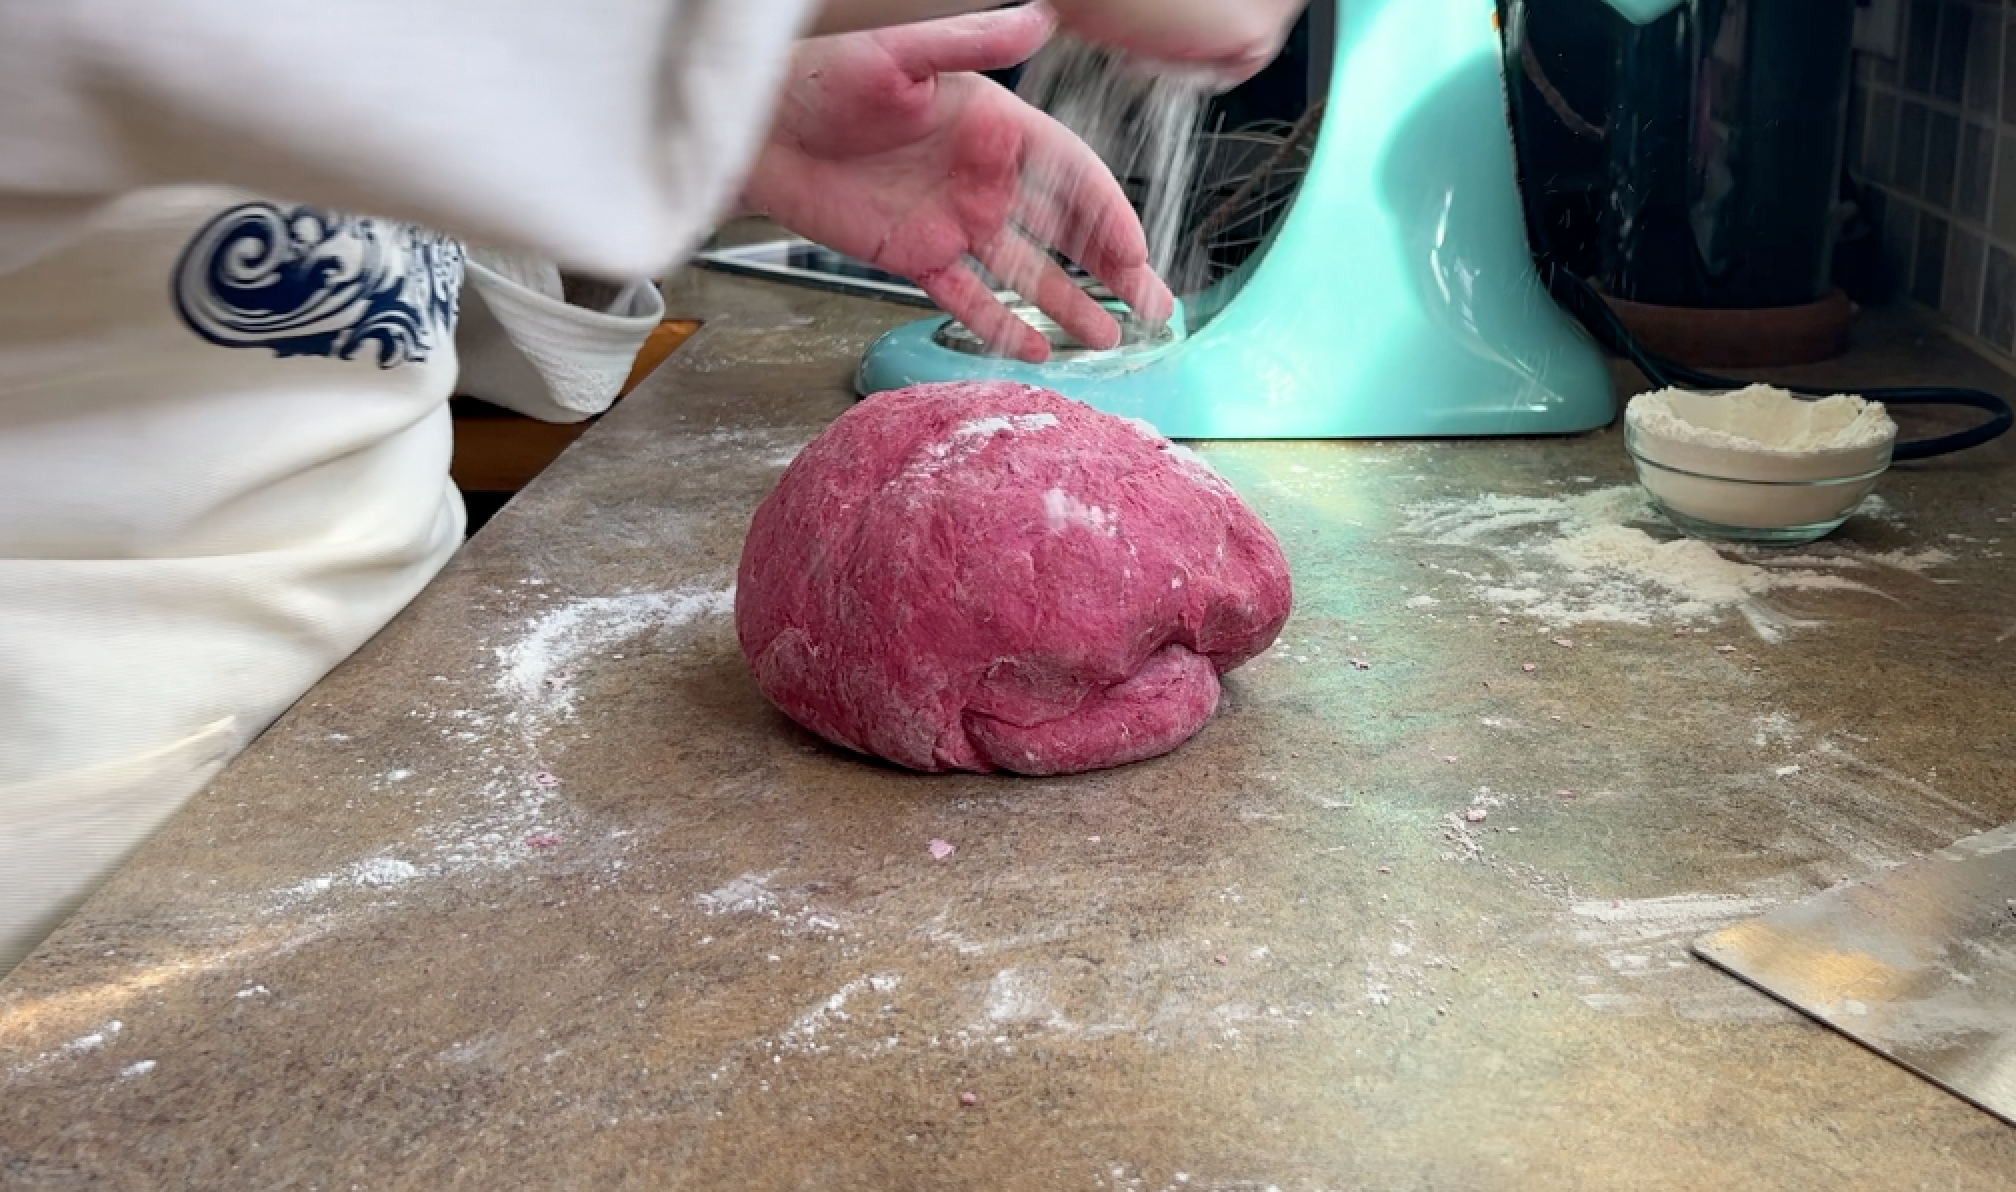
Dough #4: Beet Bread
This is my formal plea for more recipe developers in the US to use weight measurements! The beet bread called for 1 1/2 cups of beet pureé and I don't know what type of x-ray vision I am expected to have when buying beets to know how much to buy.
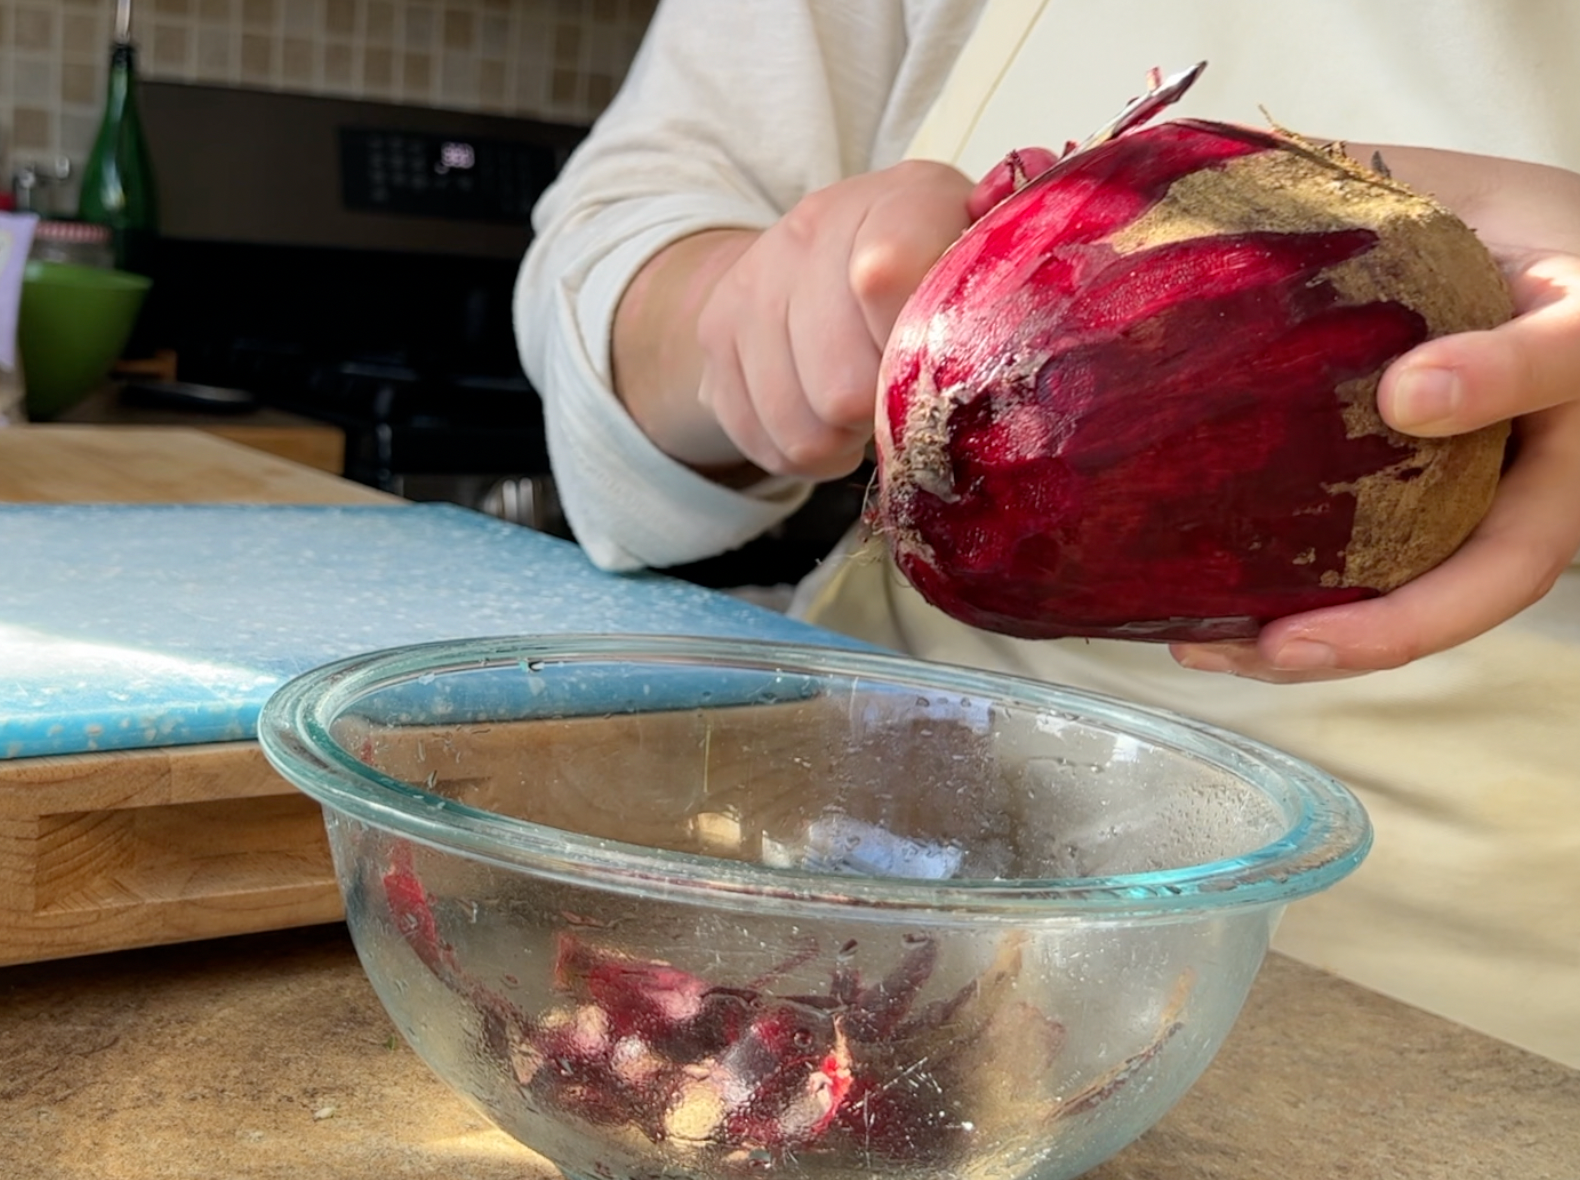
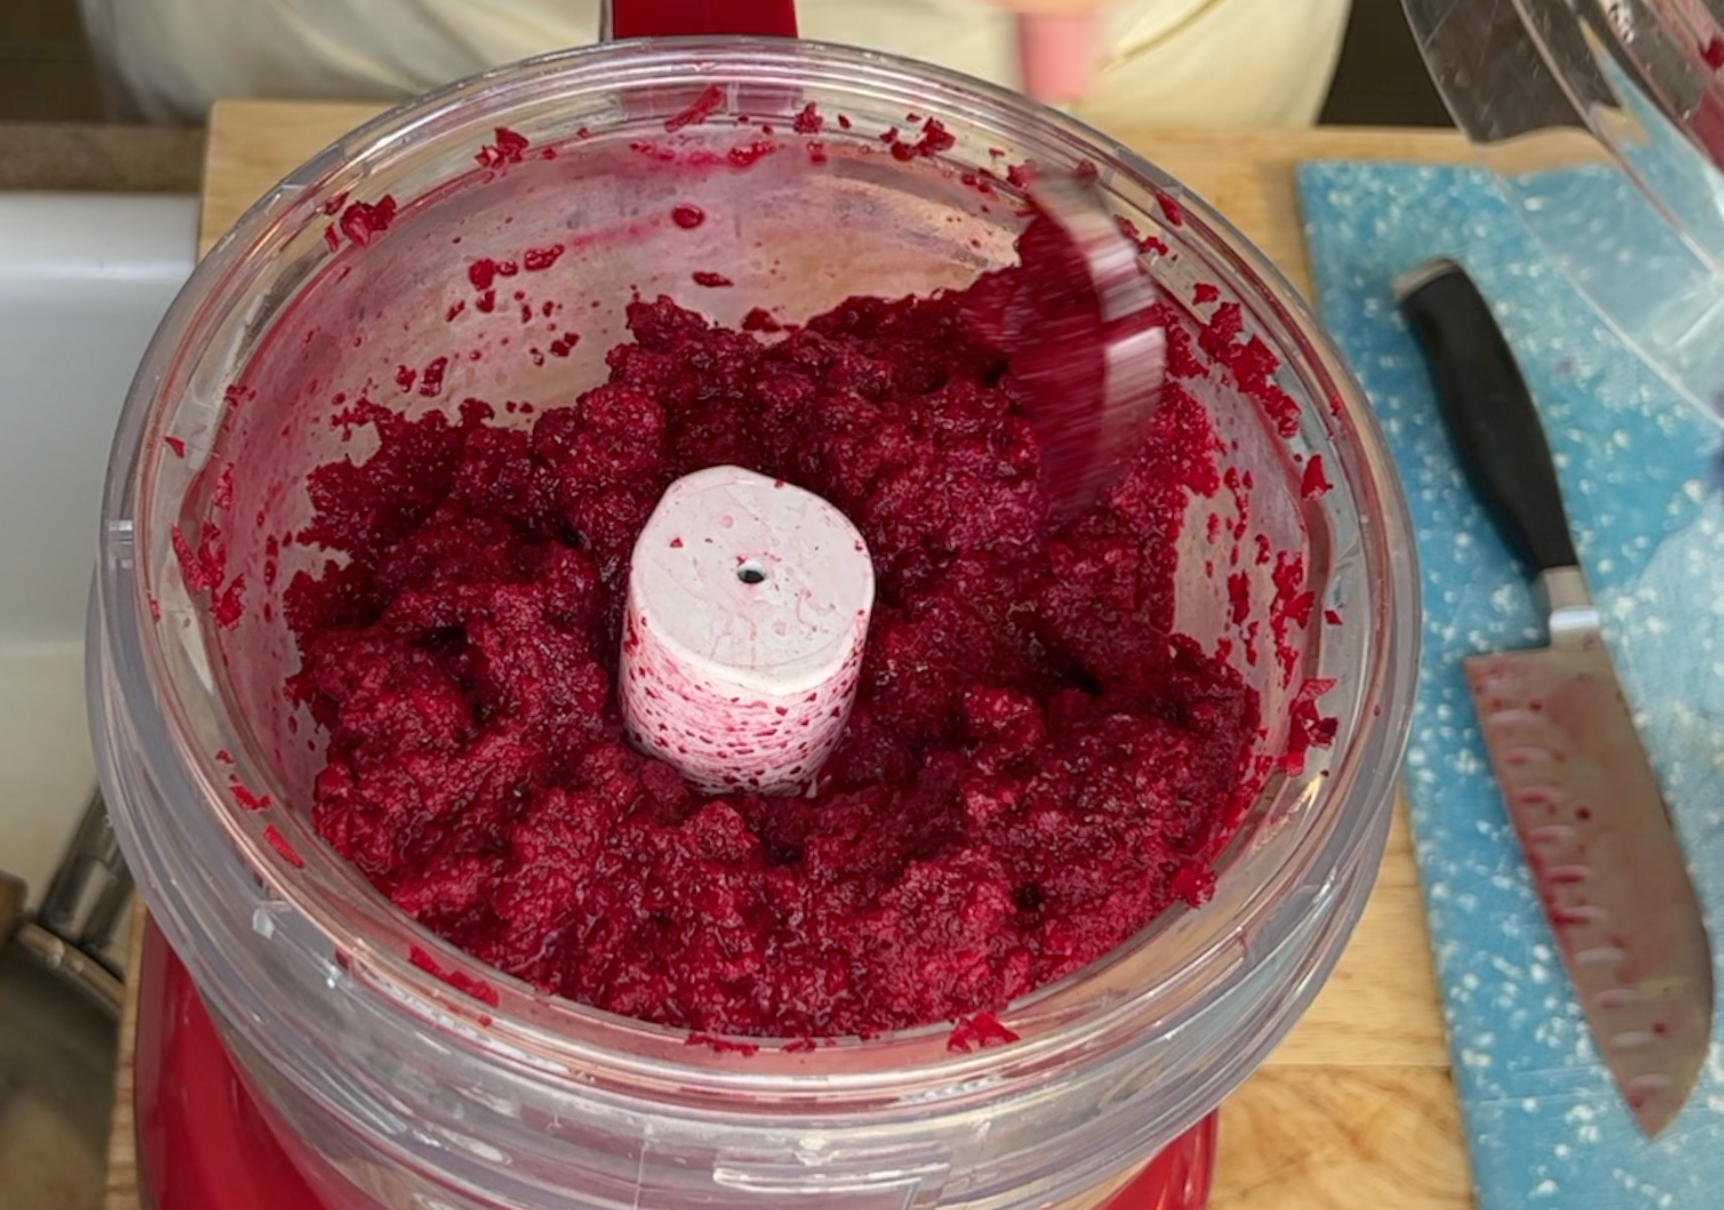
So I peeled the absolute planet of a beet before dicing it up (on my plastic cutting board that won’t stain), and then tossing it in the still nameless food processor to pureé. This very large beet ended up yielding that 1 1/2 cups of pureé with about a quarter of it left over.
To put the final dough together, I weighed out the flour into Art’s bowl and then added salt, the beet pureé, the yeast mixture, and some olive oil. Art got things mixed up and then I switched to the dough hook to *theoretically* knead for 10 minutes.
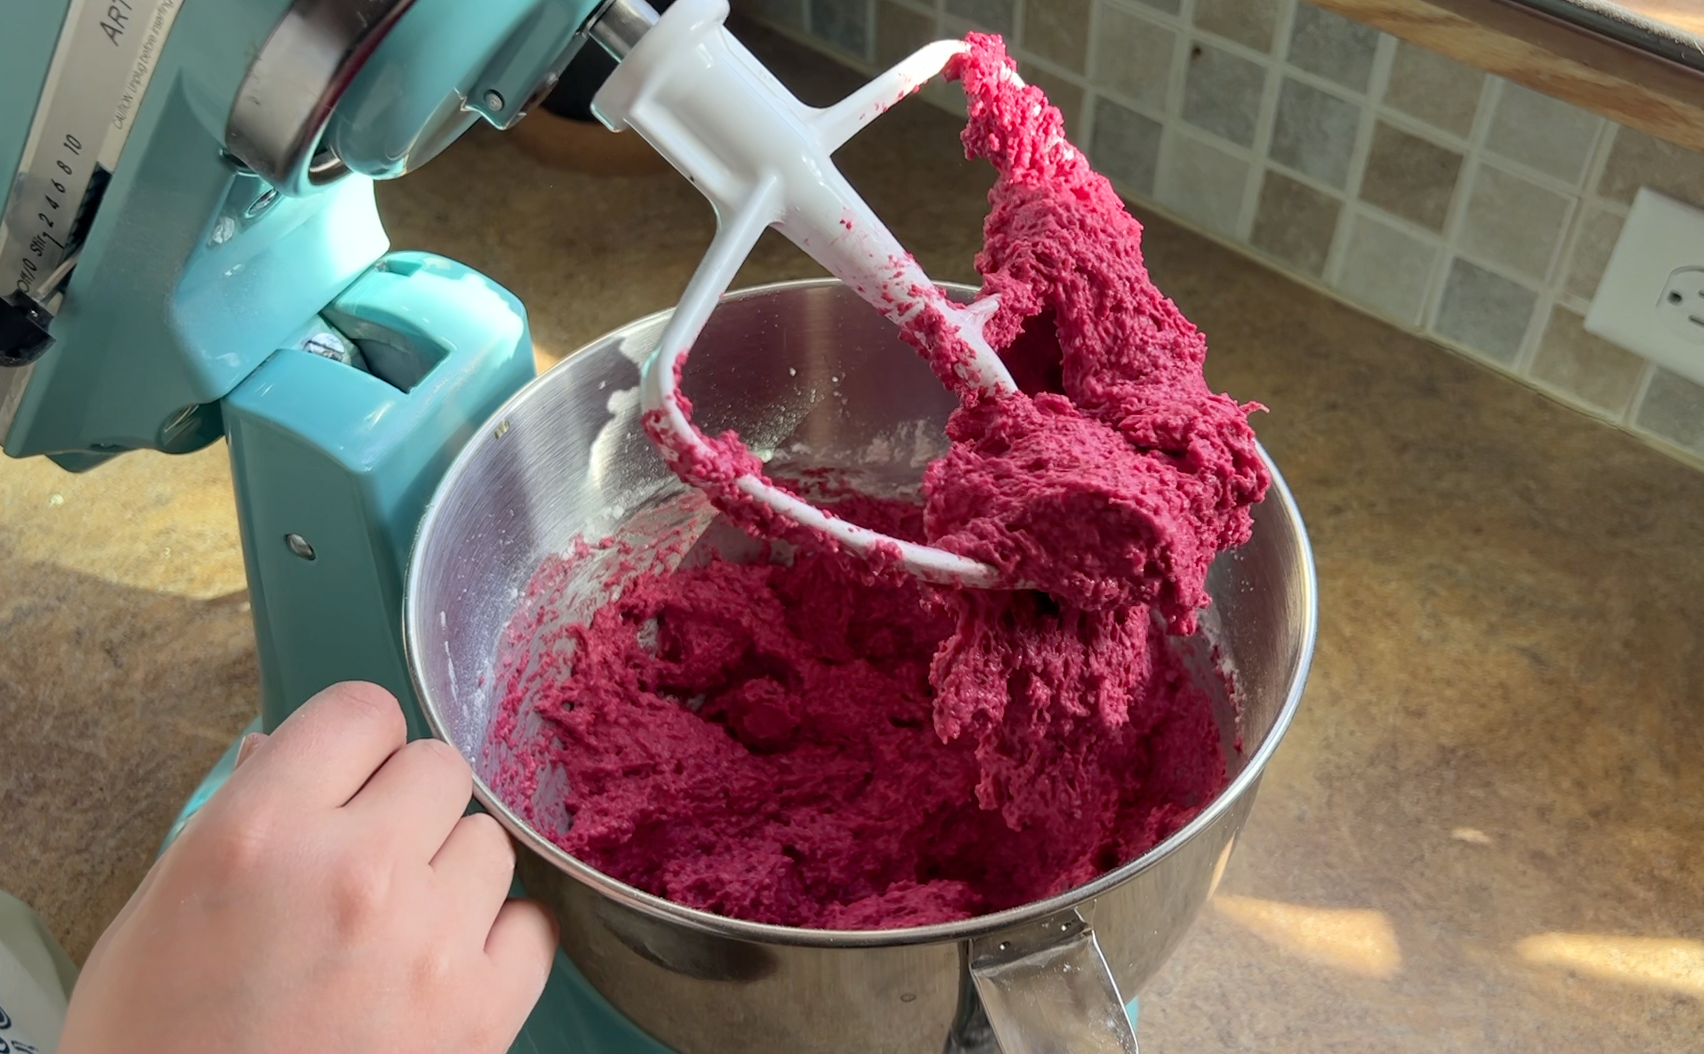
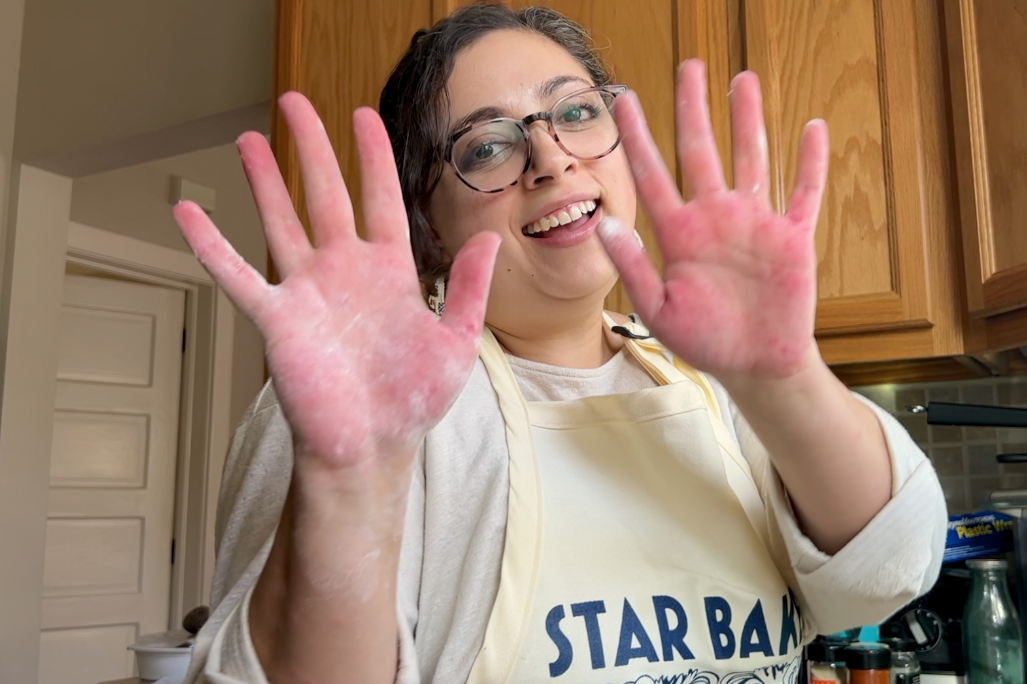
This dough ALSO took extra flour, (maybe because I had really juicy vegetables this day!? I don't know!) so I ended up kneading it by hand to have more control. And pinker hands.
Eventually, it came together and started its first rise.
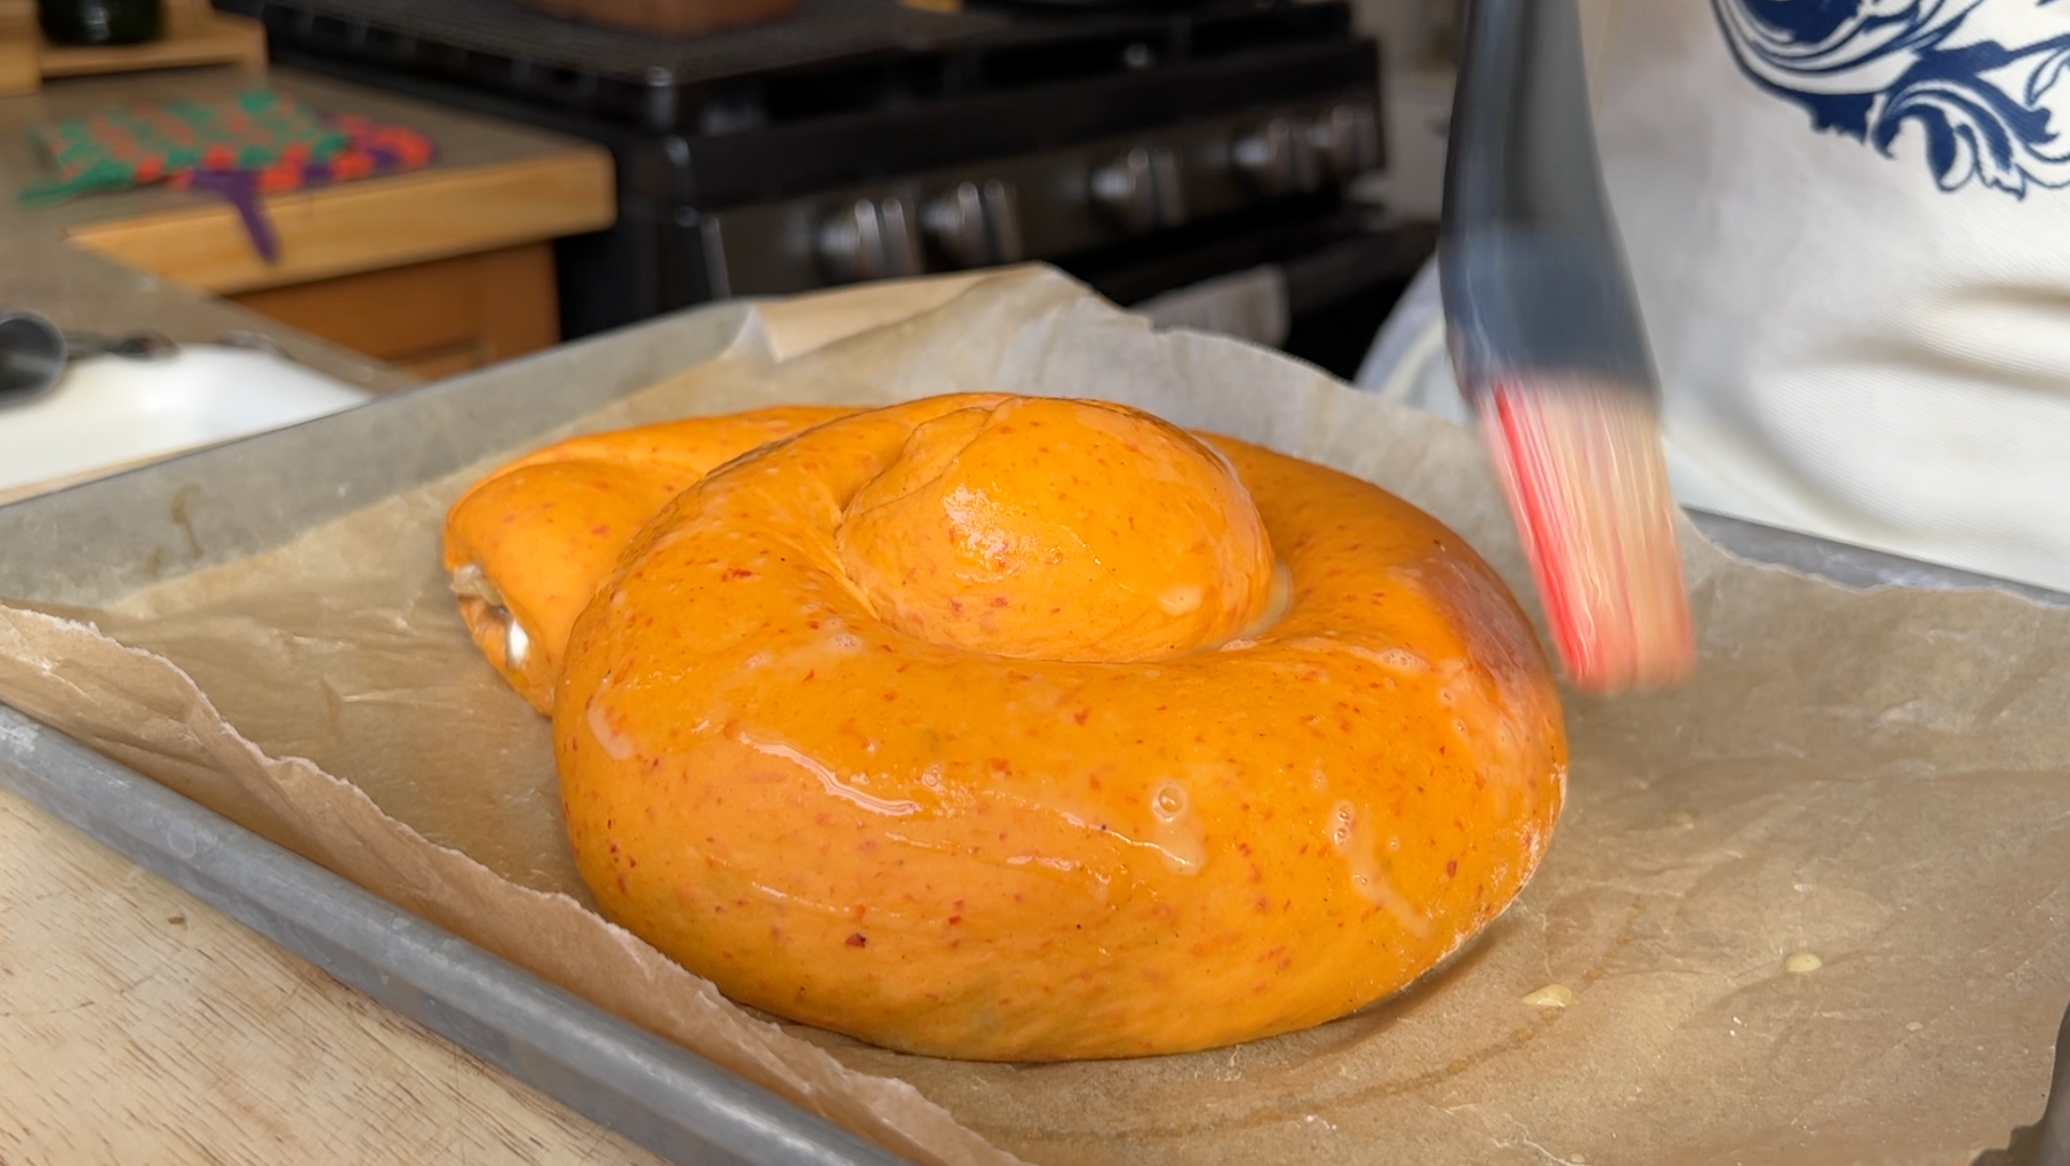
At some point, I had put the green rolls in the oven and they, as well as the black rye, were out of the oven and cooling. The orange dough was done with its second rise and it got a simple egg wash and dusting of black pepper before heading into the hot box.
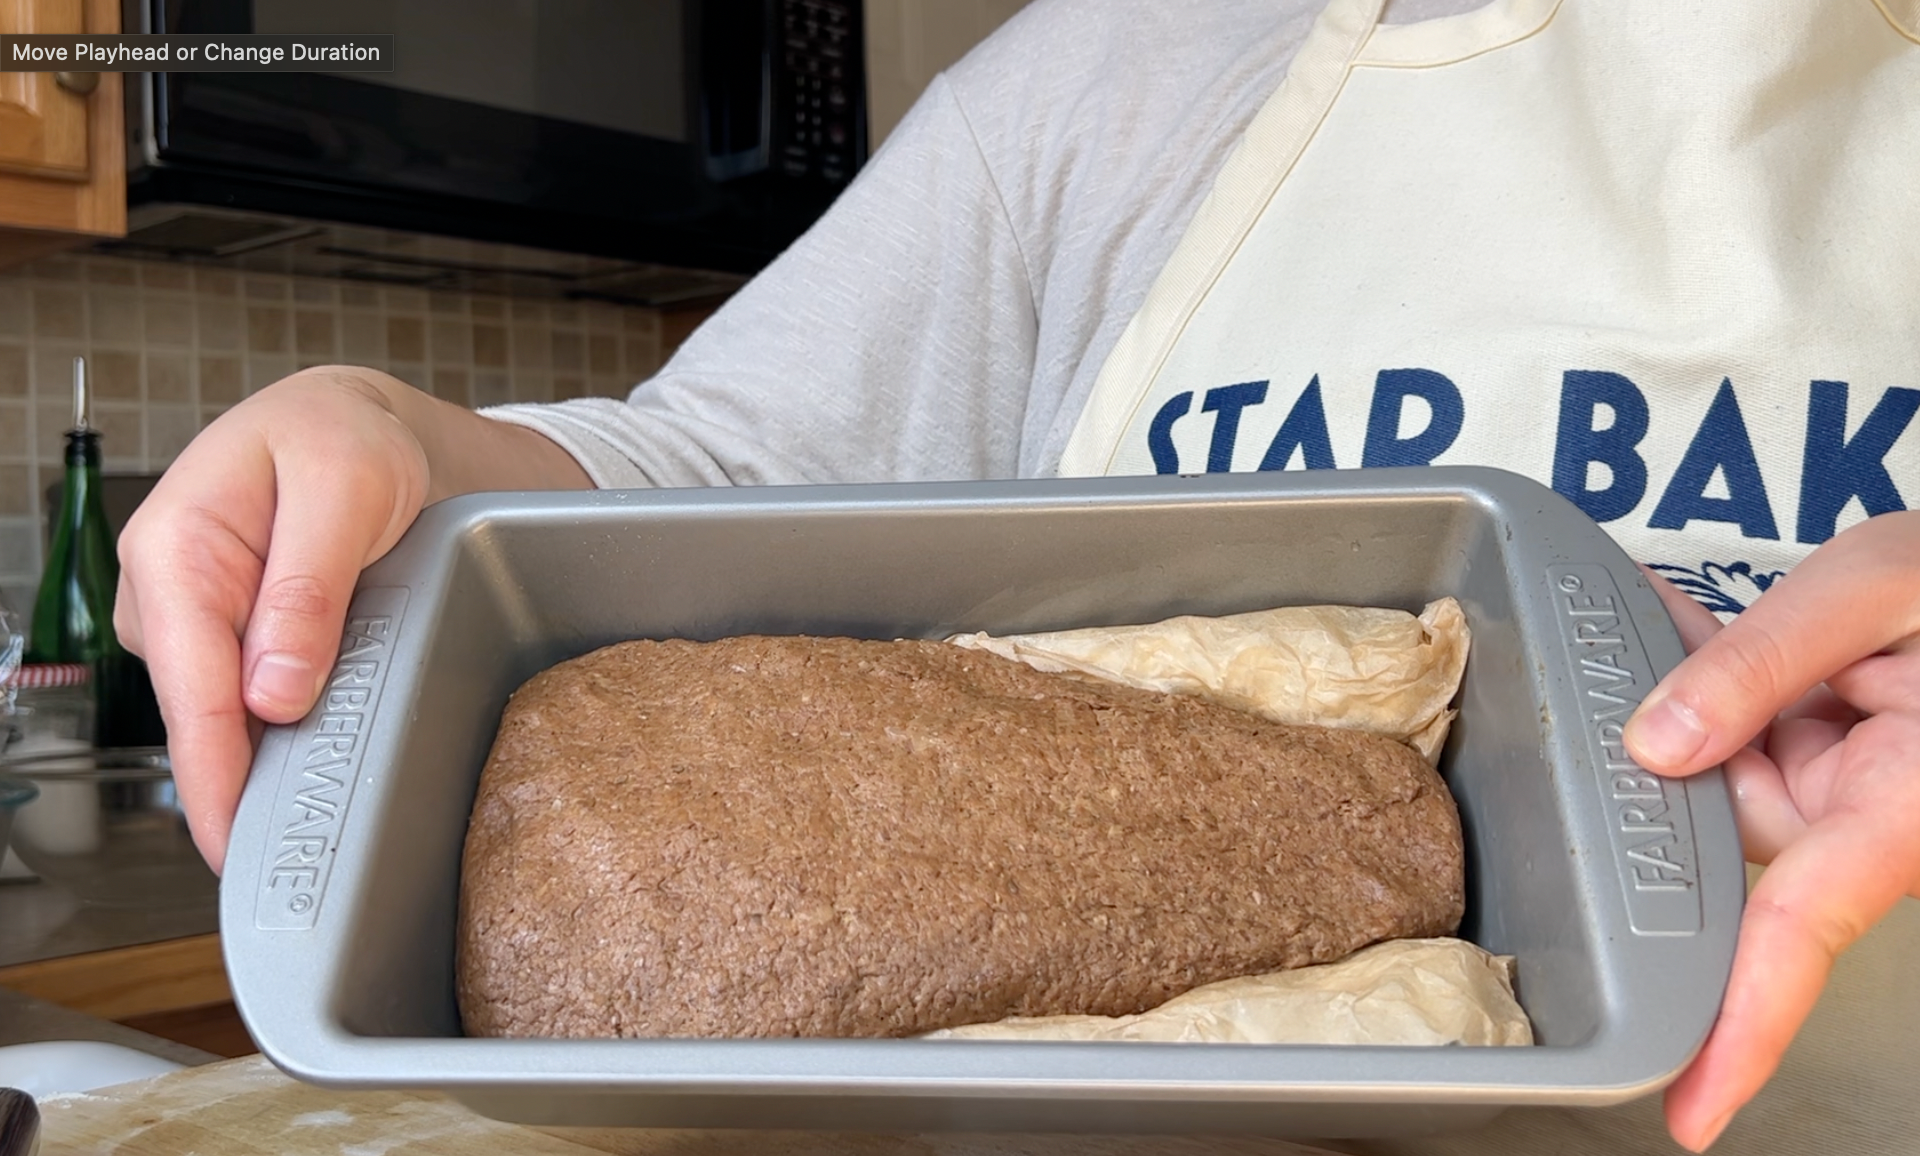
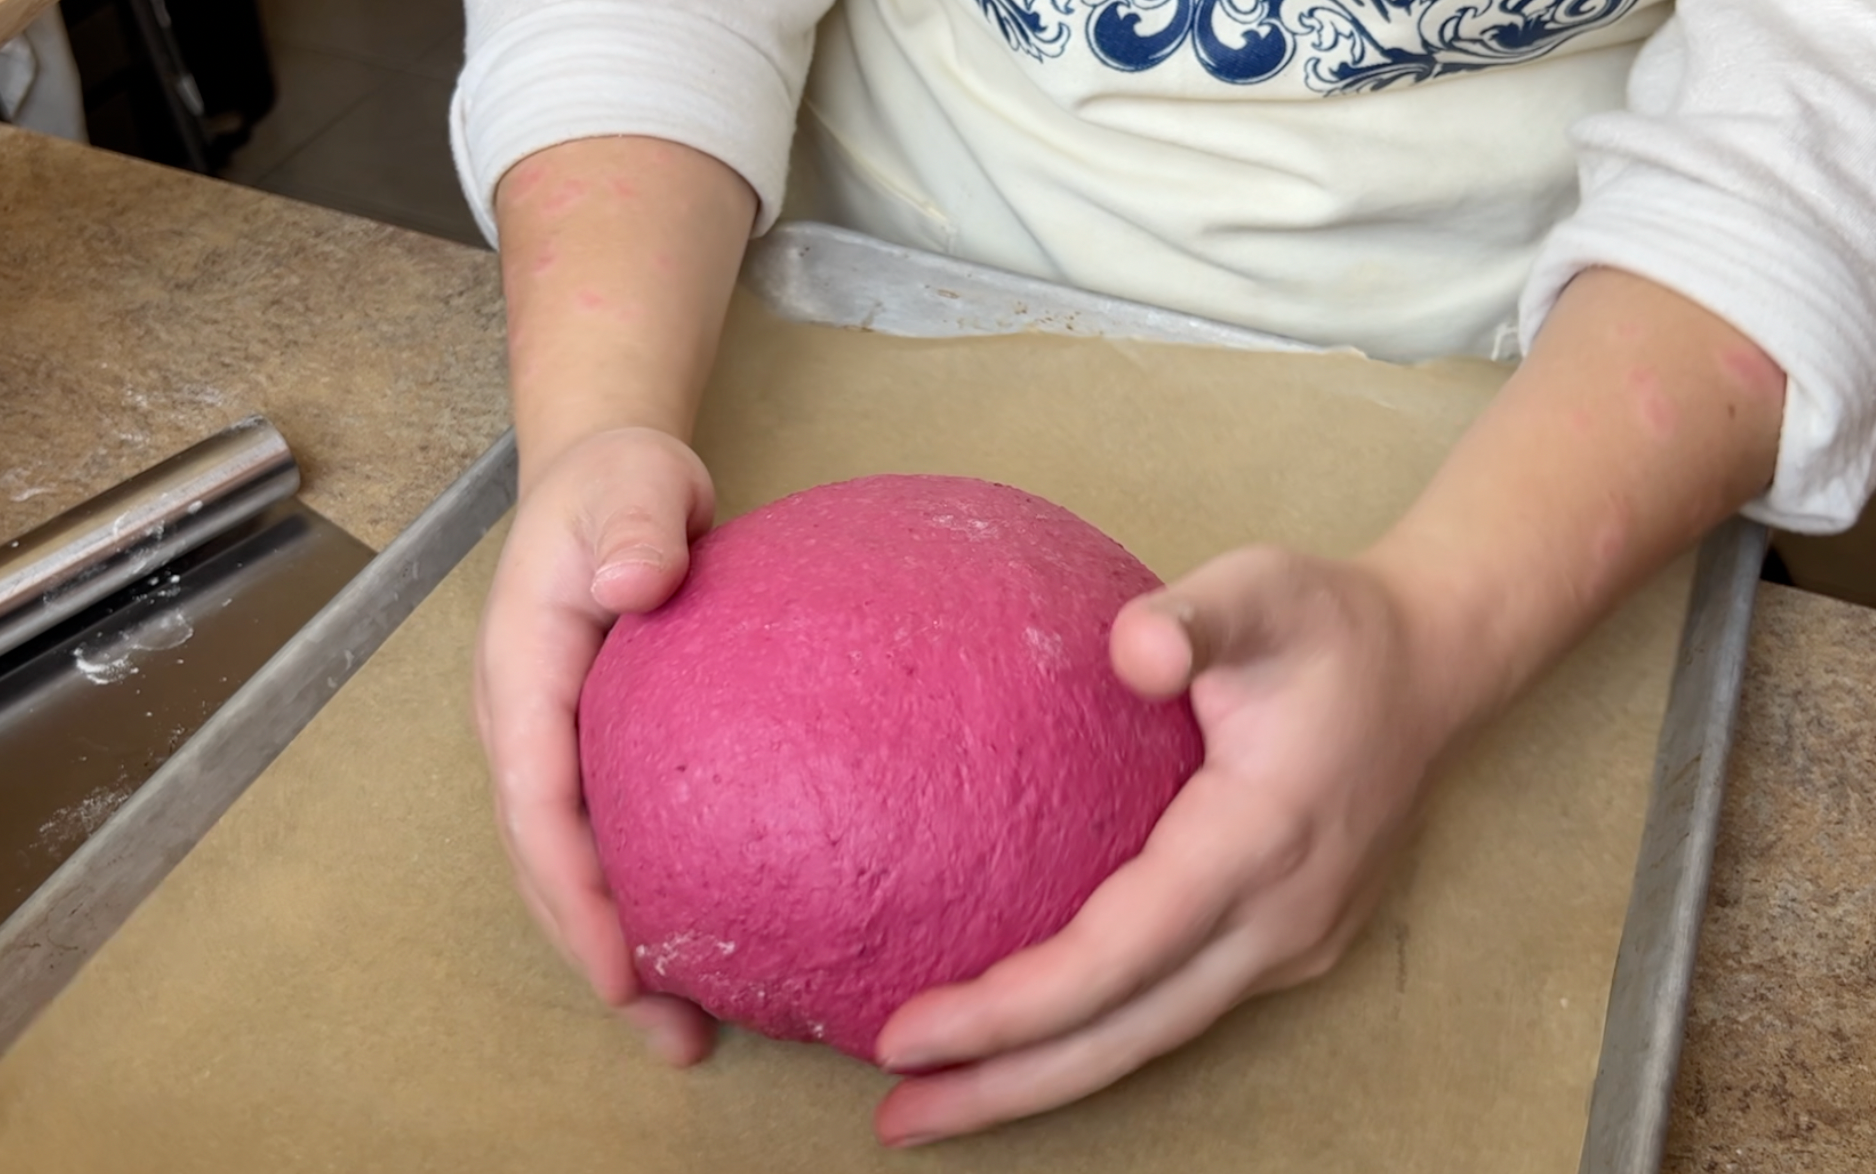
The beet dough was proofed, so I shaped it into a tight ball before popping it onto a parchment-lined sheet to rise a second time.
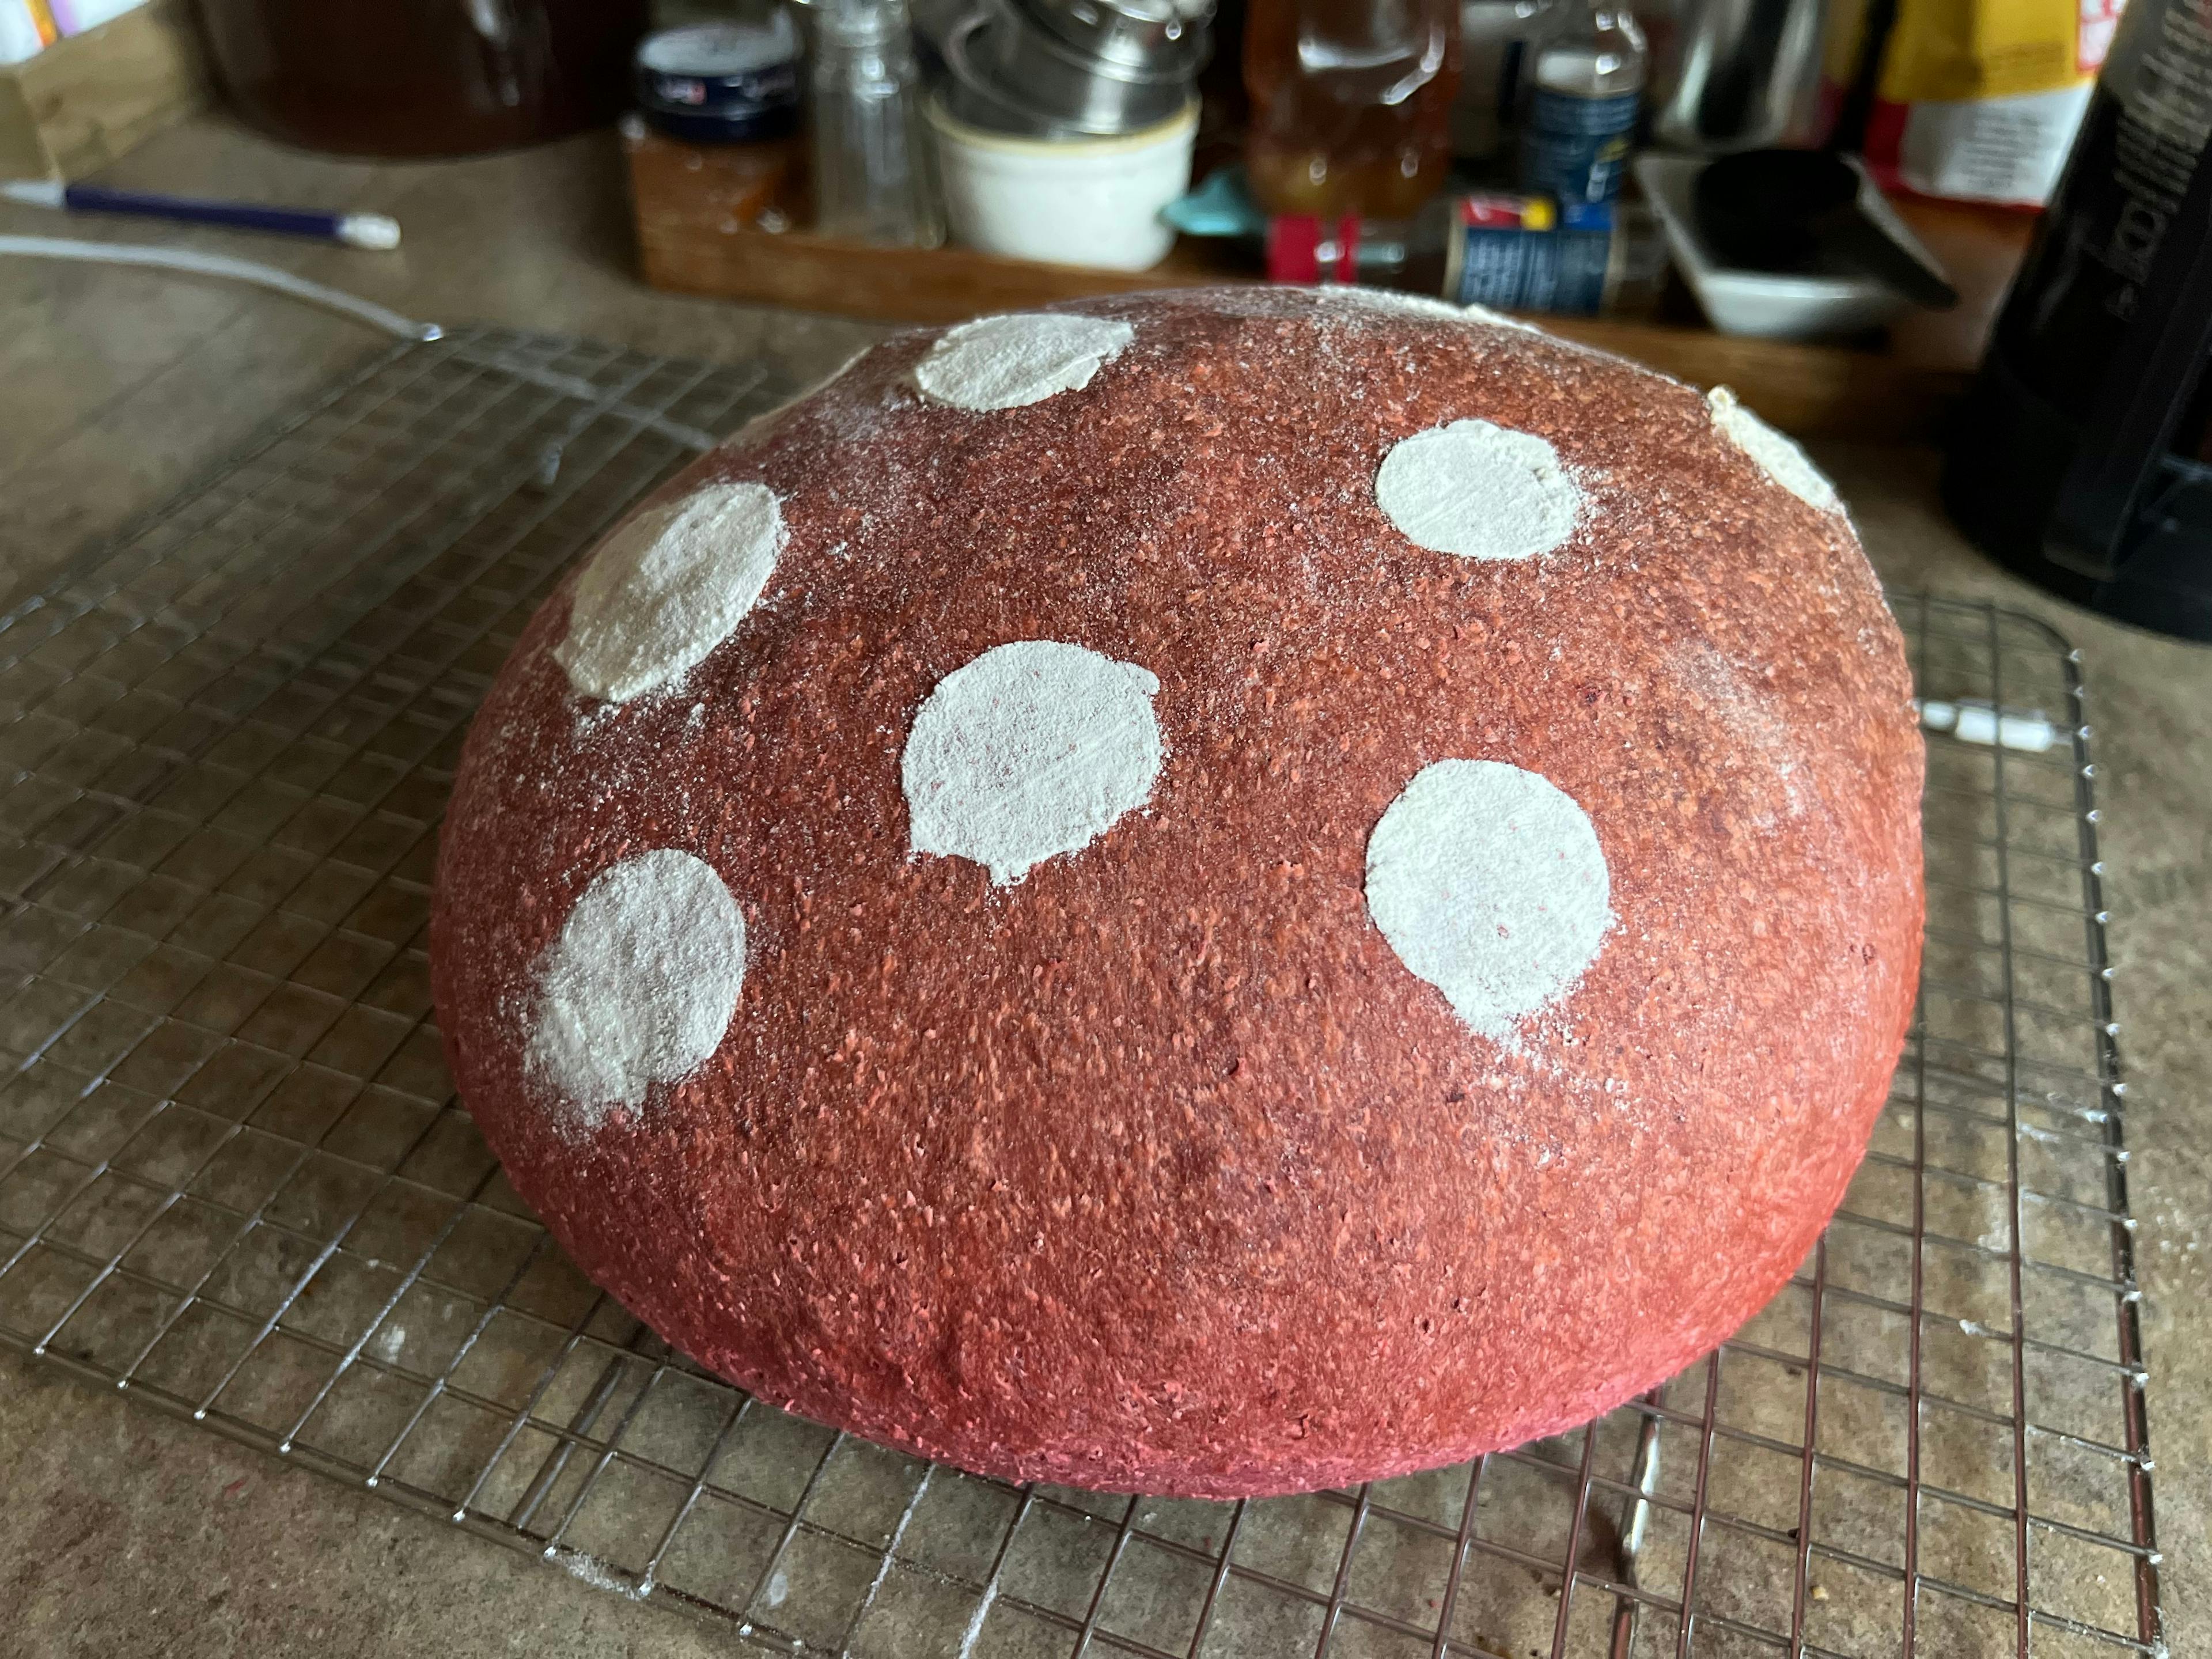
I wanted to come up with a way to make this look more like a mushroom and less like a loaf of bread, and, in the moment, I came up with this: I took a piece of parchment paper, cut holes in it, and laid it on the loaf before dusting flour over the whole thing.
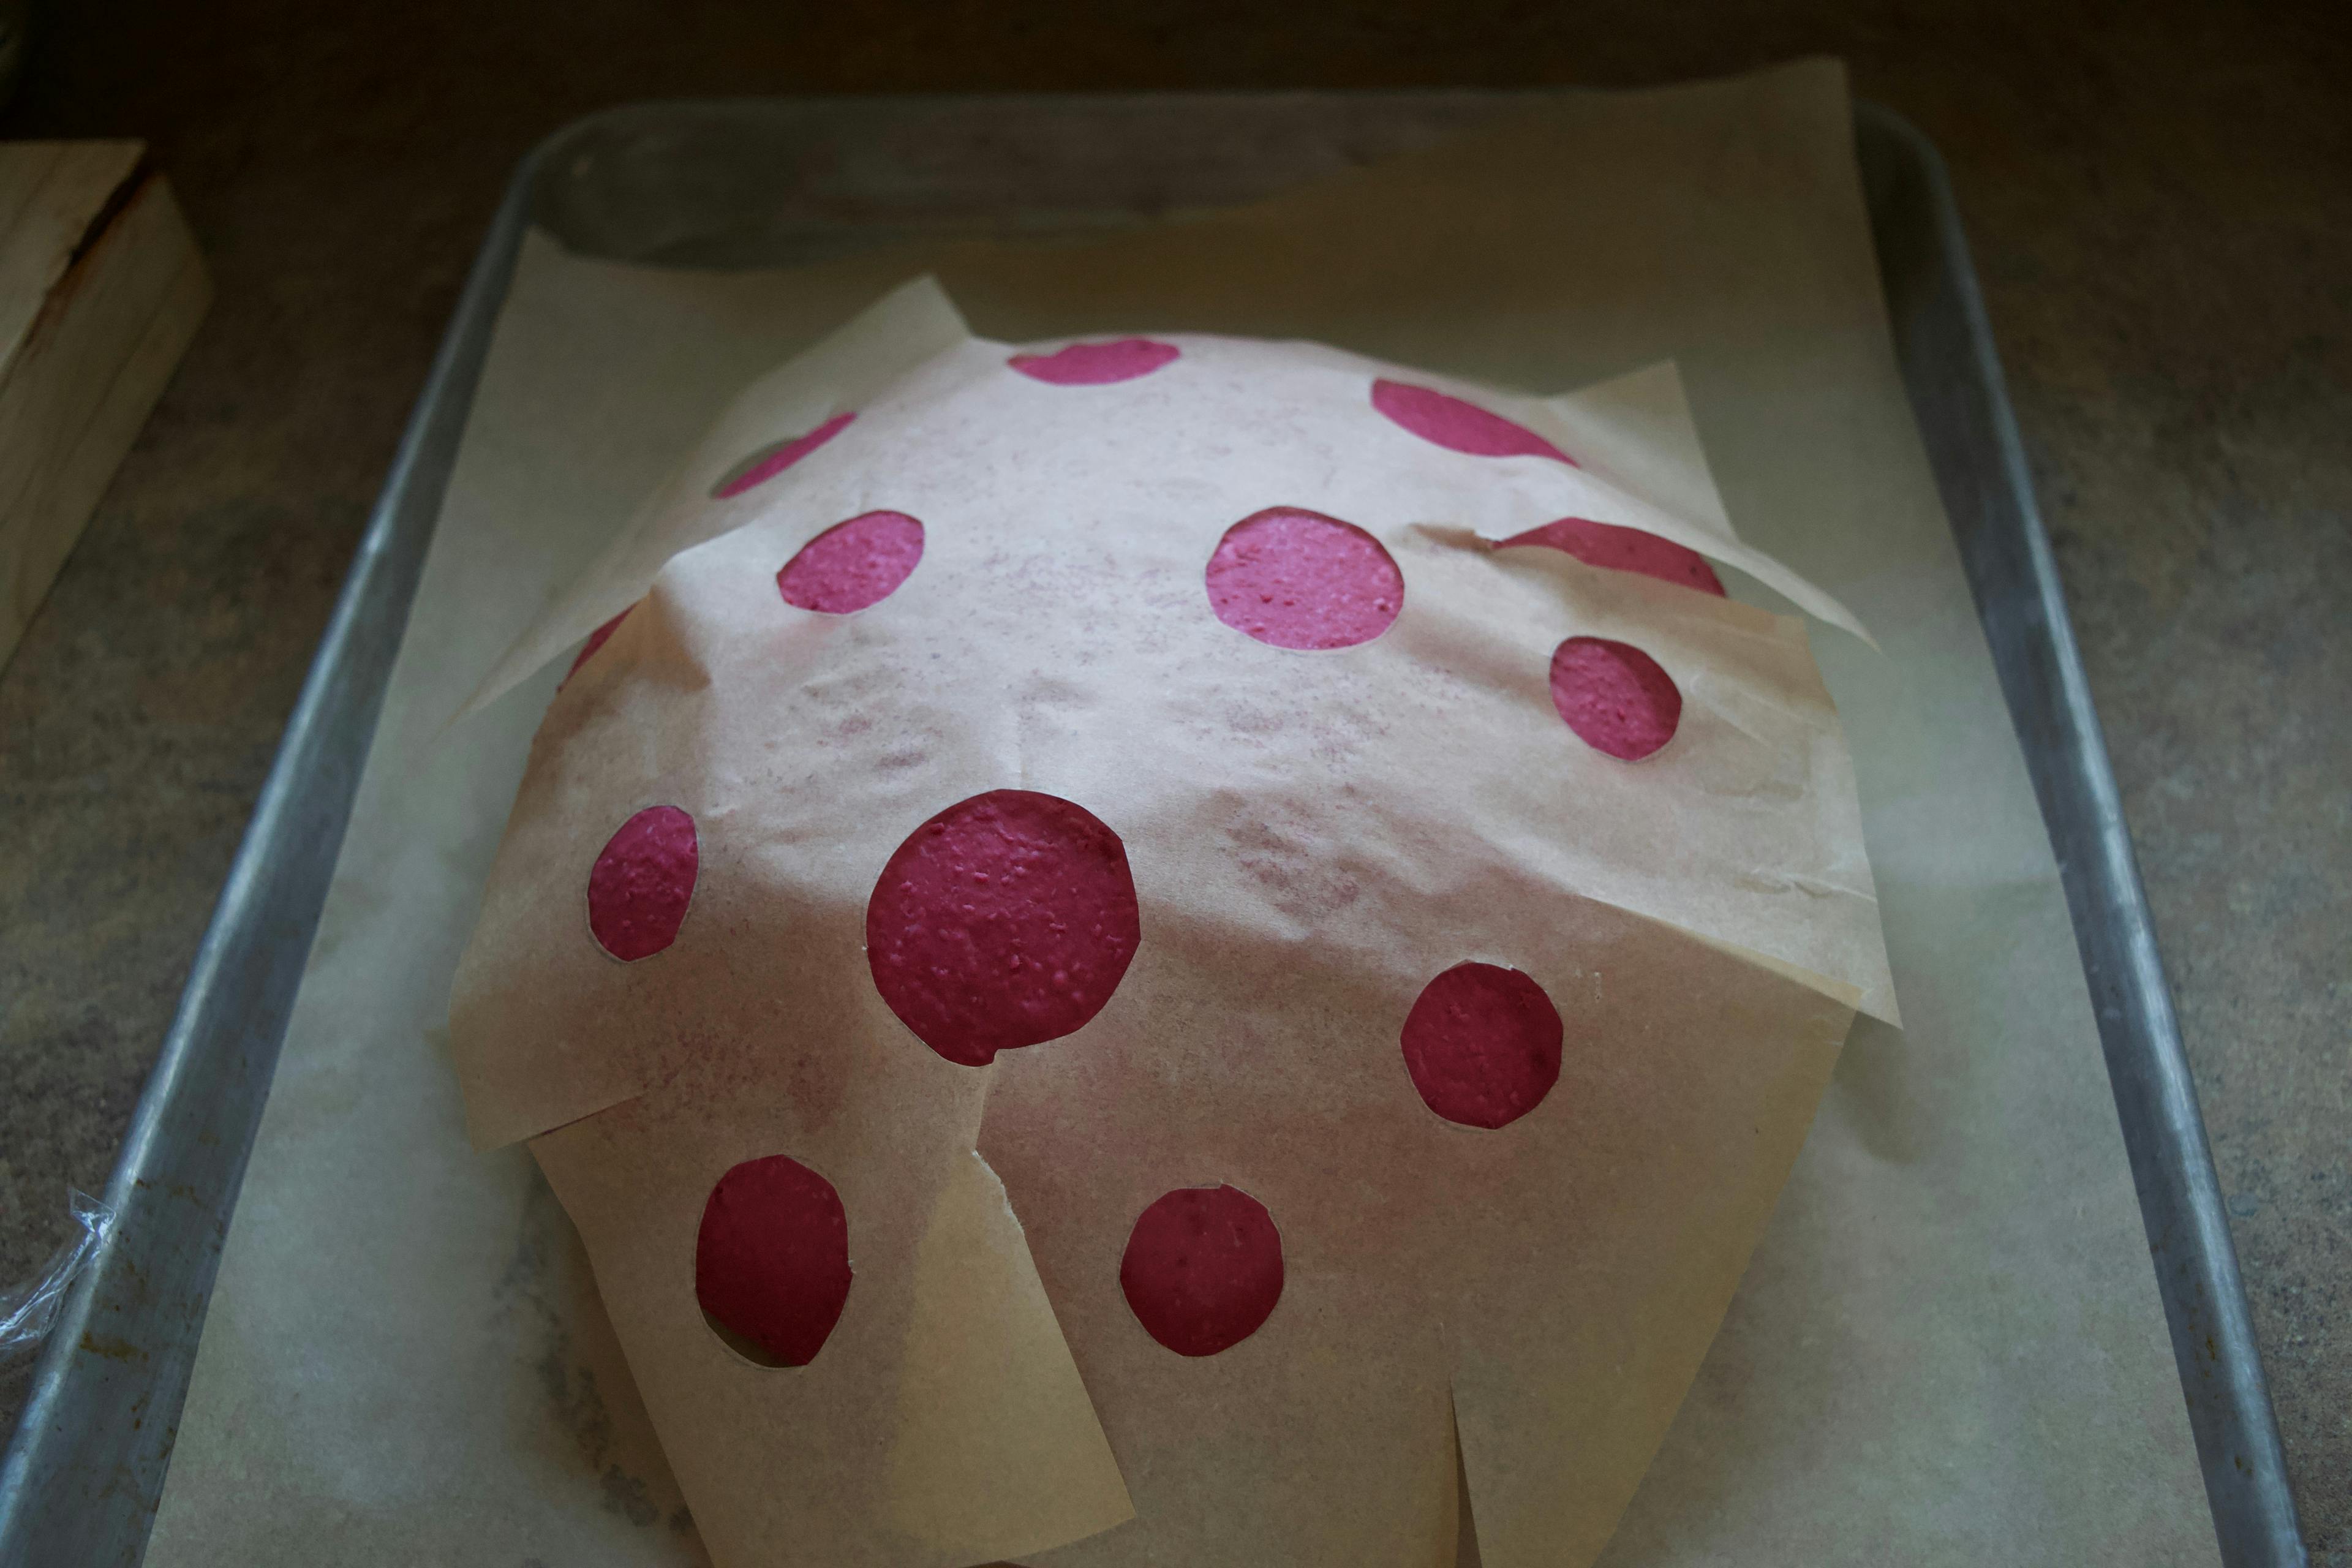
I was pretty confident that this would work, and that confidence was not misplaced as I was quite happy with how it looked! It went into the oven with a metal pan (don’t use glass - ask me how I know) of boiling water to create some steam and encourage a nice crust to form.

While the beet bread baked - try saying that 10 times fast - I got to finishing the snail. I used a little bit of the leftover eggwash to adhere two clusters of black sesame seeds to the round bun to create eyes. I popped the bun in the oven for about a minute, just to cook the tiny bit of egg glue both for food safety and also so the sesame seeds wouldn’t move. Doesn't that remind you of Kirby?
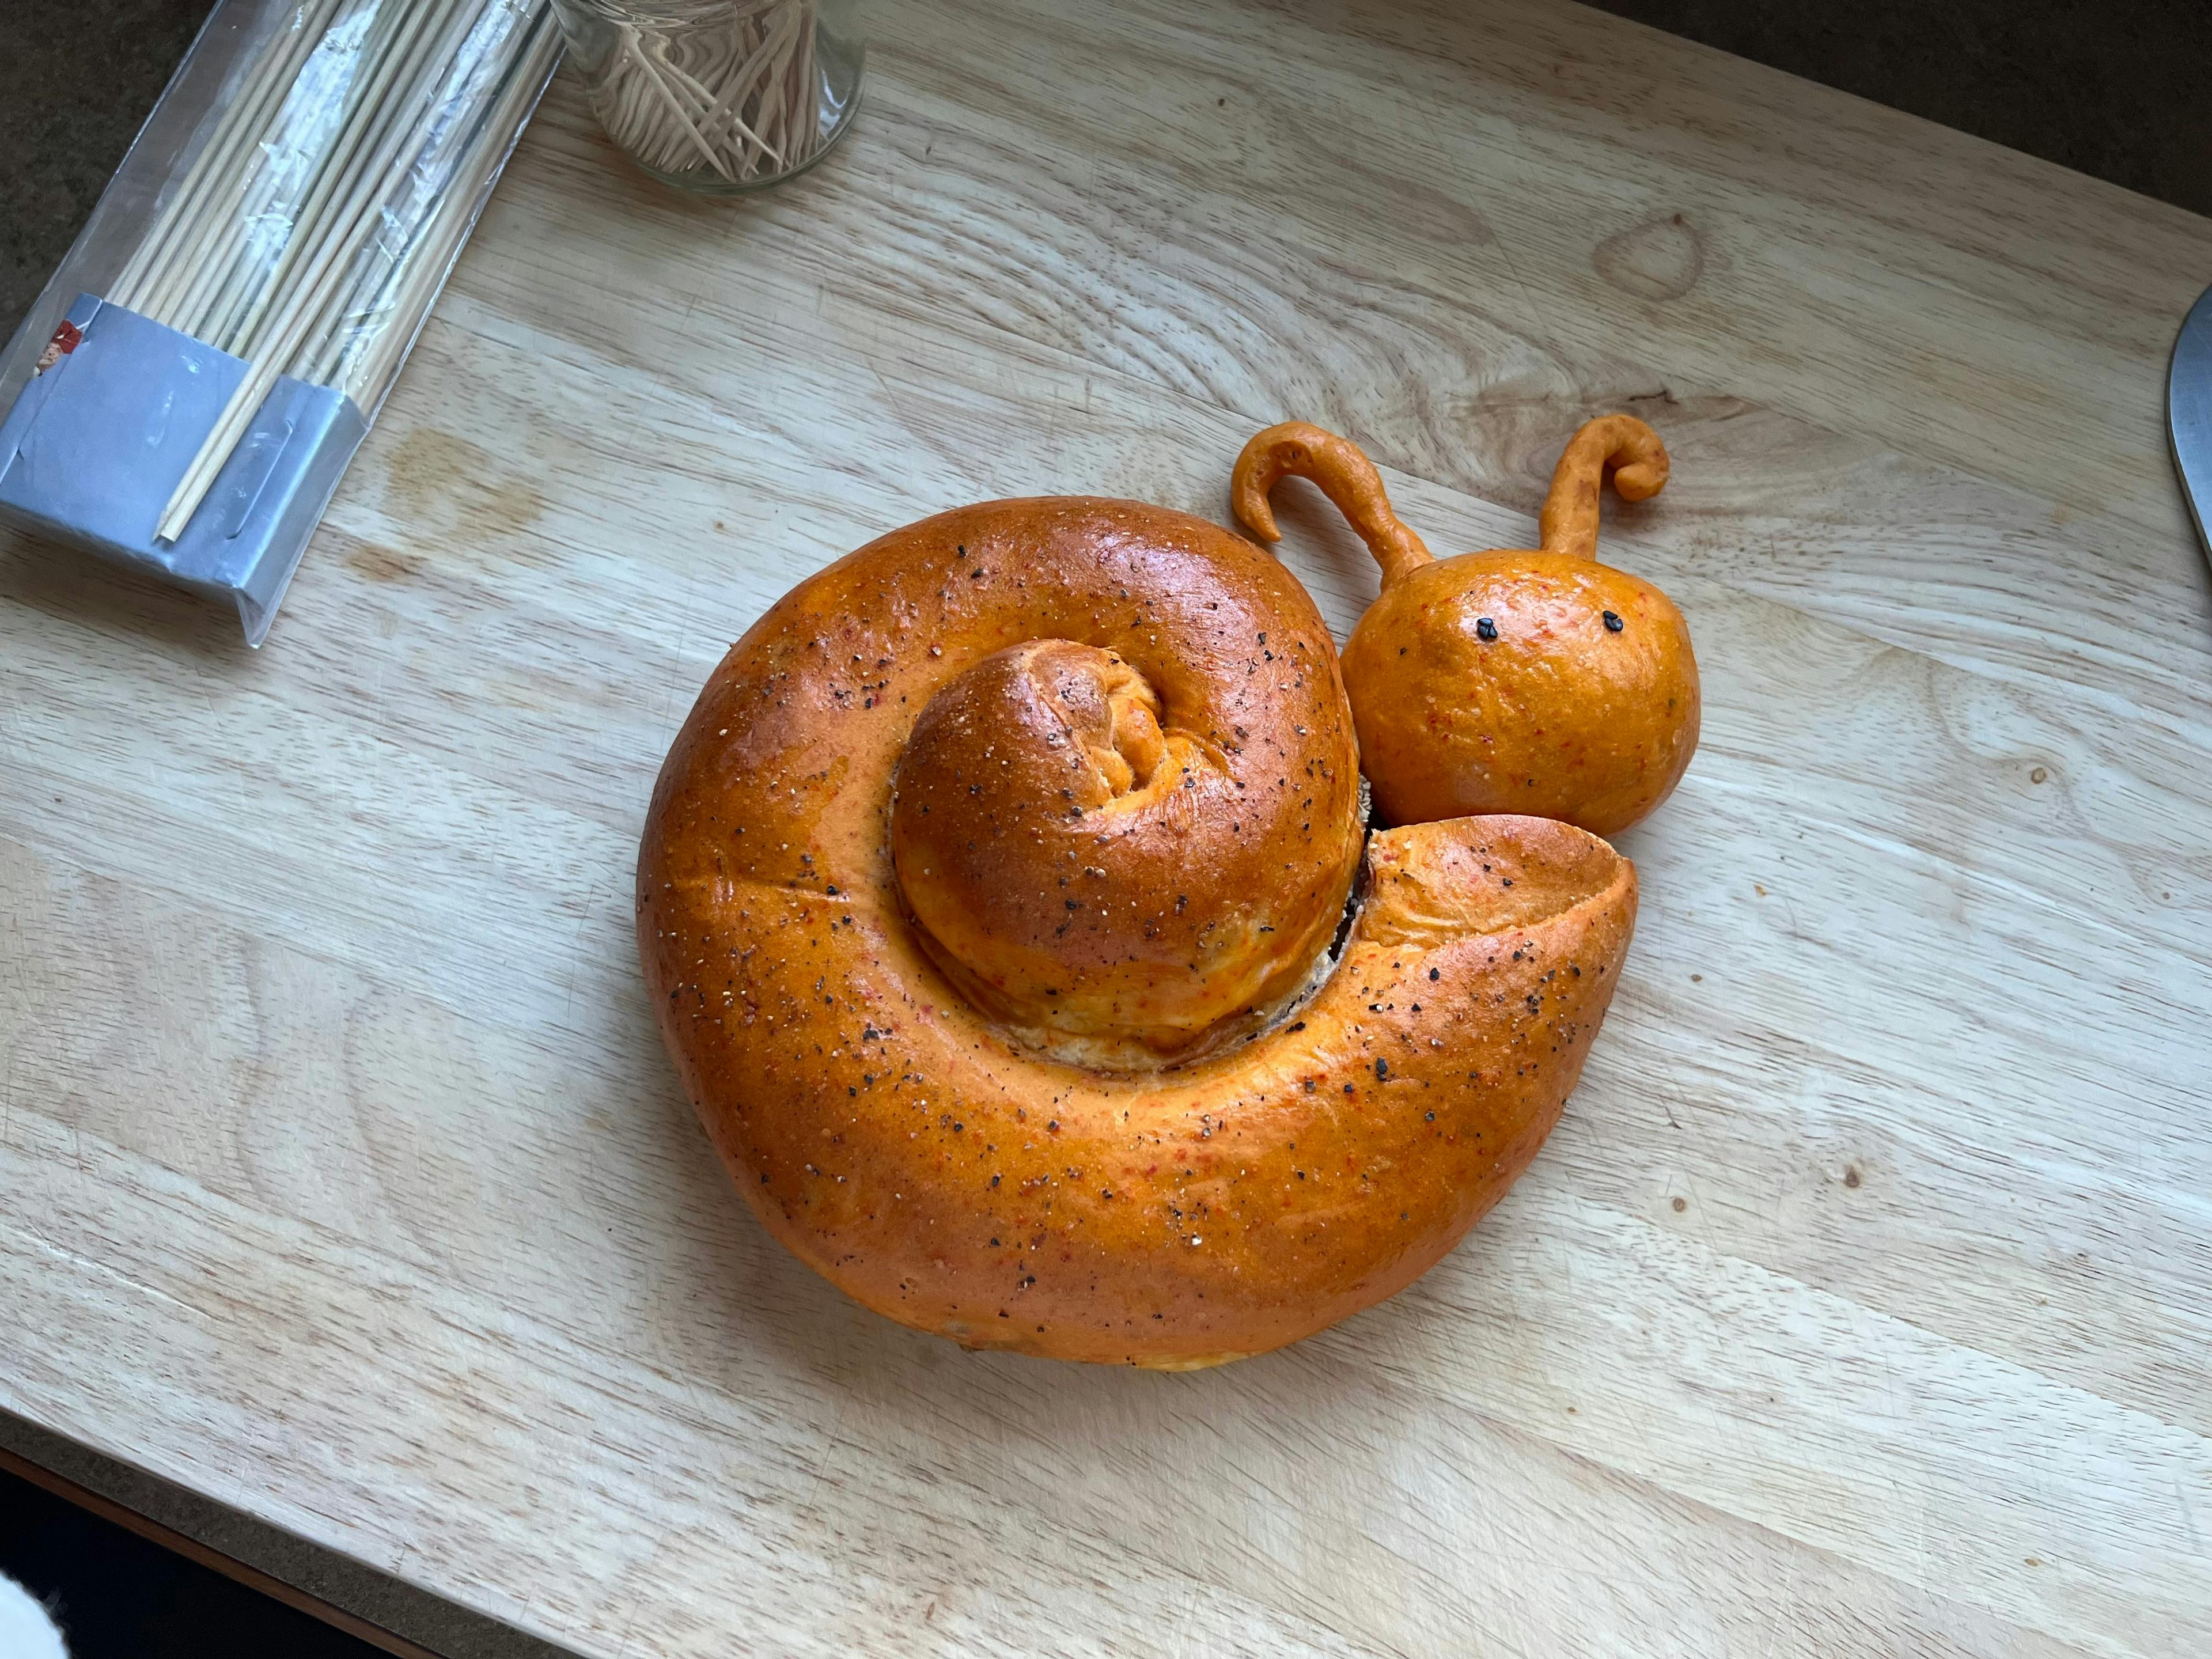
Once it came out of the oven, I used toothpicks to attach all of the pieces together, and the snail was done!
After temping the beet bread multiple times, it was FINALLY at 190F. I let it rest for a few moments while I put together the rest of the sculpture. I should have left it longer but I was impatient and it ended up being okay.
Because the mushroom size proportions weren’t super thought out, the cap was really much too large and heavy for the stem. I cut out a little notch in the bottom of the loaf and then used some wooden skewers to hold the darn thing together.

The Official Rating
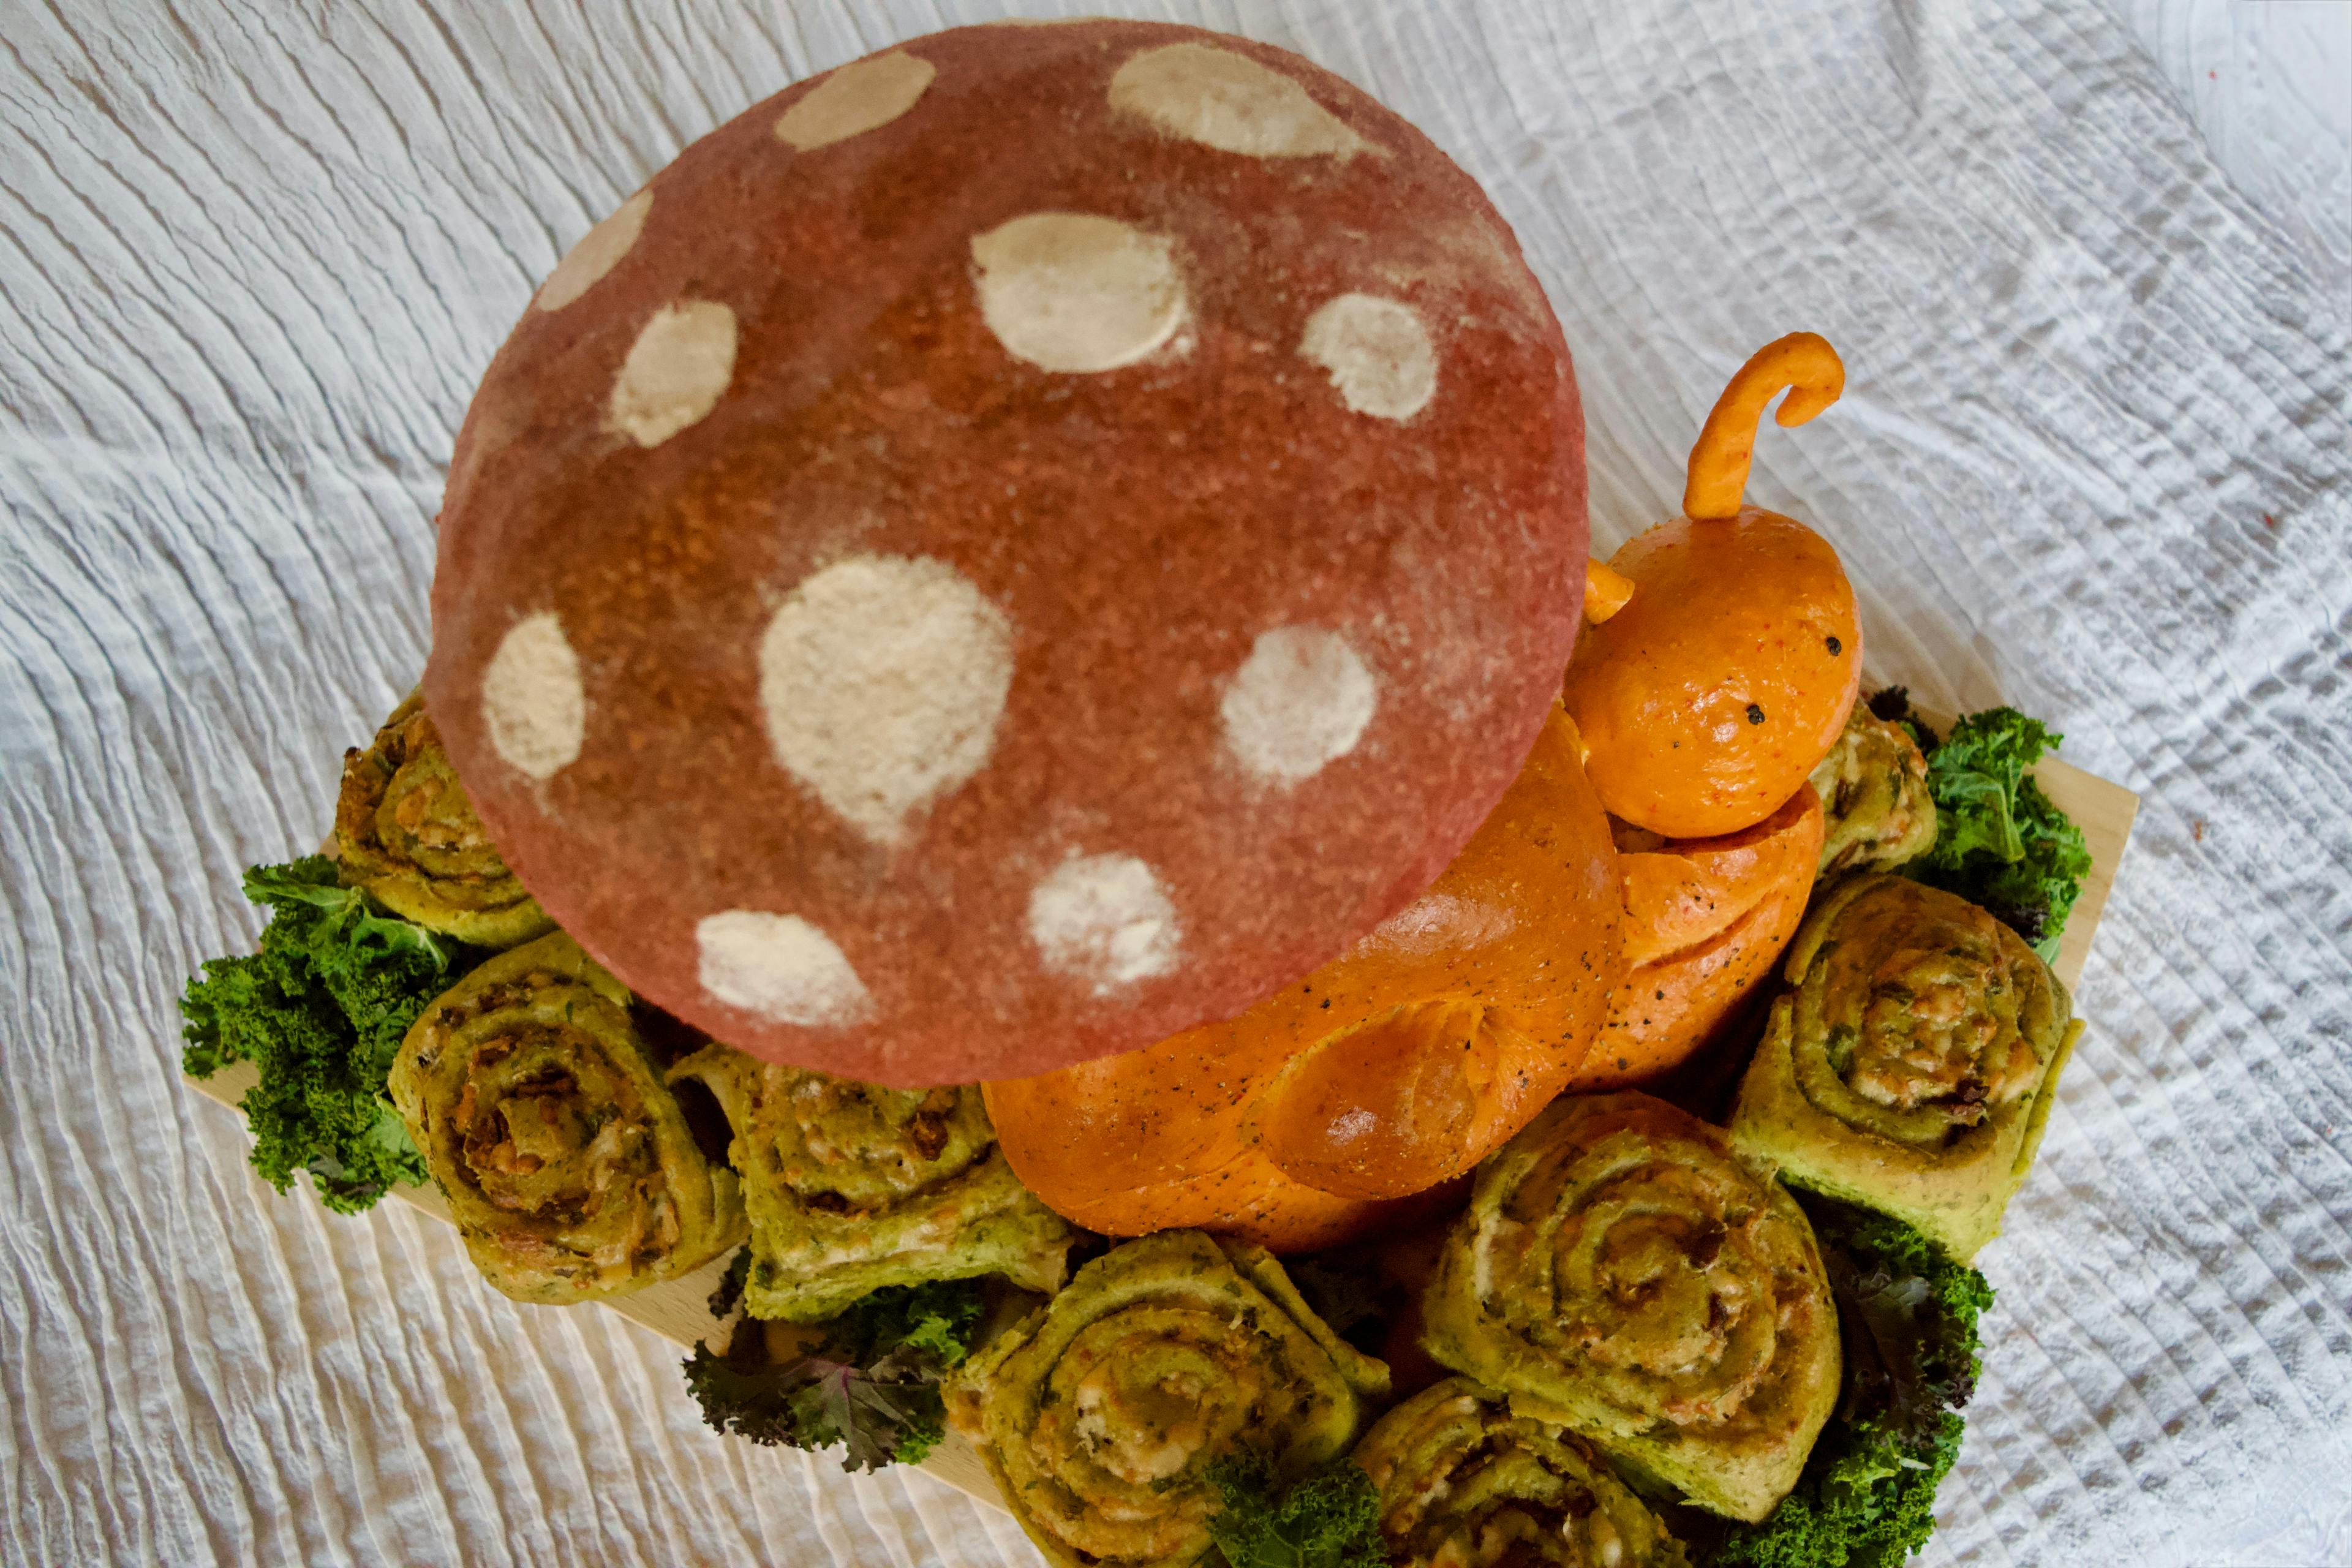
TA DA! It came out so good and I couldn't be more proud!

I tasted, rated, and imagined a use for each bread before I moved on to the overall rating.
Black Rye - 10/10. I want this bread with a slab of good salty butter and alongside a hearty bowl of soup.
Bacon + Cheddar Rolls - bajillion/10. I would eat this on its own at any time of day, in any mood! I think it was really enhanced by the vegetables in the dough since their vegetal vibes cut through the richness of the butter, cheese, and bacon. So, so good.
Pepper Onion + Goat Cheese Roll - million/10. This was delicious! Of course it was, right? Like how can you go wrong? I think this would be a wonderful appetizer to bring to a party. The pepper flavor was over powered by the fillings, but I don't care! It's still gorgeous and amazing!
Beet Bread - 7.5/10. Color: GORGEOUS. Texture: LUXURIOUS (reminds me of potato bread!). Flavor: JUST OKAY. The beet flavor is strong which is not bad, I just felt like it needed a bit more salt in the dough to balance out the bitter. I want to make savory french toast out of this one! (Find me on IG, I'll post about it there when I do it!)
The Handshakes
Paul’s handshakes are only bestowed upon the bakers when they have baked something really exceptional.
My rating for how likely I am to bake this recipe again is: 10/10 handshakes
🤝🏼🤝🏼🤝🏼🤝🏼🤝🏼🤝🏼🤝🏼🤝🏼🤝🏼🤝🏼
I don't know when I would need to make a colorful bread sculpture, but I would make all of the recipes with these flavors again.
My rating for my execution of this bake is: 10/10 handshakes
🤝🏼🤝🏼🤝🏼🤝🏼🤝🏼🤝🏼🤝🏼🤝🏼🤝🏼🤝🏼
I rocked it! I deserve a 10! Haha :)
To Sum Up
Overall, I am feeling way less intimidated by yeasted doughs. If I can make 4 in one day, I can make 1 every so often. And I really would like to do so more because there's nothing like fresh bread! I am patting myself on the back for how it all came out! Thanks for the inspiration, Julia!
Stay tuned for the bakes from Collection 5, Episode 4 - Caramel Week!
Head to the links below for the most recent bakes!
- Kate's Cookie Jumanji Board Game
- Paul's Orange + Almond Fortune Cookies
- Sophie's Lemon Limoncino Sandwich Biscuits
I hope you have a beautiful rest of your day and thank you so much for being here!
💖, Katrina
Comments:
Ann
This is so adorable! Paul and Prue would be so happy!
November 19, 2023 at 3:56 PM