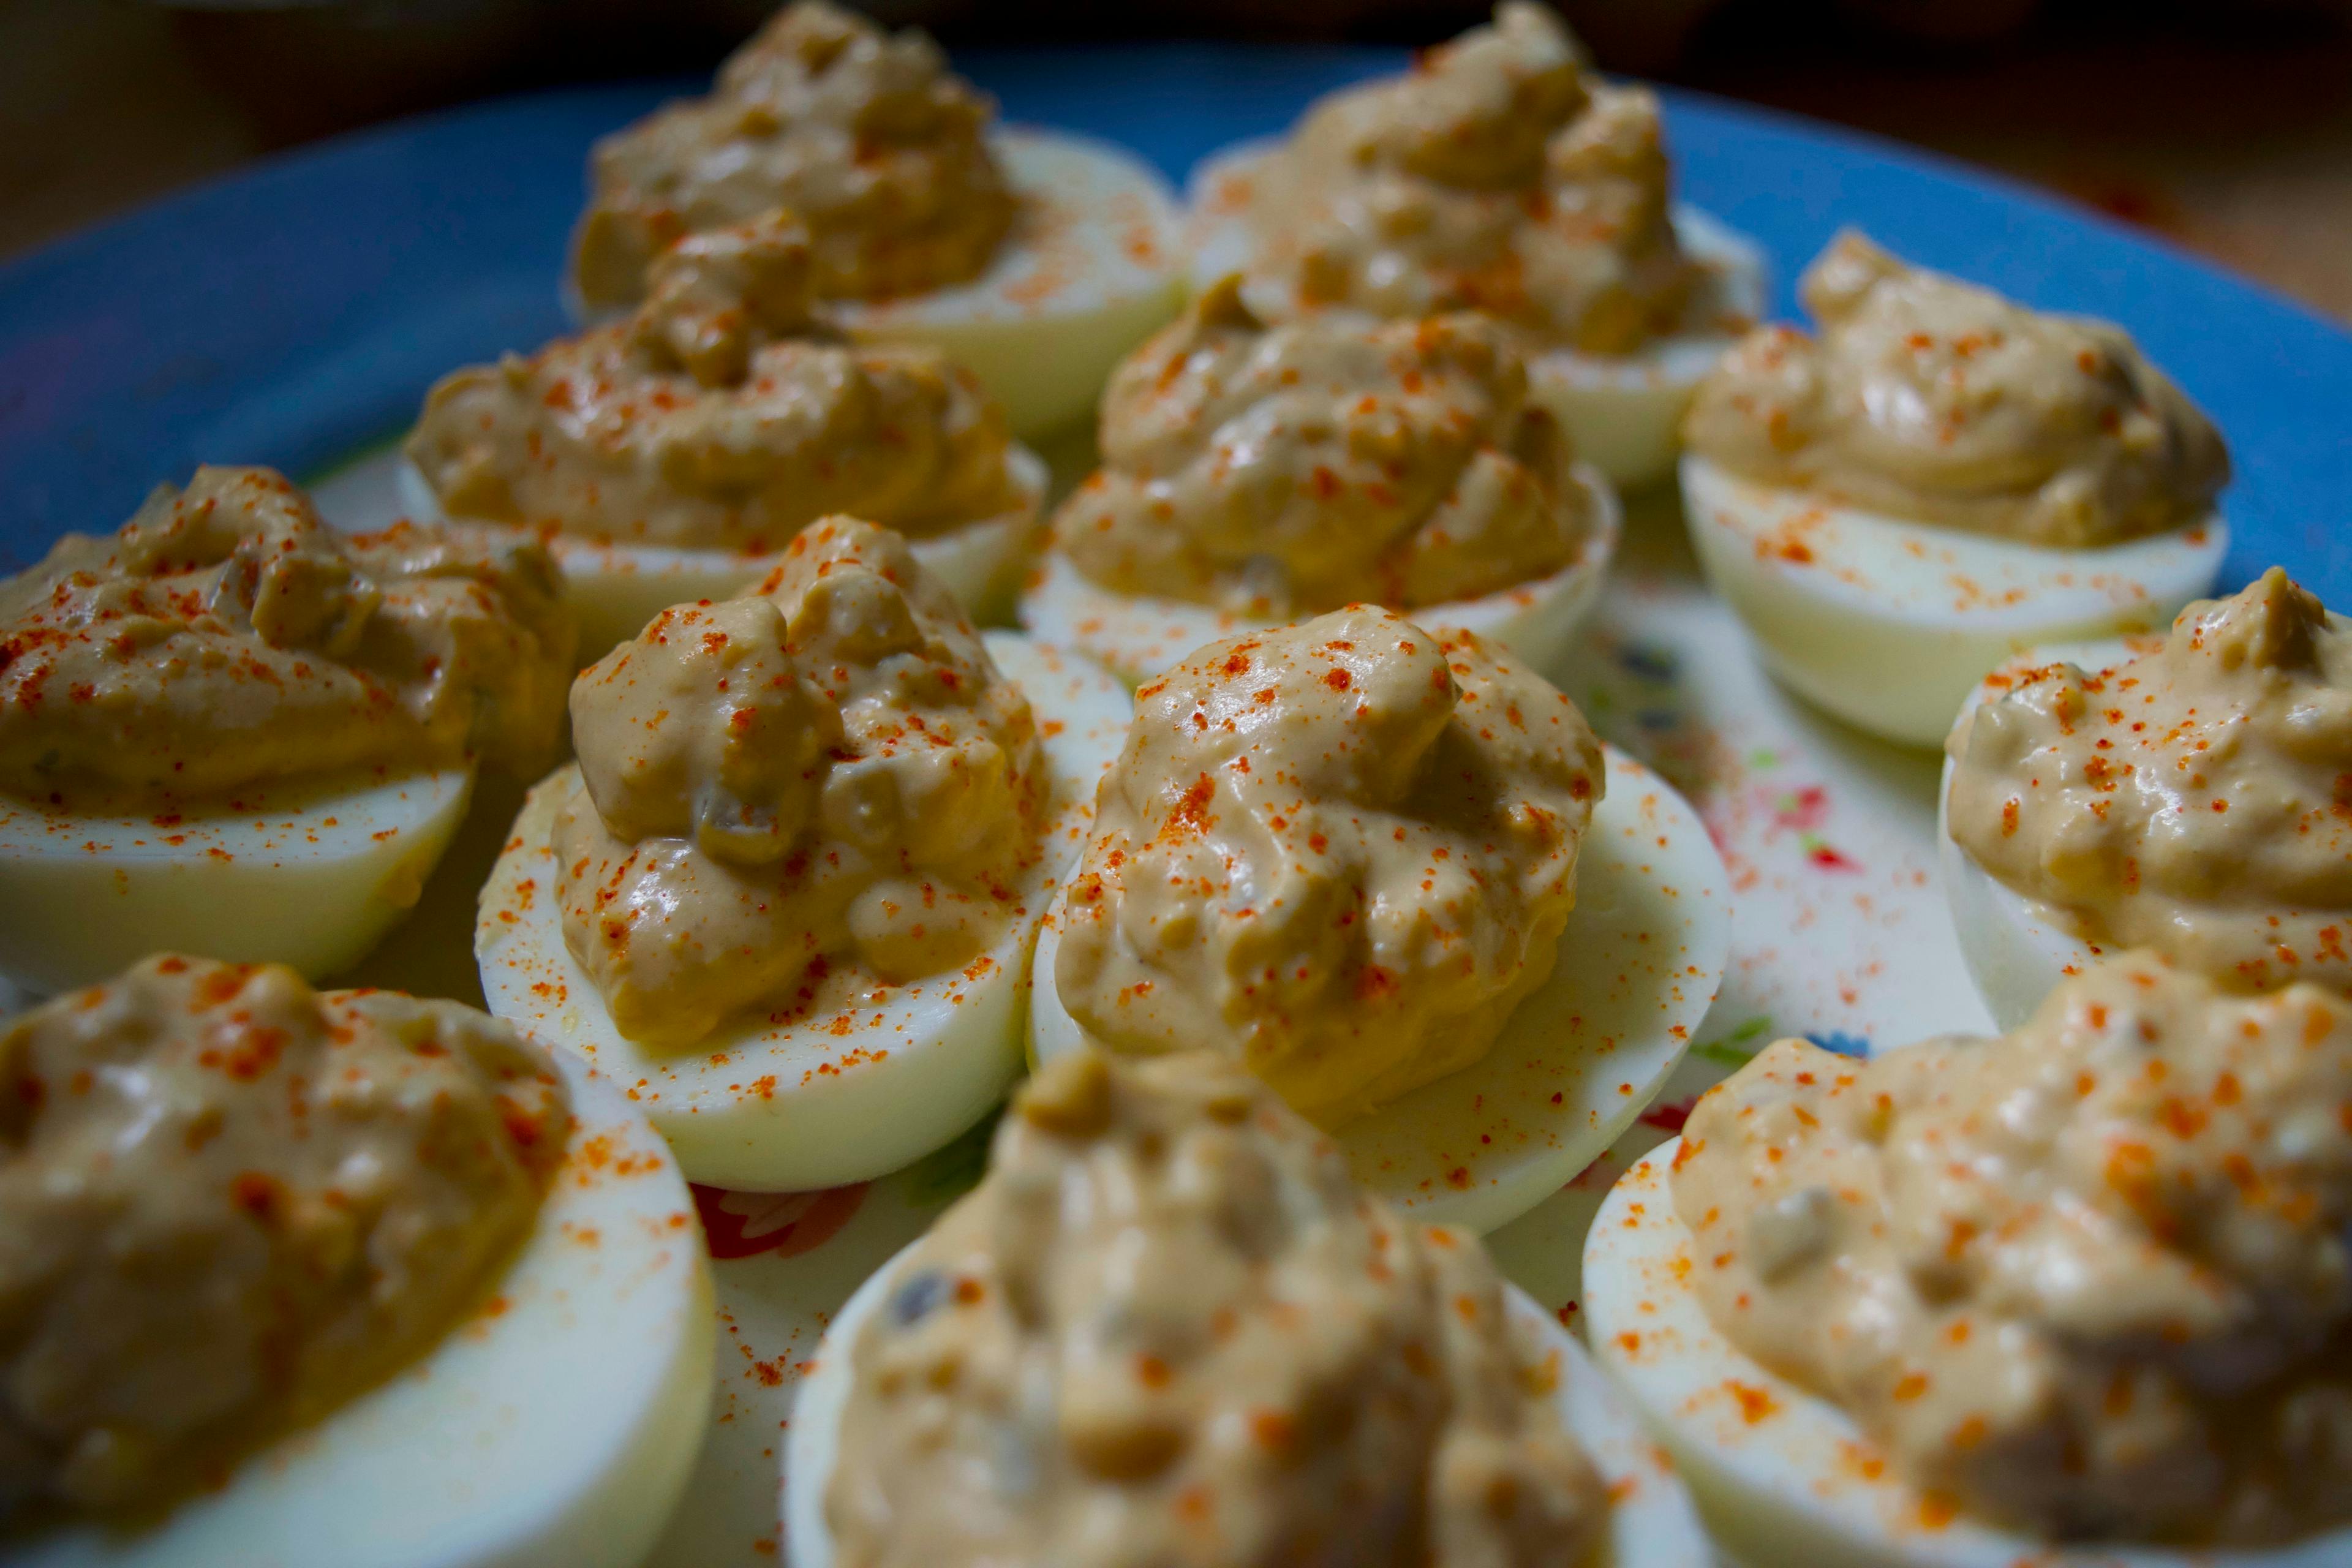
Super Savory Deviled Eggs
March 14, 2023

* Products linked below may be affiliate links. I may receive a small commission if you place an order through them (at no cost to you). For more, see our Affiliate Disclosure.
This is hands down my favorite way to eat eggs. But be playfully warned - this is a garlicky, mustardy, savory bite, sure to wake you up and probably make you want to brush your teeth. But I must say: it’s worth it every time.
The Story
When I was a child, my mom, younger brother and I would sometimes set up make-your-own deviled egg bars for lunch. We would boil and cool some eggs, gather all of the tasty savory goodies from the fridge, and sit down to experiment, aka, eat lunch. I remember I would make one egg at a time in a little bowl with a little spoon, experimenting with different combos of mayo, sauces, relishes, and spices. My brother, who had very, VERY specific tastes as a kid, landed on his favorite being just egg yolk mixed with a bunch of lox cut into tiny pieces. Being about 10, I naturally thought that most things he liked to eat were weird, and this was no exception. However, looking back on it, it’s almost like the Jewish deli breakfast classic of nova and eggs, so I guess it does make some sense!
While he was busy putting just the right number of smoked fish pieces into his eggs, I on the other hand landed on this super savory and intensely flavored concoction. I liked this combination of flavors so much that it is the only way I make deviled eggs STILL, about 20 years later! I have tried messing with the recipe and always end up sad that it isn’t this. Josh and I often have a half a dozen of these with some chopped up raw veggies and call it a simple summer supper.
Ingredient notes -
Garlic powder: Feel free to skip the garlic powder if you want to eat these in public.
Pickle relish, part 1: I always used Bubbie’s brand (not sponsored!) dill pickle relish when I was a kid. If you want the True Experience, it has to be Bubbie’s. This brand is intensely garlicky, and ferment-y, so if that's not your thing, any cucumber pickle (even sweet) can work. It will just be different!
Pickle relish, part 2: If you don't have pickle relish on hand, you can make your own by finely dicing a pickle and adding a tiny bit of brine. This is what I usually do!
Mustard: I sometimes use whole grain mustard, but I would just use a little less - probably more like 2 teaspoons instead of the full tablespoon!
Salt: Salinity to volume varies by brand. I almost always use Diamond Crystal Kosher. If you use Morton's Kosher or regular table salt, use half the amount by volume, or the same by weight.
The Recipe
makes 12 deviled egg halves
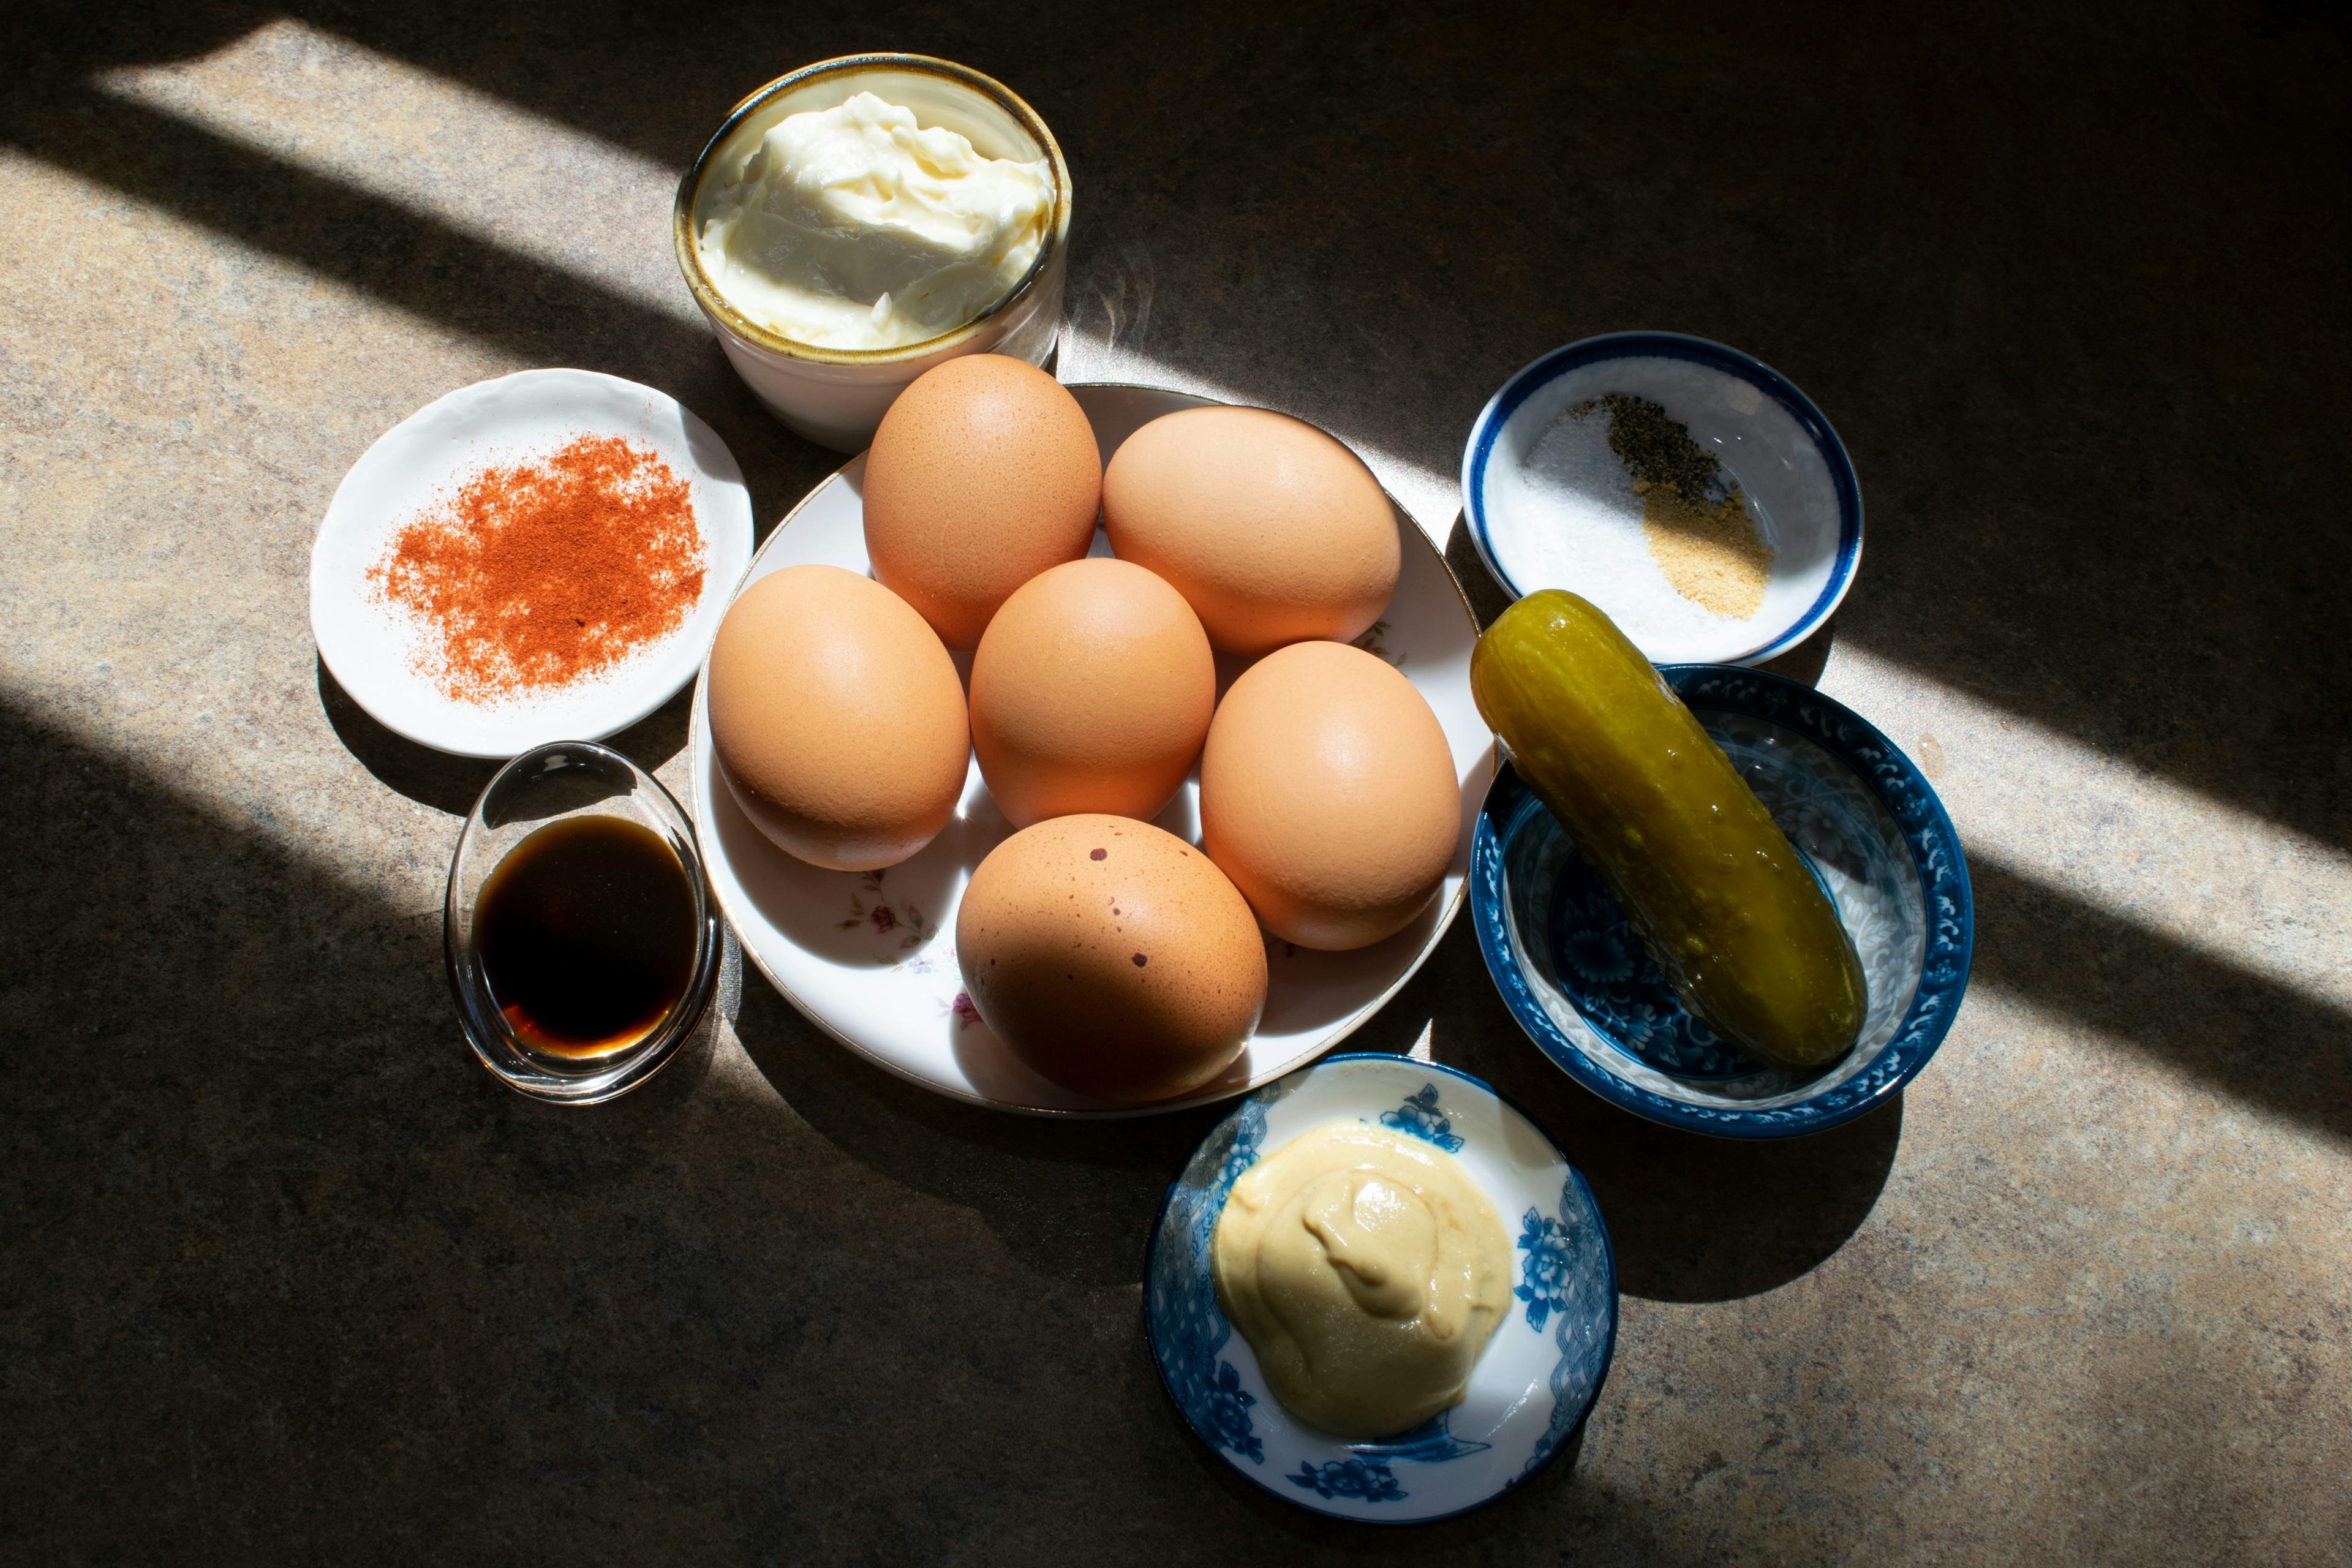
Ingredients
- 6 large eggs
- 1/2 cup (125 grams) mayo
- 1/4 cup (61 grams) dill or sweet pickle relish (or 1/4 cup finely diced pickle plus ½ teaspoon brine)
- 1 tablespoon (15 grams) dijon mustard
- 2 teaspoons (11 grams) worcestershire sauce (use an anchovy-free vegan version if you want this dish to be vegetarian)
- 1/4 teaspoon garlic powder
- Salt and pepper to taste, about 1/8 teaspoon each (if using Diamond Crystal kosher salt - see note above if not)
- Dusting of smoked or regular paprika
To Make
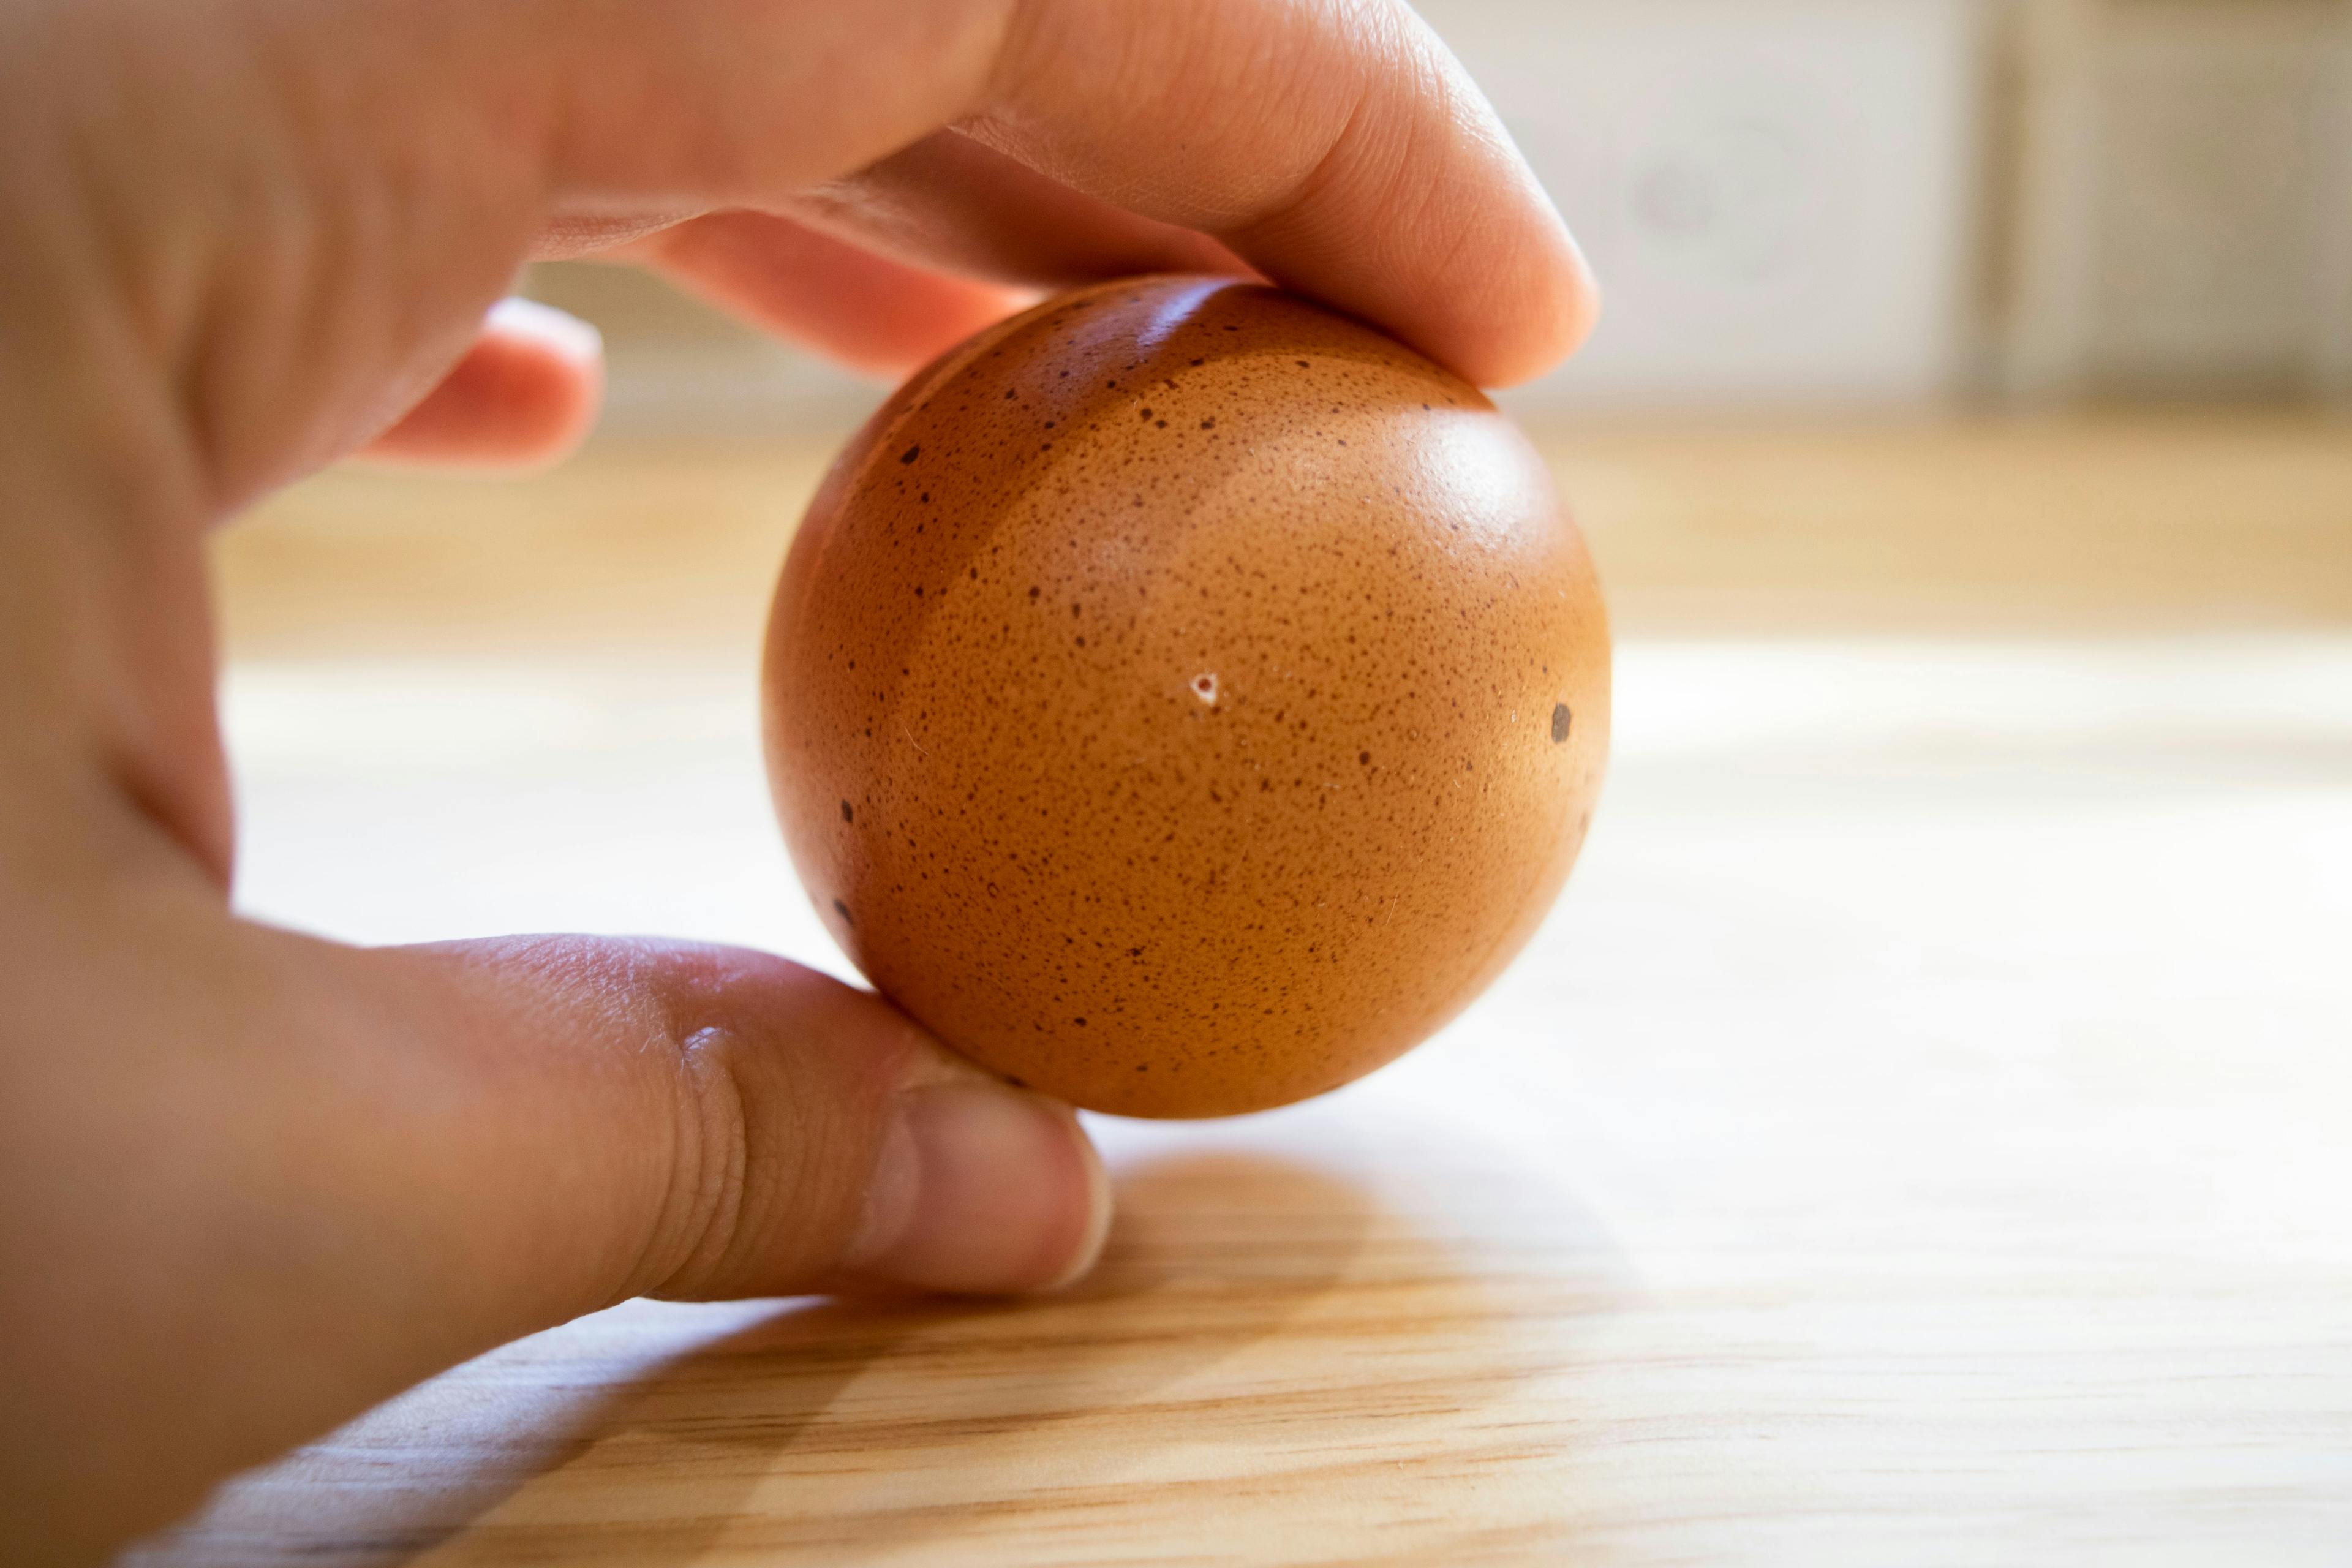
1. Boil The Eggs
Place a covered medium pot of water over high heat, using enough water to eventually cover all 6 large eggs. While the water is coming to a boil, prep the eggs by poking a hole no more than a 1/8 inch down into the large end of the egg with a sterilized* safety pin. If you poke too deep, you run the risk of breaking the yolk, so be careful! This is easier to do with the eggs still in their little homes in the carton.
* Sterilize the safety pin with a small cloth or cotton ball and rubbing alcohol.

Once the water is boiling, use a spoon to carefully place the eggs into the water one at a time, and lower the heat to medium-high. The water should remain at a light boil - nothing too vigorous. Set a timer for 12 minutes.

When the timer goes off, turn off the heat and carefully pour as much of the water into the sink as you can without dumping out any eggs. Fill the pot with cold water from the tap, pouring out and refilling a few times until the water stays cold. Allow the eggs to chill completely, either by adding ice to the pot with the eggs and cold water (quicker), or putting the whole pot in the fridge (takes longer). If you pop it in the fridge, please make sure you put a cloth or potholder on the shelf first if it is still warm at all!
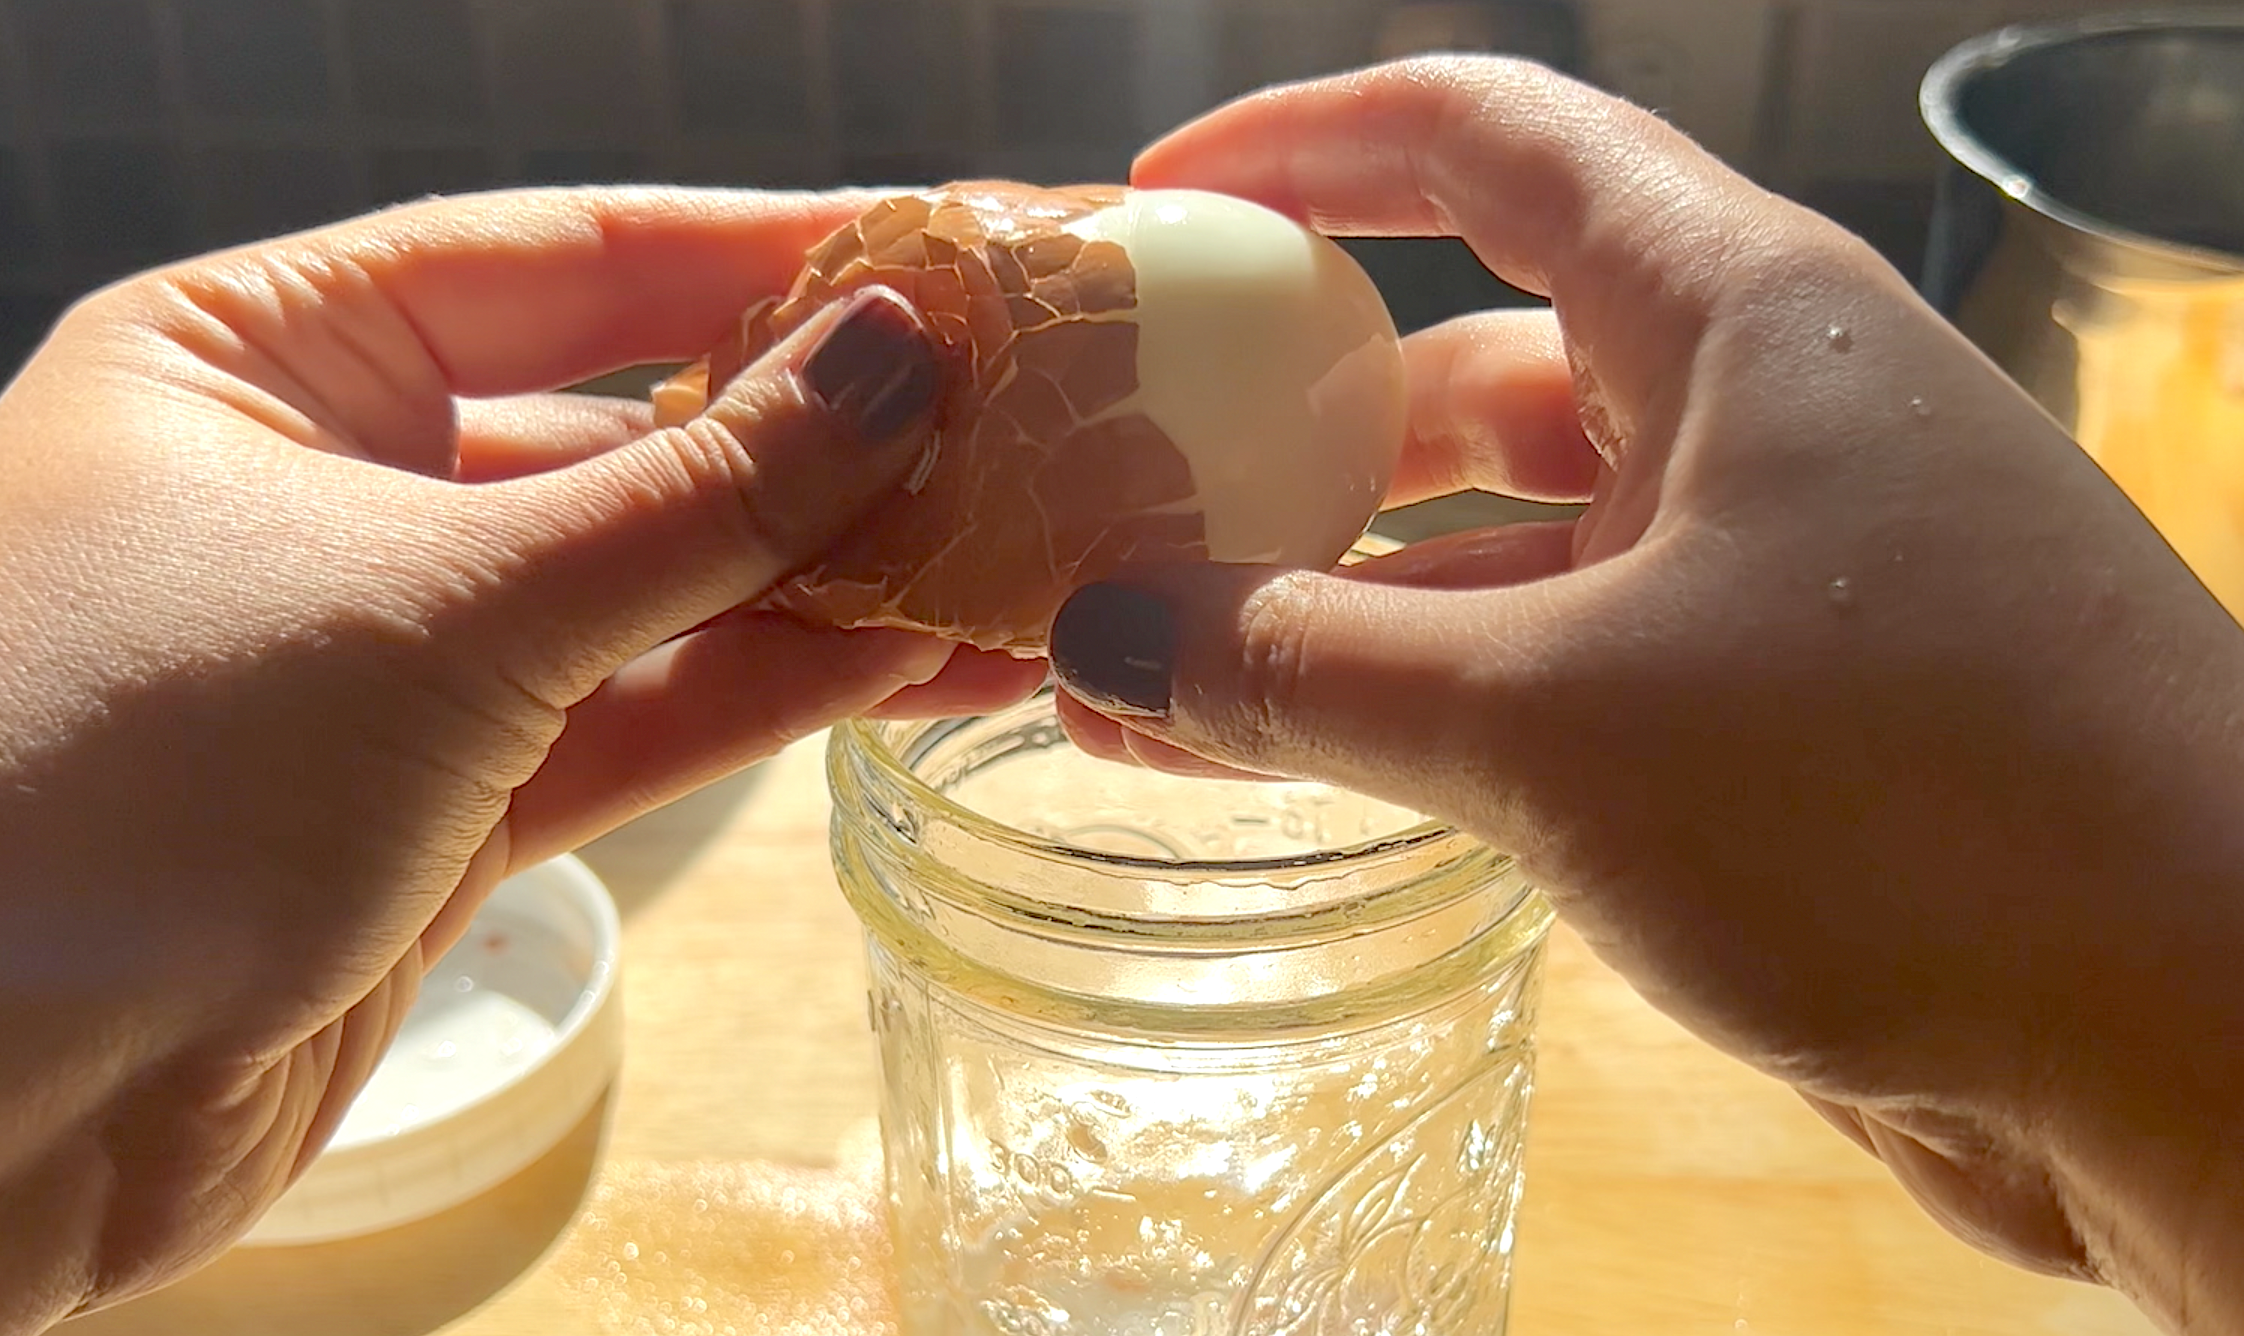
2. Prep the Eggs
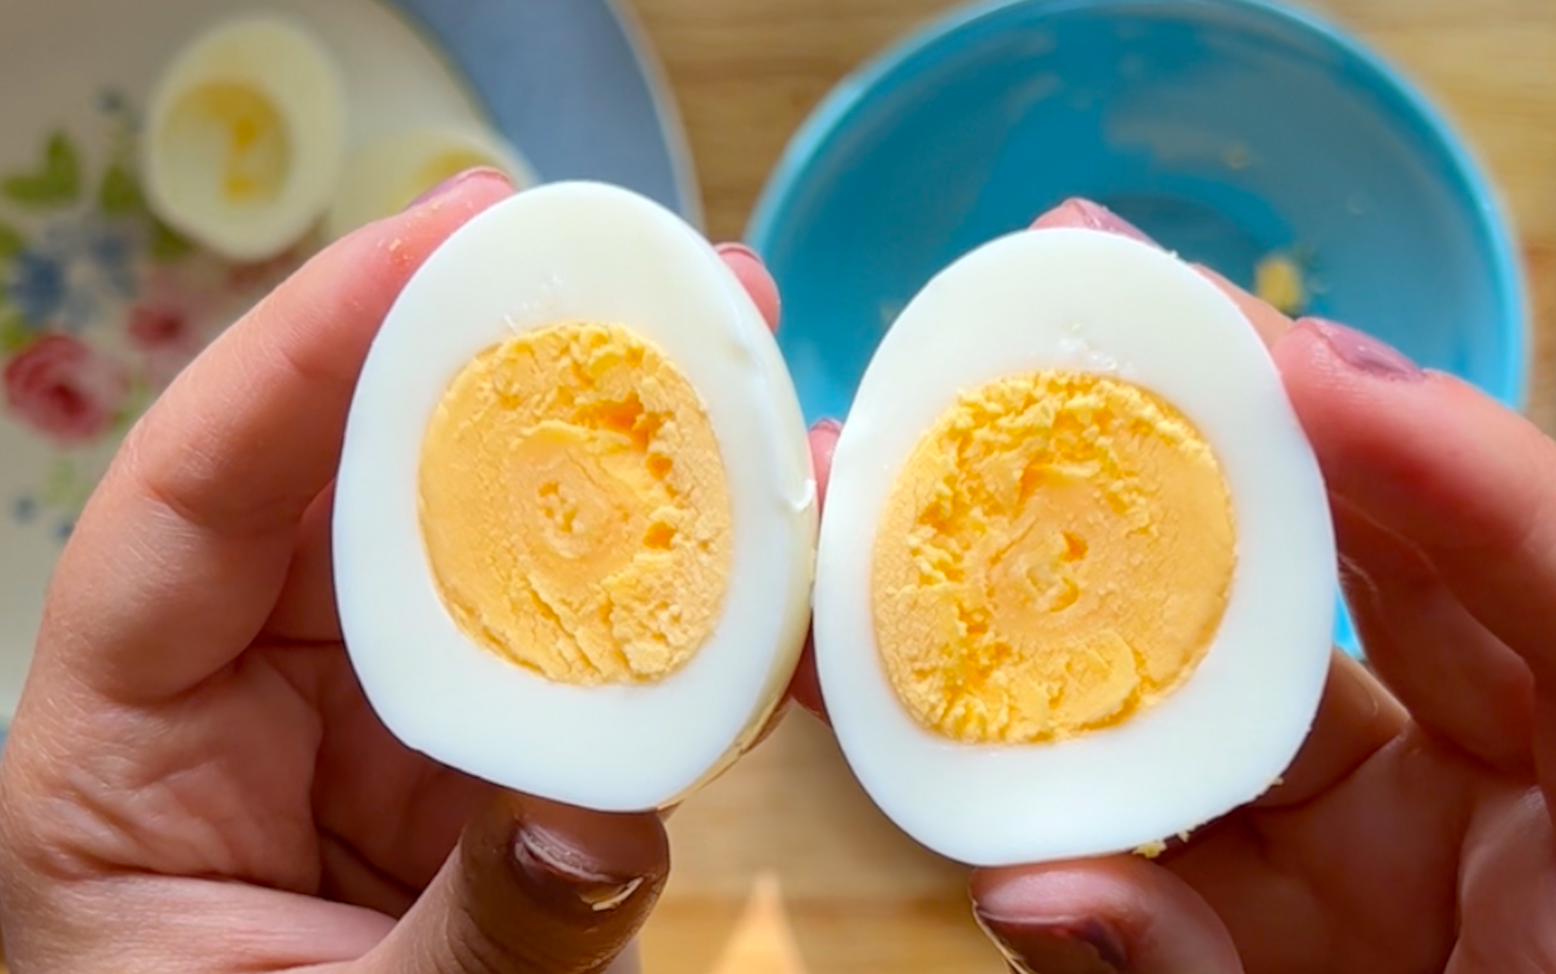
Once the eggs are completely chilled to the touch, it’s time to peel. This is my favorite way these days - Place one egg into a jar (approx. 16 oz) that has about a half inch of cool water at the bottom. Screw the lid on, and gently shake the jar until the shell is completely cracked, and has started to loosen. Do not shake too much or too forcefully - doing so can mangle the egg. Depending on your eggs, the shell may come off completely, but if it doesn’t, remove the egg and water from the jar and finish by hand. The shell should slip off easily, often in one piece. How cool!? Rinse the egg with fresh water to remove any straggling bits of shell, and repeat with the rest of the eggs.
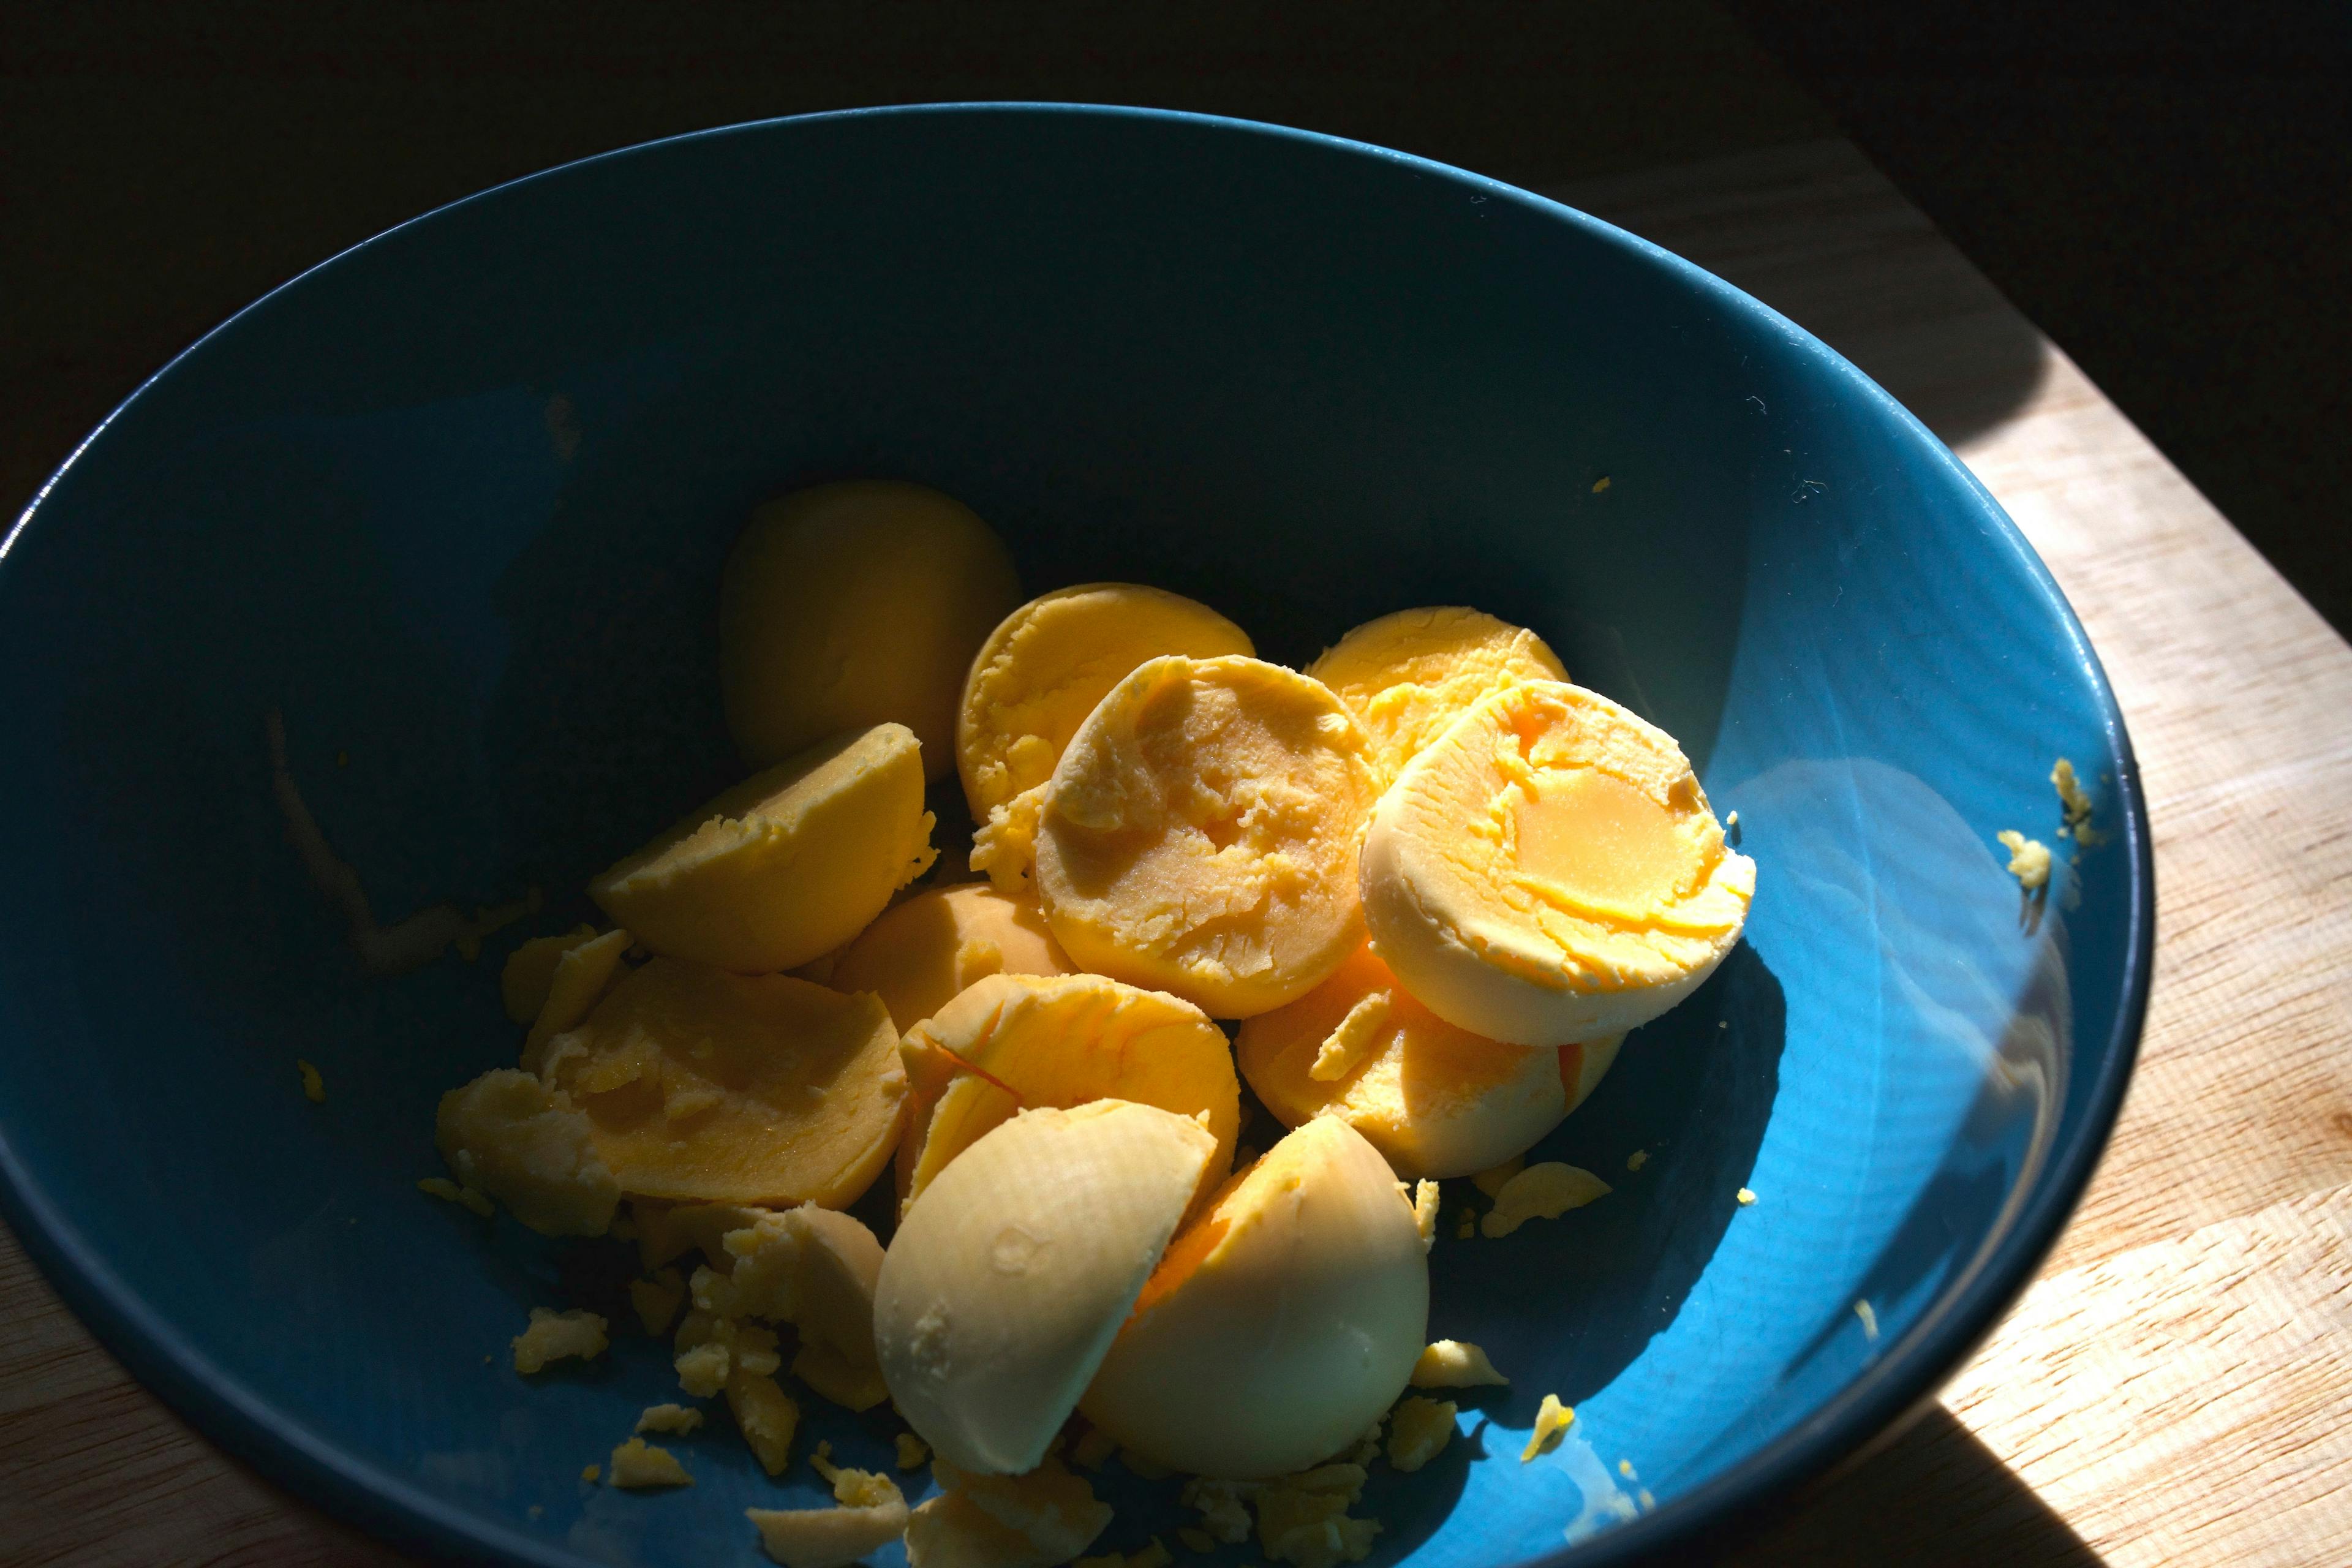
Cut each egg in half lengthwise and gently pop the yolk into a medium bowl. Place the whites cut side up on a serving platter. If the eggs are at all warm to the touch, you can place everything in the fridge for a few moments. The eggs will cool quicker if they are cut and separated like this!

3a. Make the Filling By Hand
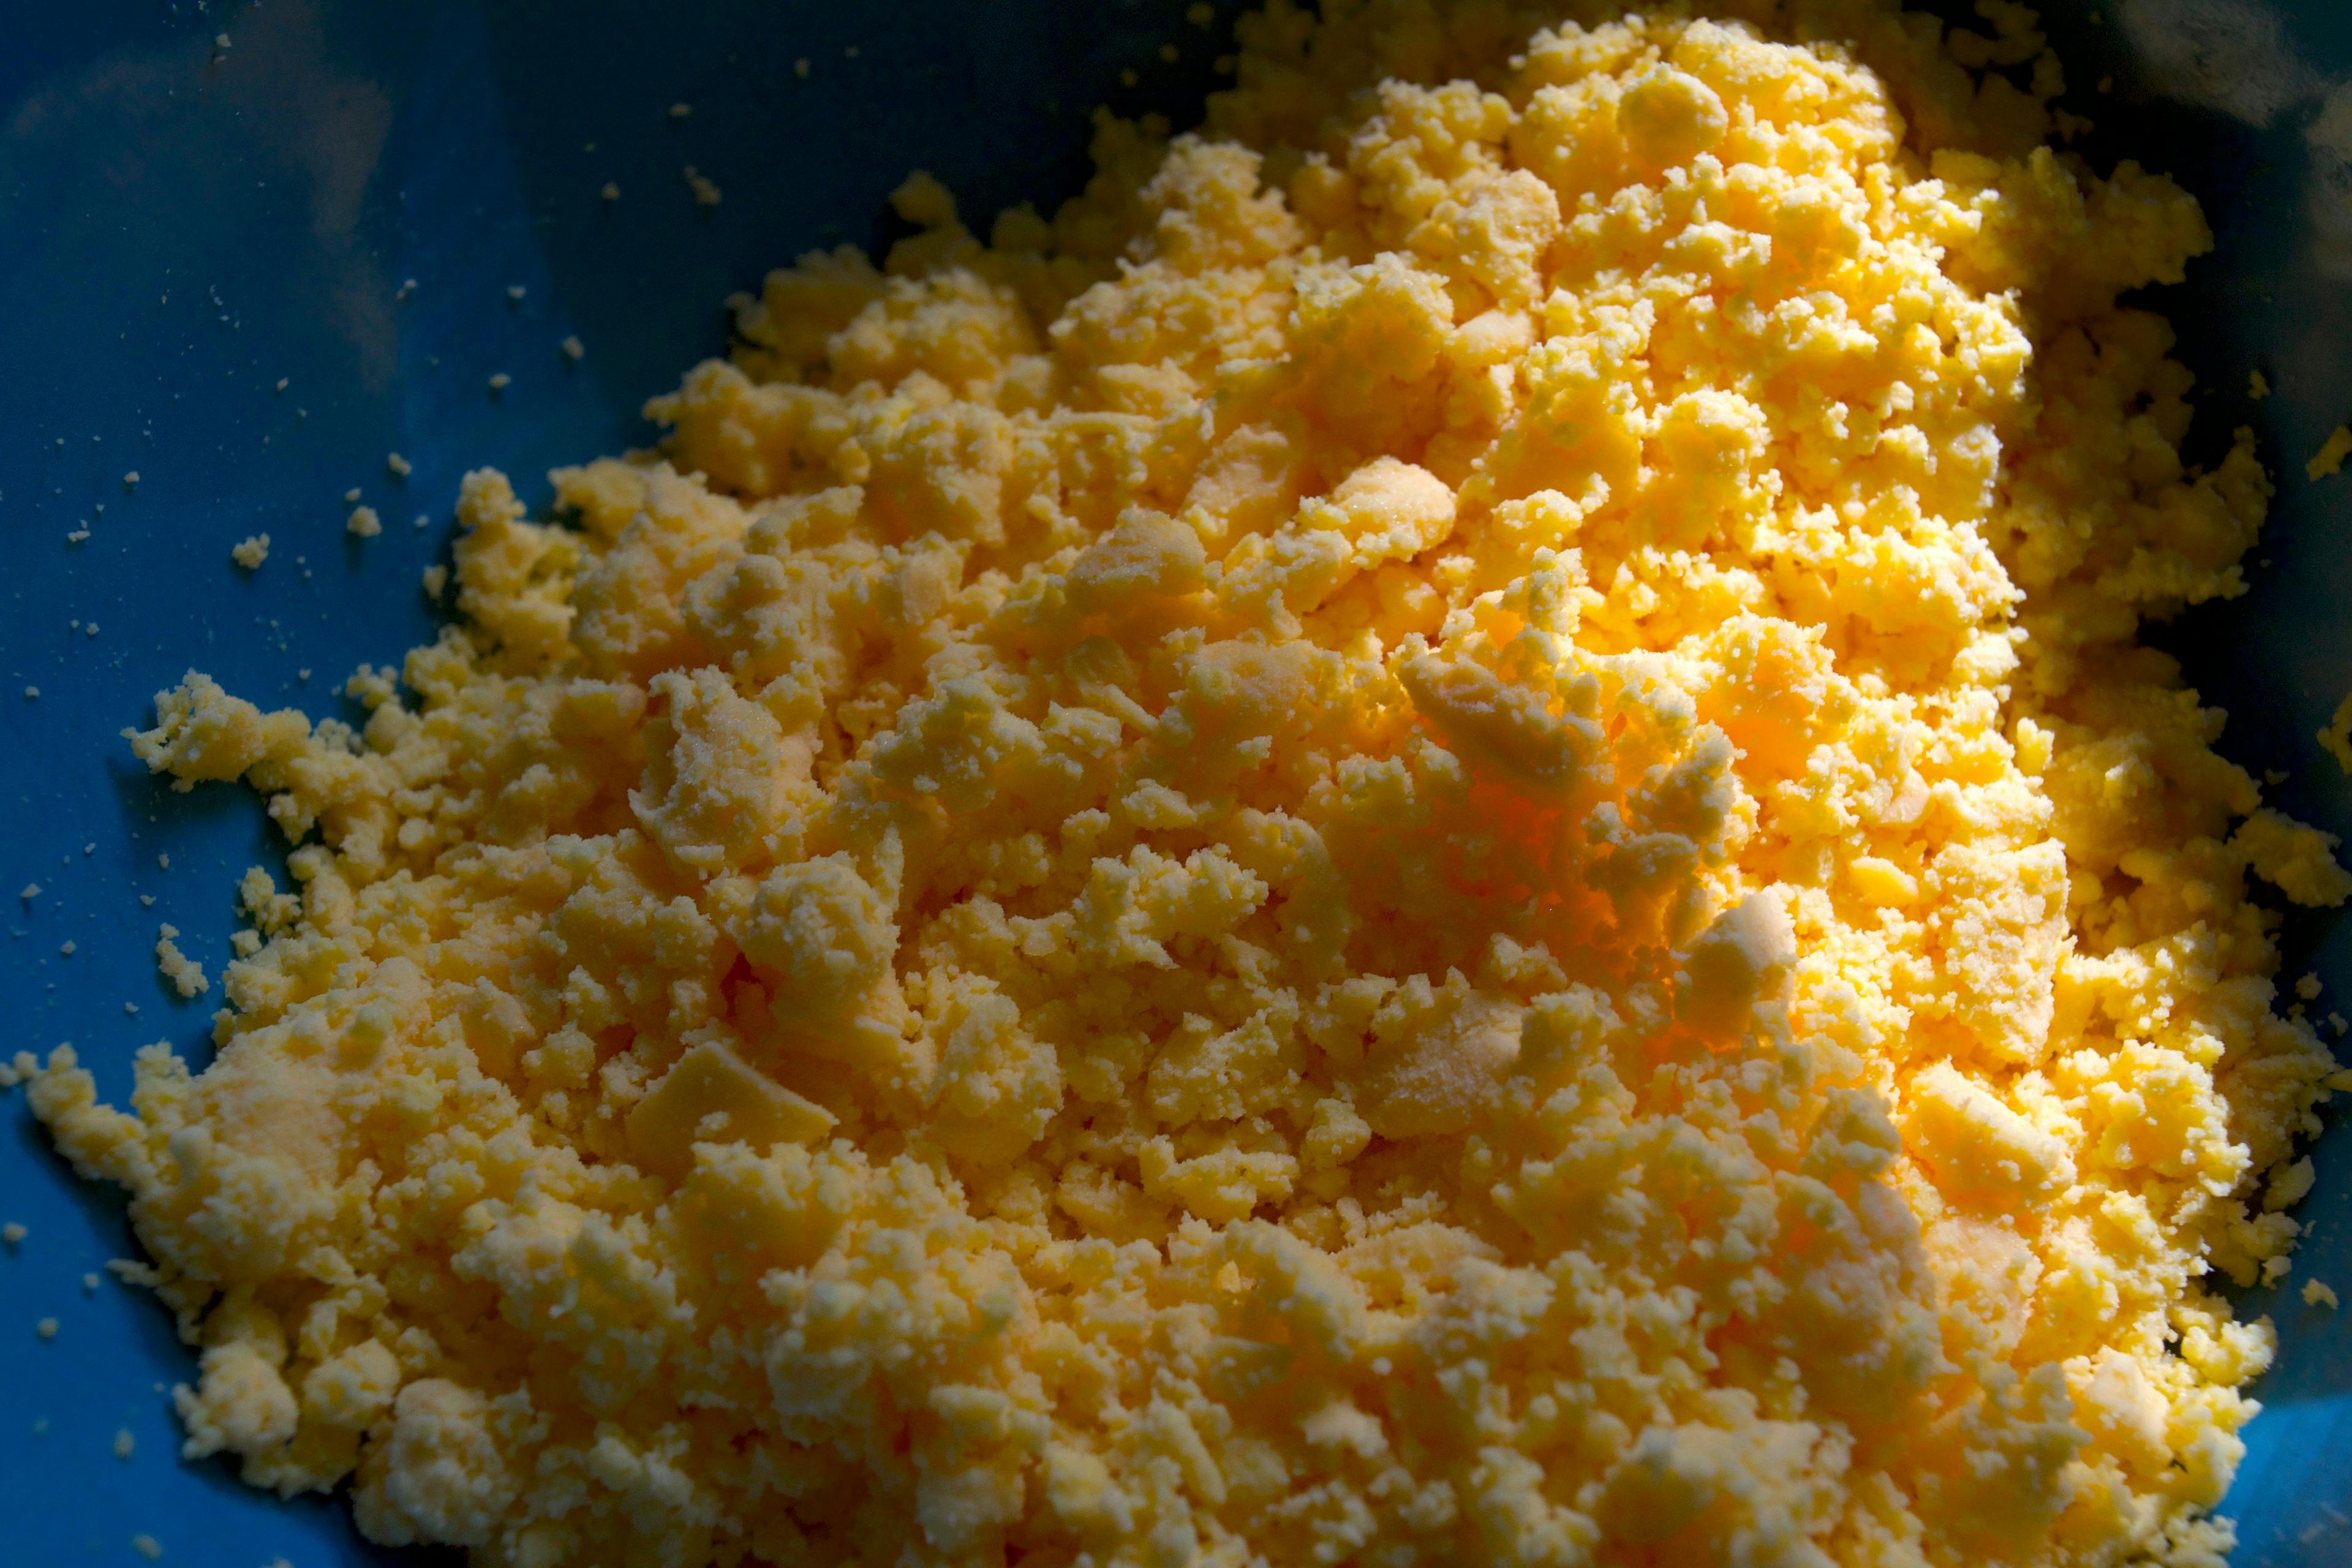
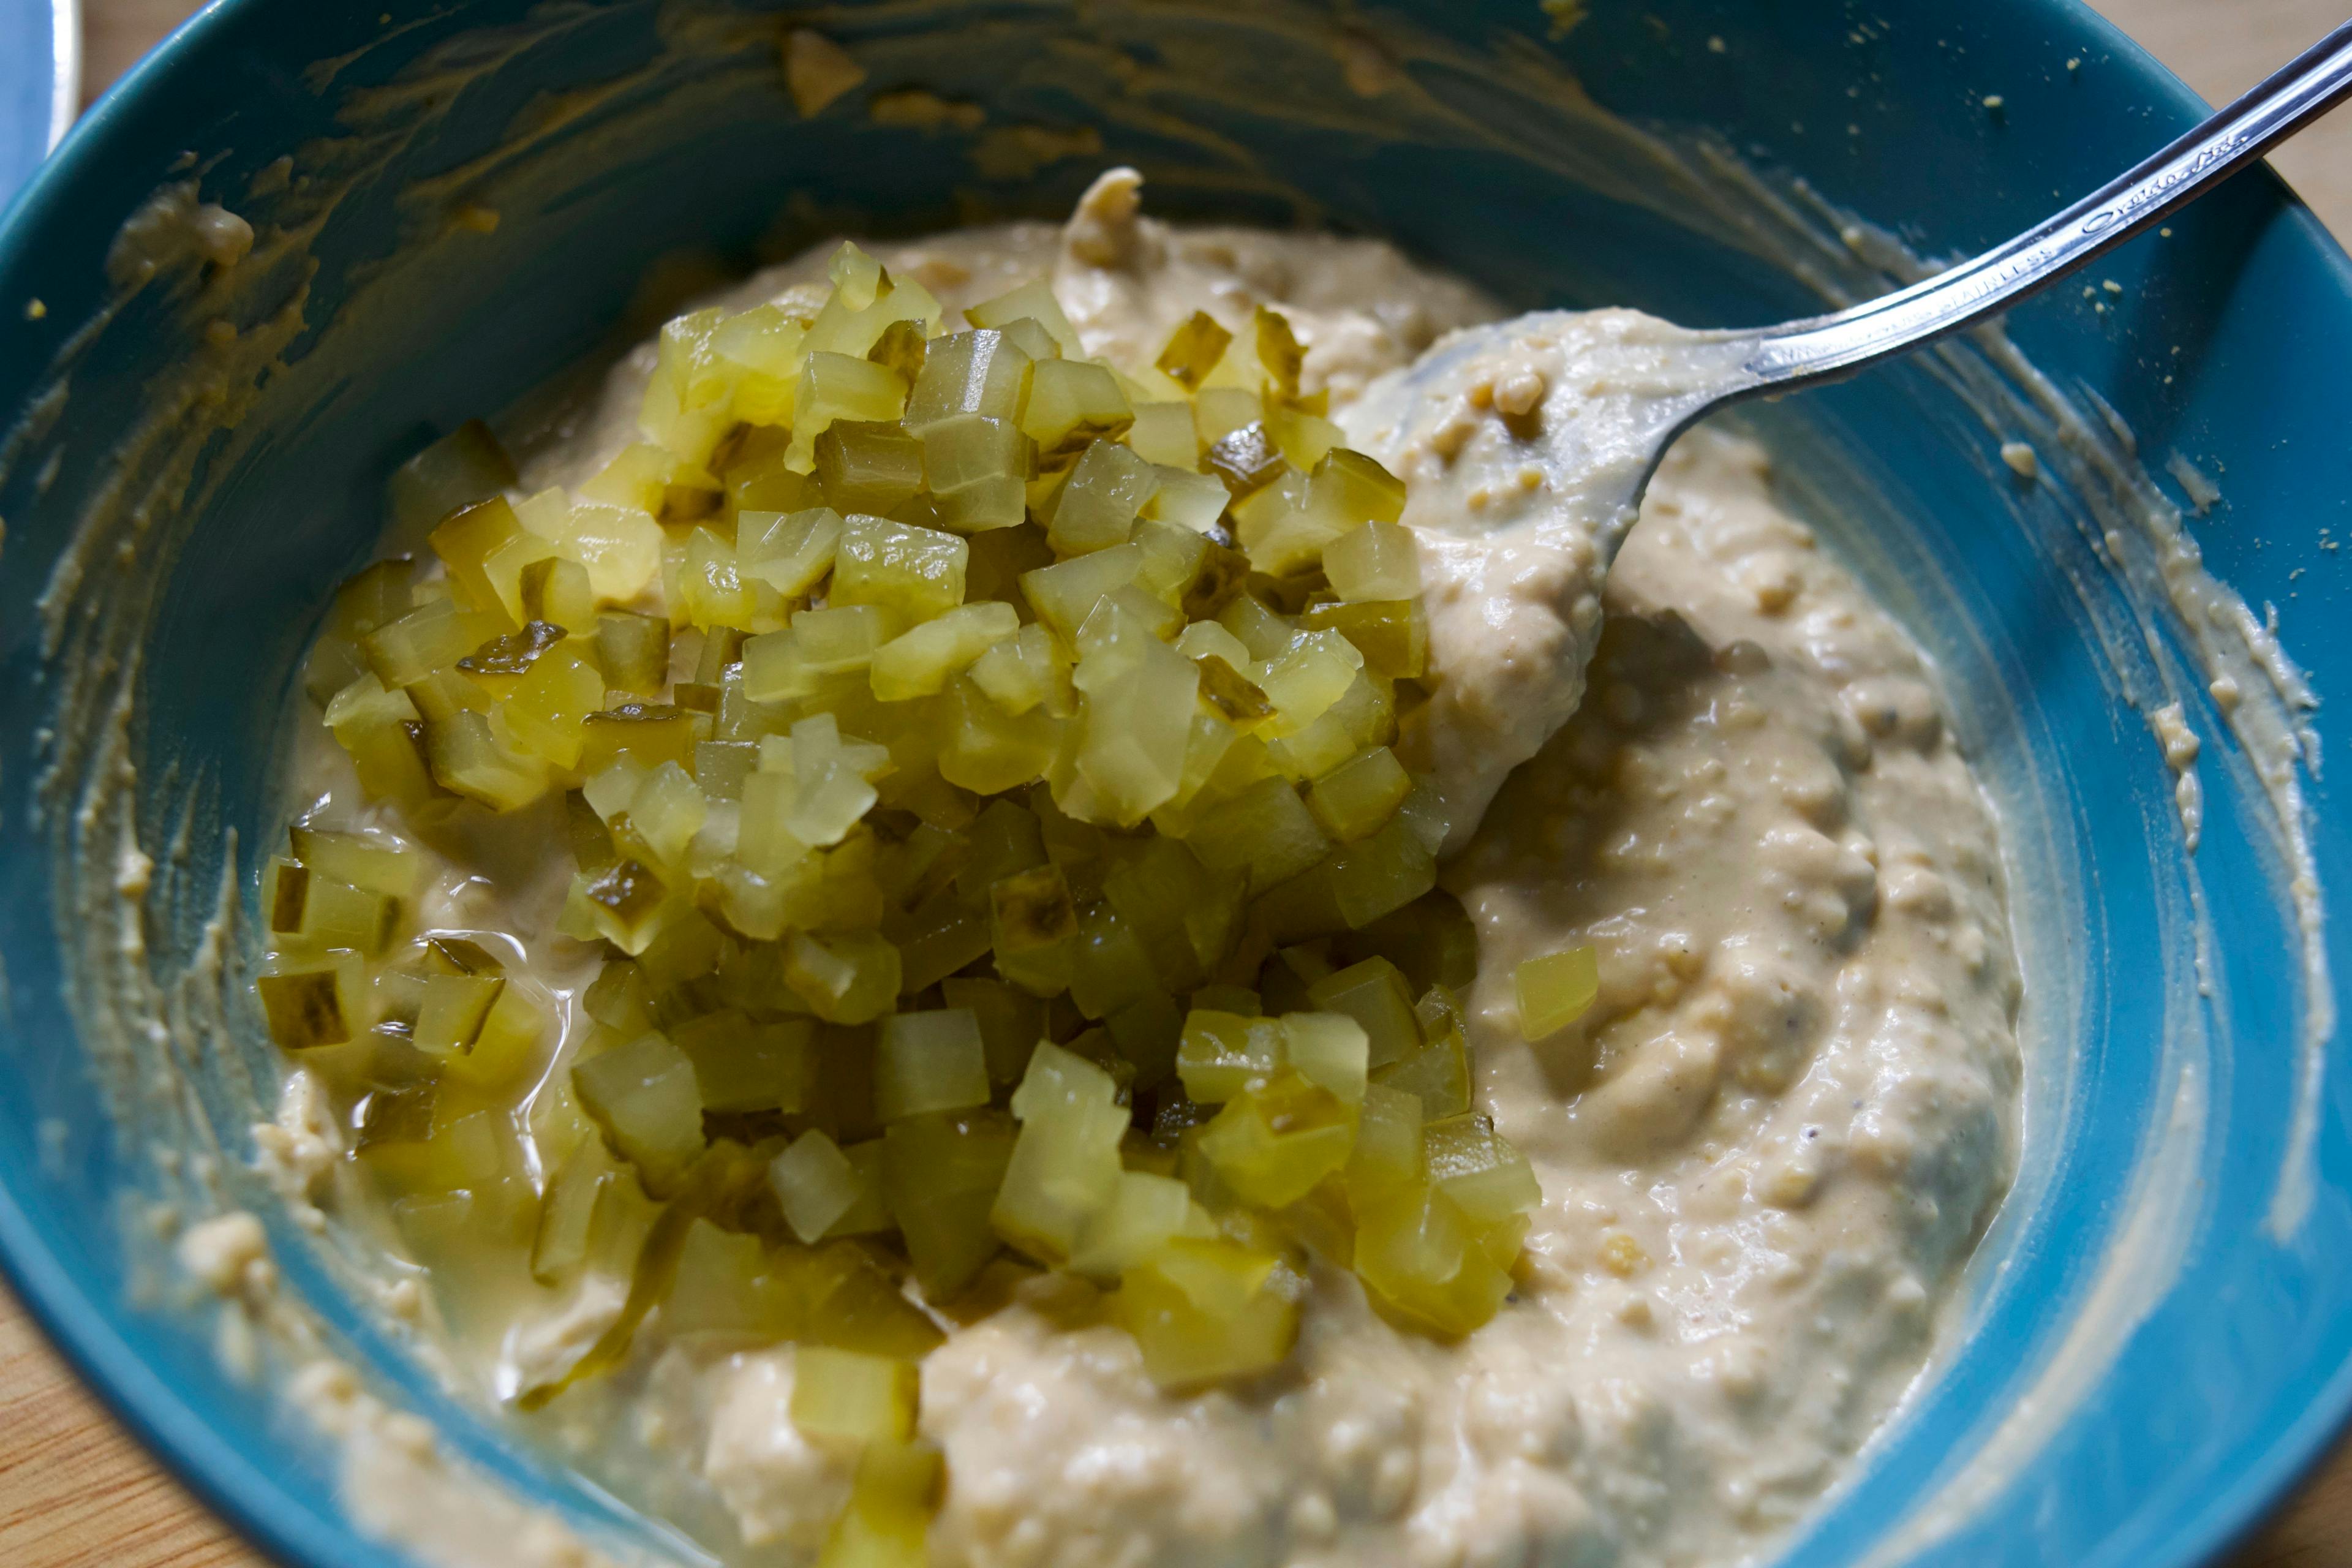
Take the bowl with the yolks and mash them completely with a spoon, smushing and breaking up any large pieces with your fingers. Once the yolks are relatively uniform, add 1/2 cup (125 grams) mayo, 1 tablespoon (15 grams) mustard, 1/4 teaspoon garlic powder, 2 teaspoons (11 grams) worcestershire sauce, 1/4 cup (61 grams) pickle relish, and about 1/8 teaspoon each Diamond Crystal kosher salt and pepper. Mix well, pressing out any large lumps with the back of the spoon. Taste for seasoning, adding more s & p if needed.
or!!! For a smoother and fancier finish, but also more dishes to wash...
3b. Make the Filling In a Food Processor
Add yolks, 1/2 cup (125 grams) mayo, 1 tablespoon (15 grams) mustard, 1/4 teaspoon garlic powder, 2 teaspoons (11 grams) worcestershire sauce, and about 1/8 teaspoon each Diamond Crystal kosher salt and pepper to the bowl of a food processor. Pulse a few times to begin, and then run the machine for about 15 seconds. Scrape down the sides and run for another 15 seconds. Transfer to a small bowl and stir in the 1/4 cup (61 grams) pickle relish. Taste for seasoning, adding more s & p if needed.
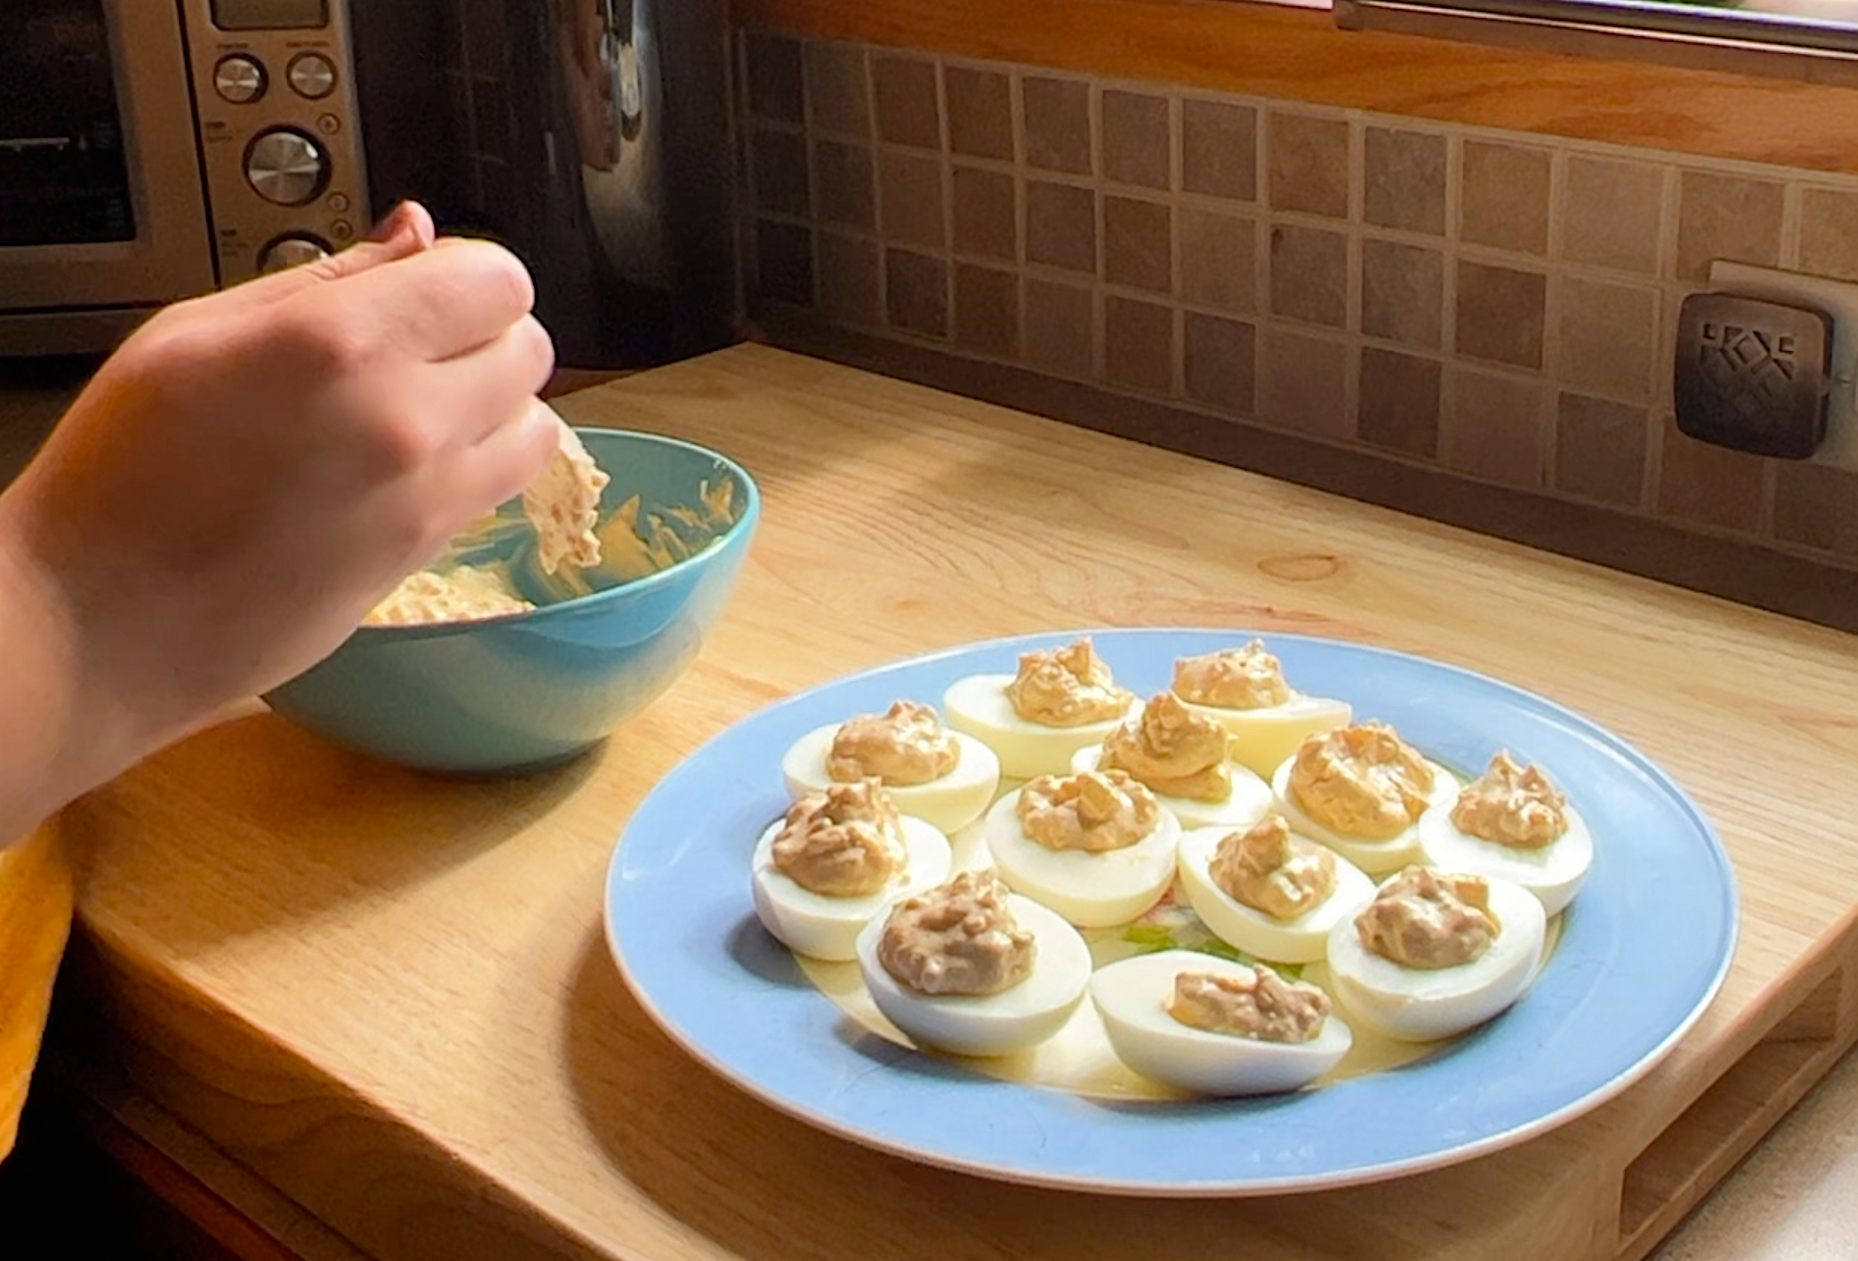
4. Put 'Em Together and Eat 'Em
Using a spoon (or a piping bag if you feel fancy - and I am never feeling fancy unless it’s a holiday) fill the reserved egg whites with the yolk filling. Adjust as necessary so that each egg has a uniform amount.
Sprinkle very lightly with smoked or regular paprika. Dig in!
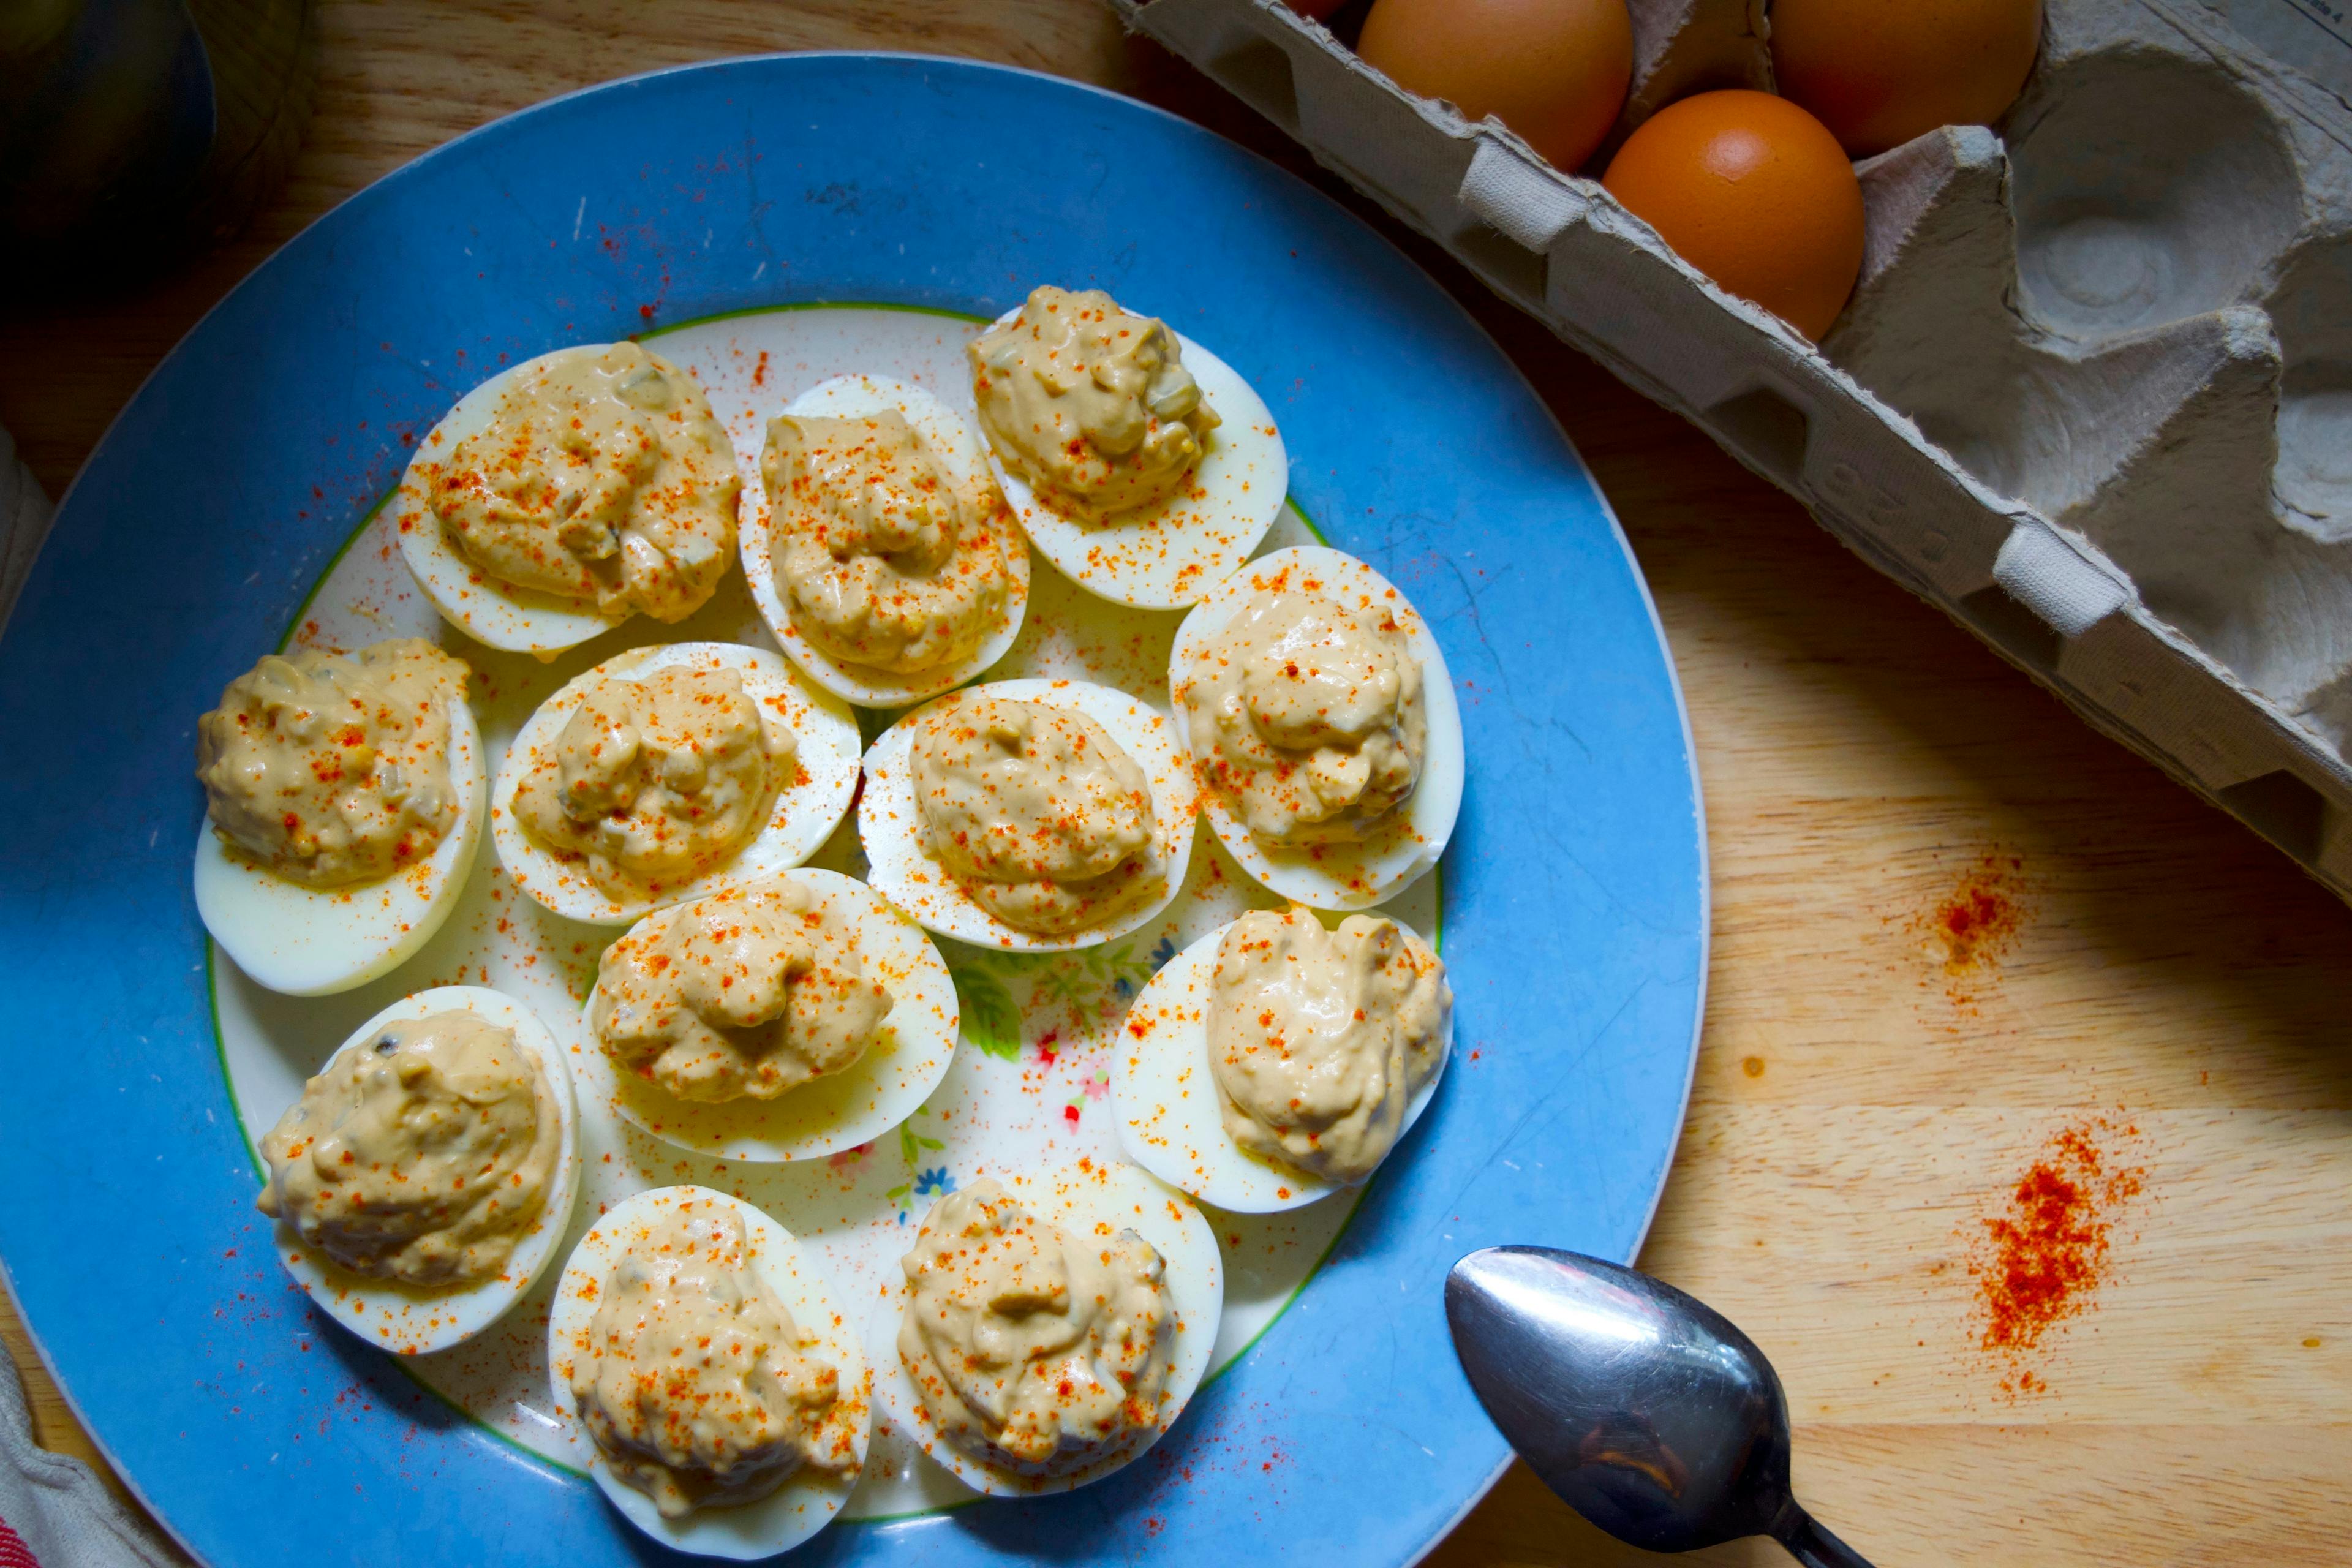
I hope you make and enjoy this recipe!
Thank you for being here!
💖, Katrina
Comments: