Nora's Butterfly Quilt, Part 2
August 14, 2023
* Products linked below may be affiliate links. I may receive a small commission if you place an order through them (at no cost to you). For more, see our Affiliate Disclosure.
Welcome to Part 2 of the making of my niece Nora's baby quilt!
If you haven't yet read part 1, you can find it here (including some cute backstory about her brother's solar system quilt I made in 2019!) and I recommend checking it out first so we are all on the same page!
But let's dive right in, shall we?
Finishing the Top
Stitching the Elements Down
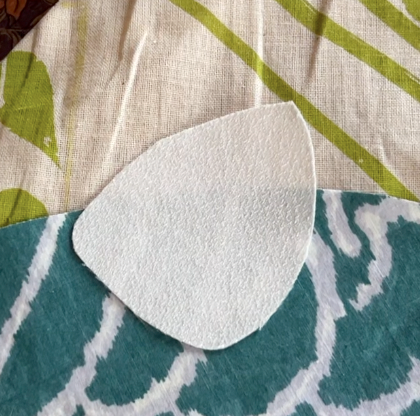
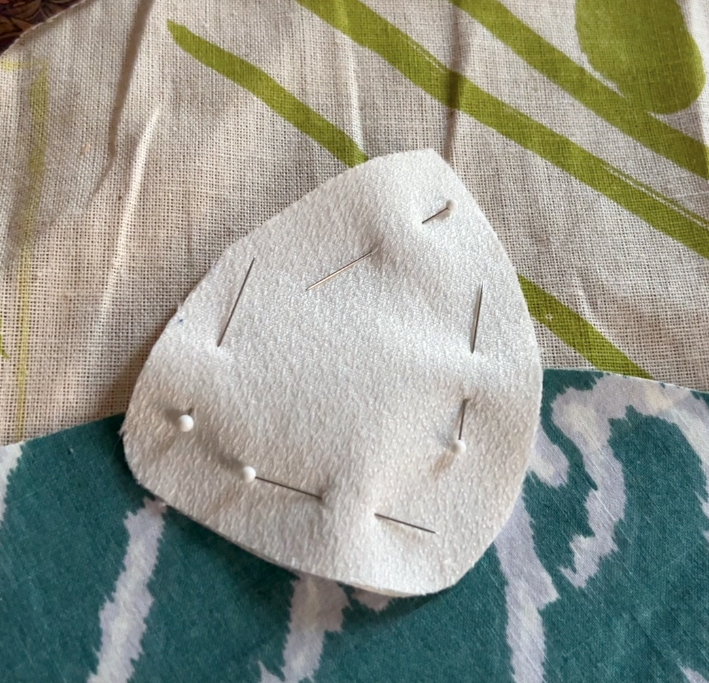
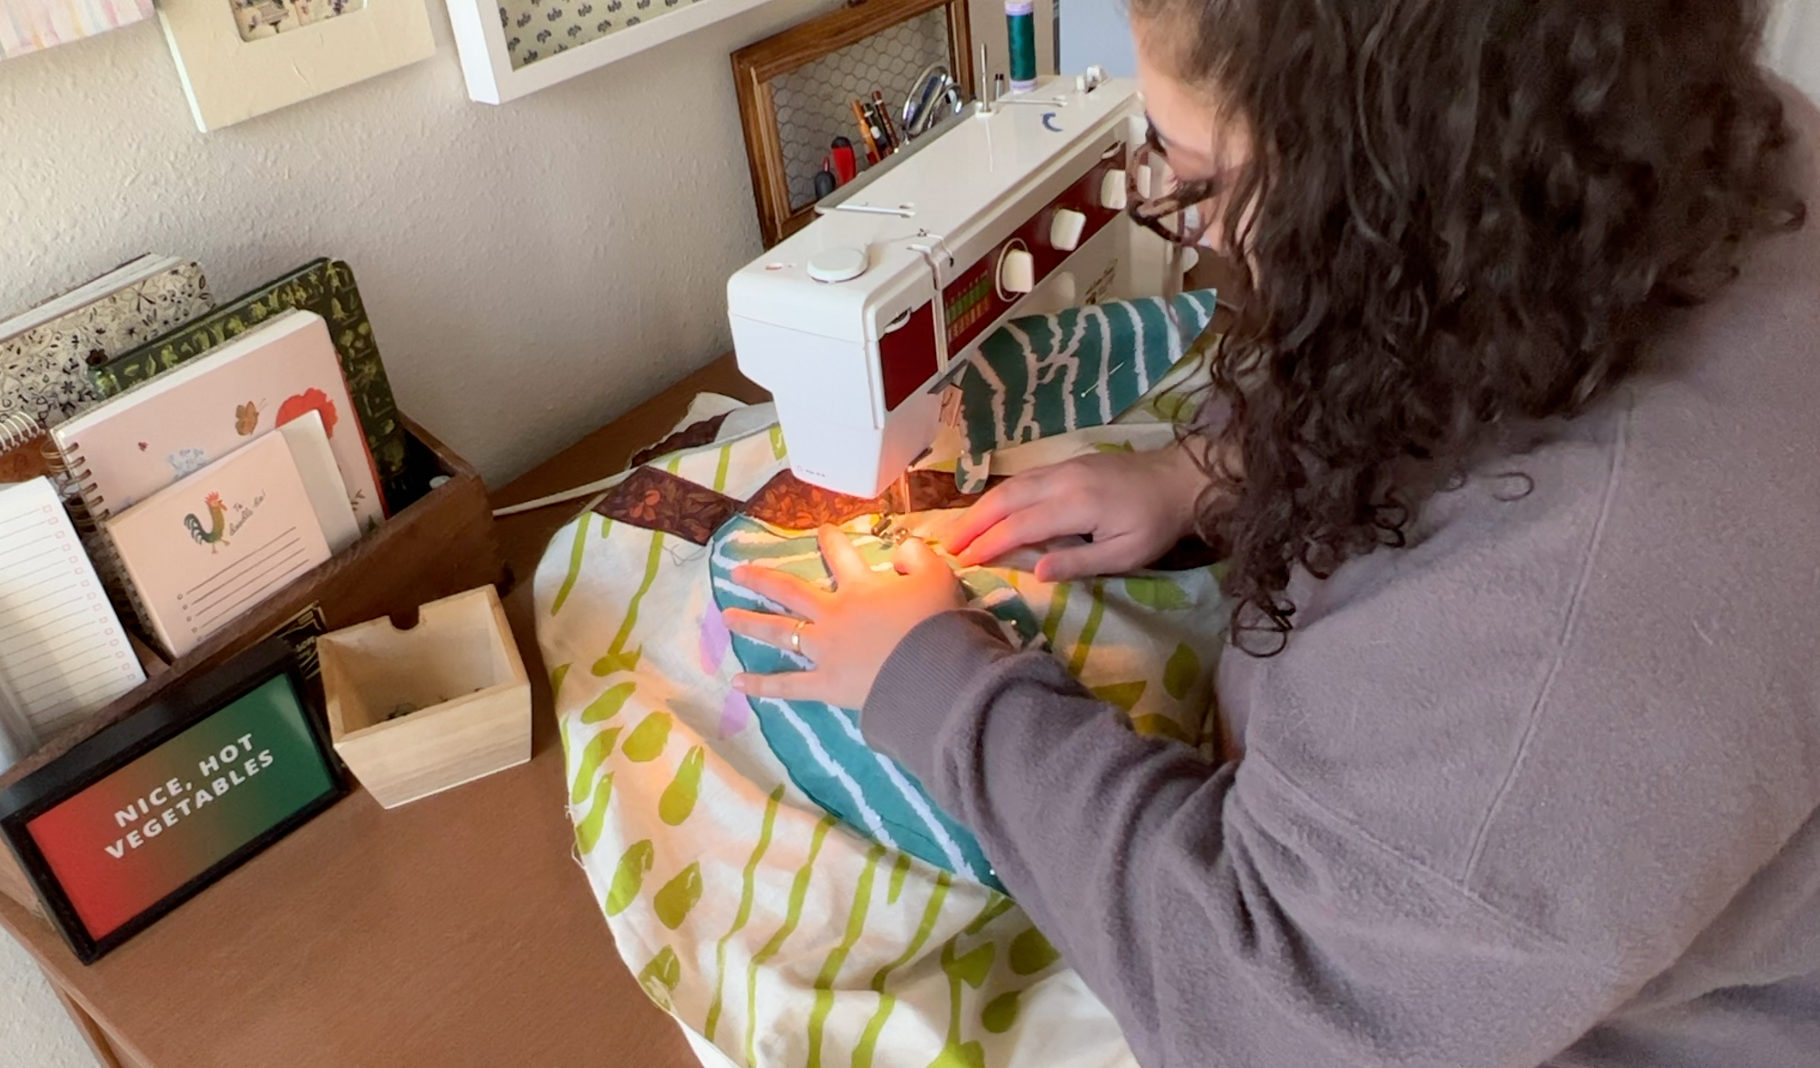
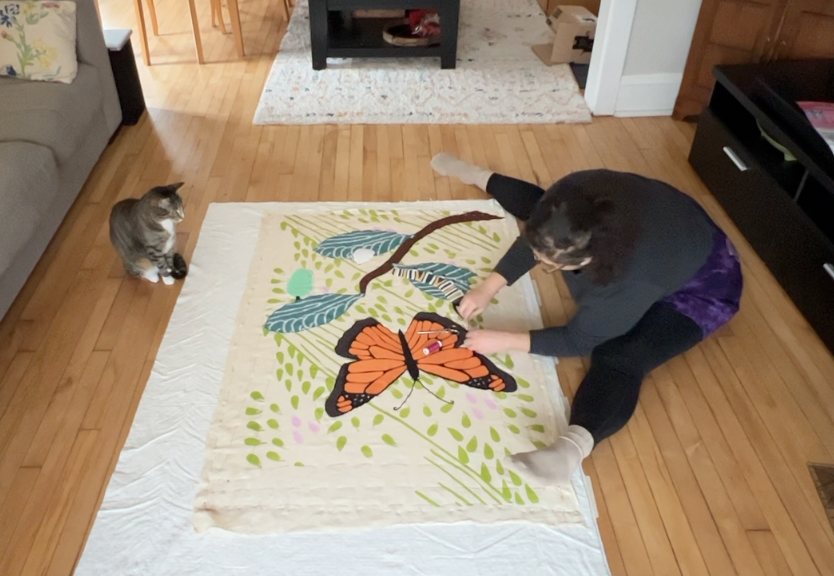
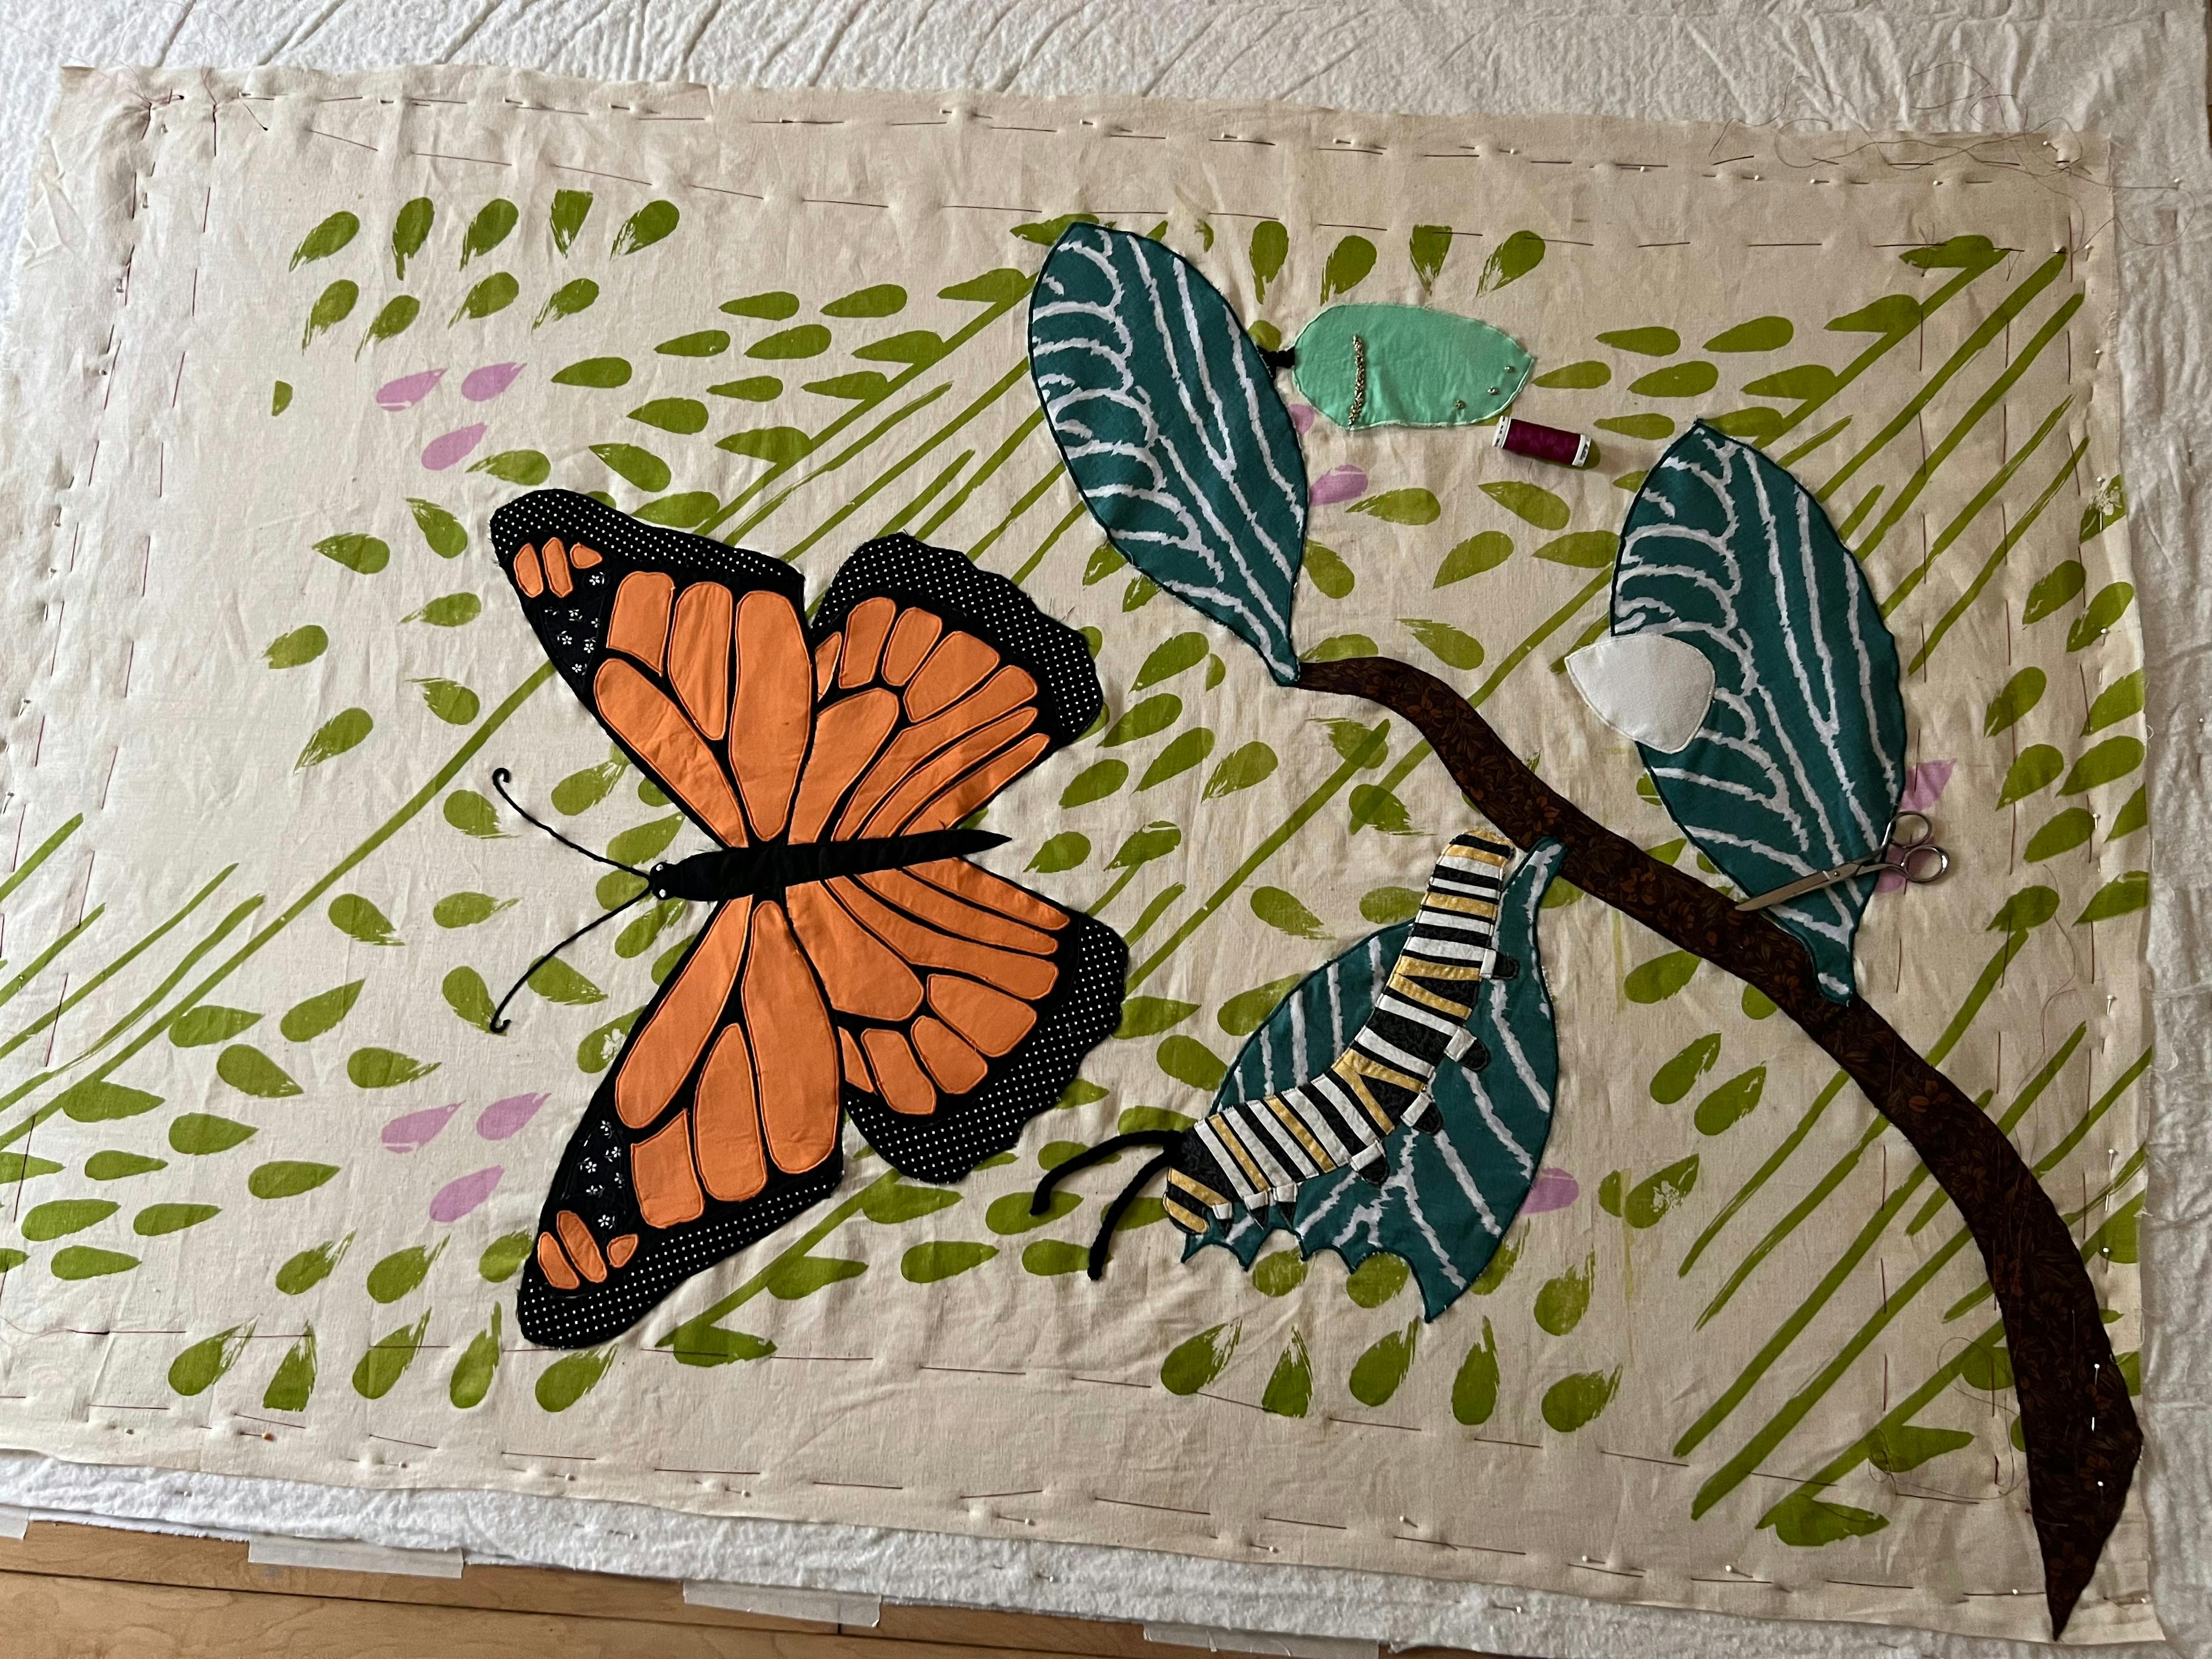
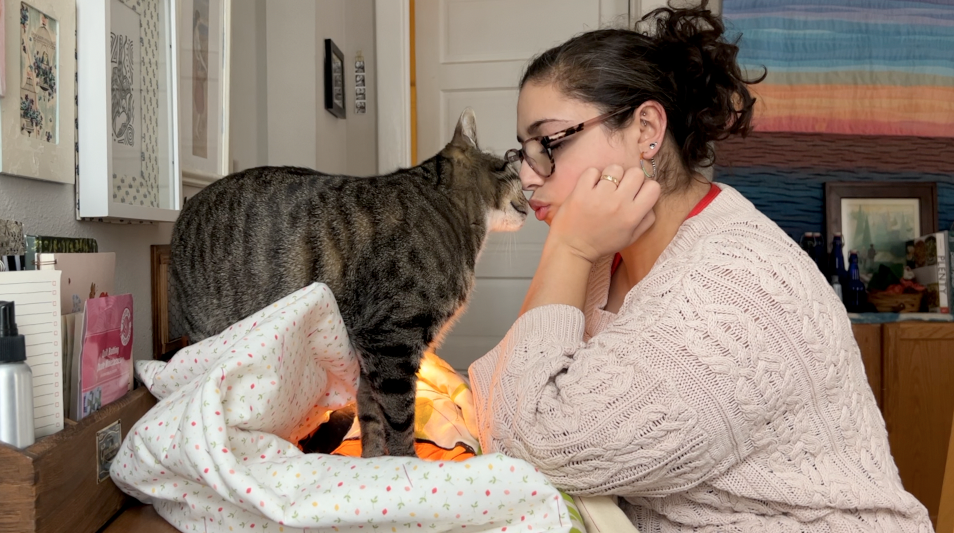
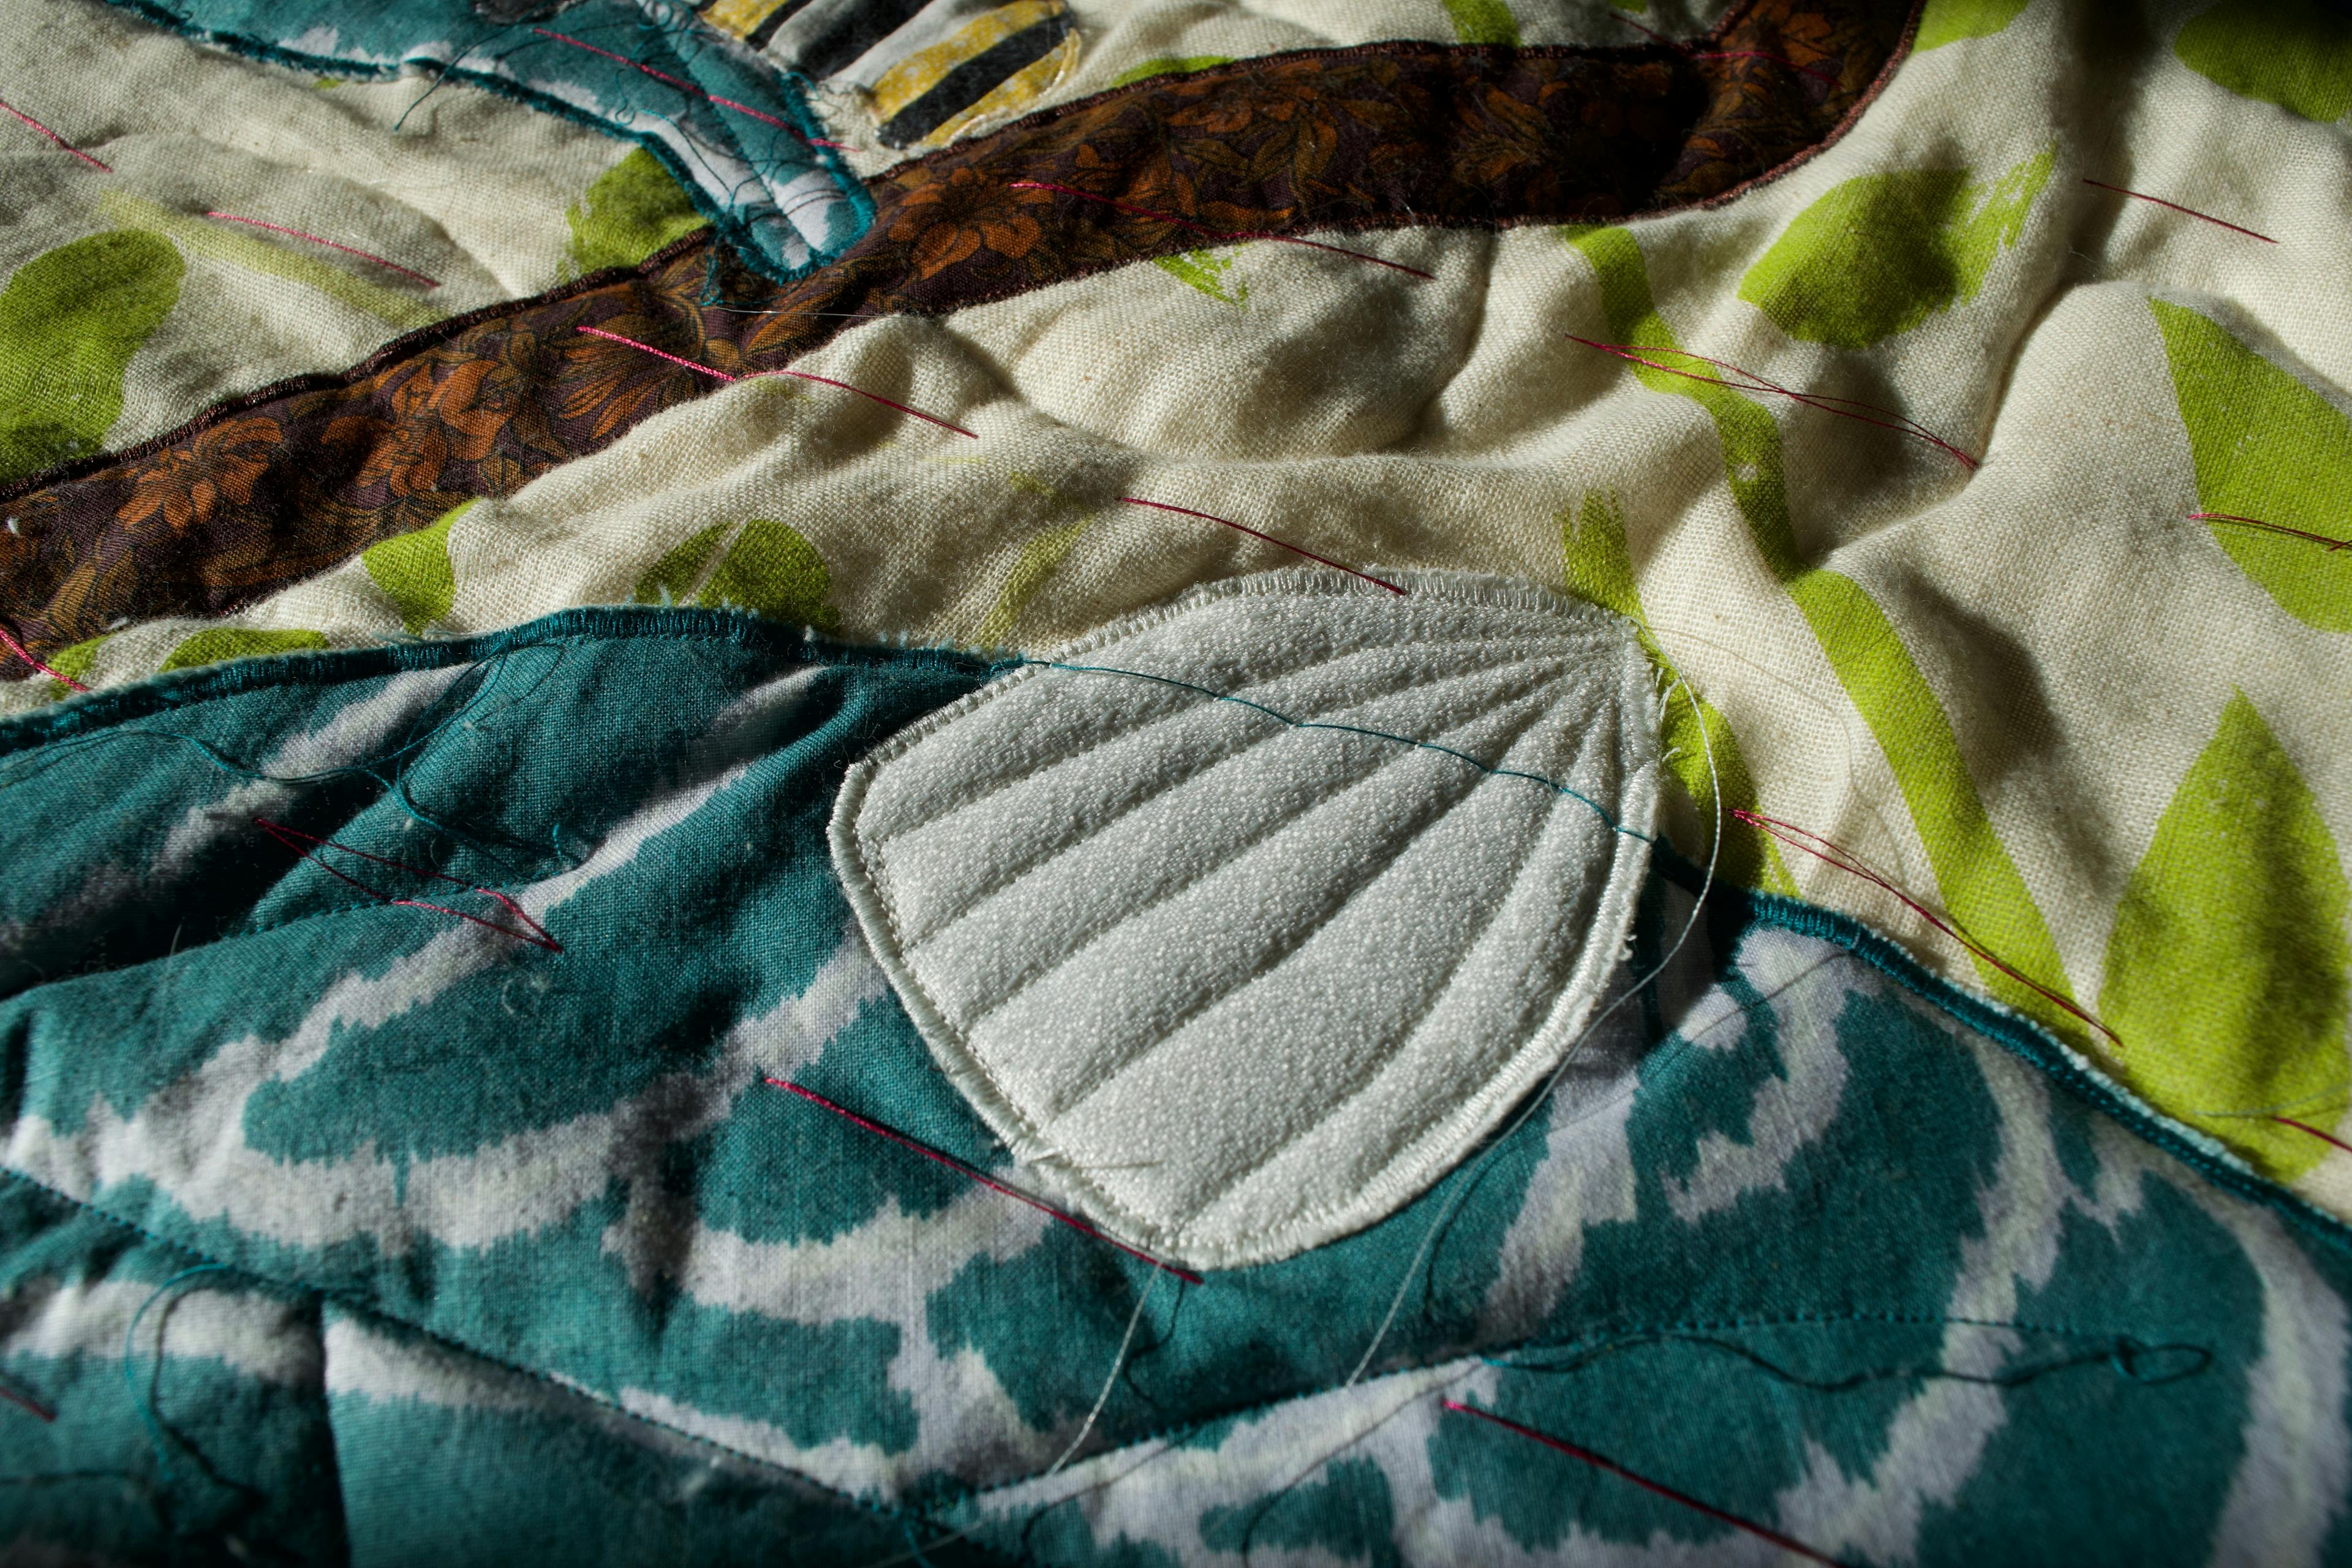
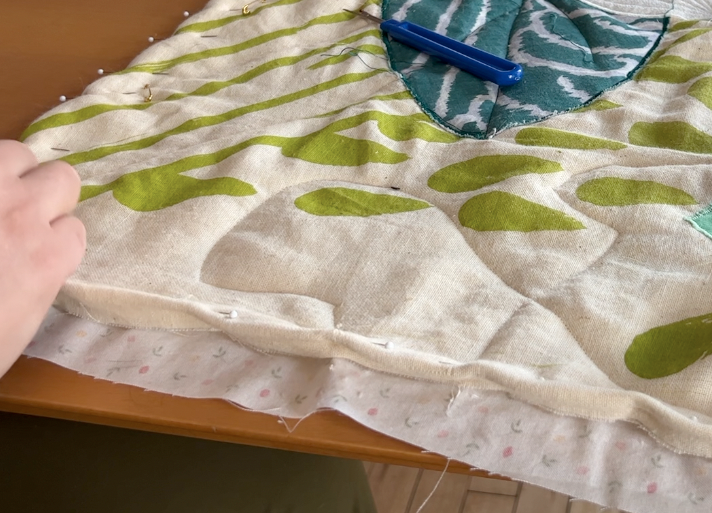
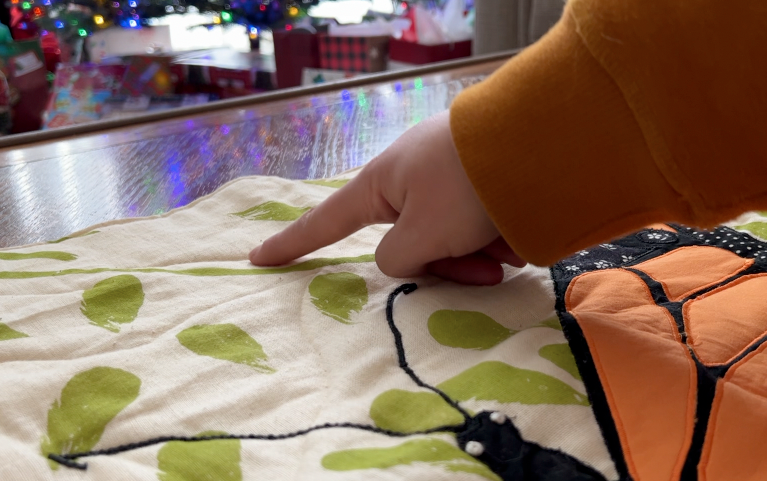
I did a few little things before stitching the components down onto the background fabric. First, as you can see from the photo a bit below, the fabric needed badly to be ironed because my cats had been sleeping on it for days. Second, I wanted to make the egg a bit more opaque so that the leaf wasn't visible underneath, so I added another layer to it.
I got some placement help from my mom and then began stitching. I started with the stem because the leaves needed to go on top of it, so I loaded up my machine with brown thread and got going with the same stitch I used to sew down the orange pieces on the butterfly.
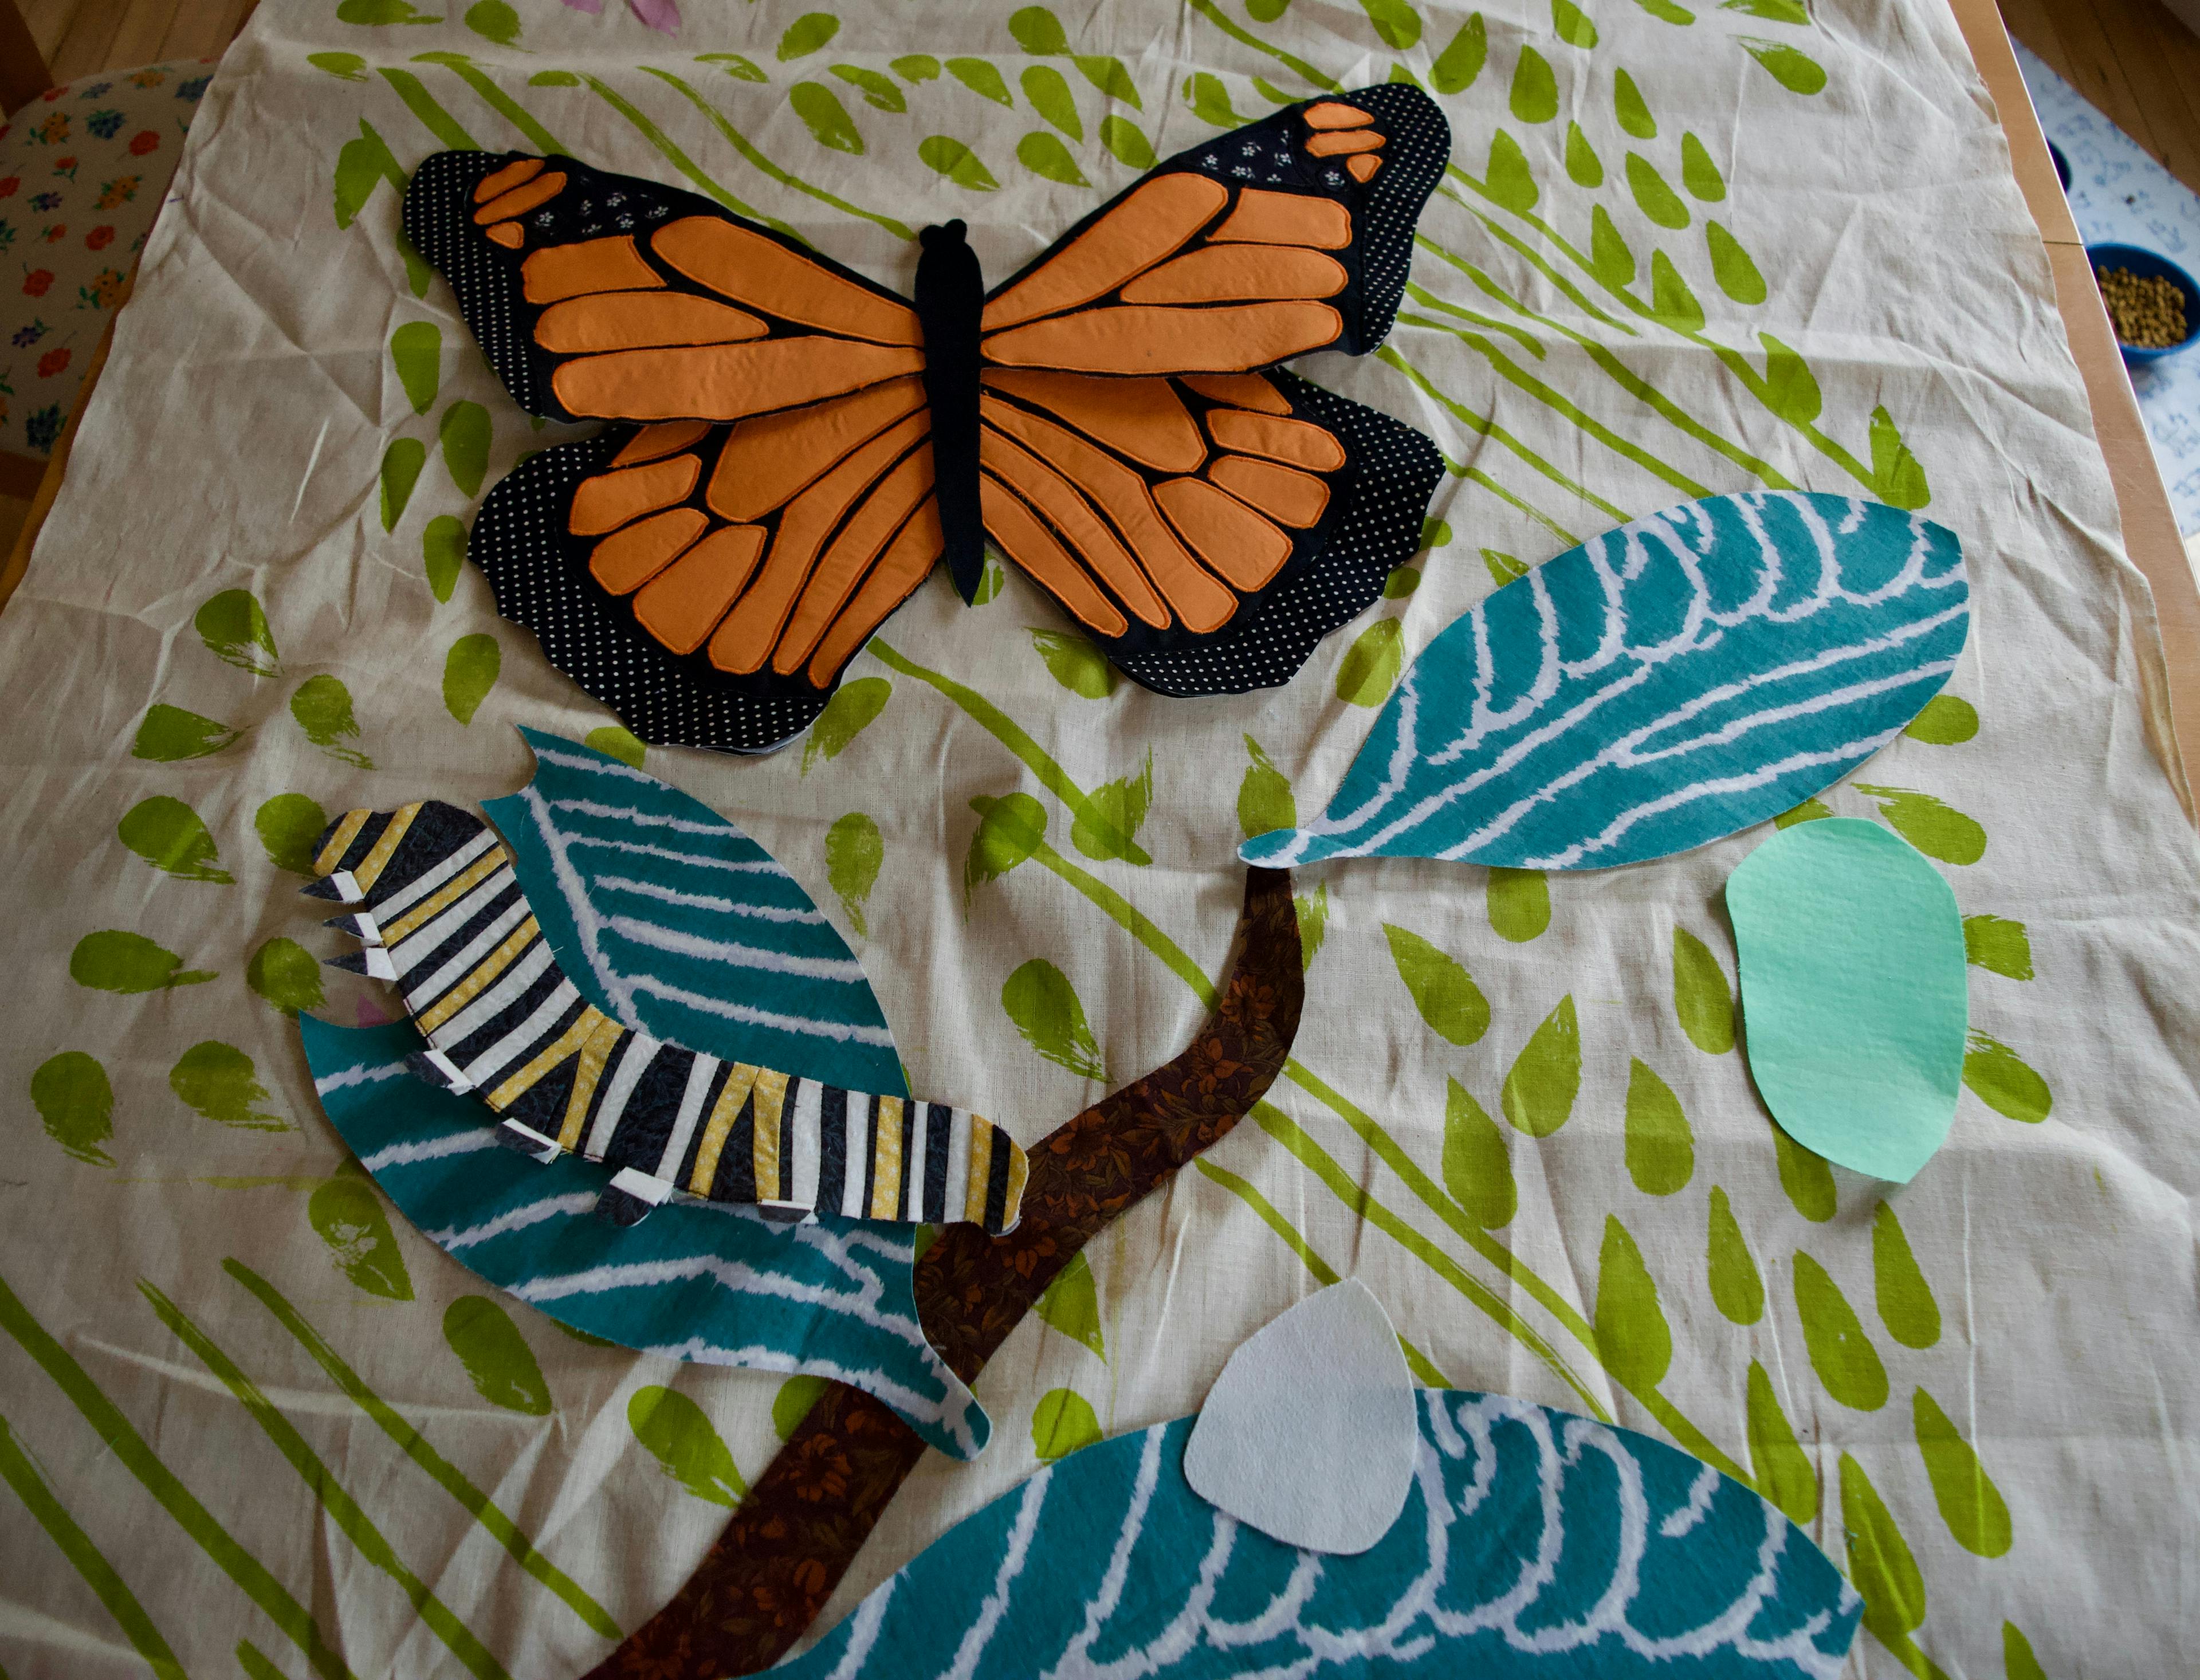
Once the stem was done, I switched to my new green thread to do the leaves.
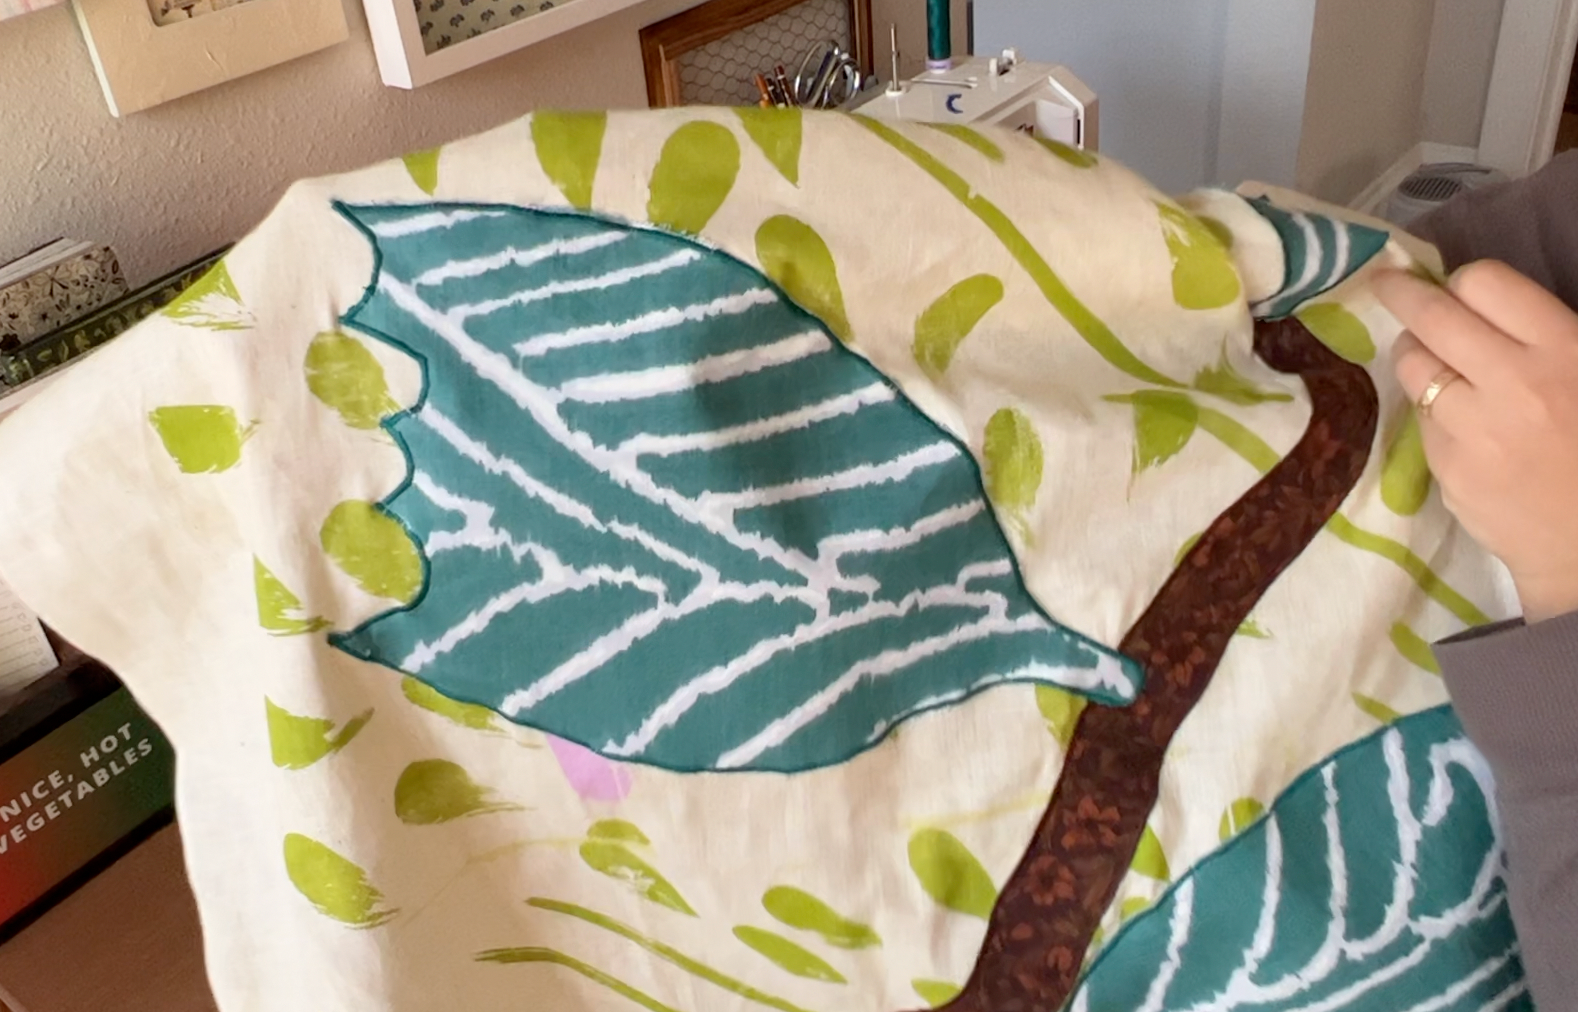
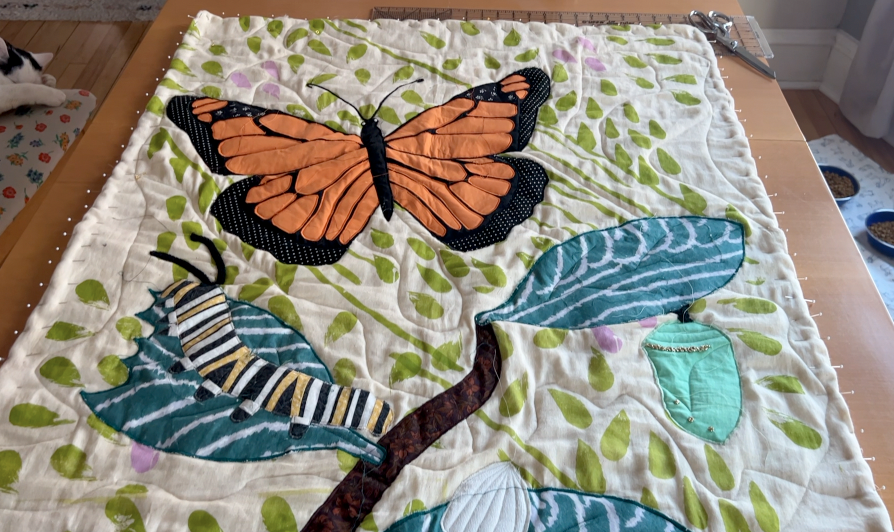
Once all three leaves were done, I stitched down the chrysalis, the egg, and the butterfly, changing my thread to match the colors.
The Embellishments
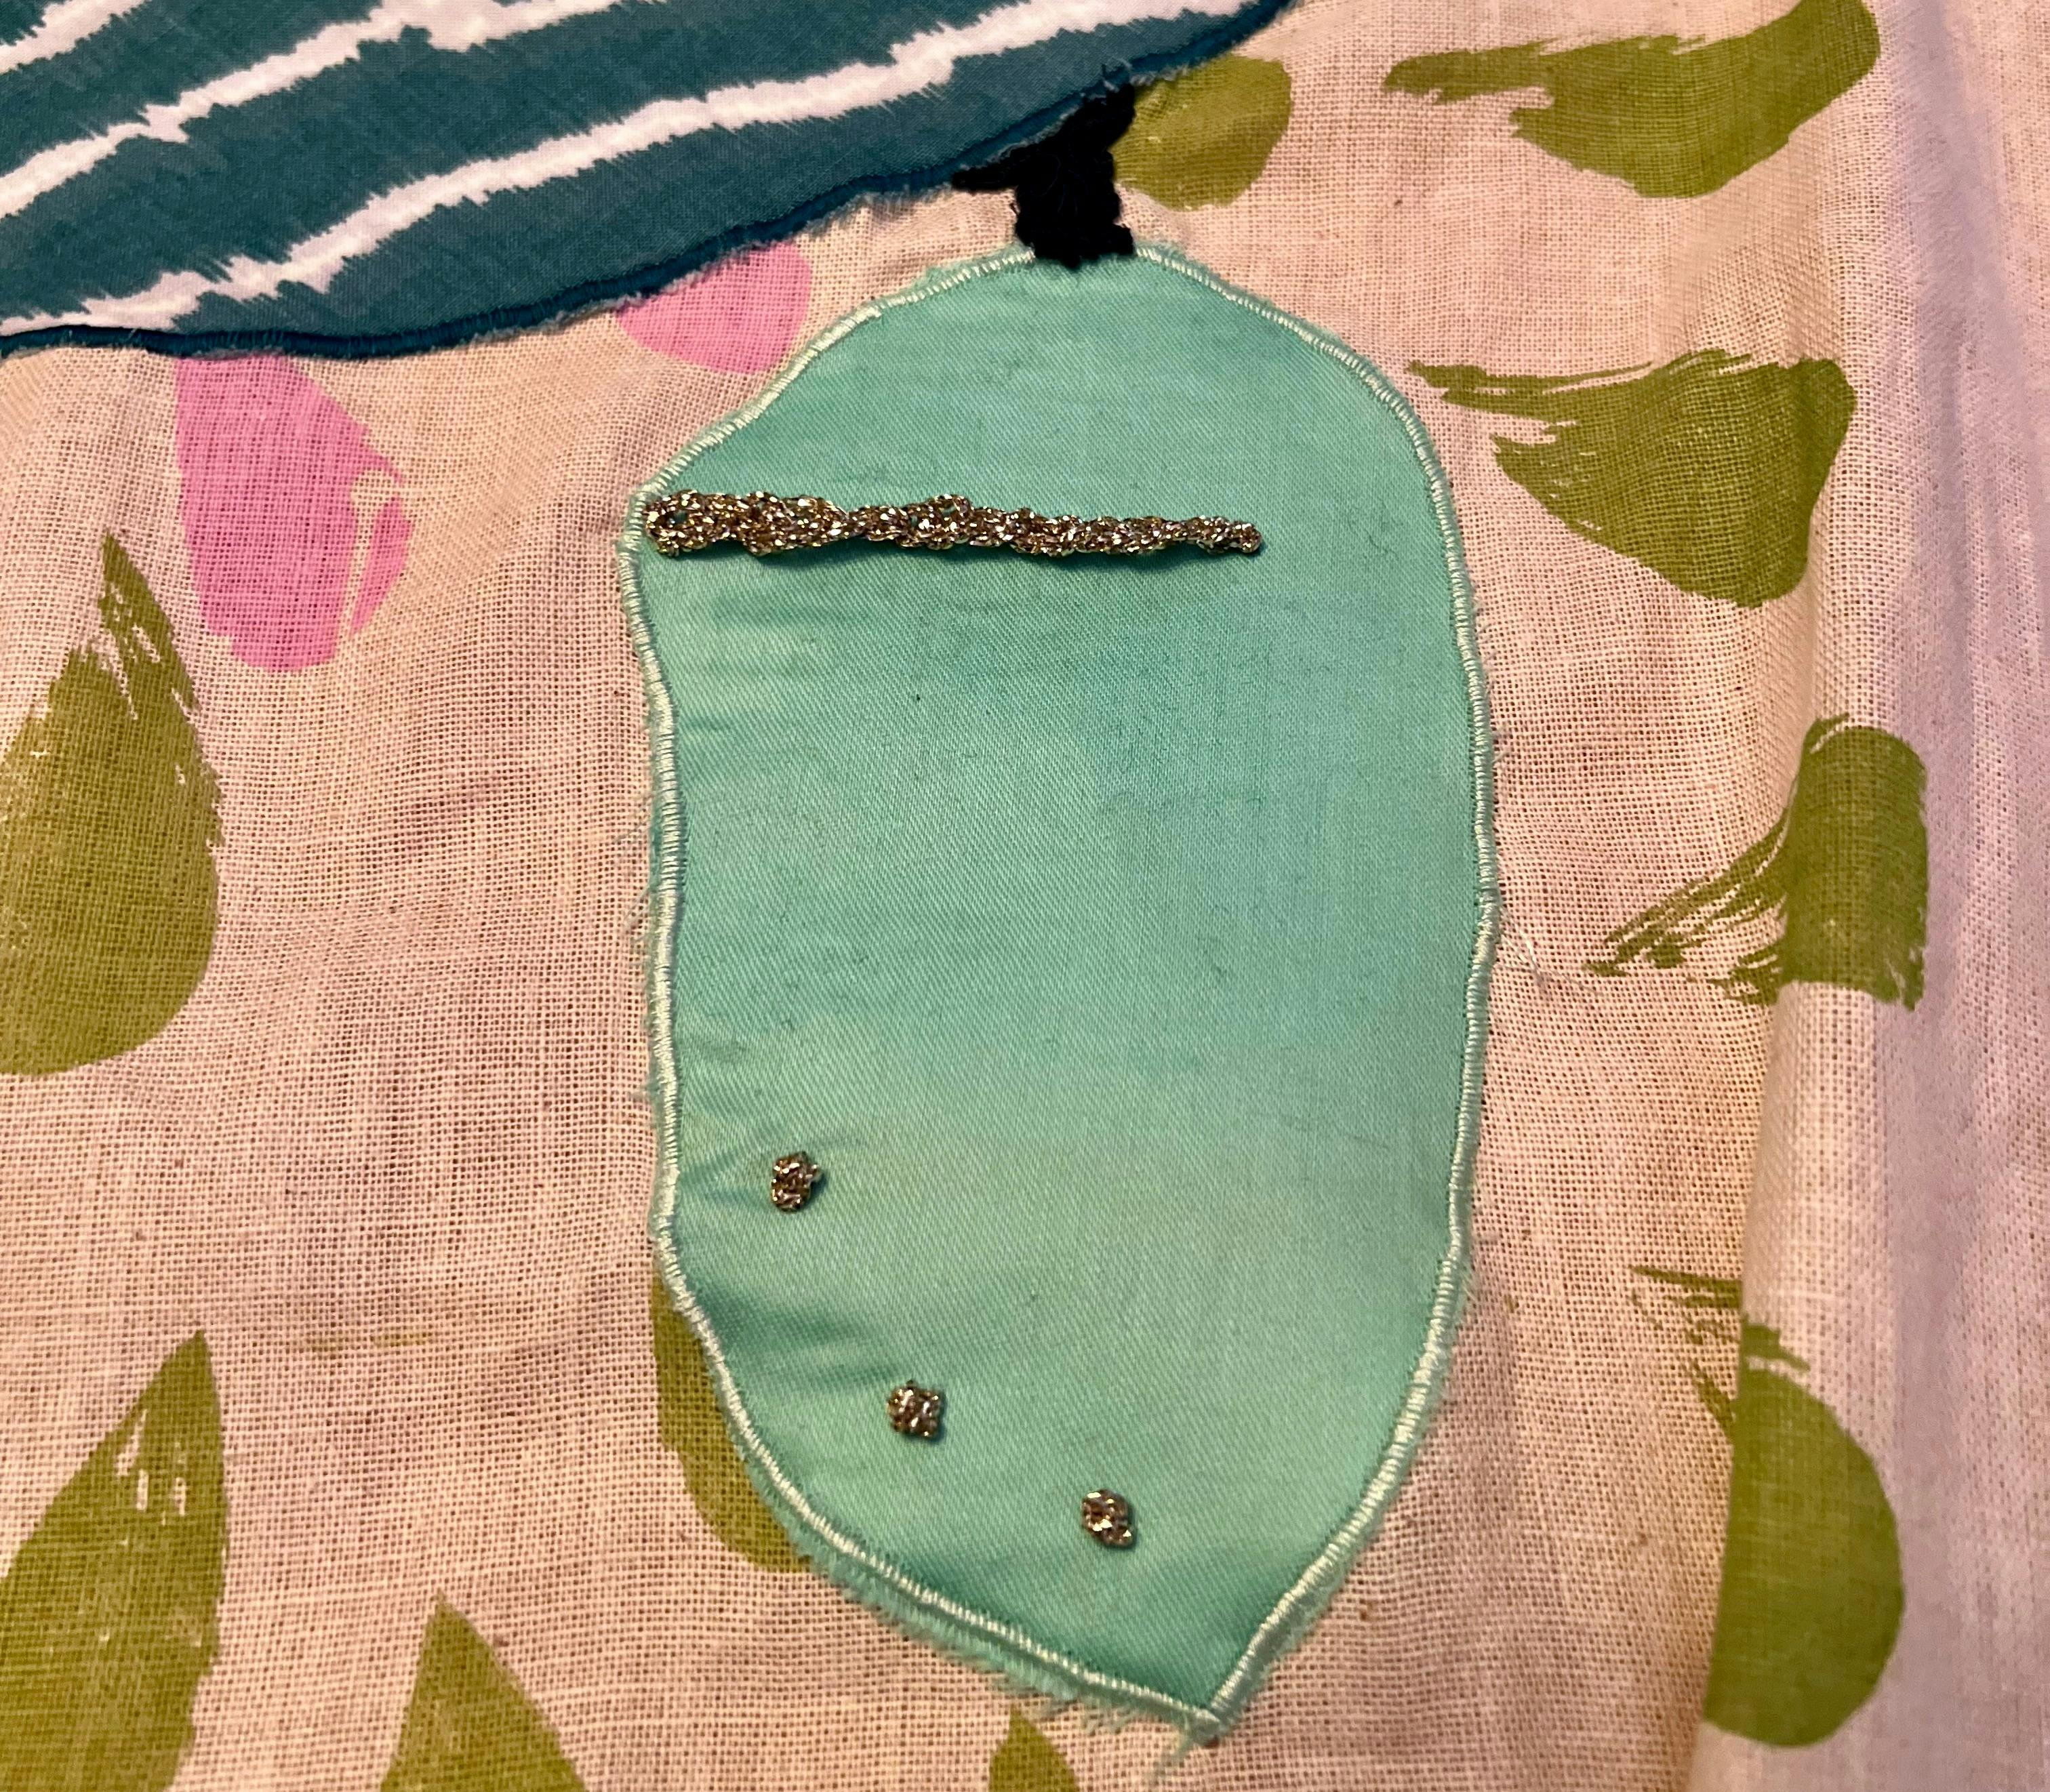
Now that all of the pieces except the caterpillar were stitched down (more on that later), I turned my attention to the embroidered embellishments, starting with the chrysalis.
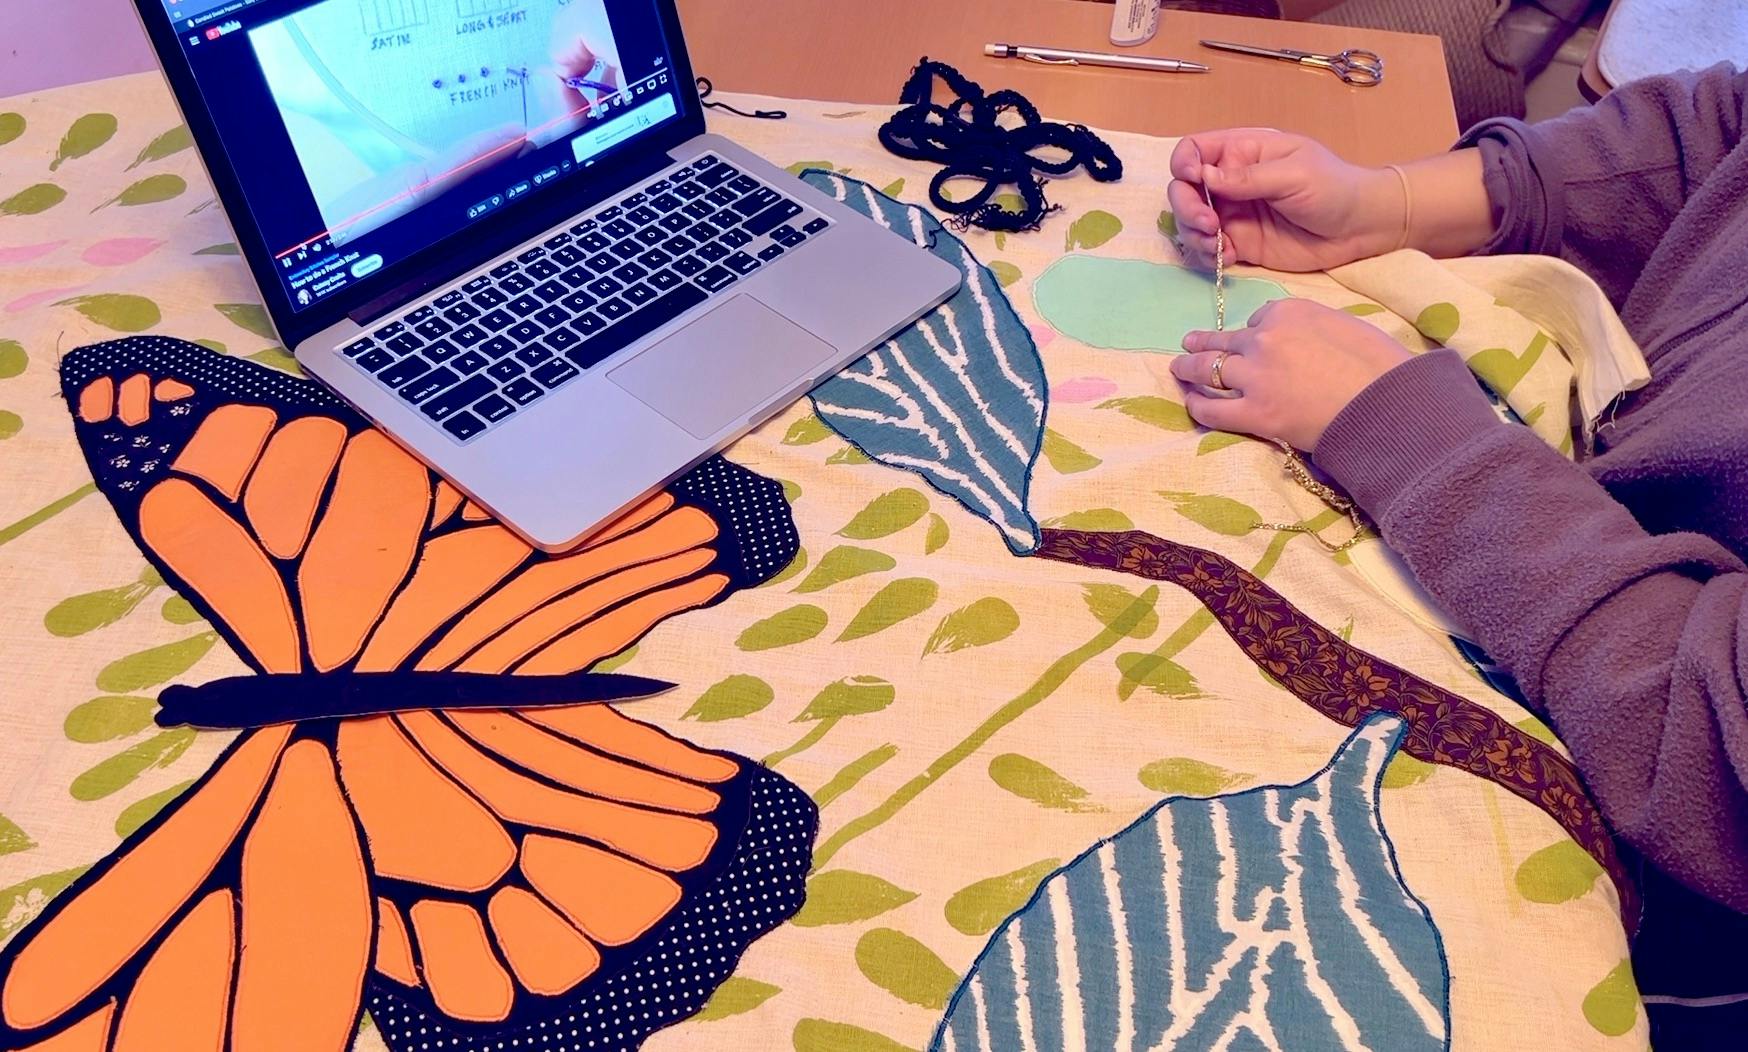
Monarchs are so visually stunning at every stage of life, and instead of a brown chrysalis like many butterflies have, they instead bless us with their green and gold chrysalises. I used this gold trim to embroider a line across the top, which I did by stitching down a crochet style chain, and then some French knots, which is an embroidery stitch that I always have to look up on YouTube how to do. Then I used my machine to stitch down some black braided trim to be the little hanging bit, that probably has a real name but I don’t know what it is.
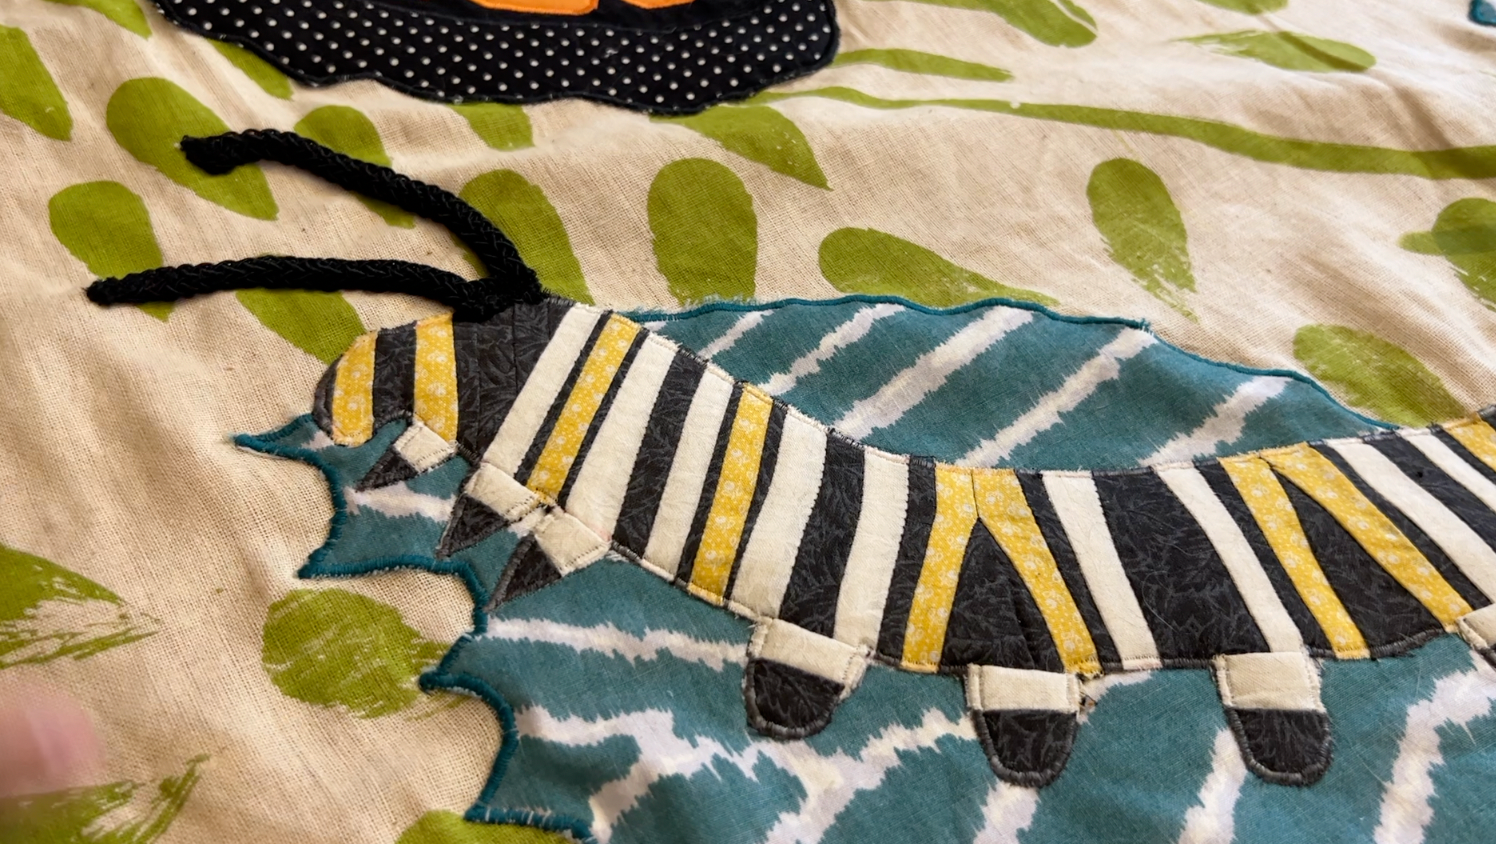
Finishing the Caterpillar
Because the caterpillar was striped, I didn't want to use black, yellow, or white thread because then it would create a noticeable border. I got a bobbin's worth of invisible thread (which is just a very thin and flexible clear plastic thread) from my mom, and was finally able to stitch the caterpillar down as well. I had to stop and start a lot to turn the fabric around all the little feet, but eventually, the caterpillar was secure!

Antenna Time
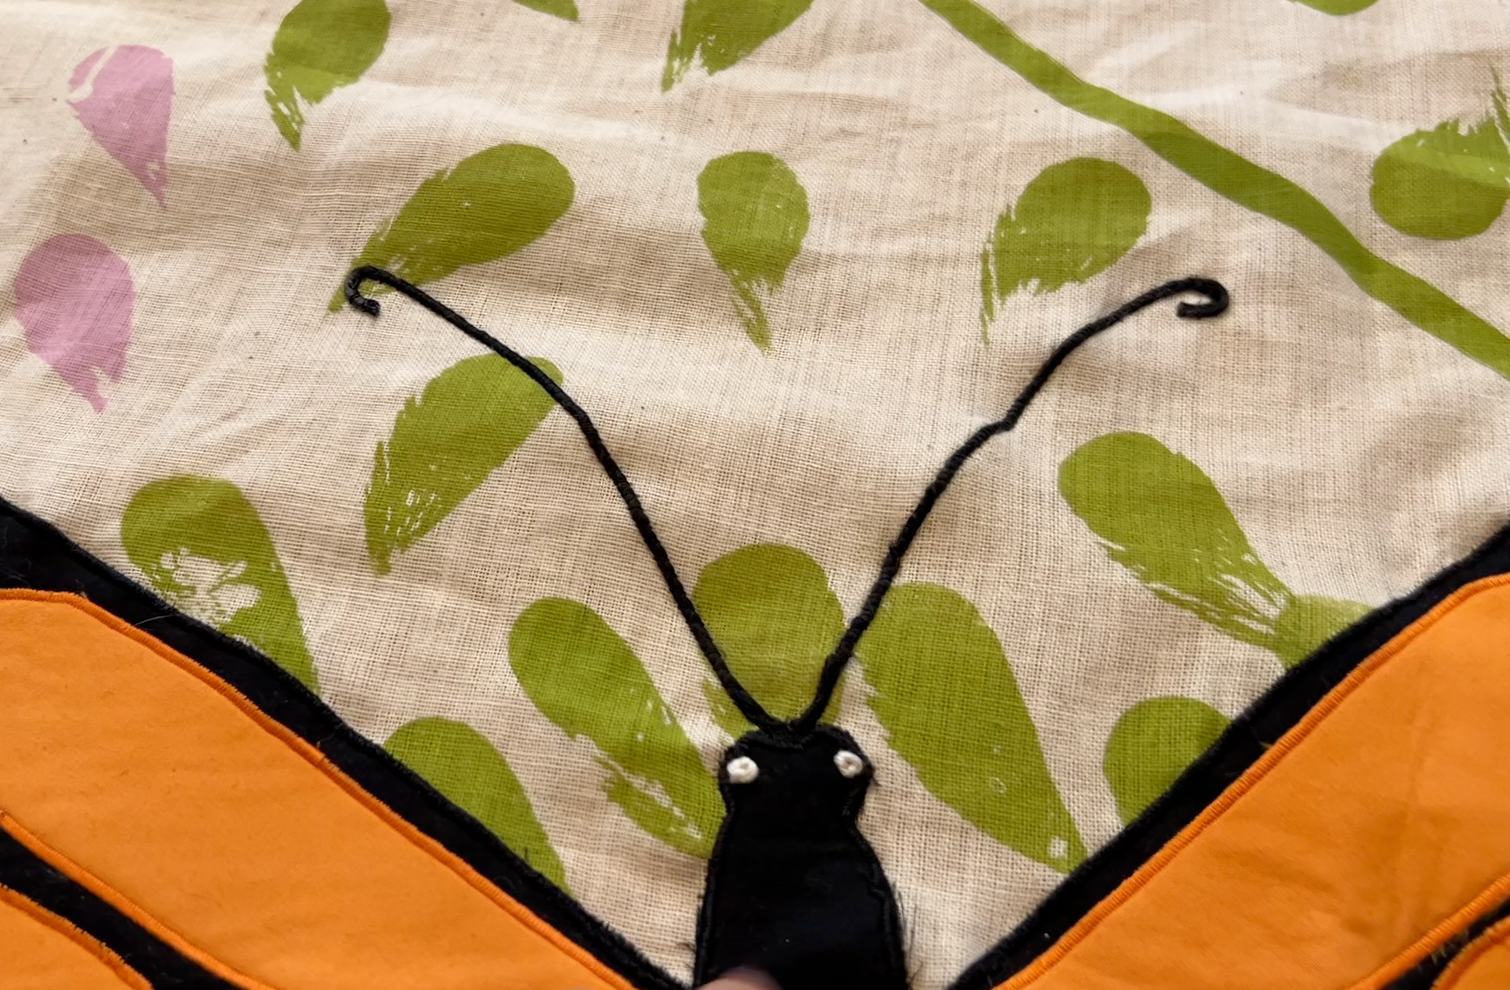
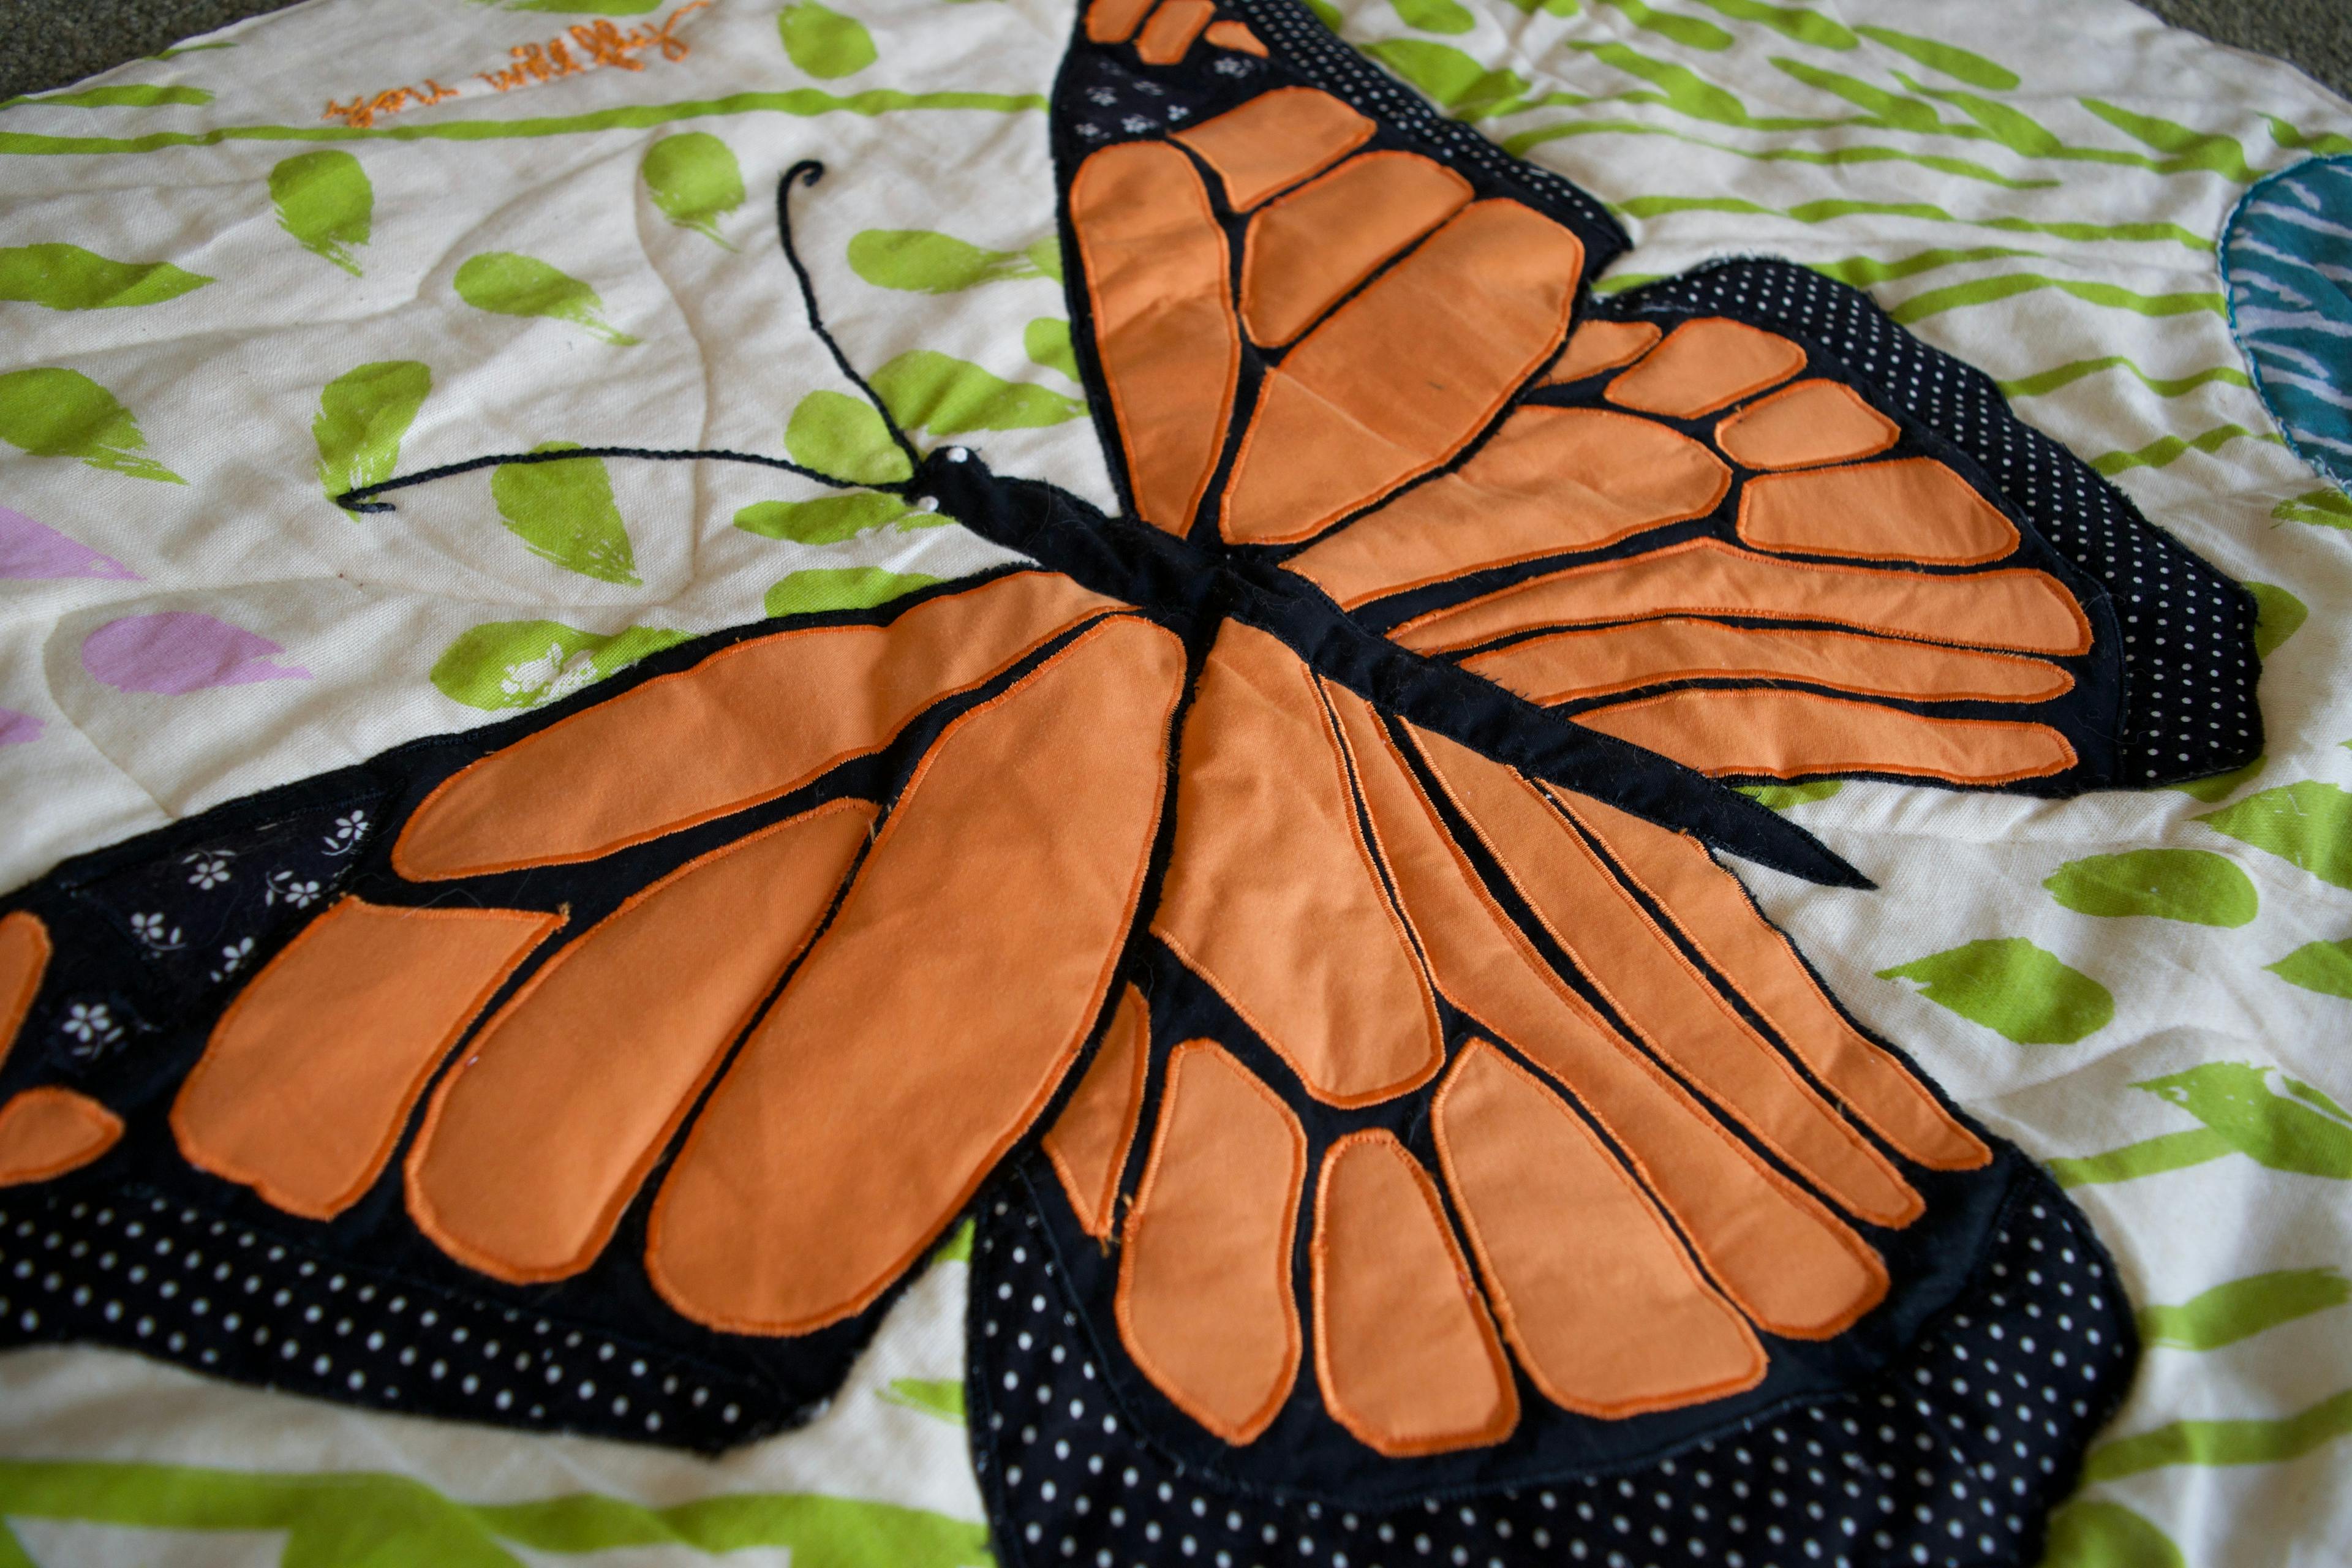
Both the caterpillar and the butterfly have antennae which I made by stitching down black trim. I did a few tests to make sure that they worked the way I wanted them to, and then I pinned down the antenna with a LOT of pins, and then carefully attached them, using a zig-zag stitch for both.
For the butterfly, I wanted the antenna to be stitched behind the body, so once they were down I was able to add the rest of the butterfly, including some French knots for the eyes. They are a little wonky so they crack me up every time I look at them!
I used some invisible thread to stitch down the gold trim on the chrysalis, and the top was finally done! It was at this point that I started to get very emotional about the fact that a new person was about to join our family!
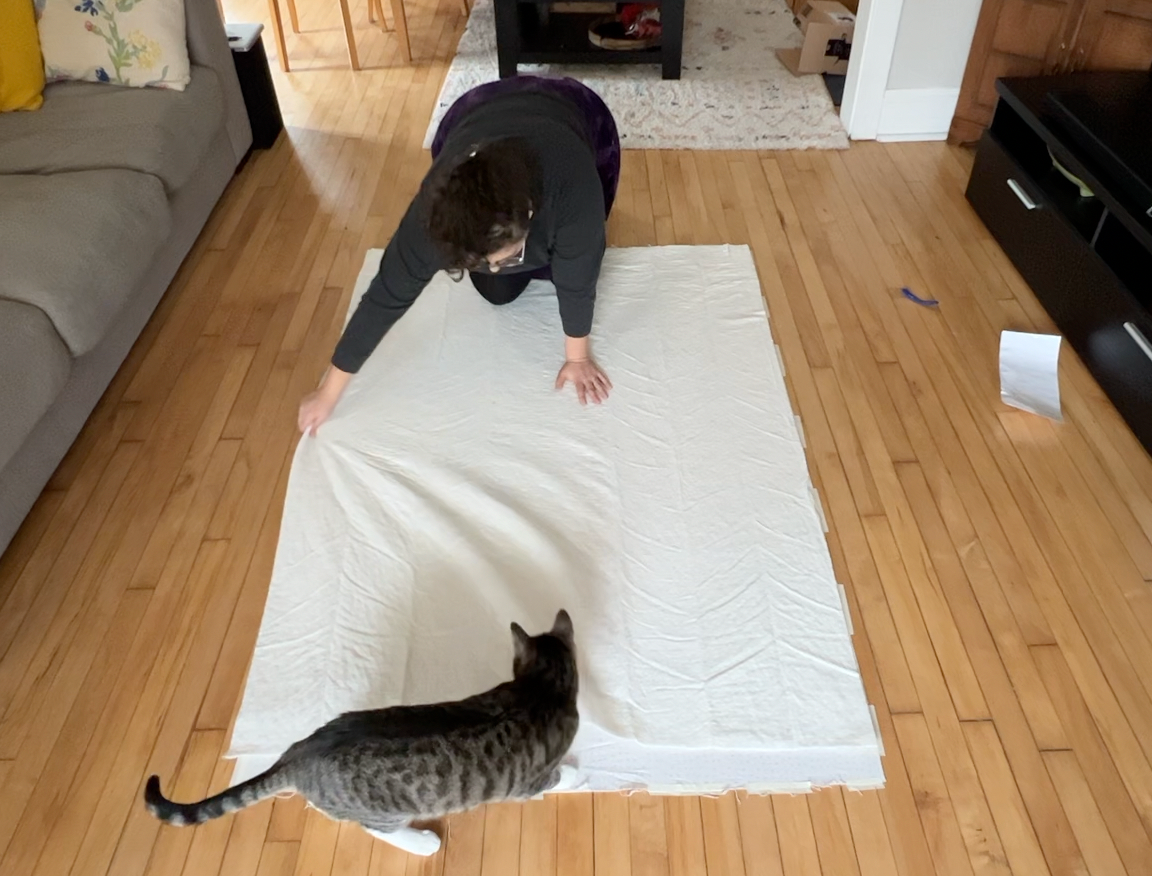
Basting the Quilt Together
When the top of a quilt is done, there are three steps that need to happen - basting, quilting, and finishing the edges. I will talk about the other parts when I get to them, but the basting process starts by making my quilt into a sandwich. I put the back down first and taped it to the floor to keep it smooth and secure. Backs are traditionally just a plain piece of fabric, which is what I am doing for this quilt, and you can see how I picked it out in part 1.

The middle is a fiber product called batting, which I pinned to the back. Batting is thick and fluffy and can be made of various fibers. The one I have here is a cotton/polyester blend. Fully natural cotton or wool batting is wonderful since it doesn’t have any synthetic material, but those require a lot more quilting stitching, so I usually go for a blend like this that is a bit sturdier.
The top is the pretty part, or the front of the quilt. I pinned it down as well, making sure it was incredibly smooth and relatively taut.
Basting in this context has nothing to do with pouring turkey juices over a roasting bird but instead means making large stitches. And I mean really large. For this, like 2 inches each. These stitches do the same work as pinning but are way more secure when working with the thickness of a quilt. Not to mention maneuvering a quilt full of pins through the machine sounds like a really quick way to become a human pin cushion.
Quilting the Quilt
Once it was all basted and I had taken all the pins out, I cut it roughly to shape and pulled all the tape off, and it was finally time to quilt. Quilting is the word for the verb and the noun for the stitching that is like a toothpick through a sandwich. It goes through all three layers and keeps it together.
Batting packaging will tell you how far apart the stitches need to be minimum, so I made sure to follow the package instructions. I mostly just outlined everything, but quilting is often used as an opportunity to add more decoration, which I did some of here, on the egg especially. I also added veining to the leaves, the chrysalis, and some swirly curvy lines in the open spaces of the background.
Finishing the Edges
With the quilting done, it was time to finish the edges. I started by measuring and marking, using a book (Indian-ish by Priya Krishna!) to make sure the corners were perfectly square and. I made the fabric 1/2 inch larger than I wanted the finished quilt to be.
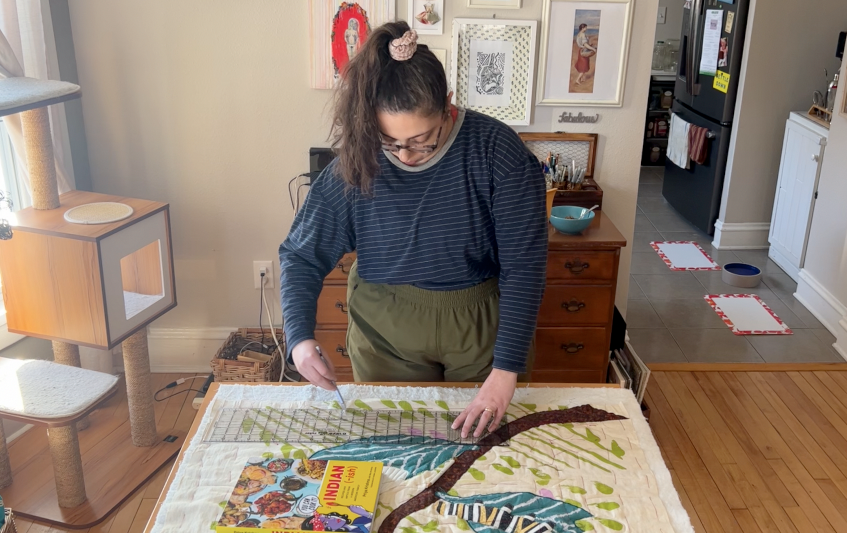
Then I cut the batting 1/2 inch smaller than the fabric layers on either side.

I did this so that I could fold the top over the batting, pin it in place, and then fold the back in on itself until the edges lined up. Then I pinned the heck out of it and stitched all the way around. This way of finishing is called "knife's edge". Another common way to finish is called "binding", but I usually end up doing it this way!
This used 109 pins, (yes, I counted as I took them out), and took a lot longer than it should have due to a rookie mistake. If you'll recall, I quilted the layers together before cutting the quilt to size, so when I was doing the swirls, I went all the way to the edge of the fabric. That meant that when it came time to do the edging, in order to fold the fabric around the batting I needed to take out any quilting that was in the way, which also took out the backstitching that locked it in place. This added a ton of time because then I had to go back and stitch over the ends of any quilting I had taken out so that they wouldn't just immediately unravel. Oy. Vey.
Finishing Touches
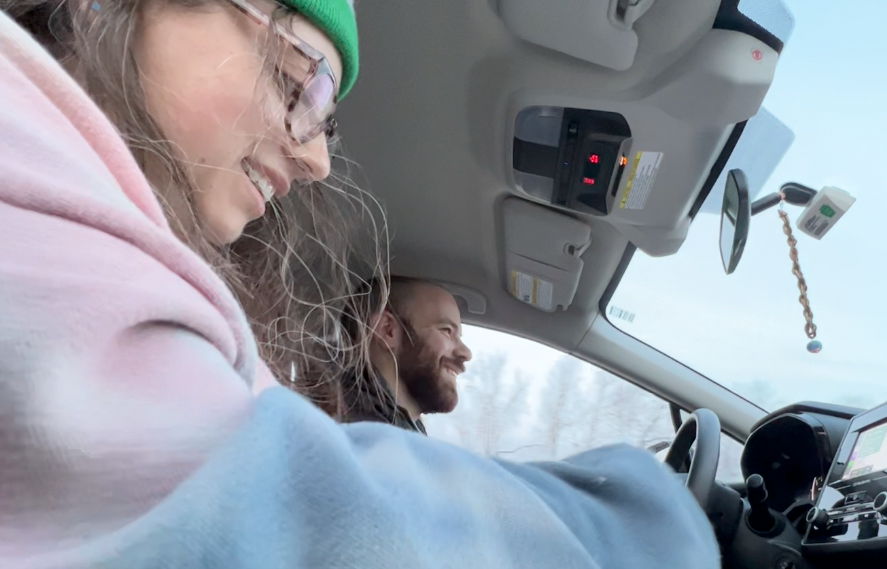
Our niece was due on Dec 27th, and we were heading to New Jersey where they live for Christmas anyway. Of course, I can't do anything on time so I had a few finishing touches to do. I packed up my Portable Sewing Room (which is an old Altoid tin with needles, thread, pins, little scissors), and a few other supplies like an embroidery hoop, and we hit the road.

The Quilting Threads
While Josh drove us from WI to NJ, I did the first finishing step which was to pull all of the quilting threads to the back. I did this just by threading each end onto a needle and just poking it through to the back. I should have done this with all the sewing that held down the elements to the background, but I didn't! Oops! This is nice because then you don't get any little bits of thread sticking out on the front from when you trim the ends super short. It's super nitpicky and not necessary, but I wanted to do it anyway! And I do love to have a road trip project.
The Pocket
Before leaving town, I had used my machine to sew a long tube out of the backing fabric, which was about 3 inches in diameter and about 2 inches shorter than the width of the quilt.
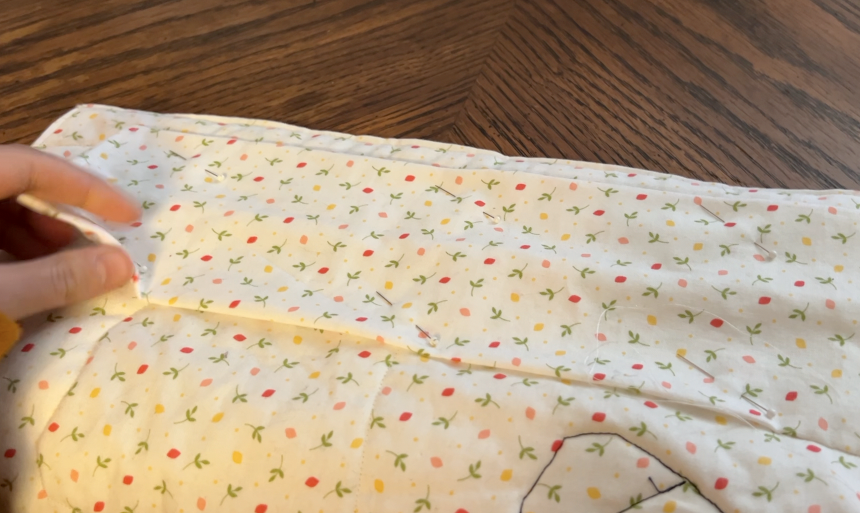
I used an applique stitch to attach it to the back of the quilt near but not at the top, and it will be the pocket for the hanging rod. The most important part of this is making sure that you don’t stitch all the way to the front of the quilt!

Embroidering the Message
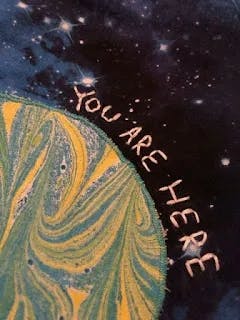
On Austin's quilt, I embroidered "You Are Here" above the Earth. I wanted something equally punchy to embroider on Nora's quilt, so I did some research into some quotes for inspiration.
A search for "metamorphosis quotes" yielded quotes from Kafka, which is not what I was looking for. Quotes about butterflies were a bit better, such as,
Butterflies are self-propelled flowers,
by Robert A. Heinlein, or -
We delight in the beauty of the butterfly but rarely admit the changes it has gone through to achieve that beauty,
by Maya Angelou, but they weren't quite right. I finally found -
Just when the caterpillar thought "I am incapable of moving,” it became a butterfly,
by Annette Thomas, and it was perfect. It didn't create a hierarchy of the butterfly over the other life stages, and it was encouraging and deep. Exactly what I was looking for, except... it was way too long.
I settled on simply, "You will fly". With some help from Josh and my MIL Barb, we decided on placing it along a line of quilting at the top in an orange floss.

The Hanging Rod
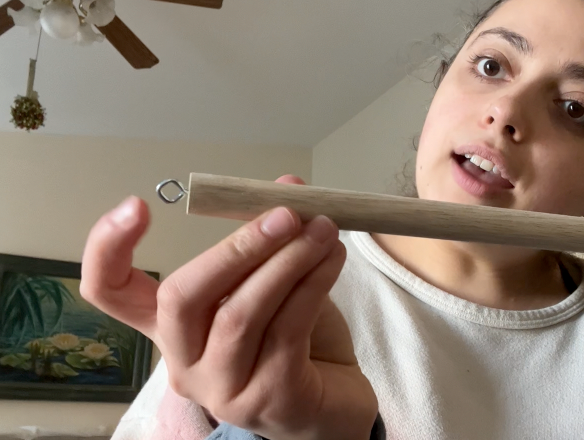
The final step was to get a dowel rod cut down to size at the local hardware store. I had it cut so that it was about a half-inch bigger on each side than the pocket on the back.

I then attached some screw eyes that I had brought from home in to each end. Luckily, these were very easy to screw in by hand. I made sure they were facing the same direction as each other so that when the dowel went in the pocket, the screw eyes would stick out and could easily go onto two small nails in the wall for easy hanging.
And with that, the quilt was 100% done and ready to be given to my new niece!

To Sum Up
Nora was born in the morning on Christmas Eve, so we were able to bring the quilt to their house when we went to meet her a few days later. She is about 9 months old as of this writing and is a perfect, bubbly angel. I am so grateful to have her loving spirit in my life!

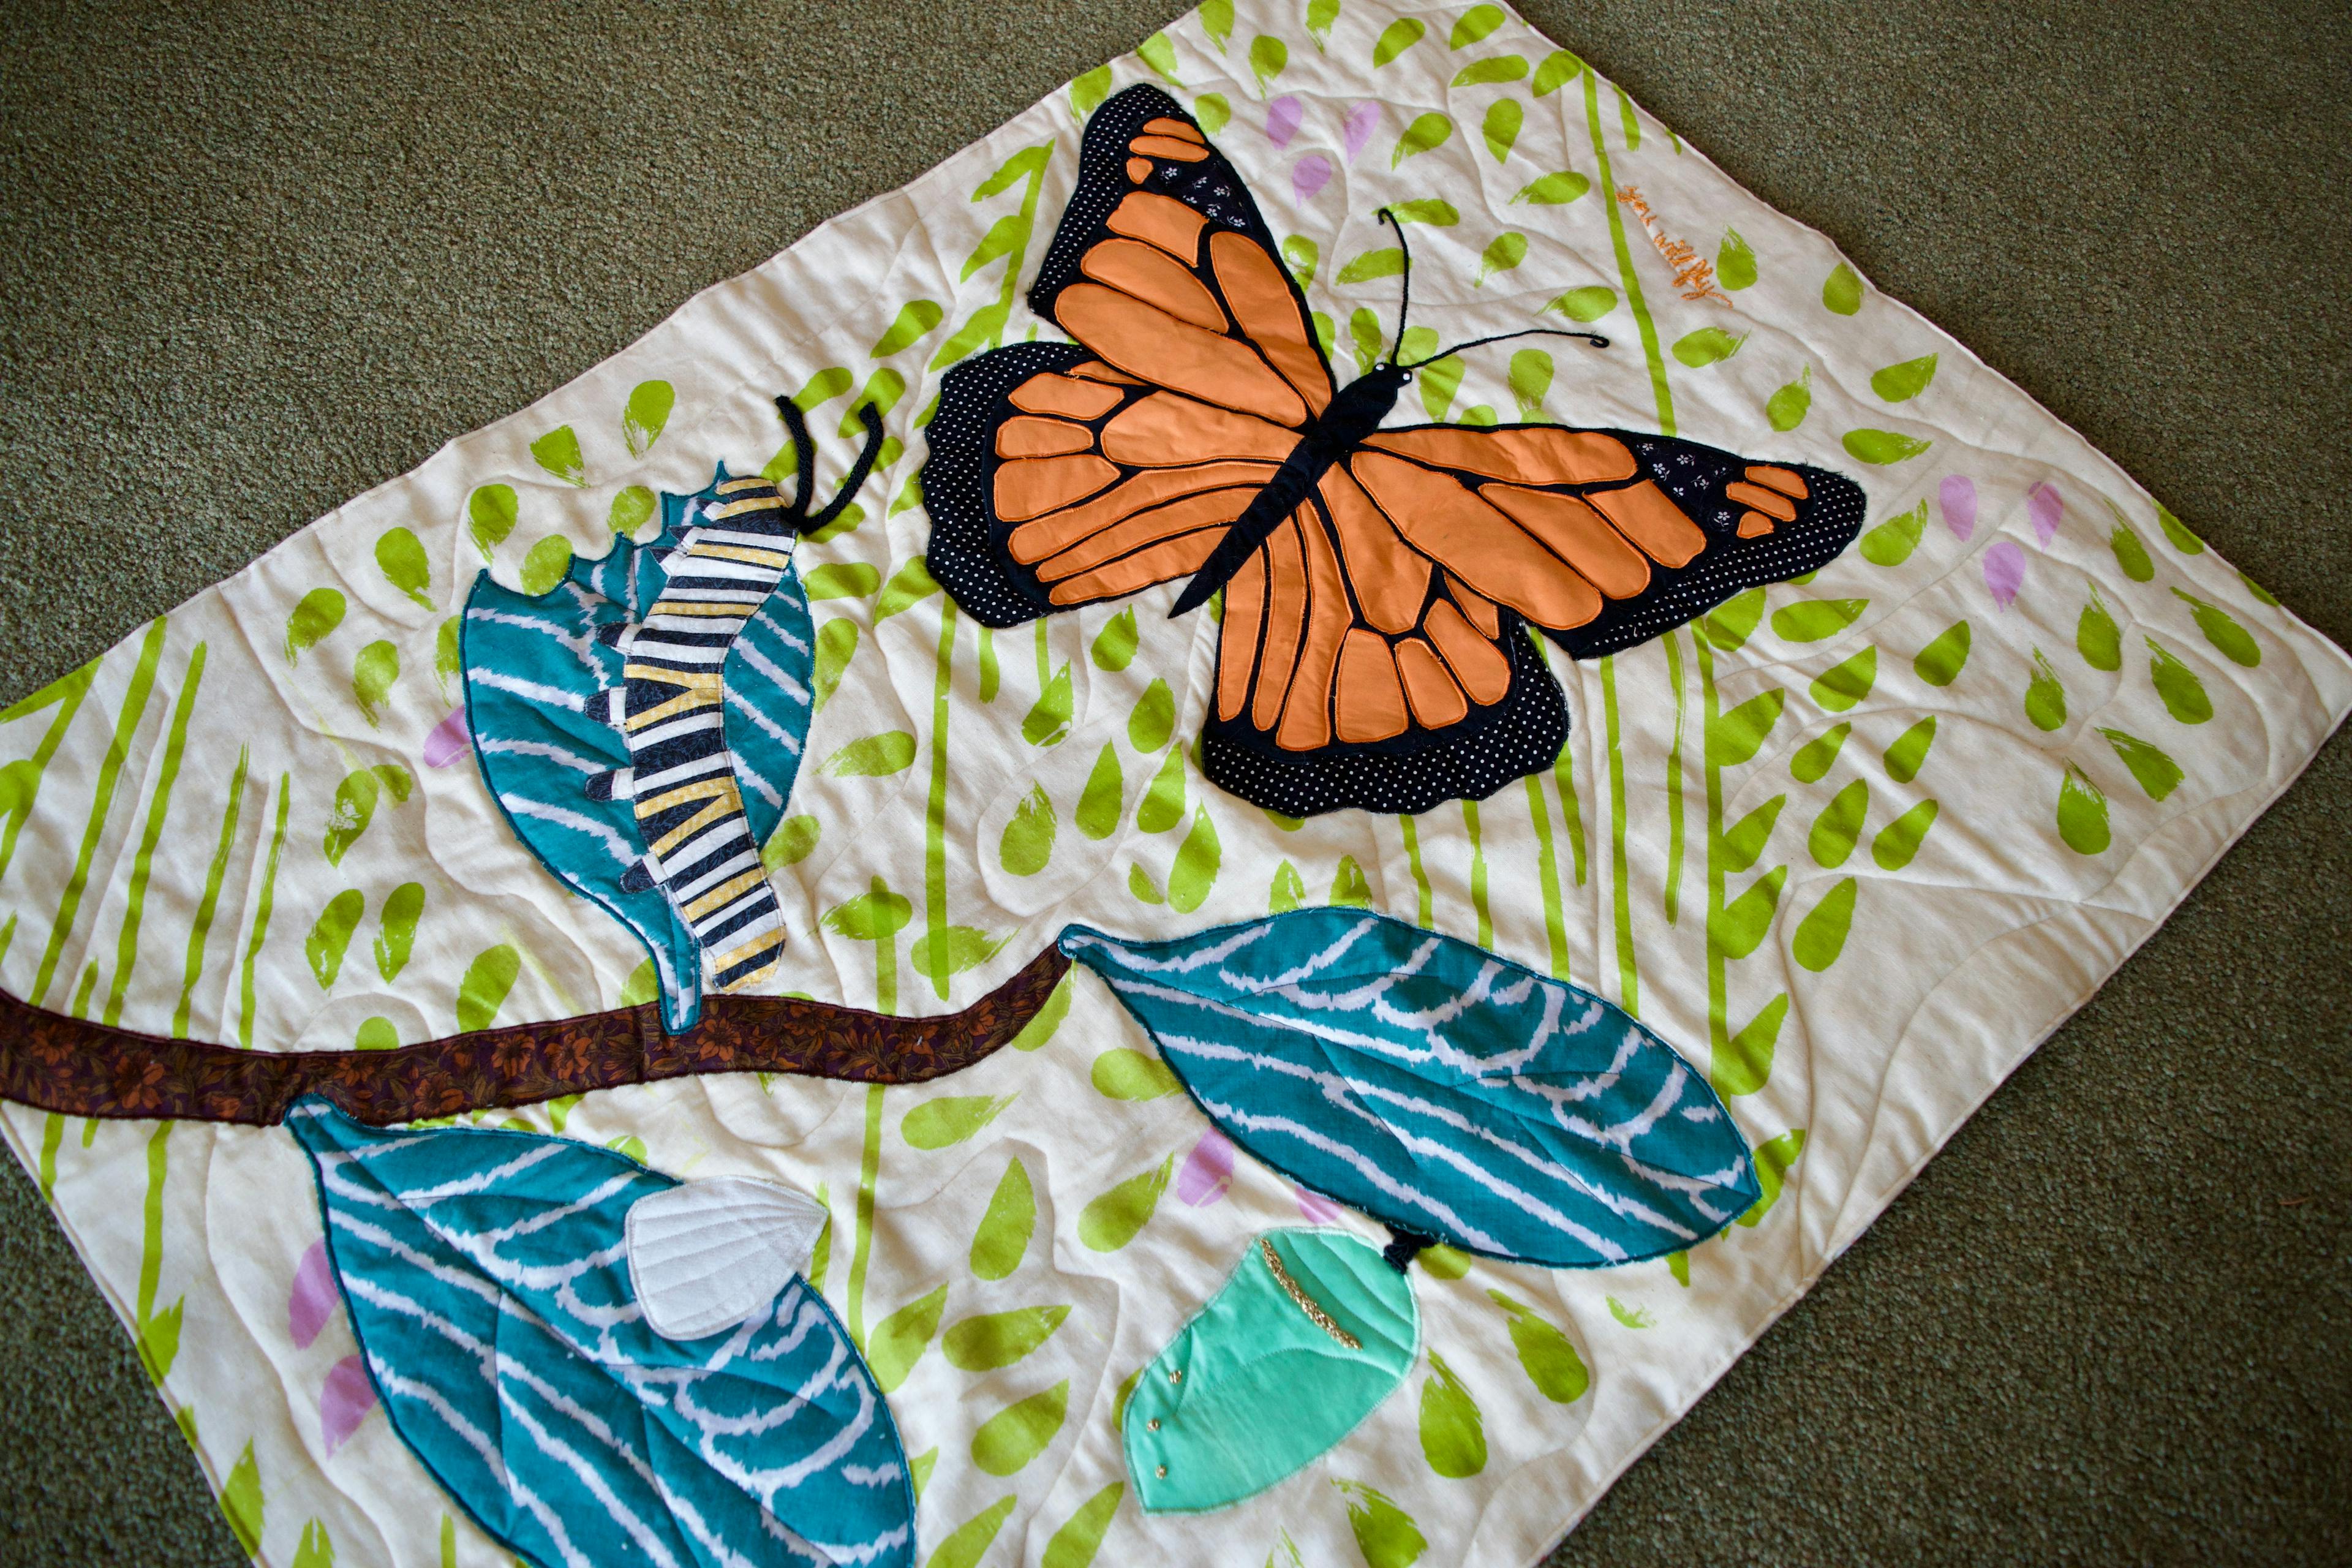
As for the quilt, I love love love! how it turned out. It captures my vision and I think is a perfect counterpoint to her brother Austin’s solar system quilt. Their dad, my brother-in-law Ian, said it was striking to him that Austin’s quilt contained every life that we know of, and Nora’s quilt contains one, just more close up, and that's exactly the vibe I wanted the quilts to give.

I hope that they both can look at these quilts as they grow and be invited to look beyond, to zoom way out, or to zoom way in on this amazing existence we share. Welcome, Nora! We love you so and can't wait to see you grow and take flight.
I hope you have a beautiful rest of your day and thank you so much for being here!
💖, Katrina
Comments: